Starter Replacement 4.3L
Removal Procedure
Notice: Never operate the starter motor for more than 30 seconds at a time. Allow it to cool for at least two minutes. Overheating, caused by too much cranking, will damage the starter motor.
- Disconnect the negative battery cable. Refer toGeneral Information.
- Remove the front exhaust pipe. Refer to Exhaust System Installation
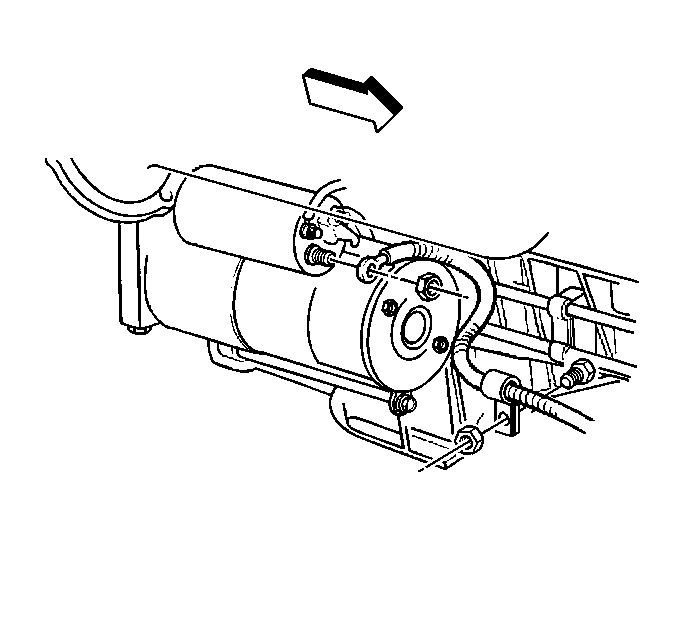
- Remove the wires from the starter solenoid.
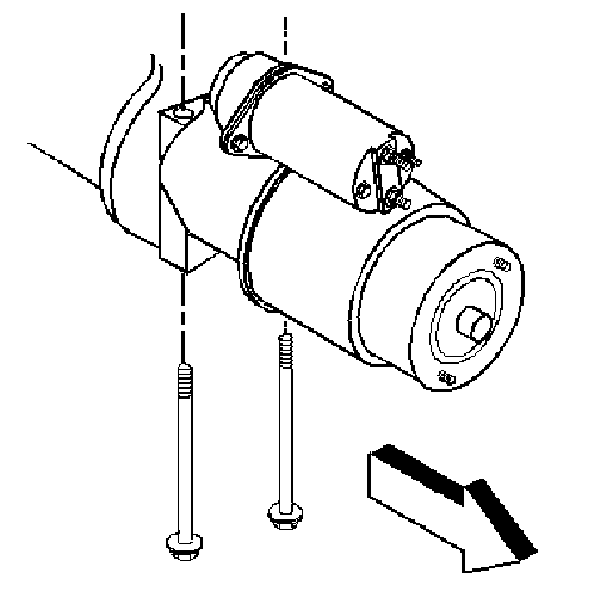
- Remove the starter motor mounting bolts.
- Remove the starter from the vehicle.
- Remove the starter shims, if equipped.
Installation Procedure
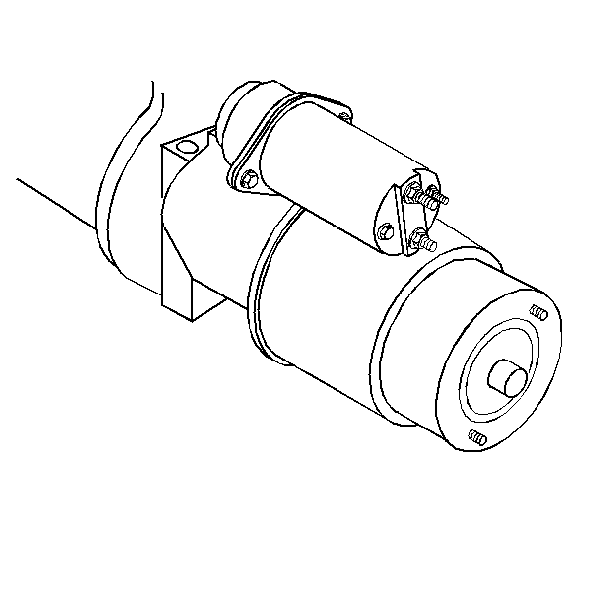
- Install the starter to the vehicle.
- Install the inboard starter mounting bolt. Do not tighten.
- Install the starter shims to the vehicle, if equipped.
- Install the outboard starter mounting bolt.
- Connect the wires to the solenoid.
- Install the flywheel cover. Refer to Engine Flywheel Replacement (Automatic) or Engine Flywheel Replacement (Manual) or Engine Flywheel Replacement
- Connect the negative battery cable.


Tighten
Tighten the starter mounting bolts to 43 N·m (32 lb ft).

Starter Replacement 4.3L 4WD
Removal Procedure
- Disconnect the negative battery cable. Refer to General Information.
- Disconnect the engine mounts, refer to Engine Mount Replacement (Front, RWD) or Engine Mount Replacement (Front, 4WD) or Engine Mount Replacement (Rear, RWD) or Engine Mount Replacement (Rear 4WD)
- Raise the engine.
- Support the engine.
- Remove the transmission mount. Refer to in Engine Mechanical.
- Support the transmission assembly.
- Remove the starter mounting bolts.
- Remove the wires from the solenoid.
- Remove the starter from the vehicle.
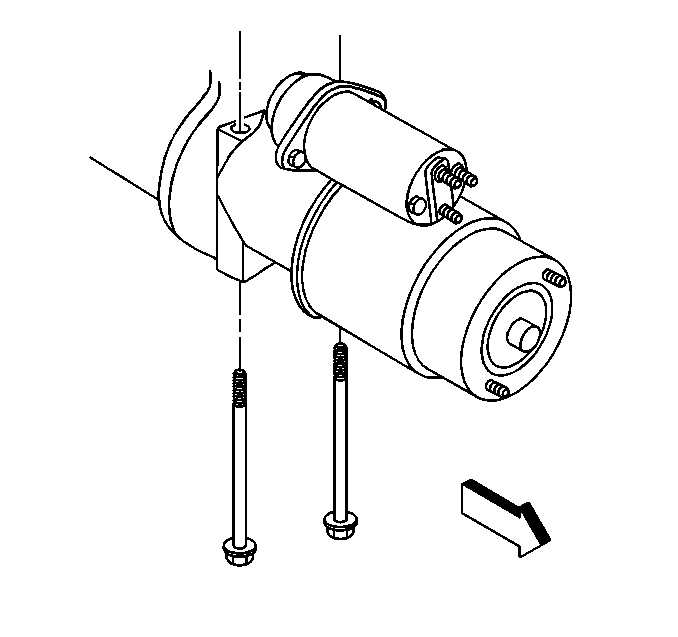
Rotate the starter for access.


Note the location of the shims, if equipped.
Installation Procedure
- Install the starter to the vehicle.
- Connect the wires to the solenoid.
- Install the inboard starter mounting bolt. Do not tighten.
- Install the starter shims and the outboard starter mounting bolt.
- Lower the engine assembly onto the mounts.
- Connect the negative battery cable.


Tighten
Tighten the starter mounting bolts to 43 N·m (32 lb ft).
| • | Connect the transmission mount. |
| • | Connect the engine mounts, refer to Engine Mount Replacement (Front, RWD) or Engine Mount Replacement (Front, 4WD) or Engine Mount Replacement (Rear, RWD) or Engine Mount Replacement (Rear 4WD) refer to in Engine Mechanical. |
Starter Replacement 2.2L
Removal Procedure
Notice: Never operate the starter motor for more than 30 seconds at a time. Allow it to cool for at least two minutes. Overheating, caused by too much cranking, will damage the starter motor.
- Disconnect the negative battery cable. Refer to General Information.
- Remove the front exhaust pipe. Refer to General Exhaust System Replacement
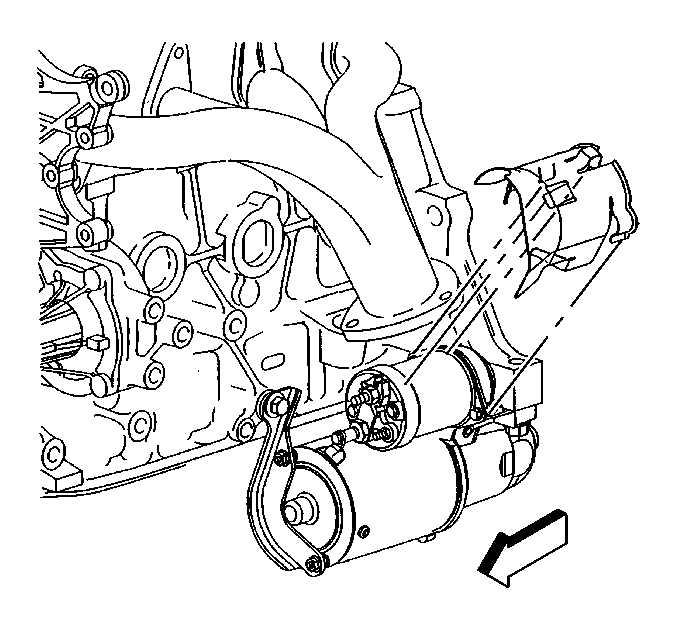
- Remove the brace rod from the front of the engine to the clutch housing.
- Remove the starter heat shield.
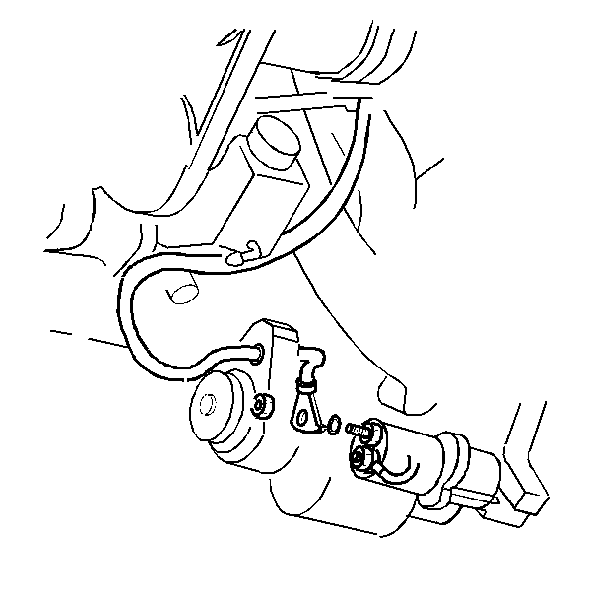
- Remove the wires from the starter solenoid.
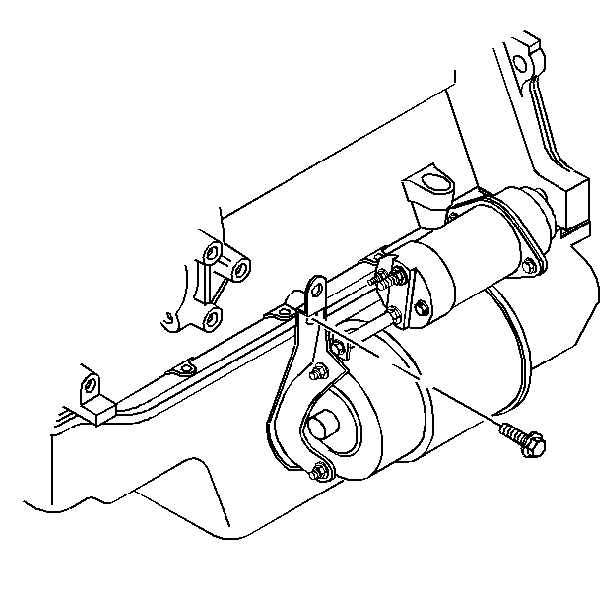
- Remove the brush end bracket attaching bolt.
- Remove the starter motor mounting bolts.
- Remove the starter from the vehicle.
- Remove the starter shims, if equipped.
- Remove the brush end bracket from the starter, if necessary.
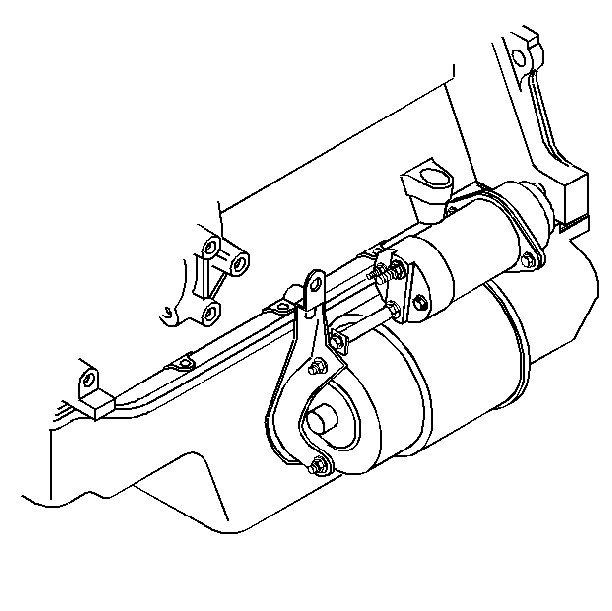
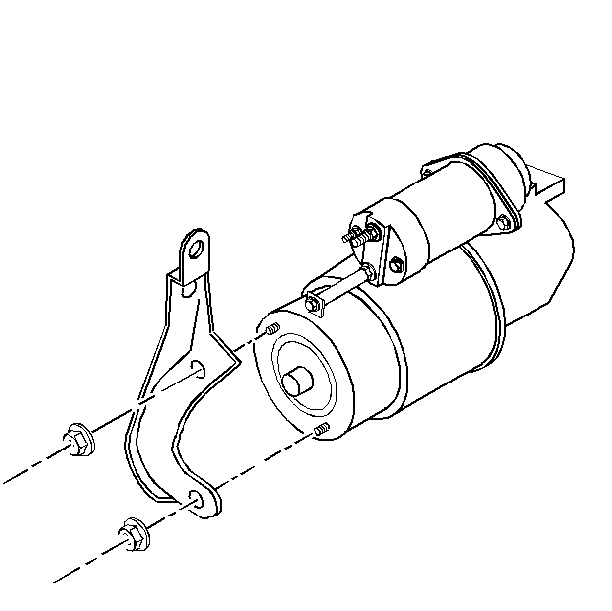
Installation Procedure
- Install the brush end bracket to the starter motor.
- Install the brush end bracket attaching nuts to the starter motor.
- Install the starter motor to the vehicle.
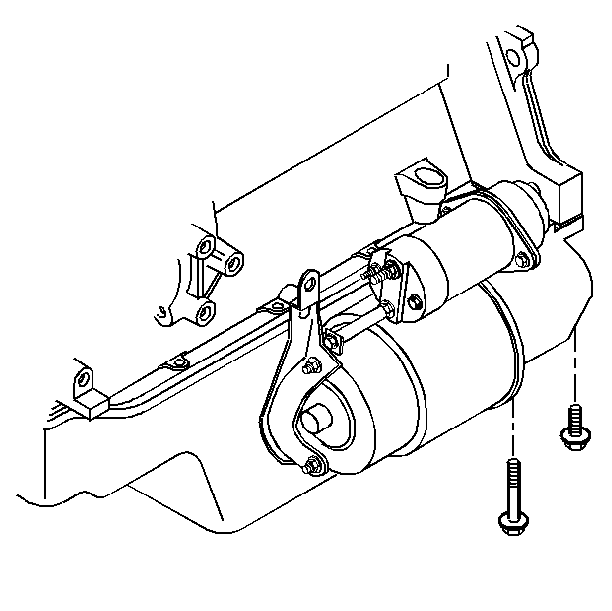
- Install the inboard starter mounting bolt. Do not tighten the bolt.
- Install the starter shims, if equipped.
- Install the brush end bracket mounting bolt to the engine. Do not tighten the bolt.
- Install the outboard starter mounting bolt.
- Connect the wires to the starter solenoid.
- Install the starter heat shield.
- Install the flywheel cover, refer to Engine Flywheel Replacement (Automatic) or Engine Flywheel Replacement (Manual) .
- Connect the negative battery cable.

Tighten
Tighten the brush end bracket nuts to 11 N·m (97 lb in).
Refer to When to Disconnect the Battery Cable in General Information..


Tighten
Tighten the starter motor and the brush end bracket attaching bolts
to 43 N·m (32 lb ft).


Starter Replacement 4WD Utility
Removal Procedure
- Place the vehicle on a hoist, refer to General Information.
- Disconnect the negative battery cable. Refer to General Information.
- Disconnect the starter solenoid wiring.
- Raise the vehicle on the hoist.
- Remove the transfer case shield, if equipped, refer to.
- Remove the bolts and the two brackets holding the brake pipe to the transmission crossmember.
- Remove the transmission crossmember attaching bolts, three bolts per side.
- Remove the transmission mount bolts.
- Support the transmission assembly.
- Slide the transmission crossmember out of the way.
- Remove the bracket that holds the transmission fluid cooler lines to the flywheel housing.
- Remove the brace rod to the flywheel housing.
- Remove the lower flywheel housing. Refer to Engine Flywheel Replacement (Automatic) or Engine Flywheel Replacement (Manual)
- Remove the two bolts that hold the starter motor to the engine.
- Remove the starter from the vehicle.
- Remove the shims, if equipped.


Installation Procedure
- Install the starter motor to the engine.
- Install the inboard starter mounting bolt. Do not tighten the bolt.
- Install the starter shims and the outboard starter mounting bolt.
- Install the lower flywheel cover.
- Connect the transmission line bracket to the flywheel housing.
- Connect the brace rod to the flywheel housing.
- Slide the transmission crossmember back into place.
- Attach the transmission mount to the transmission.
- Connect the transmission crossmember to the frame with the six bolts.
- Connect the two brake line brackets to the transmission crossmember.
- Install the transfer case shield, if equipped.
- Connect the starter solenoid wiring.
- Lower the vehicle.
- Connect the negative battery cable.


Tighten
Tighten the starter mounting bolts to 43 N·m (32 lb ft).
Refer to General Information.

