For 1990-2009 cars only
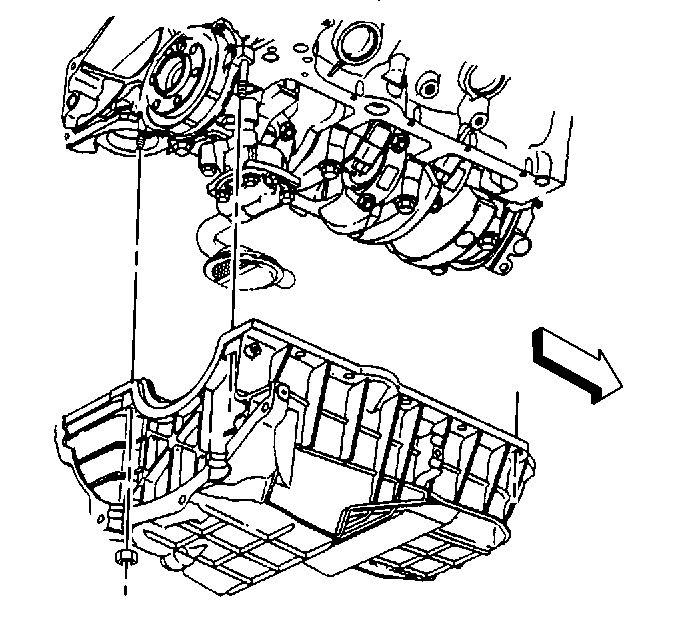
Oil Pan Replacement RWD
Removal Procedure
- Drain the engine oil.
- Remove the engine. Refer to Engine Replacement .
- Remove the oil pan. Refer to Oil Pan Removal .
Installation Procedure
- Install the oil pan. Refer to Oil Pan Installation .
- Install the engine. Refer to Engine Replacement .
- Fill the crankcase with oil.

Oil Pan Replacement 4WD
Removal Procedure
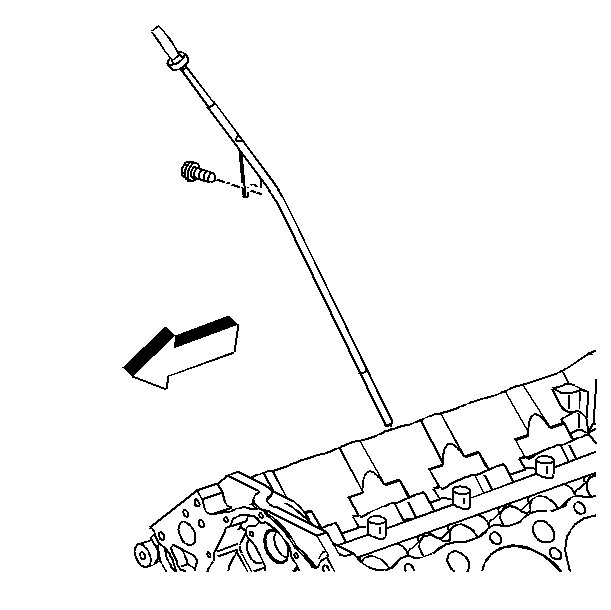
- Remove the oil level indicator.
- Raise the vehicle and support it with safety stands.
- Remove the front axle shield. Refer to Steering Linkage.
- Remove the front underbody shield. Refer to Steering Linkage.
- Remove the front propeller shaft. Refer to Propeller Shaft.
- Remove the front differential through bolts, and roll the differential forward. Refer to Front Driving Axle.
- Drain the engine oil.
- Disconnect the wiring harness from the bracket at the right side of the oil pan.
- Remove the oil cooler lines.
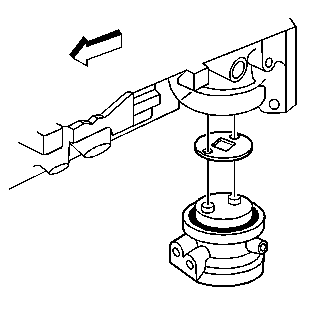
- Remove the oil filter adapter. Refer to Oil Filter Adapter Removal .
- Remove the starter motor. Refer to Engine Electrical.
- Remove the oil pan. Refer to Oil Pan Removal .

Installation Procedure
- Install the oil pan. Refer to Oil Pan Installation .
- Use a feeler gauge to check the clearence between the three oil pan-to-transmission contact points.
- Install the starter motor. Refer to Engine Electrical.
- Install the oil filter adapter. Refer to Oil Filter Adapter Installation .
- Install the oil cooler lines.
- Roll the differential back into position and install the front differential through bolts. Refer to Front Driving Axle.
- Install the front propeller shaft. Refer to Propeller Shaft.
- Install the front underbody shield. Refer to Steering Linkage.
- Install the front axle shield. Refer to Steering Linkage.
- Lower the vehicle.
- Install the oil level indicator.
- Fill the crankcase with oil.
Important: Any time the transmission and the oil pan are off of the engine at the same time, the transmission must be installed before the oil pan. This will allow for the proper measurement of the oil pan tolerance.
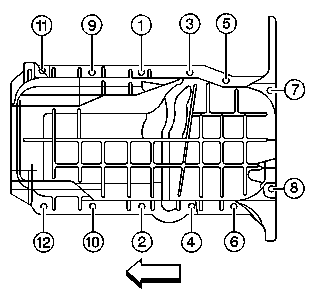
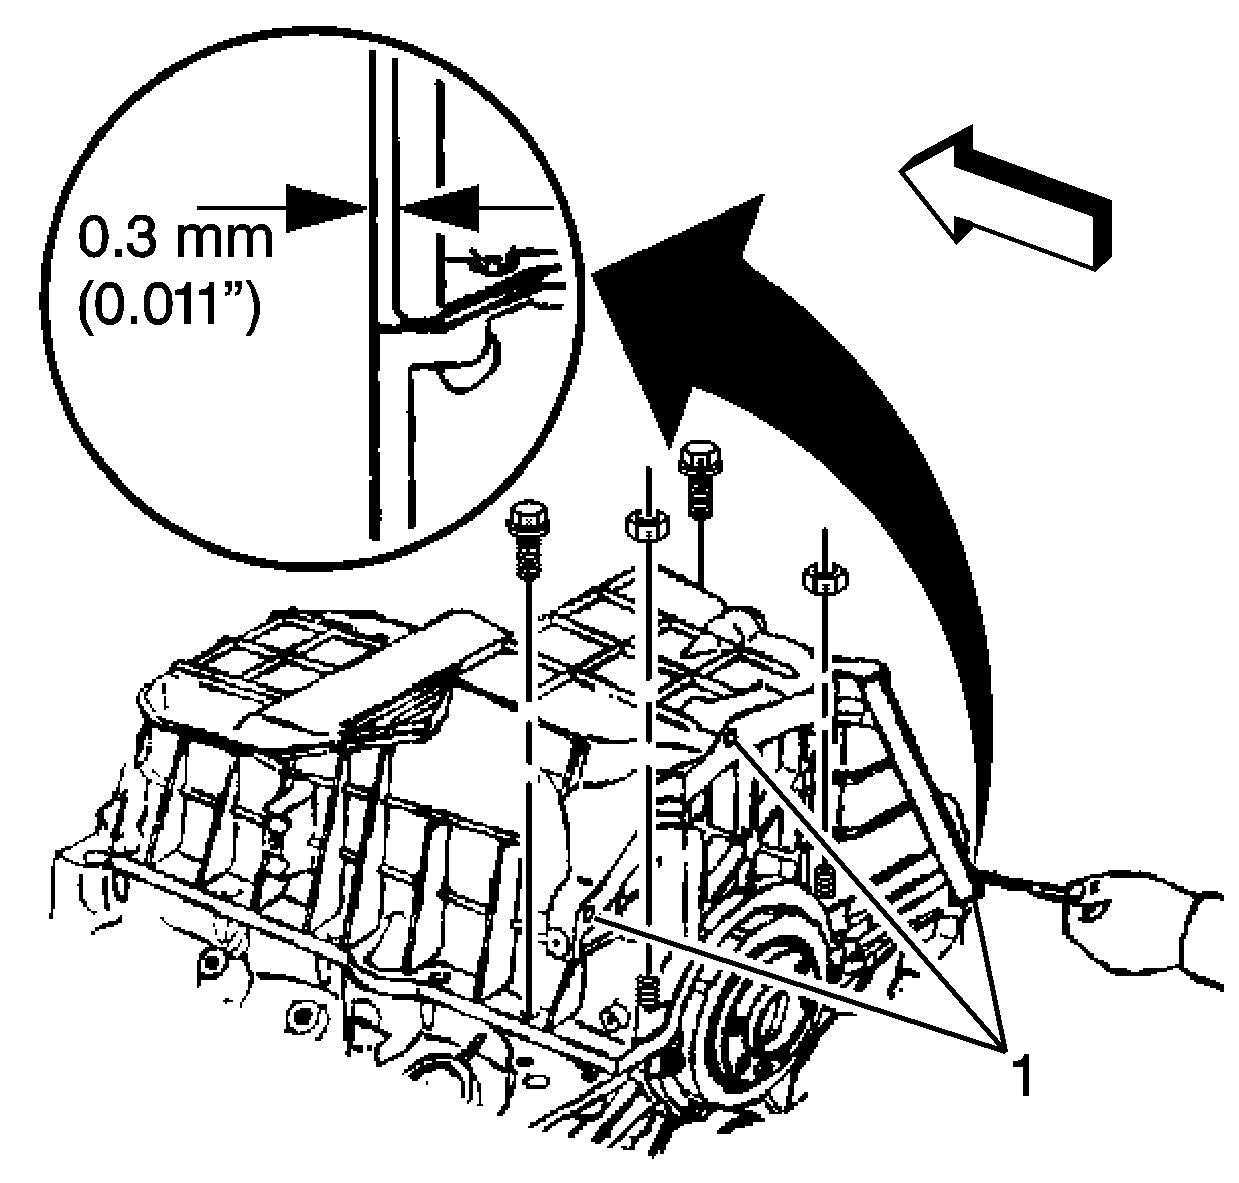
If the clearance exceeds 0.0254 mm (0.010 in) at any of the three points, repeat the installation steps until the clearence is within specifications.


