Removal Procedure
Caution: When working with any type of glass or sheet metal with exposed or rough edges, wear approved safety glasses and gloves in order to reduce the chance of personal injury.
- Remove the mirror from the door. Refer to Outside Rearview Mirror Replacement .
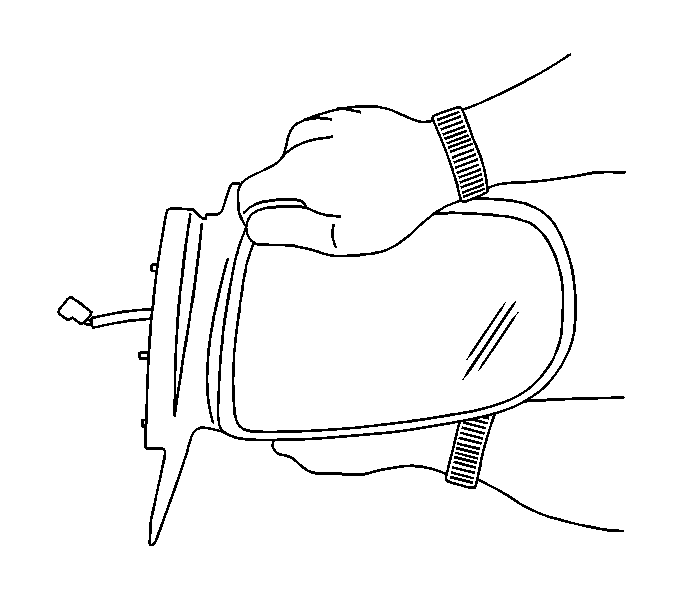
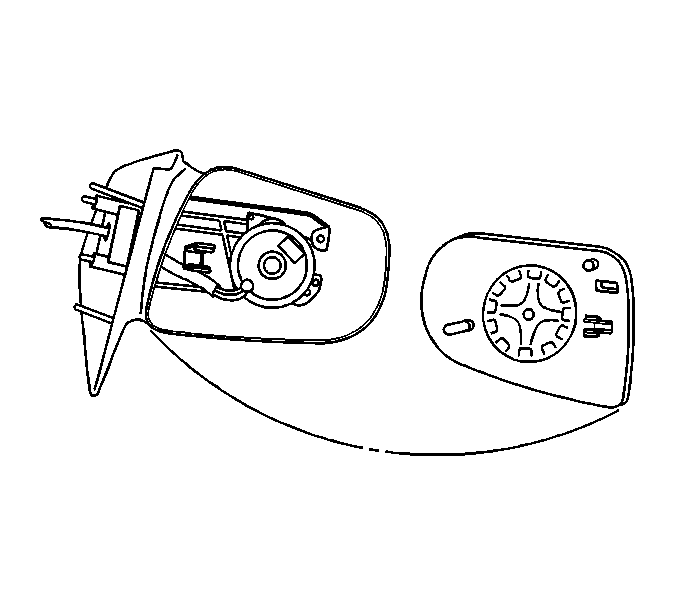
- Remove the damaged mirror back and glass sub-assembly from the mirror housing by completing the following steps:
- Inspect the motor pack top for any damage to the trunnion area.
- Remove the remaining jack screws that may remain in the motor pack helical gear openings.
- Clean the glass from the inside of the mirror frame.

| 2.1. | Insert your fingers as far as possible behind the mirror back toward the center of the back. |
| 2.2. | With force sufficient in order to disengage the trunnion from the motor pack, pull the mirror back straight out of the housing. |
Installation Procedure
- Remove the replacement mirror back and the glass sub-assembly.
- Inspect the components for damage. Ensure that the mirror back and glass sub-assembly has a trunnion bar and 2 jack screws.
- Align the mirror back jack screws with the helical gear openings.
- Gently press toward the motor pack the mirror back.
- In the replacement of a left mirror, complete the following steps:
- In the replacement of a right mirror, complete the following steps:
- Look over the top of the mirror back into the mirror housing.
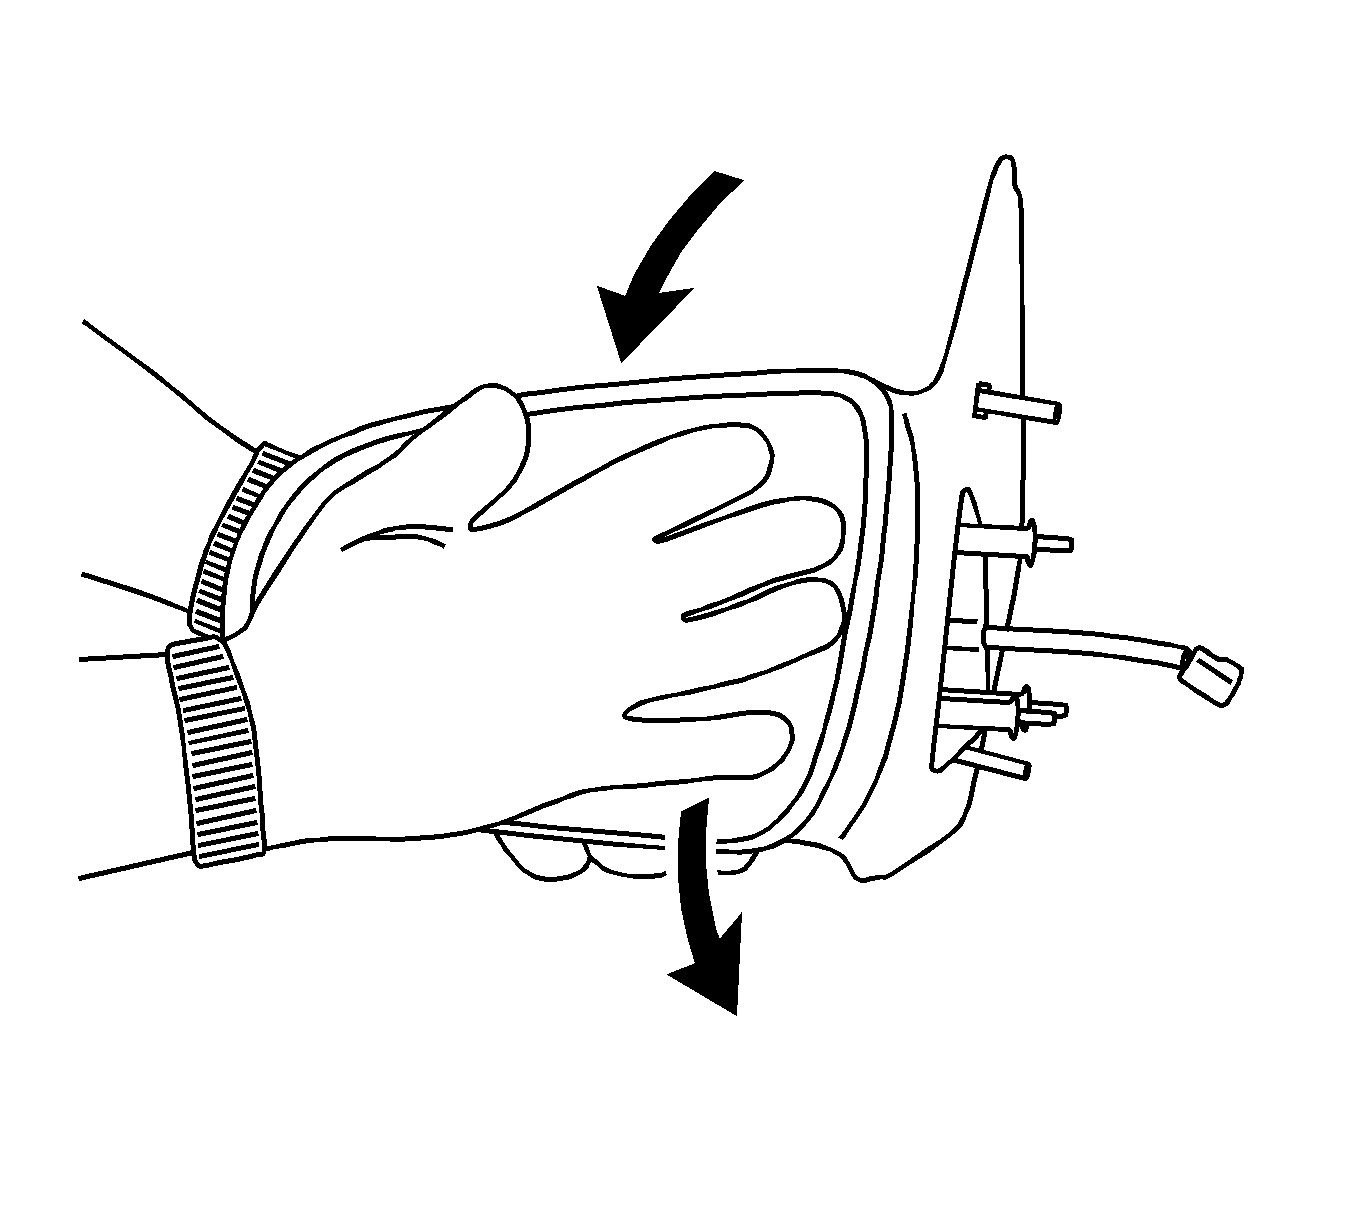
- Place the palm of your hand on the center of the glass.
- In order to test the installation, press the glass with your hand in order to move the glass in each direction.
- Install the mirror to the door. Refer to Outside Rearview Mirror Replacement .

Apply slight pressure on the jack screws at the helical gear openings.
| 5.1. | Actuate the mirror in a downward travel. |
This action pulls the up/down jack screw into the motor pack.
| 5.2. | Discontinue actuation when the travel draws in 50 percent of the length of the up/down jack screw. |
| 5.3. | Actuate the mirror in a leftward travel. |
This action pulls the left/right jack screw into the motor pack.
| 5.4. | Discontinue actuation when the travel draws in 50 percent of the length of the left/right jack screw. |
| 6.1. | Actuate the mirror in a downward travel. |
This action pulls the up/down jack screw into the motor pack.
| 6.2. | Discontinue actuation when the travel draws in 50 percent of the length of the up/down jack screw. |
| 6.3. | Actuate the mirror in a rightward travel. |
This action pulls the left/right jack screw into the motor pack.
| 6.4. | Discontinue actuation when the travel draws in 50 percent of the length of the left/right jack screw. |
Important: Proper alignment of the trunnion prevents damage to the motor pack trunnion receptor area.
Manipulate the mirror back in order to align the mirror back trunnion into the motor pack receptor area.

Important: Do not strike the glass. Uniformly apply increasing pressure.
Firmly press the glass toward the motor pack in order to achieve proper insertion.
The insertion is complete when the mirror back trunnion nests in the motor pack trunnion area.
Observe for the following conditions that indicate a successful installation:
| • | The mirror back remains firmly attached to the motor pack. |
| • | Electrical actuation of the mirror is possible. |
