Water Found in Rear Cupholder or On Floor of Vehicle (Reroute Rear Sunroof Drain Hose)

| Subject: | Water Found In Rear Cupholder or On Floor of Vehicle (Reroute Rear Sunroof Drain Hose) |
| Models: | 2003-2004 Chevrolet Blazer (2-Door) |
| 2003-2004 GMC Jimmy (2-Door) (Canada only) |
| Built Prior to VIN Breakpoint 4K124402 |
Condition
Some customers may comment on water in the rear trim panel cupholder or on the rear floor.
Cause

Important: Do not remove the energy absorbent foam from the headliner. It is a government requirement.
Due to energy absorbent foam in the headliner, the hose runs upward and the water cannot drain.
Correction
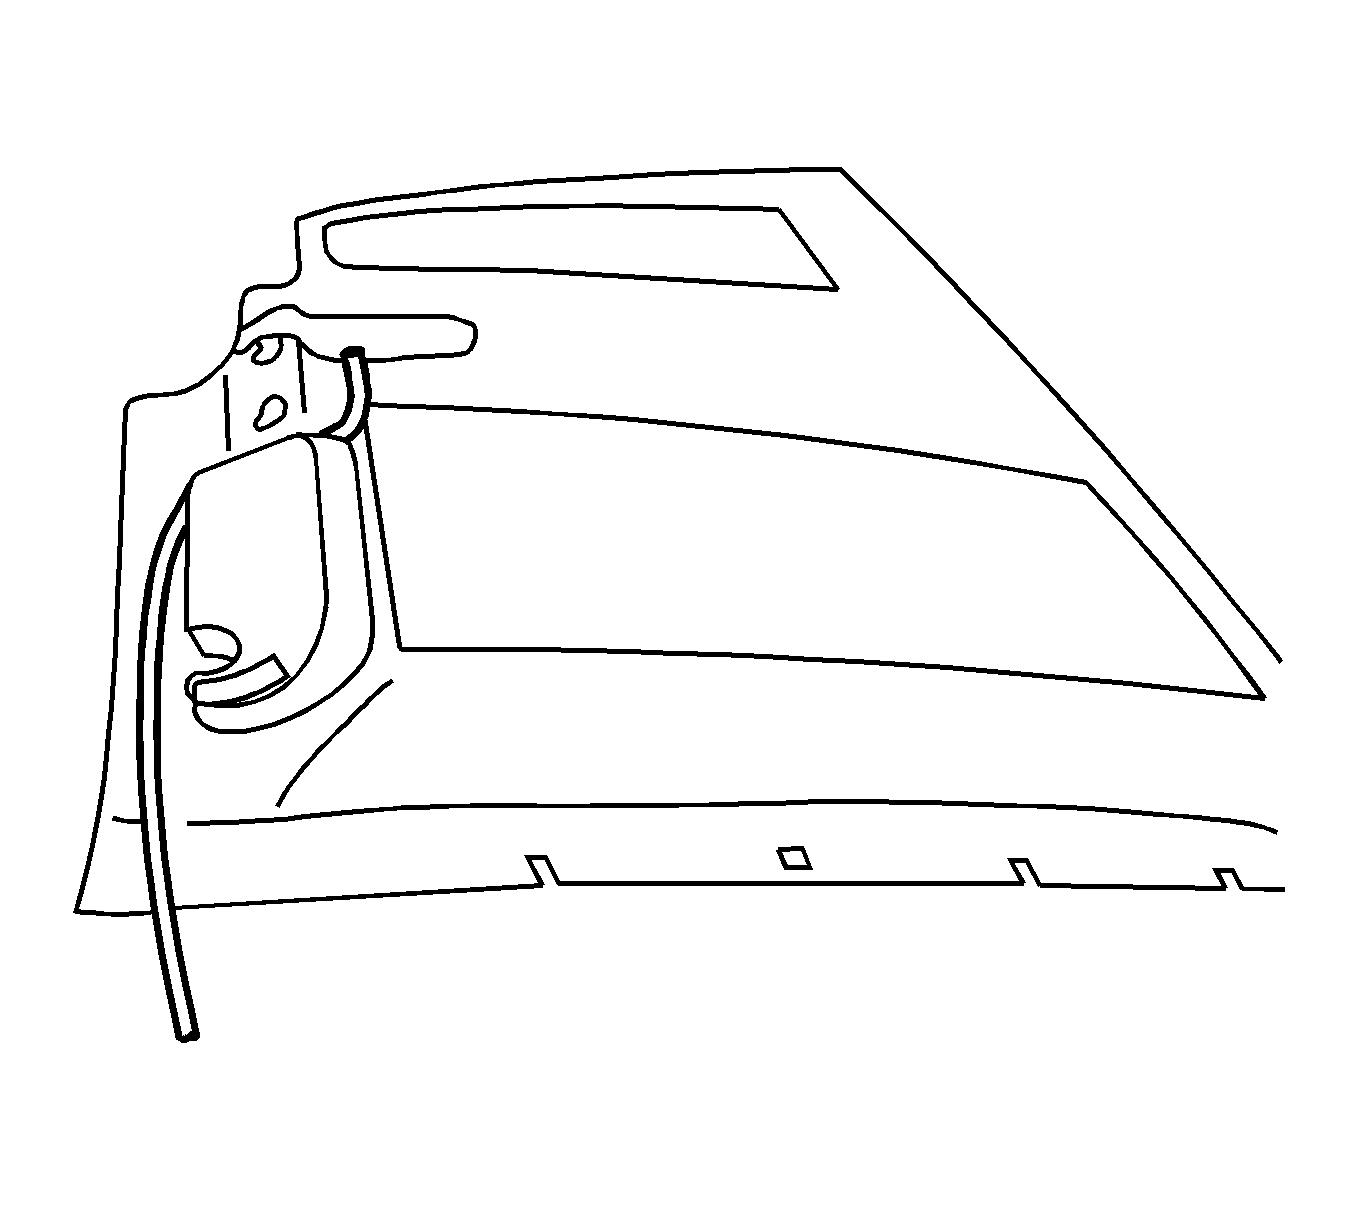
Reroute the left and right rear sunroof drain hoses.
- Fold the rear seats down.
- Remove the front and rear upper seat belt anchor bolt.
- Remove the assist handles.
- Remove the coat hooks.
- Remove the end gate sill plate.
- Remove the rear upper garnish molding and unplug the connector for the cargo lamp.
- Remove the spare tire and holder if the tire is inside the vehicle.
- Remove the jack storage cover and the jack.
- Remove the screw that retains the upper trim (left side only).
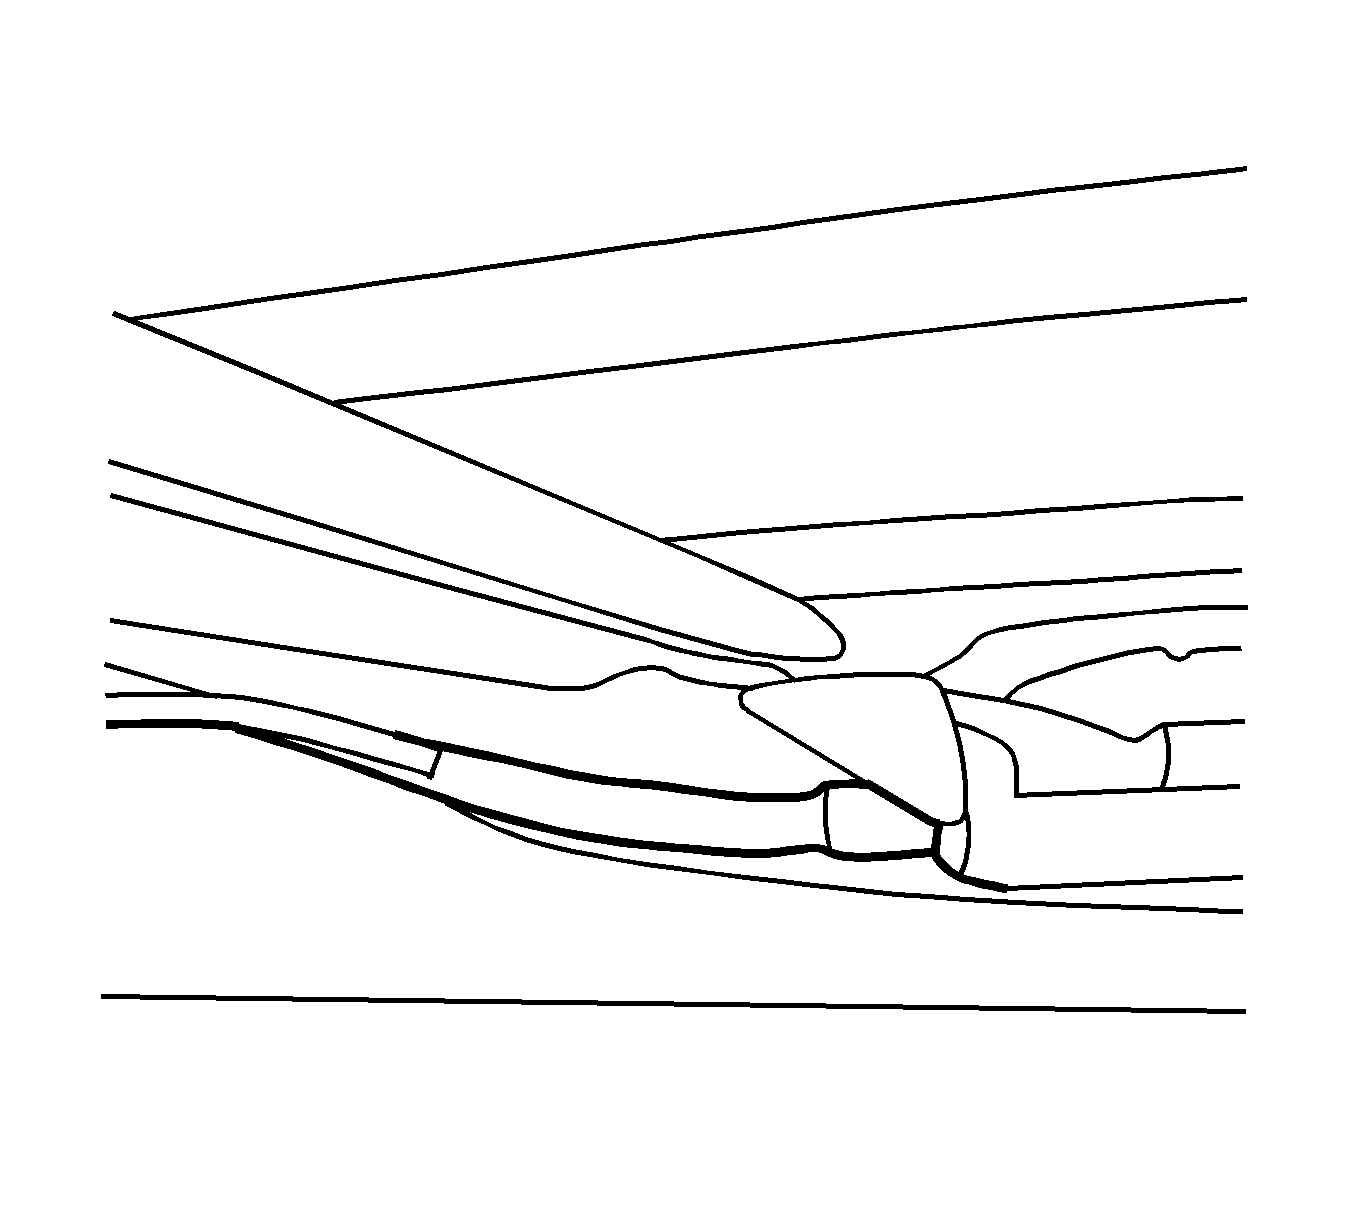
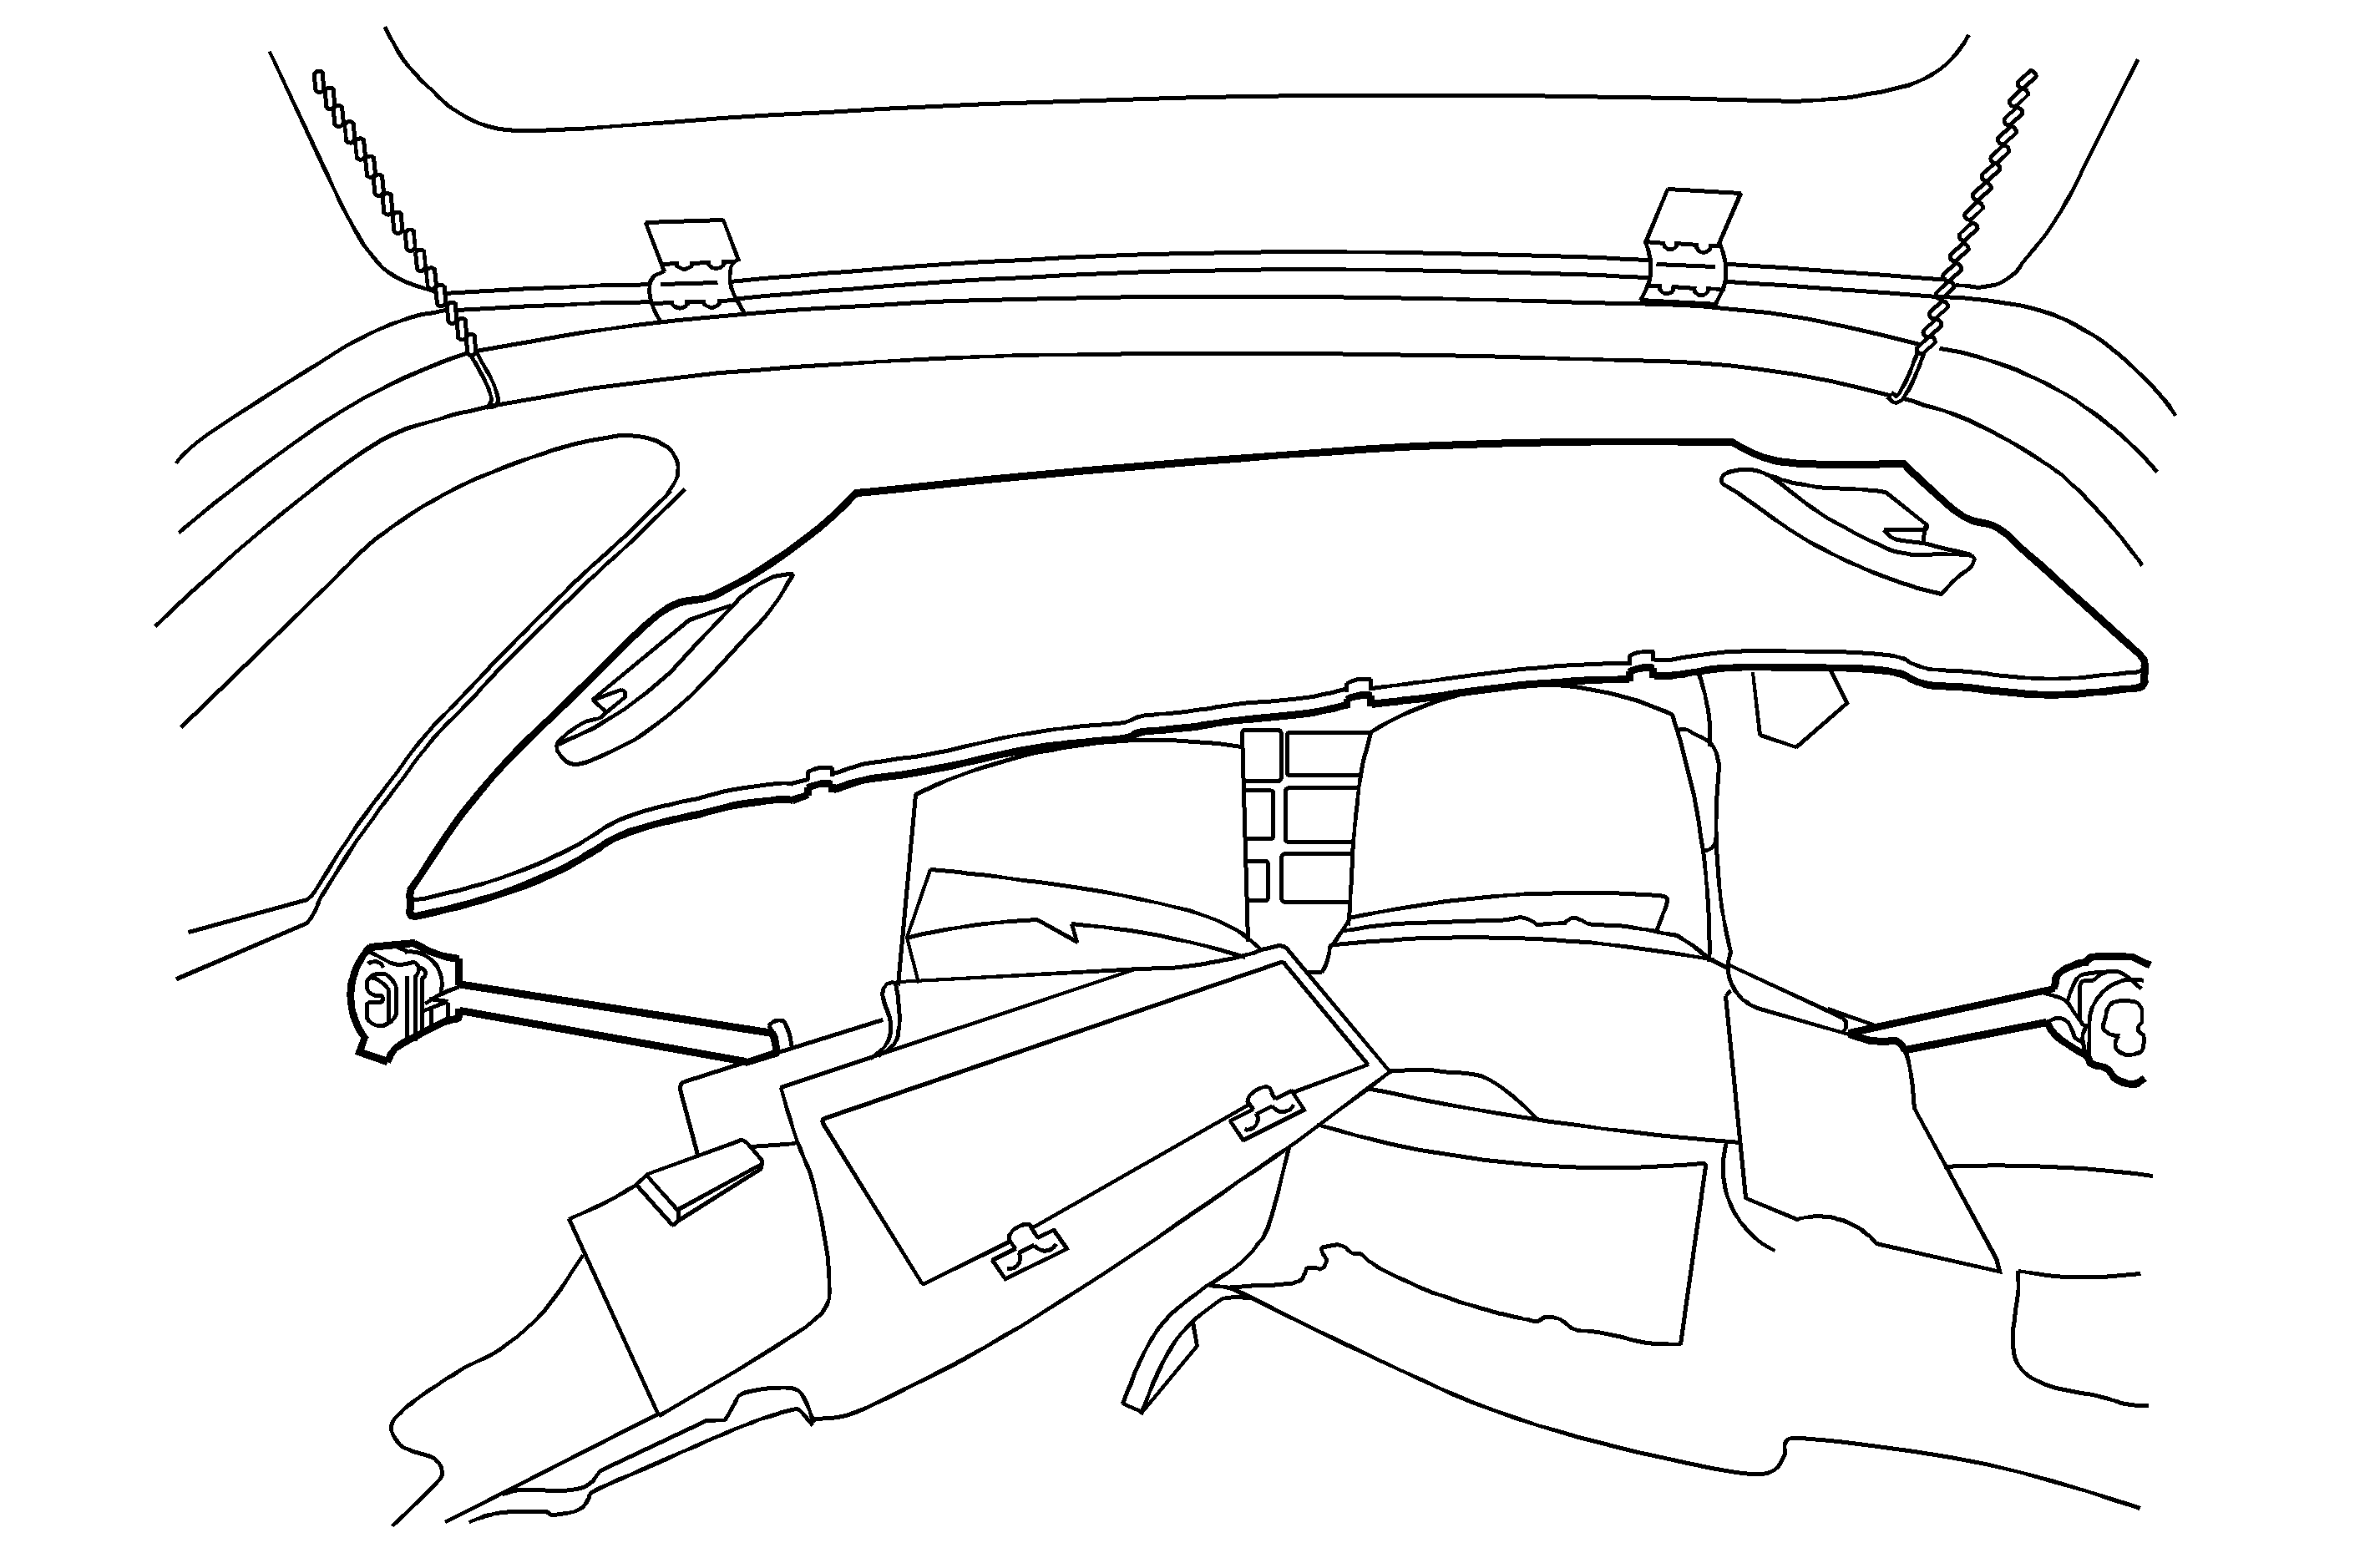
- Remove the left and right upper trim and lay it down inside the vehicle as seen in the illustration above.
- Lower the headliner in order to gain access to the rear sunroof drain hoses.
- Detach the top drain hose fastener from the roof by pulling out the clear colored clip from the body. Leave the hose unattached to the body at this clip.
- Reroute the hoses as seen in the illustration above.
- Raise the headliner and install the left and right upper trim.
- Install the screw that retains the trim (left side only).
- Install the spare tire and holder if the tire is located inside the vehicle.
- Install the jack assembly and the cover.
- Reconnect the cargo lamp connector and install the rear upper garnish trim.
- Install the end gate sill plate.
- Install the coat hooks and retaining screws.
- Install the assist handle, the bolts and covers.
- Install the upper rear seat belt anchor bolts and covers.
- Install the upper front seat belt anchor bolts and covers.
- Return the rear seats to the upright position.


Tighten
Tighten the trim screw to 1.9 N·m (17 lb
in).
Tighten
Tighten the retaining screws to 1.4 N·m
(12 lb in).
Tighten
Tighten the screws that retain the handle to 9 N·m
(80 lb in).
When installing the rear seat belt anchors, take care not to pinch the drain hose with the anchor bracket. The hose should sit flat on the back of the headliner.
Tighten
Tighten the anchor to 80 N·m (59 lb in).
Tighten
Tighten anchor bolts to 70 N·m (52 lb in).
Warranty Information
For vehicles repaired under warranty, use:
Labor Operation | Description | Labor Time |
|---|---|---|
C9991 | Water Leak - Repair | 0.8 hr |
Add | To remove/install inside vehicle mounted spare tire/hold-down | 0.5 hr |
