For 1990-2009 cars only
Caution: Refer to Brake Dust Caution in the Preface section.
Removal Procedure
- Raise the vehicle. Refer to Lifting and Jacking the Vehicle in General Information.
- Remove the tire and wheel assembly. Refer to Tire and Wheel Removal and Installation in Tires and Wheels.
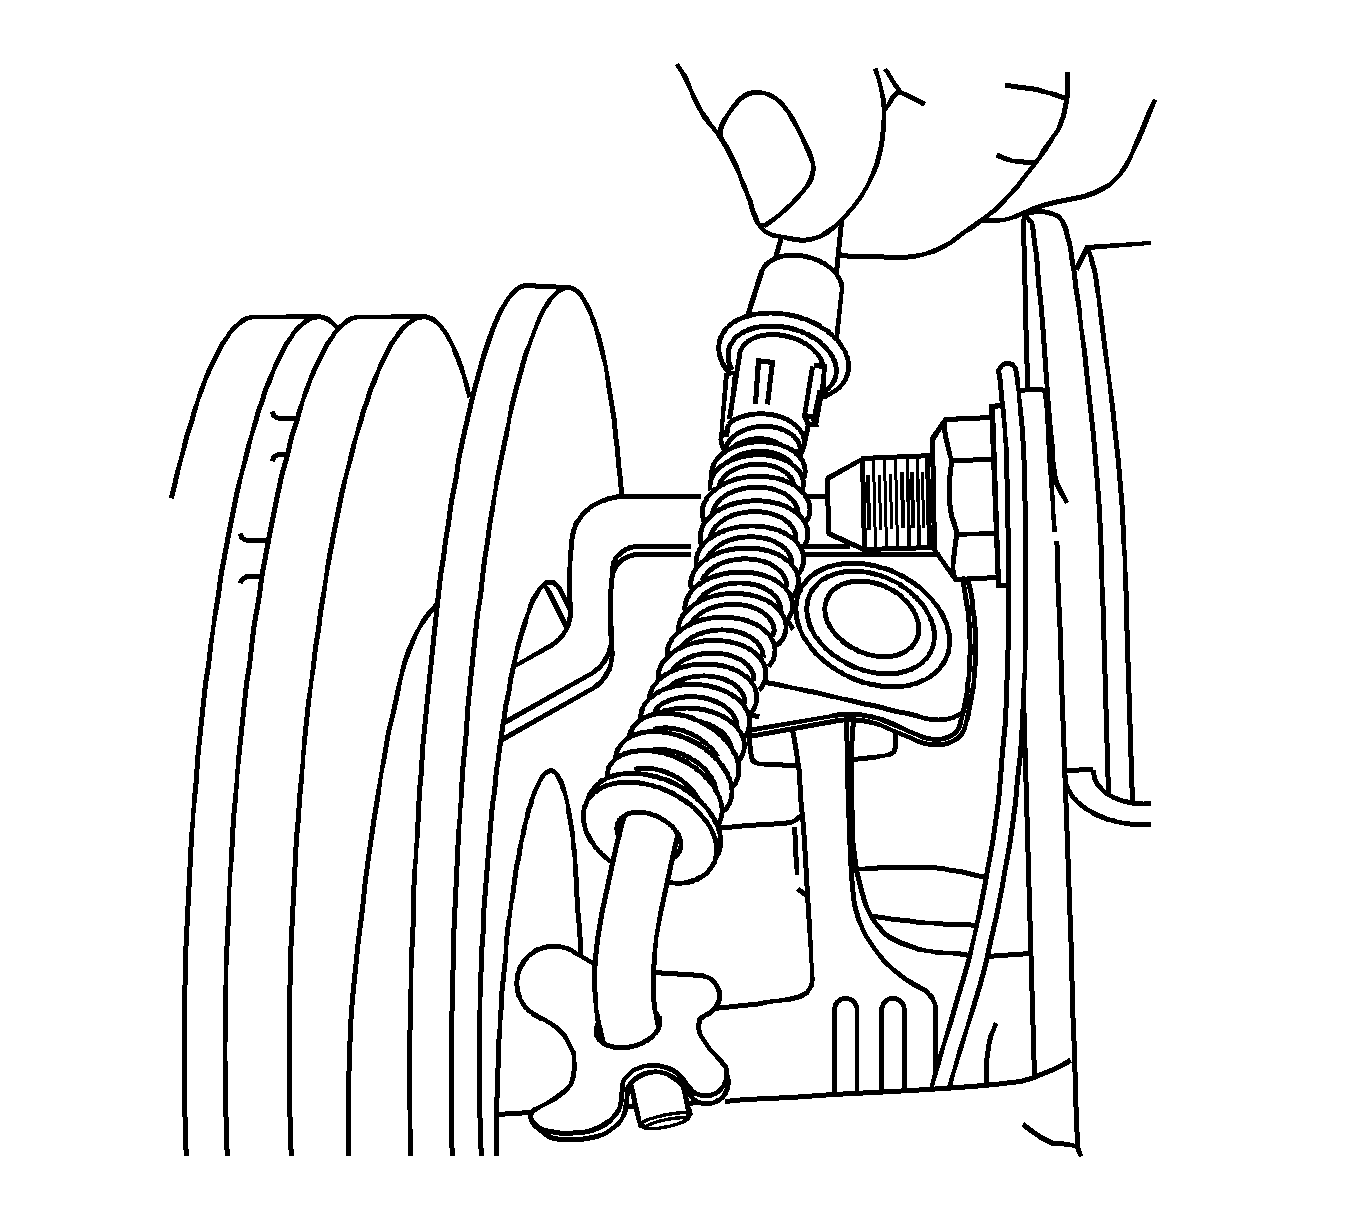
- Remove the park brake cable from the rear brake caliper.
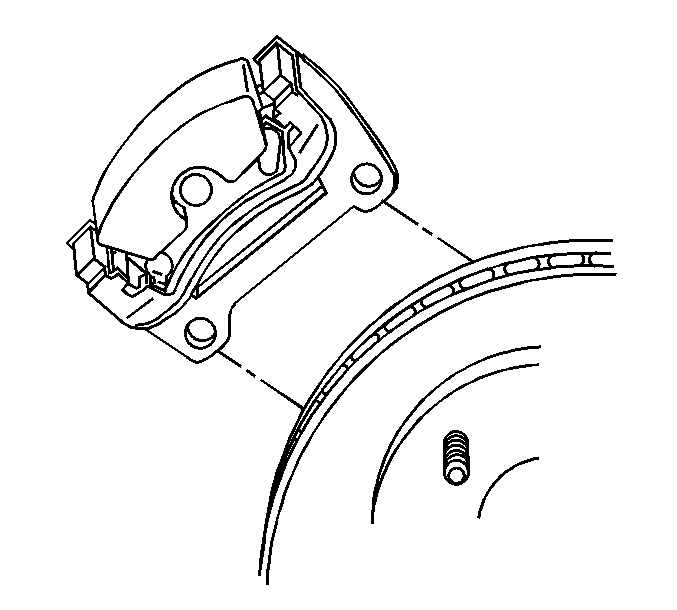
- Remove the brake caliper and bracket assembly. Refer to Rear Brake Caliper Bracket Replacement .
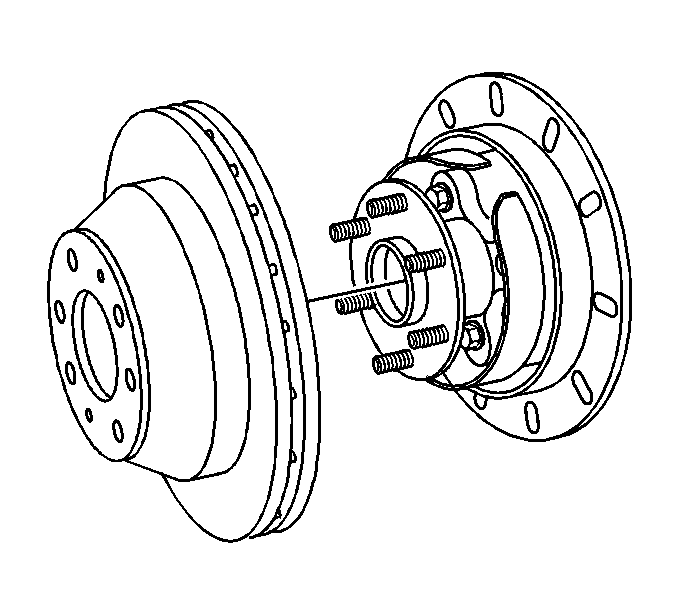
- Remove the rear brake rotor.
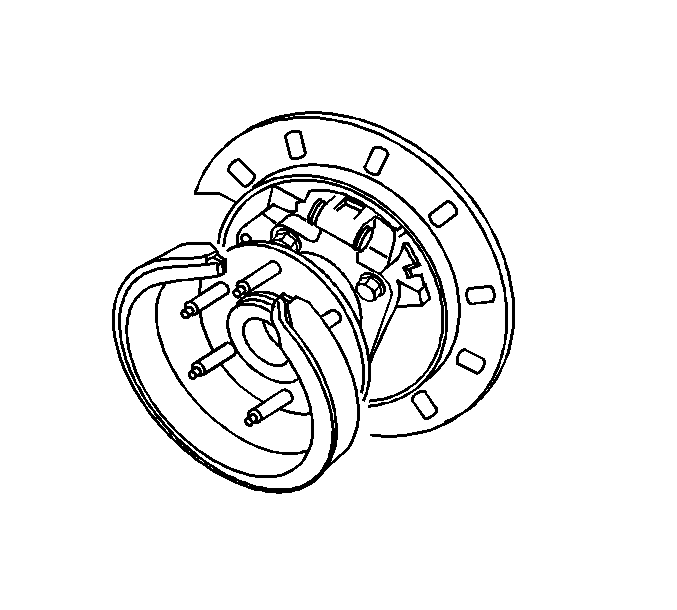
- Remove the park brake shoe.
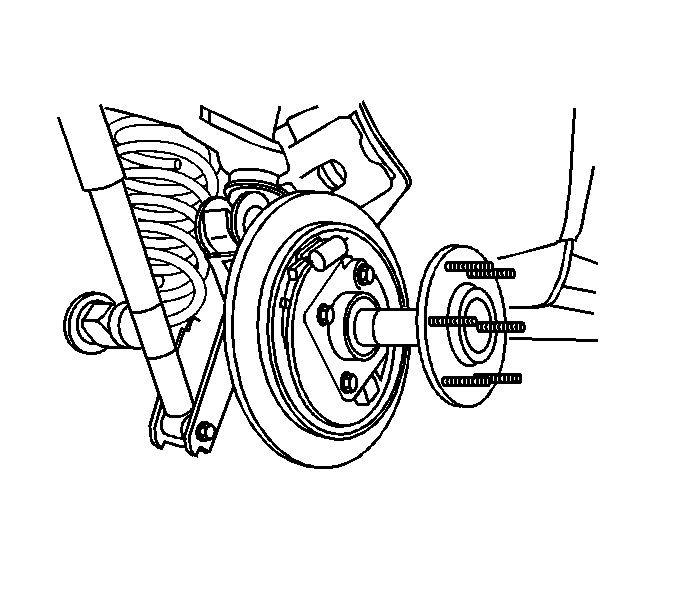
- Remove the rear drive axle. Refer to Rear Axle Shaft Replacement in Rear Drive Axle.
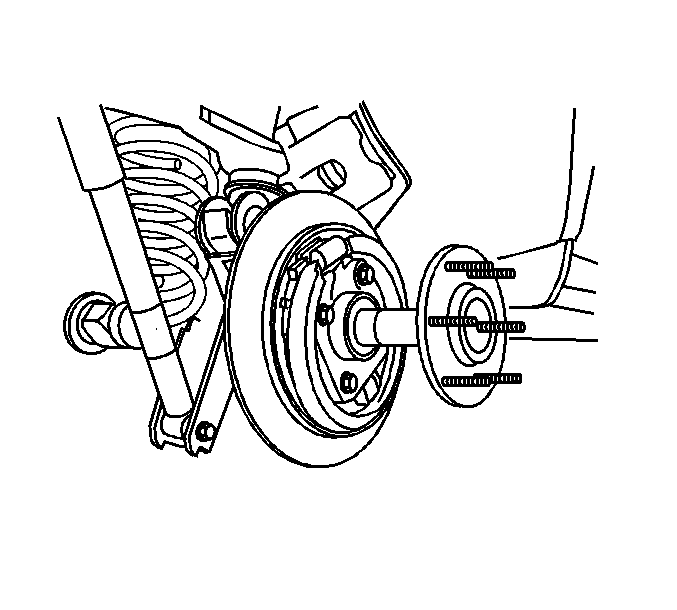
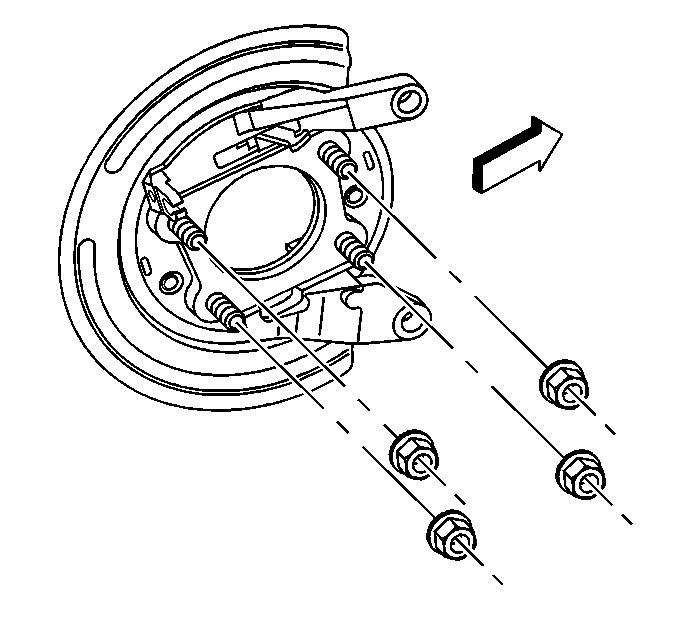
- Remove the retaining nuts from the backing plate.
- Remove the backing plate from the rear axle housing.
Installation Procedure
- Install the backing plate to the axle housing flange.
- Install the backing plate nuts.
- Install the rear drive axle. Refer to Rear Axle Shaft Replacement in Rear Drive Axle.
- Install the park brake shoe.
- Install the rear brake rotor.
- Install the brake caliper and bracket assembly. Refer to Rear Brake Caliper Bracket Replacement .
- Install the park brake cable to the rear brake caliper.
- Adjust the park brake shoe. Refer to Park Brake Adjustment in Park Brake.
- Install the tire and wheel assembly. Refer to Tire and Wheel Removal and Installation in Tires and Wheels.
- Lower the vehicle. Refer to Lifting and Jacking the Vehicle in General Information.

Notice: Refer to Fastener Notice in the Preface section.
Tighten
Tighten the backing plate bolts to 68 N·m (48 lb ft).
