
- Apply sealer GM P/N 12346004 or equivalent to the threads
of the new valve rocker arm ball stud.
Important: Be sure to keep parts in order. Parts must be put back from where they
were removed.
- Install the valve rocker arm ball stud.
Tighten
Tighten the valve rocker arm ball stud to 68 N·m (50 lb ft).
Notice: Use the correct fastener in the correct location. Replacement fasteners
must be the correct part number for that application. Fasteners requiring
replacement or fasteners requiring the use of thread locking compound or sealant
are identified in the service procedure. Do not use paints, lubricants, or
corrosion inhibitors on fasteners or fastener joint surfaces unless specified.
These coatings affect fastener torque and joint clamping force and may damage
the fastener. Use the correct tightening sequence and specifications when
installing fasteners in order to avoid damage to parts and systems.
- Coat the valve rocker arm and valve rocker arm ball bearing surfaces
with prelube GM P/N 1052365 or equivalent.
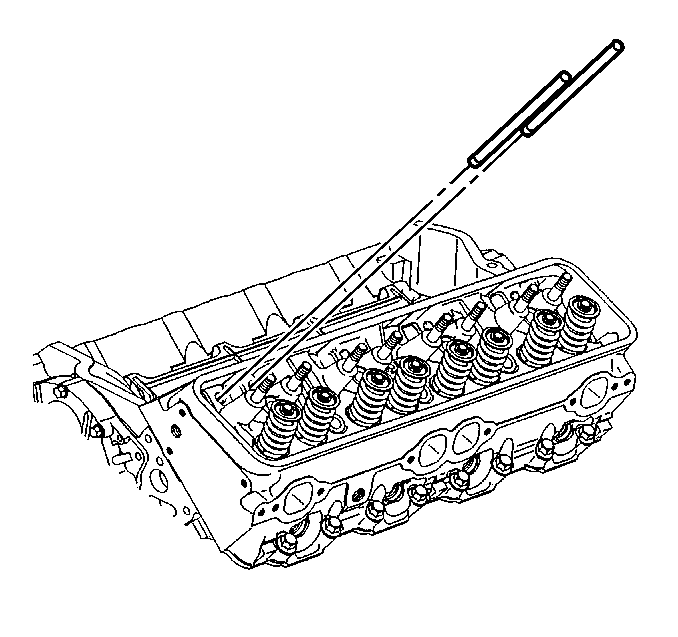
- Install the valve pushrods. Be sure that the valve pushrods seat in
the valve lifter sockets.
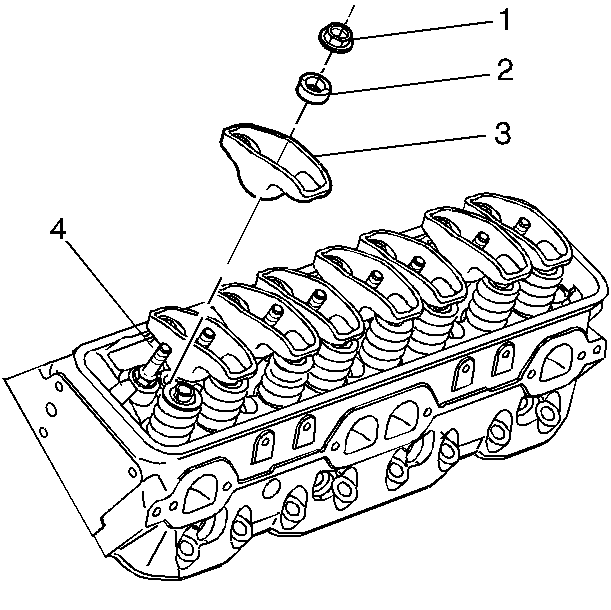
- Install the following parts:
| • | The valve rocker arm balls |
| • | The valve rocker arm nuts |
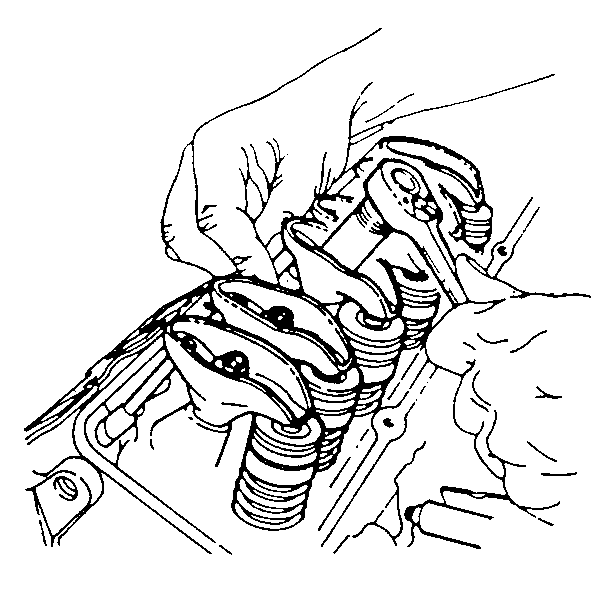
- Adjust the valve rocker arm nuts until all of the lash is gone.
| 6.1. | Turn the crankshaft until the cast arrow on the crankshaft balancer
hub is at 12 o'clock and the number 1 cylinder is in the firing
position (top dead center). |
| 6.2. | Watch the number 1 cylinder valves as the crankshaft balancer
hub approaches 12 o'clock. If a valve moves as the arrow moves into
position, the engine is in the number 6 firing position. If this happens,
turn the crankshaft one more revolution in order to reach the number 1
cylinder firing position. |
| 6.3. | With the engine in the number 1 firing position, adjust
the exhaust valves 1,3,4,8 and the intake valves 1,2,5,7. |
| • | Back off the valve rocker arm nut until the lash is felt in the
valve pushrod. |
| • | Tighten the valve rocker arm nut until all the lash is removed. |
| • | Zero lash can be felt by moving the valve pushrod up and down
between your thumb and forefinger until there is no more movement. |
| • | When all free play is gone, tighten the valve rocker arm nut 1
additional turn (360 degrees). |
| 6.4. | Turn the crankshaft 1 revolution until the hub arrow is at 12 o'clock.
This is the number 6 firing position. |
| 6.5. | Adjust the exhaust valves 2,5,6,7 and the intake valves 3,4,6,8. |
| • | Back off the valve rocker arm nut until the lash is felt in the
valve pushrod. |
| • | Tighten the valve rocker arm nut until all the lash is removed. |
| • | Zero lash can be felt by moving the valve pushrod up and down
between your thumb and forefinger until there is no more movement. |
| • | When all free play is gone, tighten the valve rocker arm nut 1
additional turn (360 degrees). |
