For 1990-2009 cars only
Leak Testing Procedure (On Vehicle)
Tools Required
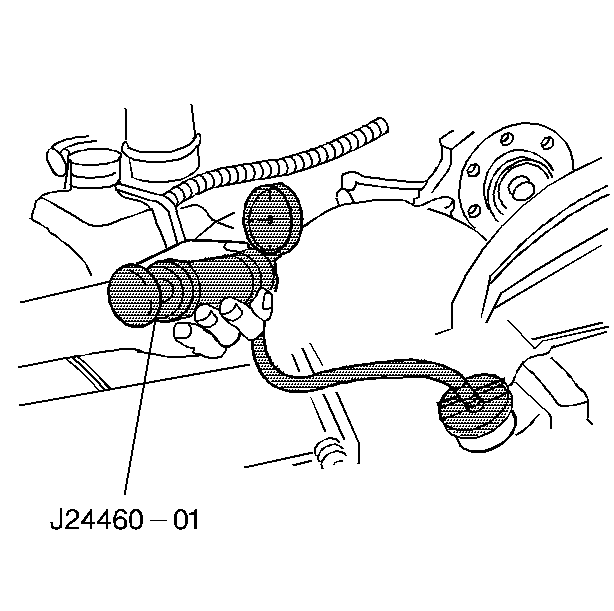
J 24460-01 Cooling System Tester
Caution: As long as there is pressure in the cooling system, the temperature can be considerably higher than the boiling temperature of the solution in the radiator without causing the solution to boil. Removal of the pressure cap while the engine is hot and pressure is high will cause the solution to boil instantaneously -- possibly with explosive force -- spewing the solution over the engine, fenders and the person removing the cap.
- Ensure that the radiator and the heater hose clamps are properly positioned and secured.
- Inspect the connections for any leaks. Repair the connections as required.
- Inspect the connections for any leaks. Repair the connections as required.
- Remove the radiator fill cap.
- Fill the cooling system to the base of the radiator neck.
- Connect the cooling system tester J 24460-01 to the radiator neck.
- Apply normal system operating pressure. Do not exceed 138 kPa (20 psi).
- The system should hold pressure for two minutes.
| • | If a measurable amount of pressure drops in less than two minutes, check the radiator for leaks. |
| • | Mark the leaking area and remove the radiator for repair. Refer to Radiator Replacement . |
Testing Procedure (Off Vehicle)
Tools Required
J 24460-01 Cooling System Tester
- Plug the inlet and outlet tubes. Make sure the drain cock is closed.
- Attach the J 24460-01 to the radiator.
- Apply pressure to the radiator. Do not exceed 138 kPa (20 psi) of pressure.
- Observe the gauge for any pressure loss.
- Run water over the repair area and look for any bubbles. If a large tank is available, the radiator can be submerged in order to check for air bubbles.
Notice: Do not use boil-out tanks or any other tank that has been used for copper or brass radiators. The remaining solutions or chemicals in these tanks could cause radiator failure.
