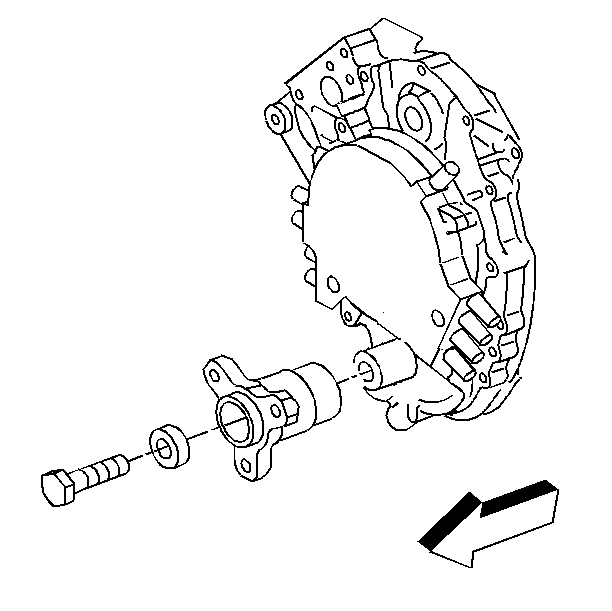
For 1990-2009 cars only
Removal Procedure
Tool Required
J 39046 Crankshaft Hub Remover/Installer
- Raise and suitably support the vehicle. Refer to SECTION 0A.
- Remove the accessory drive belt. Refer to Drive Belt Replacement .
- Remove the crankshaft balancer.
- Match mark the crankshaft hub to the engine front cover.
- Do not crank the engine over after match marking the crankshaft hub and the engine front cover. Rotating the crankshaft will cause misalignment of the crankshaft balancer, to the crankshaft, possibly resulting in engine imbalance.
- Remove the crankshaft hub bolt and the crankshaft washer.
- Remove the crankshaft hub using the J 39046 .
Remove the crankshaft balancer bolts.

Installation Procedure
Tool Required
J 39046 Crankshaft Hub Remover/Installer
- Install the crankshaft hub using the J 39046 .
- If the engine should accidentally be cranked over after match marking the hub and the engine front cover, install the crankshaft hub as follows:
- Install the crankshaft hub washer and the bolt.
- Install the crankshaft balancer.
- Install the crankshaft balancer bolts.
- Install the accessory drive belt. Refer to Drive Belt Replacement .
- Lower the vehicle.

| 2.1. | Set the number 1 piston to the top dead center. |
| 2.2. | While viewing the crankshaft from the front. Verify that the keyway of the reluctor ring is properly orientated with the key of the crankshaft. Also verify that the ring is completely seated against the crankshaft sprocket. |
| 2.3. | Install the crankshaft hub with the cast arrow on the hub in the 12 o'clock position. |
Tighten
Tighten the crankshaft balancer hub bolt to 100 N·m (74 lb ft).
Important: If the balancer is replaced, a new balance weight of the same size must be installed on the new balancer in the same hole locations as the old balancer.
Tighten
Tighten the crankshaft balancer bolt to 85 N·m (63 lb ft).
