Caution: When working with any type of glass or sheet metal with exposed or rough
edges, wear approved safety glasses and gloves in order to reduce
the chance of personal injury.
- Use a solder containing 3% silver and a rosin flux paste in order to solder
and attach the rear defogger bus bar lead wire and/or defogger terminal.
- Buff the repair area with a fine steel wool in order to remove the oxide
coating that was formed during window manufacture.
- Use a brush in order to apply the paste-type rosin flux in small quantities
to the appropriate area:
| • | The rear defogger bus bar lead wire |
| • | The defogger terminal repair area |
Caution: When replacing stationary windows, use Urethane Adhesive Kit GM P/N 12346392
(Canadian P/N 10952983), or a urethane adhesive system meeting GM Specification
GM3651G, to maintain original installation integrity. Failure to use the urethane
adhesive kit will result in poor retention of the window which may allow unrestrained
occupants to be ejected from the vehicle resulting in personal injury.
Important: Do not hold the tool in one spot or operate
the tool on the window for longer than 30-40 seconds.
If
the window becomes hot to the touch, allow the window to air cool before proceeding
further. Cooling with water may crack the heated window.
Avoid excessive pressure in order to ensure that the window will not overheat.
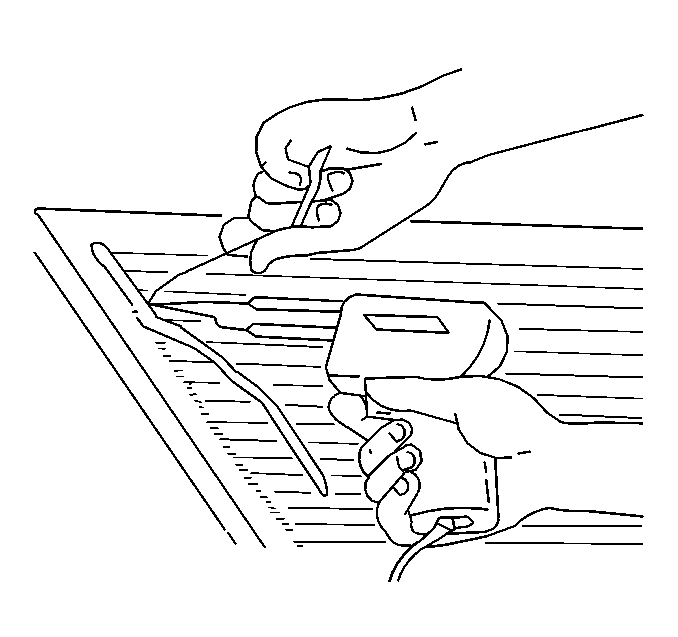
- Coat the solder iron tip with solder. Apply only enough heat to melt the solder
and only enough solder to ensure a complete repair.
- Apply the solder to the feed bus bar or the ground bus bar.
Draw the soldering iron tip across the fluxed area. Thinly coat the bus bar with
solder.
- Apply a small amount of flux to the appropriate areas:
| • | The underside of the rear defogger bus bar lead wire |
- Align the spots with the flux to the appropriate areas:
| • | The underside of the rear defogger bus bar lead wire |
- Coat the tip of the soldering iron with solder.
- Solder the appropriate areas:
| • | The underside of the rear defogger bus bar lead wire |
- Draw the iron across the fluxed spot. Thinly coat the spot with solder.
- Solder the spot on the braid against the spot on the feed bus bar or
the ground bus bar.
- Use pliers in order to hold the appropriate component:
| • | The rear defogger bus bar lead wire |
- Apply heat to the appropriate area in order to ensure the solder spot
melts and fuses together:
| • | The top of the rear defogger bus bar lead wire |
Important: Do not remove the holding force until the
solder has solidified.
- Remove the excess flux with the solvent.
- Connect the electrical connector.

