Removal Procedure
The camshaft sprocket gear drives the water pump by using a drive shaft and coupling. keep the ignition wires connected to the distributor until the water pump is removed and all the coolant has been drained.
- Drain the engine coolant.
- Remove the air cleaner resonator bracket nuts, if equipped with a mechanical fan.
- If the vehicle is equipped with a mechanical fan, remove the air cleaner resonator by loosening the clamp and sliding the resonator off the studs.
- If the vehicle is equipped with a mechanical fan, remove the air intake duct.
- If the vehicle is equipped with a mechanical fan, remove the radiator fan upper shroud. Refer to Radiator Fan Upper and Lower Shroud in Cooling and Radiator.
- If the vehicle is equipped with a mechanical fan, remove the fan belt from the tensioner.
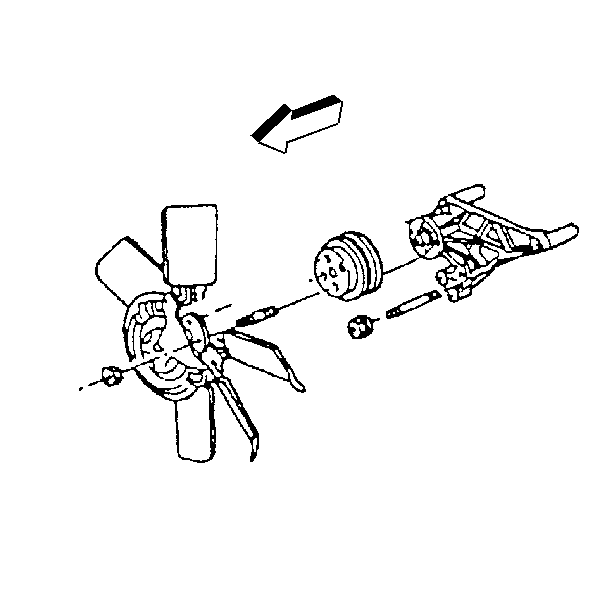
- If the vehicle is equipped with a mechanical fan, remove the fan blade clutch nuts and the fan blade with the clutch attached.
- Remove the engine coolant and the heater hoses from the water pump.
- If the vehicle is equipped with a mechanical fan, remove the fan pulley.
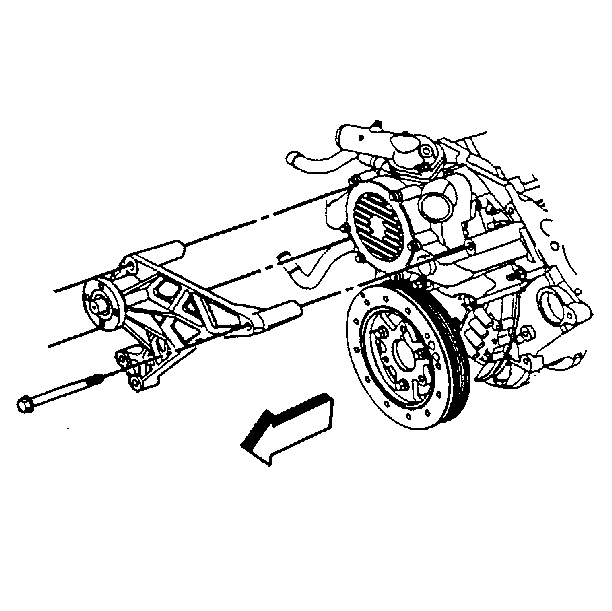
- If the vehicle is equipped with a mechanical fan, remove the coolant fan pulley bracket nuts.
- If the vehicle is equipped with a mechanical fan, remove the coolant fan pulley bracket.
- Remove the electrical connector from the coolant sensor.
- Remove the secondary air injection pump and bracket. Refer to Secondary Air Injector Pump Replacement
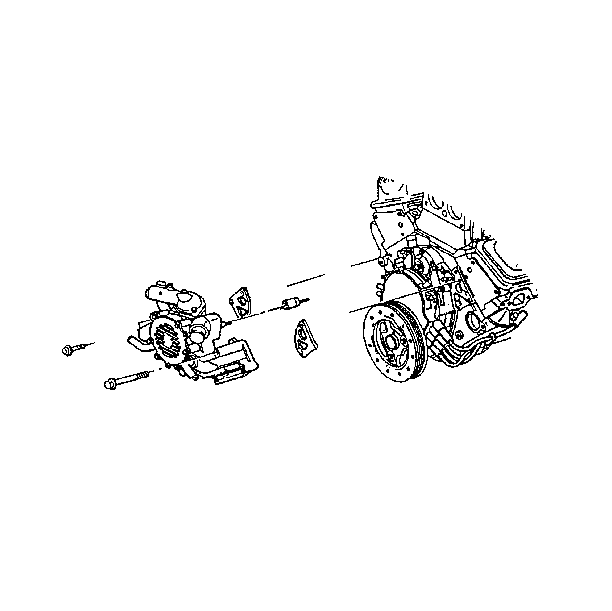
- Remove the water pump bolts and the stud.
- Remove the water pump and gaskets.
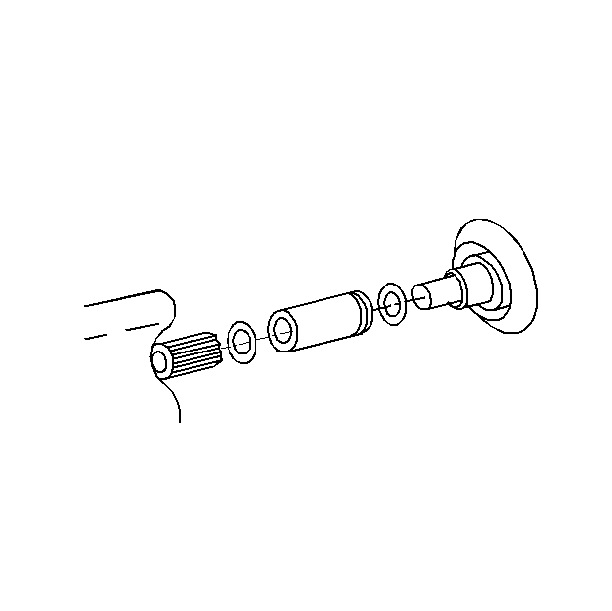
- Remove the water pump driveshaft coupling and the seals.
- Discard the seals.
- Clean the following parts:
Refer to Draining and Refilling Cooling System in Cooling and Radiator.


| • | The water pump gasket surfaces |
| • | The water pump bolts |
| • | The coolant fan pulley bracket studs, if removed. |
Installation Procedure
- Install the water pump driveshaft coupling and the new seals.
- Install the water pump and the gaskets.
- Install the water pump bolts and the stud.
- Install the secondary air injection pump and bracket. Refer to Refer to Secondary Air Injector Pump Replacement in Engine Controls.
- Install the electrical connector to the coolant sensor.
- Install the coolant fan pulley bracket, if removed.
- Install the coolant fan pulley bracket nuts, if removed.
- Install the fan pulley, if removed.
- Install the fan blade with the clutch attached and the nuts, if removed.
- Install the engine coolant hoses and the heater hoses to the water pump.
- Install the fan belt to the tensioner if the fan belt has been removed.
- Install the radiator fan upper shroud if the radiator fan upper shroud has been removed. Refer to Radiator Fan Upper and Lower Shroud Replacement in Cooling and Radiator.
- Install the air intake duct, if removed.
- If the air cleaner resonator has been removed, install the air cleaner resonator by sliding the resonator over the studs and tightening the clamp until snug.
- Install the air cleaner resonator bracket nuts, if removed.
- Refill and bleed the cooling system. Refer to Draining and Refilling Cooling System in Cooling and Radiator.


Tighten
Tighten the bolts and the stud to 45 N·m (33 lb ft).
Notice: Use the correct fastener in the correct location. Replacement fasteners must be the correct part number for that application. Fasteners requiring replacement or fasteners requiring the use of thread locking compound or sealant are identified in the service procedure. Do not use paints, lubricants, or corrosion inhibitors on fasteners or fastener joint surfaces unless specified. These coatings affect fastener torque and joint clamping force and may damage the fastener. Use the correct tightening sequence and specifications when installing fasteners in order to avoid damage to parts and systems.

Tighten
Tighten the nuts to 50 N·m (37 lb ft).

Tighten
Tighten the nuts to 26 N·m (19 lb ft).
Tighten
Tighten the nuts to 10 N·m (89 lb in).
