Rear Side Door Trim Panel Replacement LWB
Removal Procedure
- Remove the inside door handle to door retaining screw cover (1) from the door trim panel (3).
- Remove the inside door handle to door retaining screw (2).
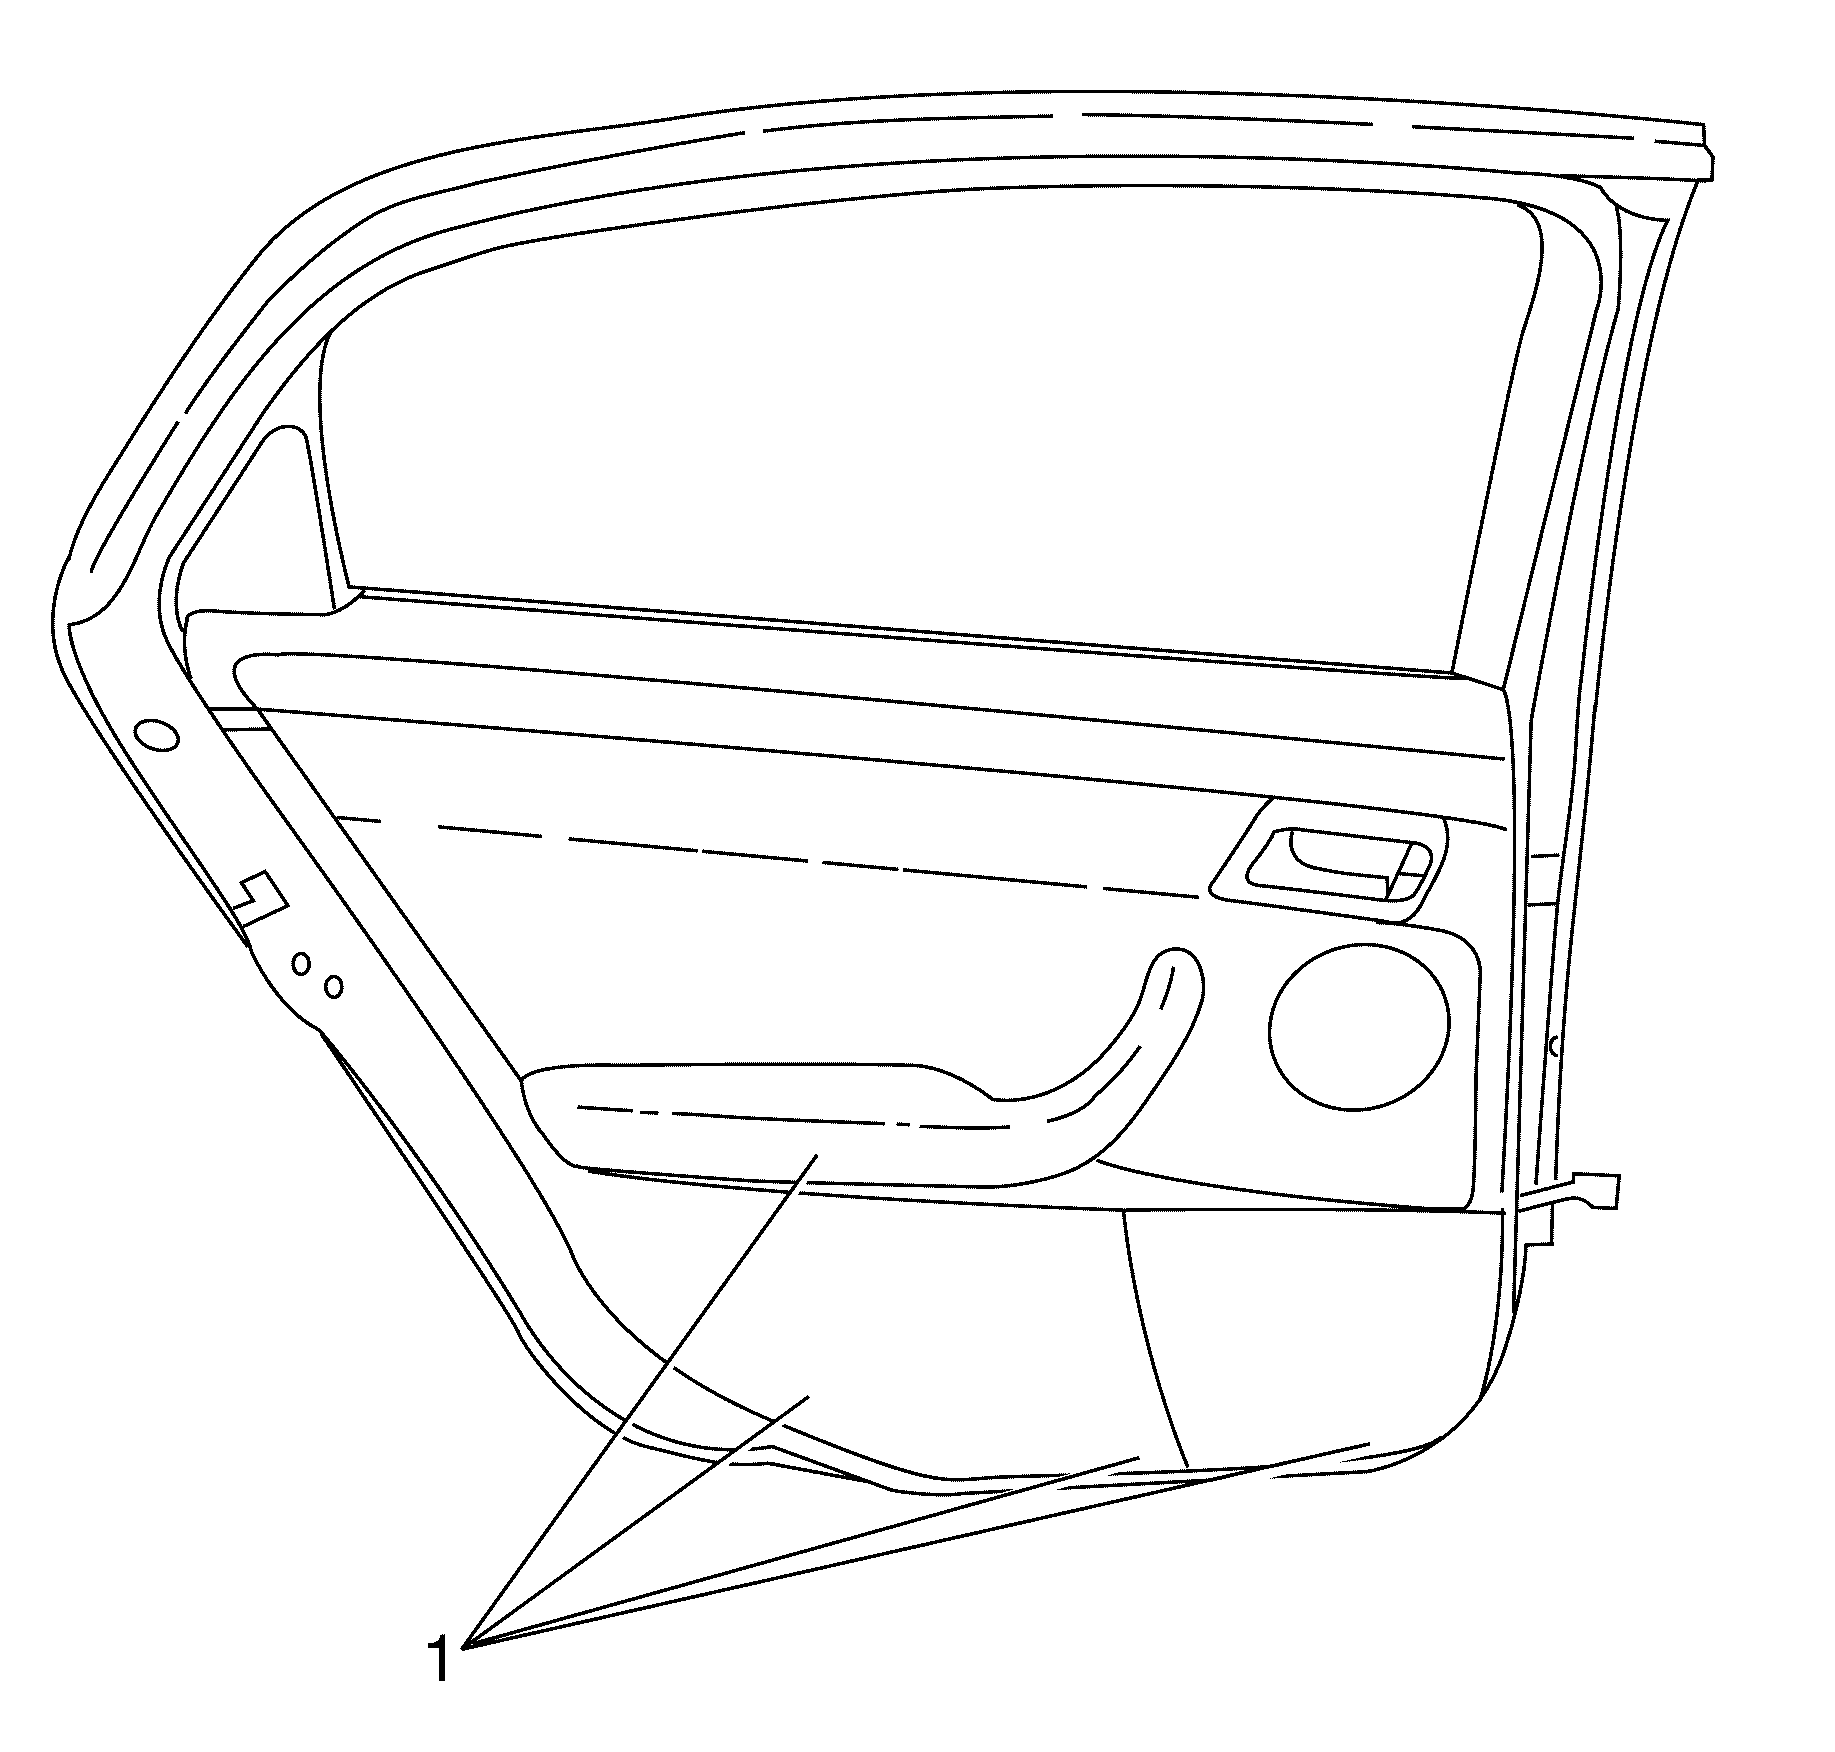
- Remove the door trim panel to door retaining screws (1).
- Remove the door trim panel from the door to allow access to door handle cable, door lock cable, window switch and courtesy light electrical connectors.
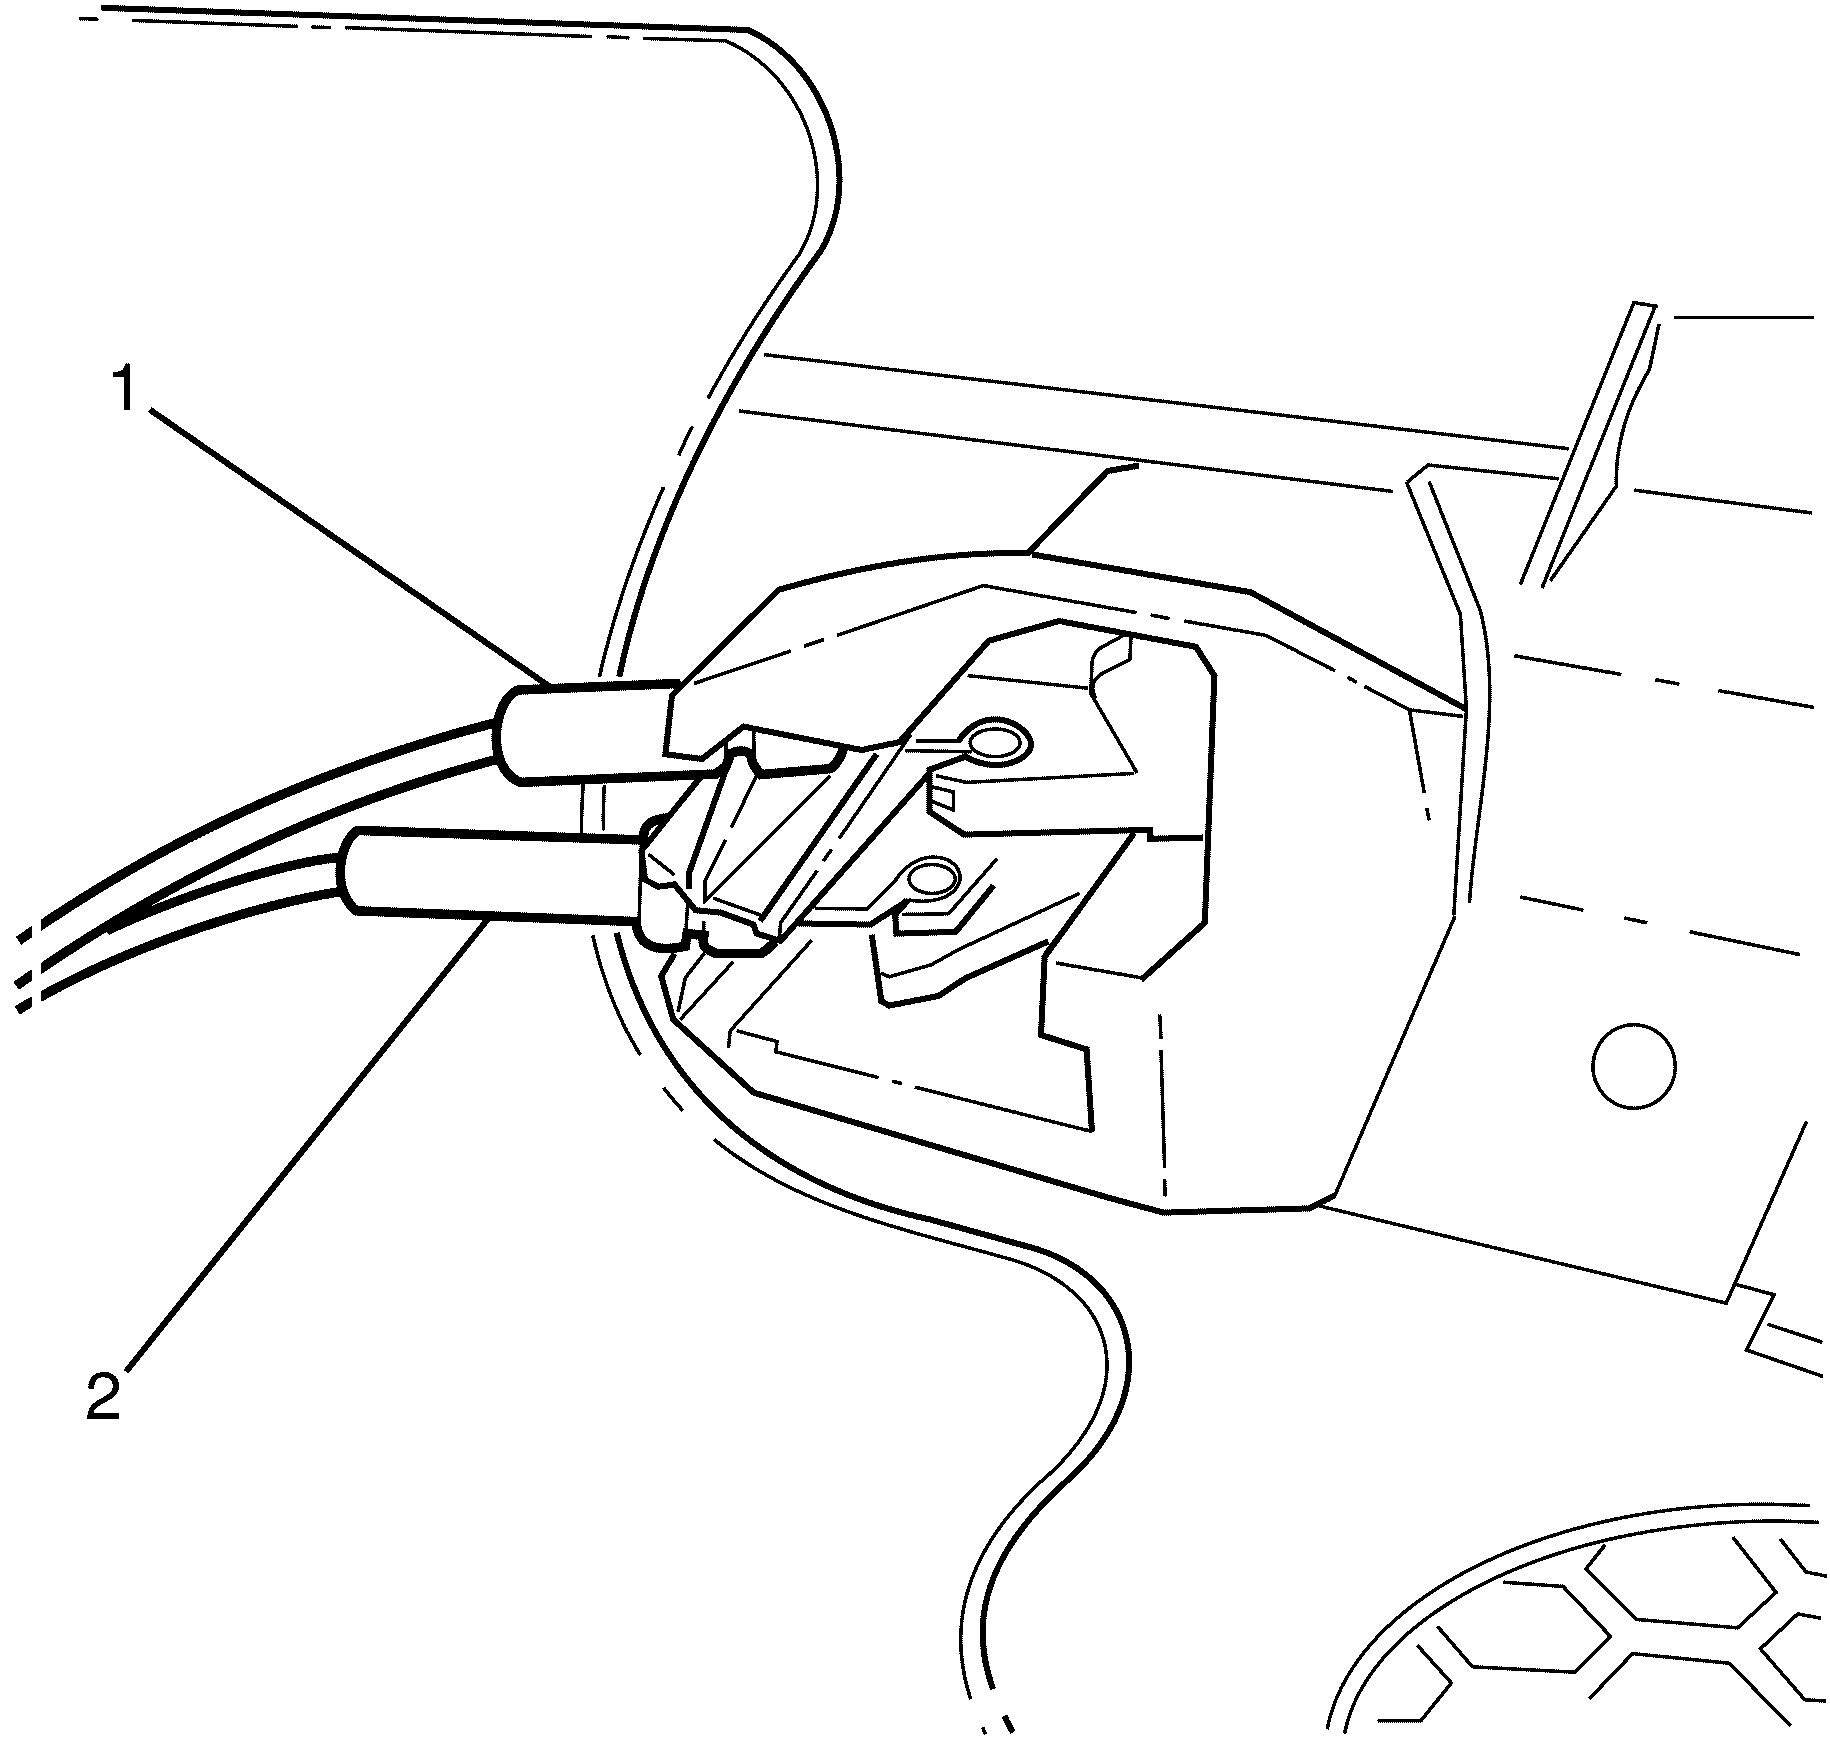
- Disconnect the inside door handle cable (1) and door lock cable (2) from the door trim panel.
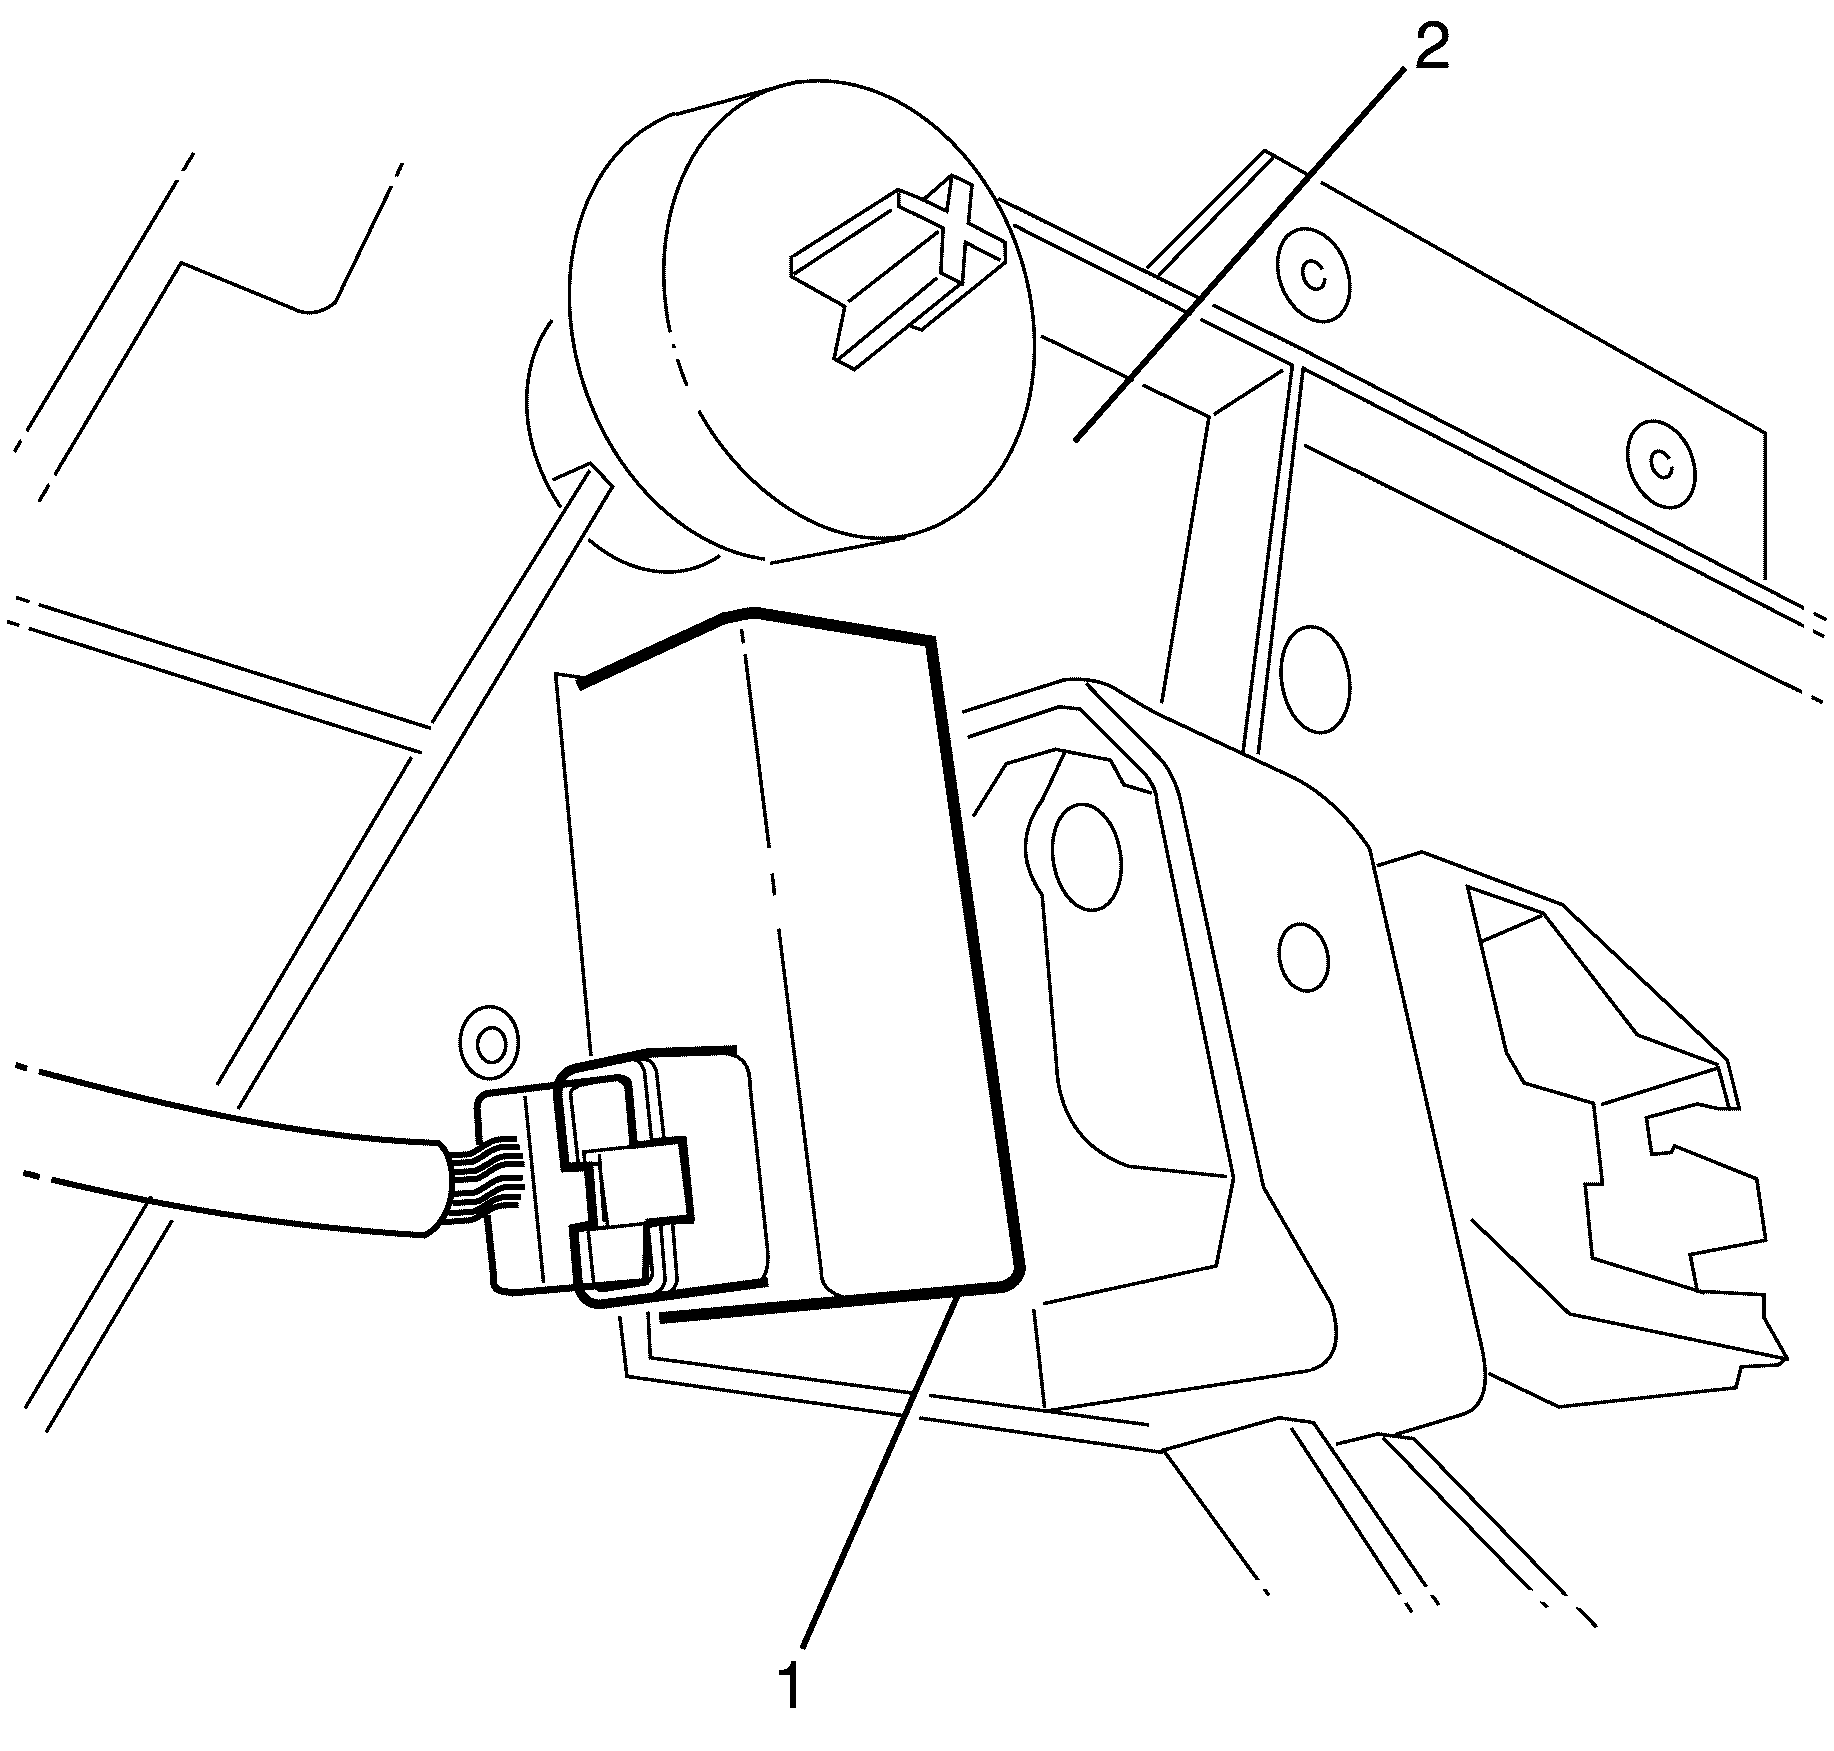
- Disconnect the courtesy light electrical connectors (1) from the door trim panel (2).
- Remove the window switch (1) from the door trim panel (1).
- Remove the door trim panel from the door.
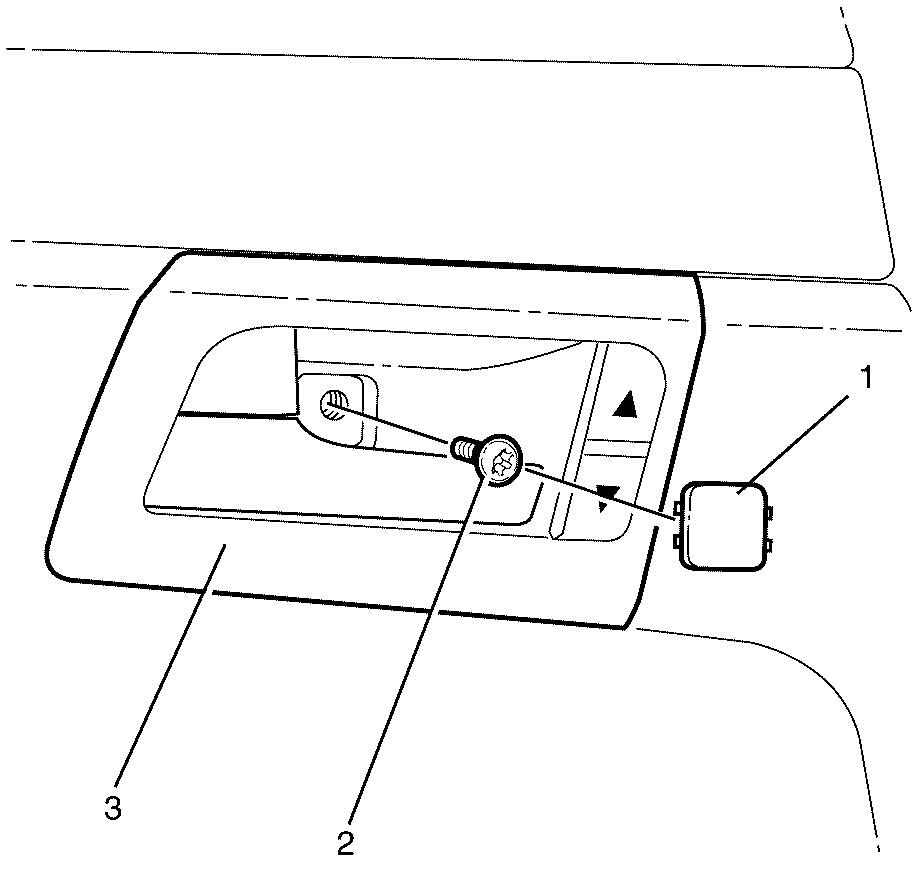
Important: Pry the inside door handle to door retaining screw cover (1) using a suitable tool.
Important: Firmly pull on the armrest handle to release the door trim panel to door retaining clips.
Important: The door handle and lock cables slide out and lift up to remove from the door trim panel.

Important: Pull the window switch (1) from the door trim panel (2) to release the retaining clips.
Installation Procedure
- Make sure that all of the retaining clips are on the door trim panel and not still attached to the door sheetmetal.
- Position the door trim panel to the door.
- Install the window switch (1) to the door trim panel (2).
- Connect the courtesy light electrical connectors (1) to the door trim panel (2).
- Connect the inside door handle cable (2) and door lock cable (1) to the door trim panel.
- Position the door trim panel (3) to the door.
- Install the door trim panel to door retaining screws (1).
- Install the inside door handle to door retaining screw (2).
- Install the inside door handle to door retaining screw cover (3) to the door trim panel (1).
Important: Green retaining clips are along the front edge and white retaining clips are along the back edge.
Important: Do not fully install the door trim panel at this stage. The inside door handle cable, door lock cable, window switch electrical connector and courtesy light electrical connector have to be attached first.
Important: Firmly push the window switch (1) to the door trim panel (2) to install.
Important: The door handle and lock cables slide down and in to the door trim panel to install.
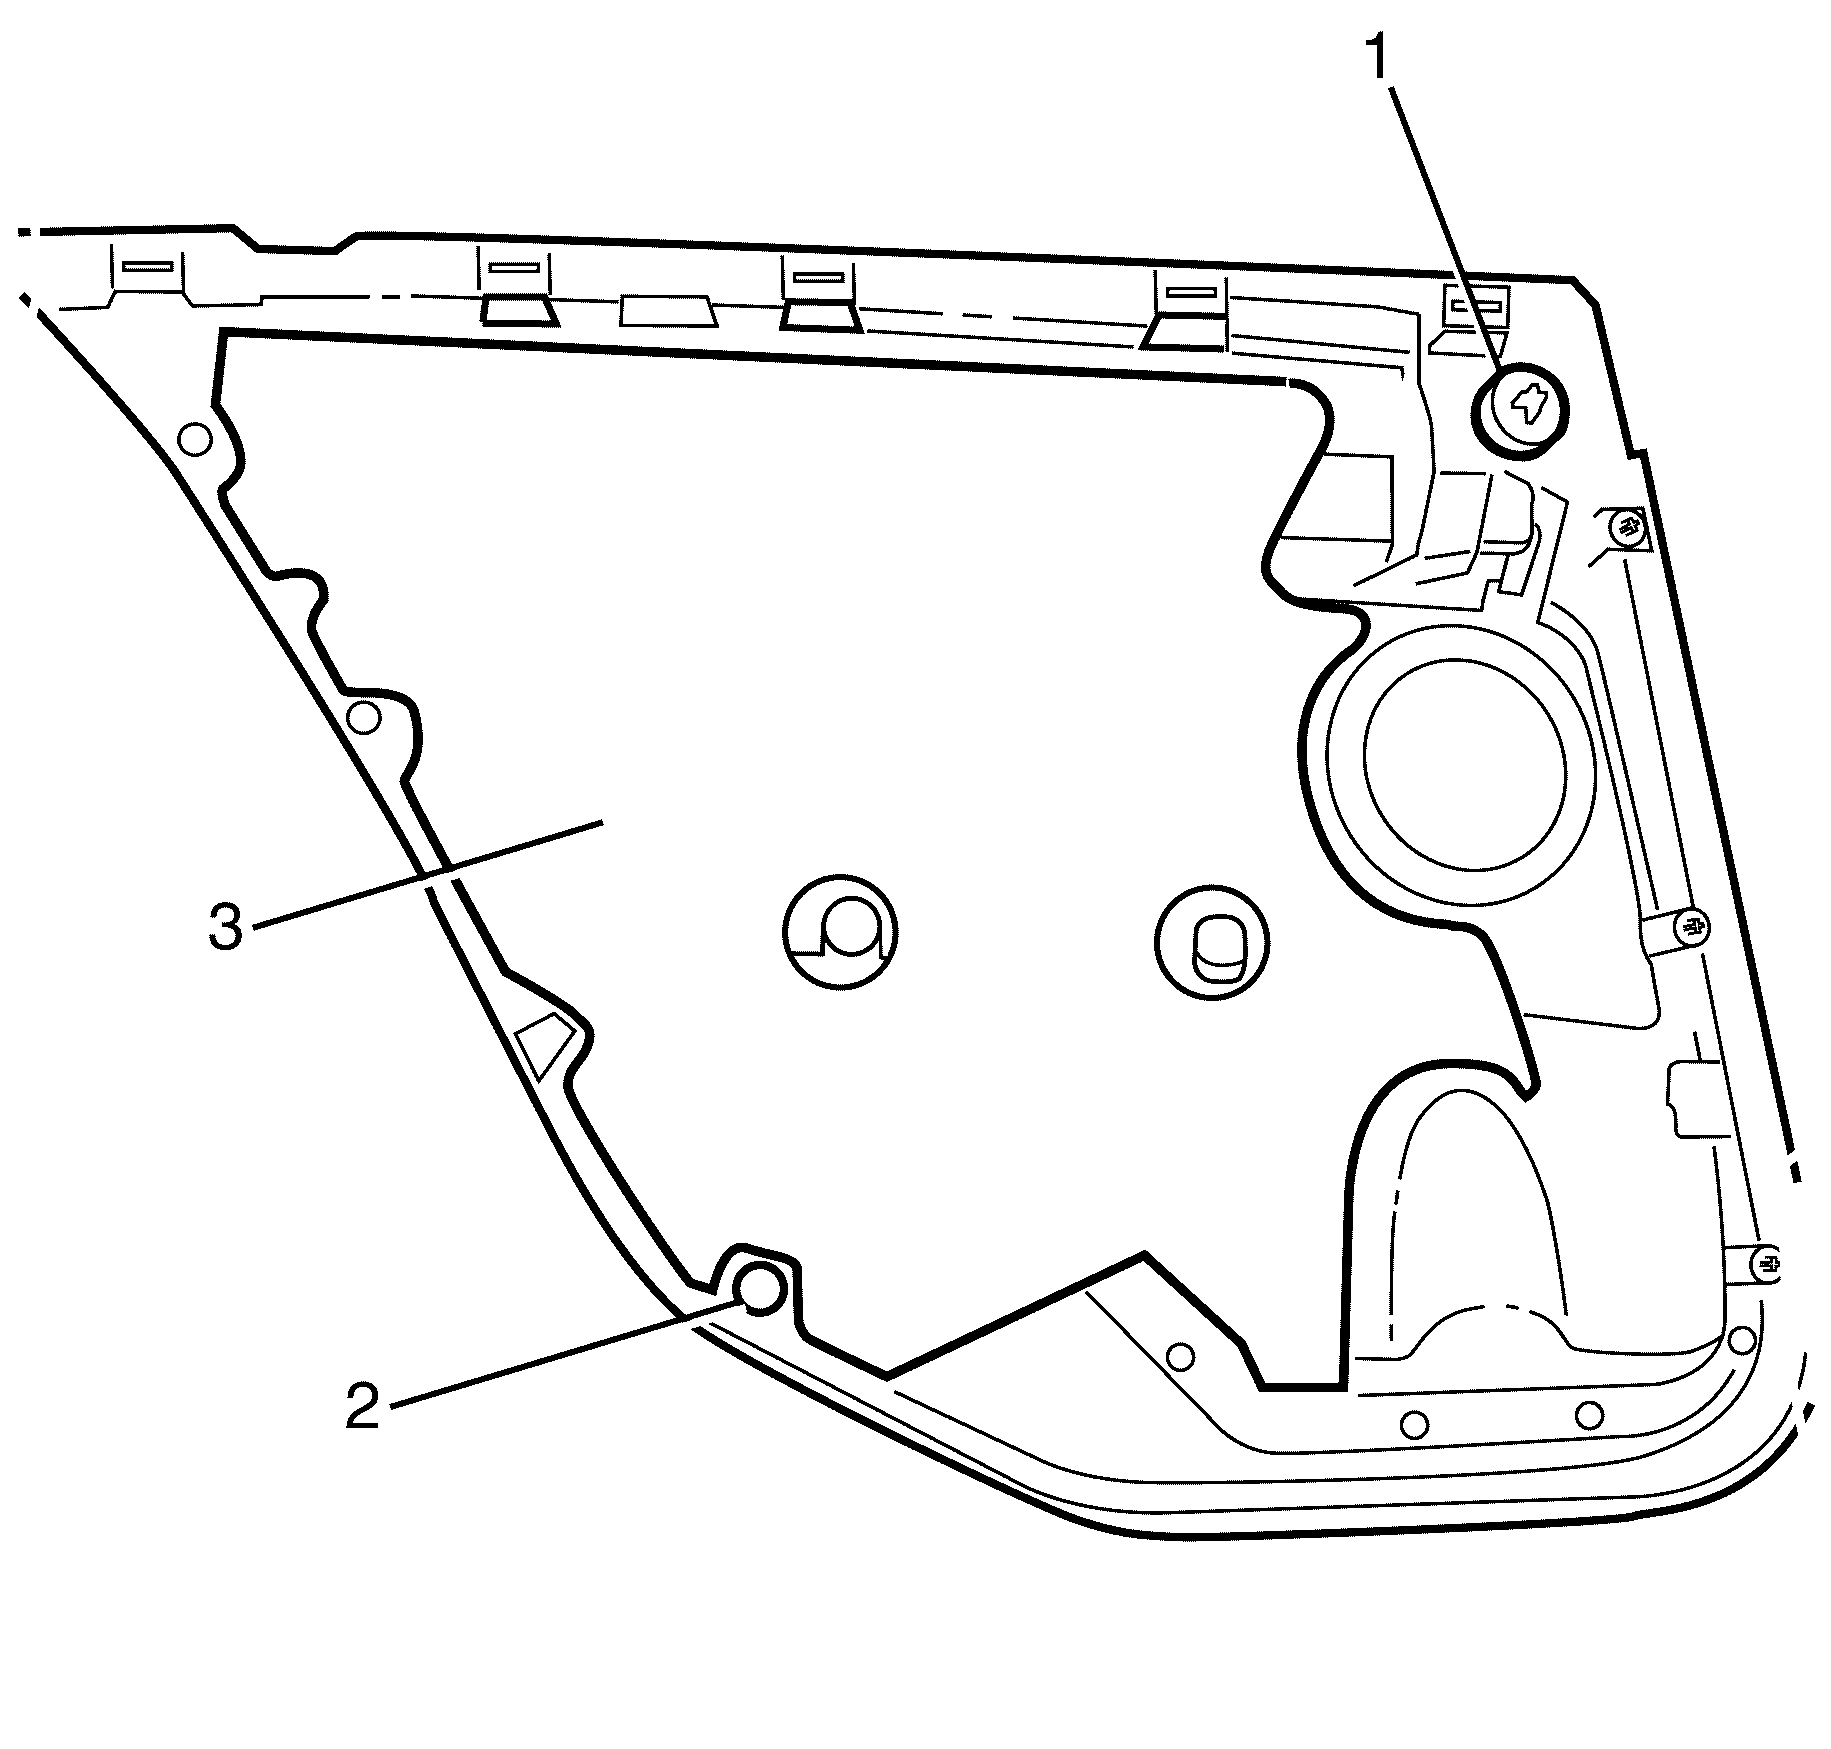
Important: Datum pins (1, 2) align the door trim panel to the door.
Important: Apply pressure around the door trim panel (3) to secure the retainers to the door.
Notice: Refer to Fastener Notice in the Preface section.
Tighten
Tighten the screws to 3 N·m(27 lb in).
Rear Side Door Trim Panel Replacement SWB
Removal Procedure
- Remove the inside door handle to door retaining screw cover (3) from the door trim panel (1).
- Remove the inside door handle to door retaining screw (2).
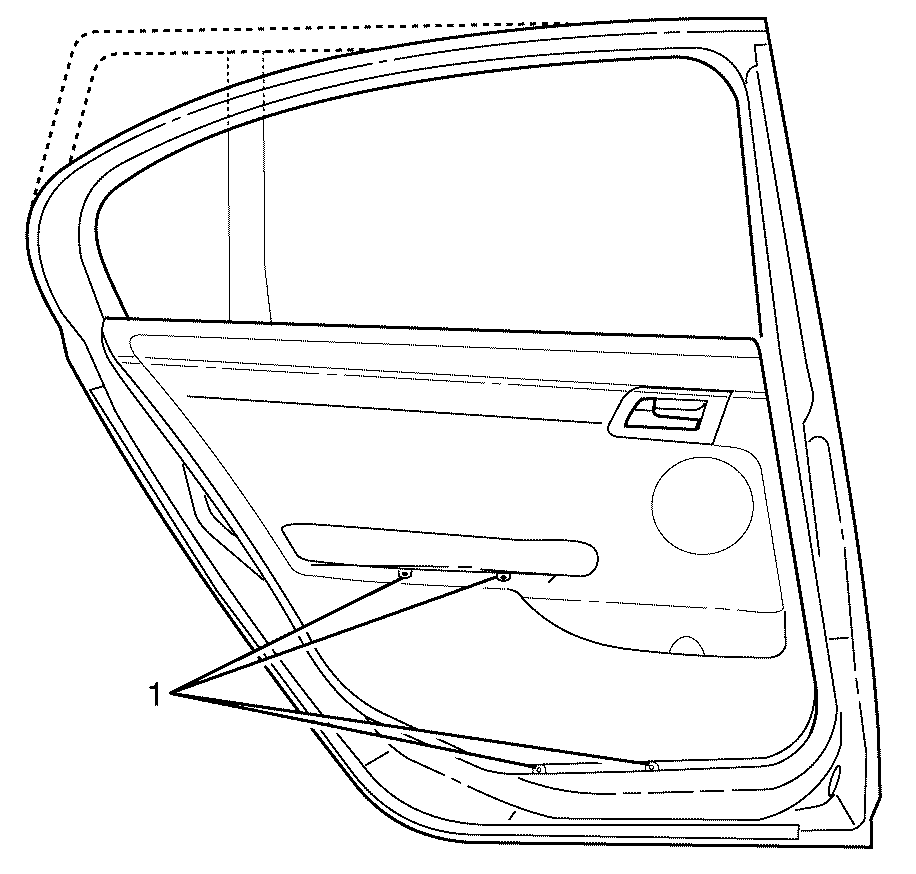
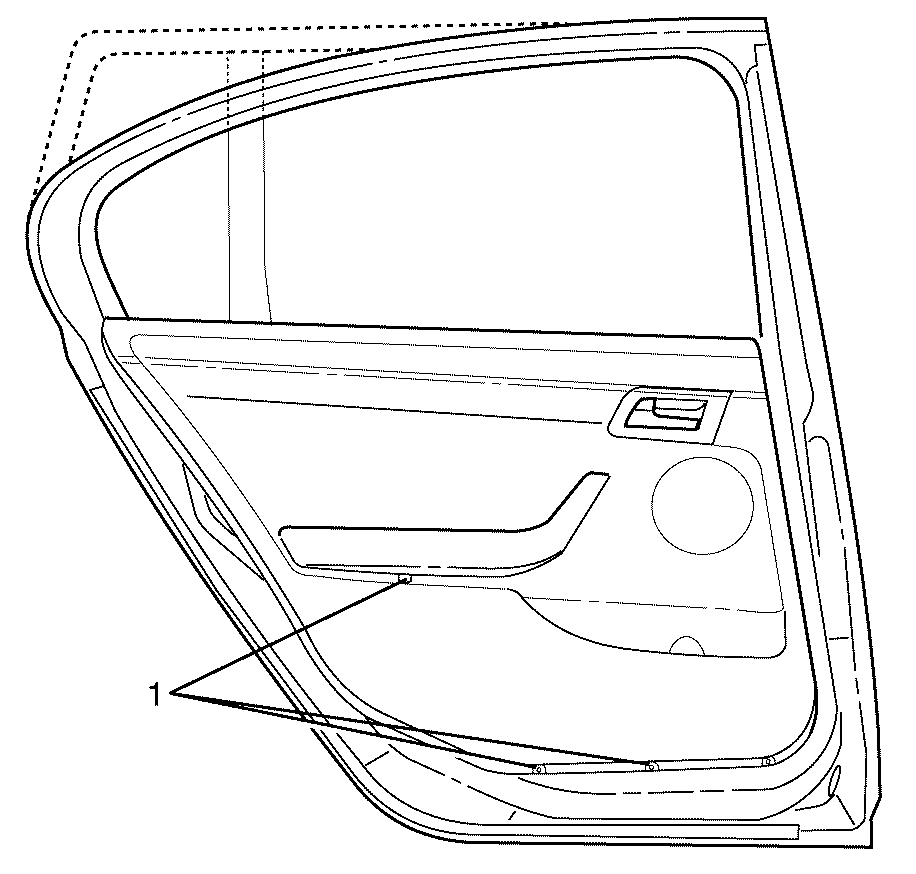
- Remove the door trim panel to door retaining screws (1).
- Remove the door trim panel to door retaining screws (1).
- Remove the door trim panel to door retaining screws (1).
- Pry the top of the door trim panel to release the inner belt seal clips.
- Remove the door trim panel (1) from the door to allow access to door handle cable, door lock cable and courtesy light electrical connectors (if fitted).
- Disconnect the inside door handle cable (1) and door lock cable (2) from the door trim panel.
- Disconnect the courtesy light electrical connectors (1) from the door trim panel (2) (if fitted).
- Remove the window switch (1) from the door trim panel (1).
- Remove the door trim panel (2) from the door.
Important: Pry the inside door handle to door retaining screw cover (3) using a suitable tool.
Important: Screw locations for type A door trim panel.
Important: Screw locations for type B door trim panel.

Important: Screw locations for type C door trim panel.
Important: Firmly pull on the armrest handle to release the door trim panel to door retaining clips.
Important: The door handle and lock cables slide out and lift up to remove from the door trim panel.
Important: Pull the window switch (1) from the door trim panel (2) to release the retaining clips.
Installation Procedure
- Make sure that all of the retaining clips are on the door trim panel and not still attached to the door sheetmetal.
- Position the door trim panel to the door.
- Install the window switch (1) to the door trim panel (2).
- Connect the courtesy light electrical connectors (1) to the door trim panel (2) (if fitted).
- Connect the inside door handle cable (2) and door lock cable (1) to the door trim panel.
- Position the door trim panel (3) to the door.
- Install the door trim panel to door retaining screws (1).
- Install the door trim panel to door retaining screws (1).
- Install the door trim panel to door retaining screws (1).
- Install the inside door handle to door retaining screw (2).
- Install the inside door handle to door retaining screw cover (3) to the door trim panel (1).
Important: Green retaining clips are along the front edge and white retaining clips are along the back edge.
Important: Do not fully install the door trim panel at this stage. The inside door handle cable, door lock cable, window switch and courtesy light electrical connector (if fitted) have to be attached first.
Important: Firmly push the window switch (1) to the door trim panel (2) to install.
Important: The door handle and lock cables slide down and in to the door trim panel to install.
Important: Datum pins (1, 2) align the door trim panel to the door.
Important: Apply pressure around the door trim panel (3) to secure the retainers to the door.
Notice: Refer to Fastener Notice in the Preface section.
Important: Screw locations for type A door trim panel.
Tighten
Tighten the screws to 3 N-m (27 lb in).
Notice: Refer to Fastener Notice in the Preface section.
Important: Screw locations for type B door trim panel.
Tighten
Tighten the screws to 3 N-m (27 lb in).
Notice: Refer to Fastener Notice in the Preface section.
Important: Screw locations for type C door trim panel.
Tighten
Tighten the screws to 3 N-m (27 lb in).
Notice: Refer to Fastener Notice in the Preface section.
Tighten
Tighten the screws to 3 N-m (27 lb in).
