For 1990-2009 cars only
Removal Procedure
- Raise and support the vehicle on an alignment rack. Refer to Lifting and Jacking the Vehicle .
- Remove the front tire and wheel assembly. Refer to Tire and Wheel Removal and Installation .
- Remove the front brake rotor. Refer to Front Brake Rotor Replacement .
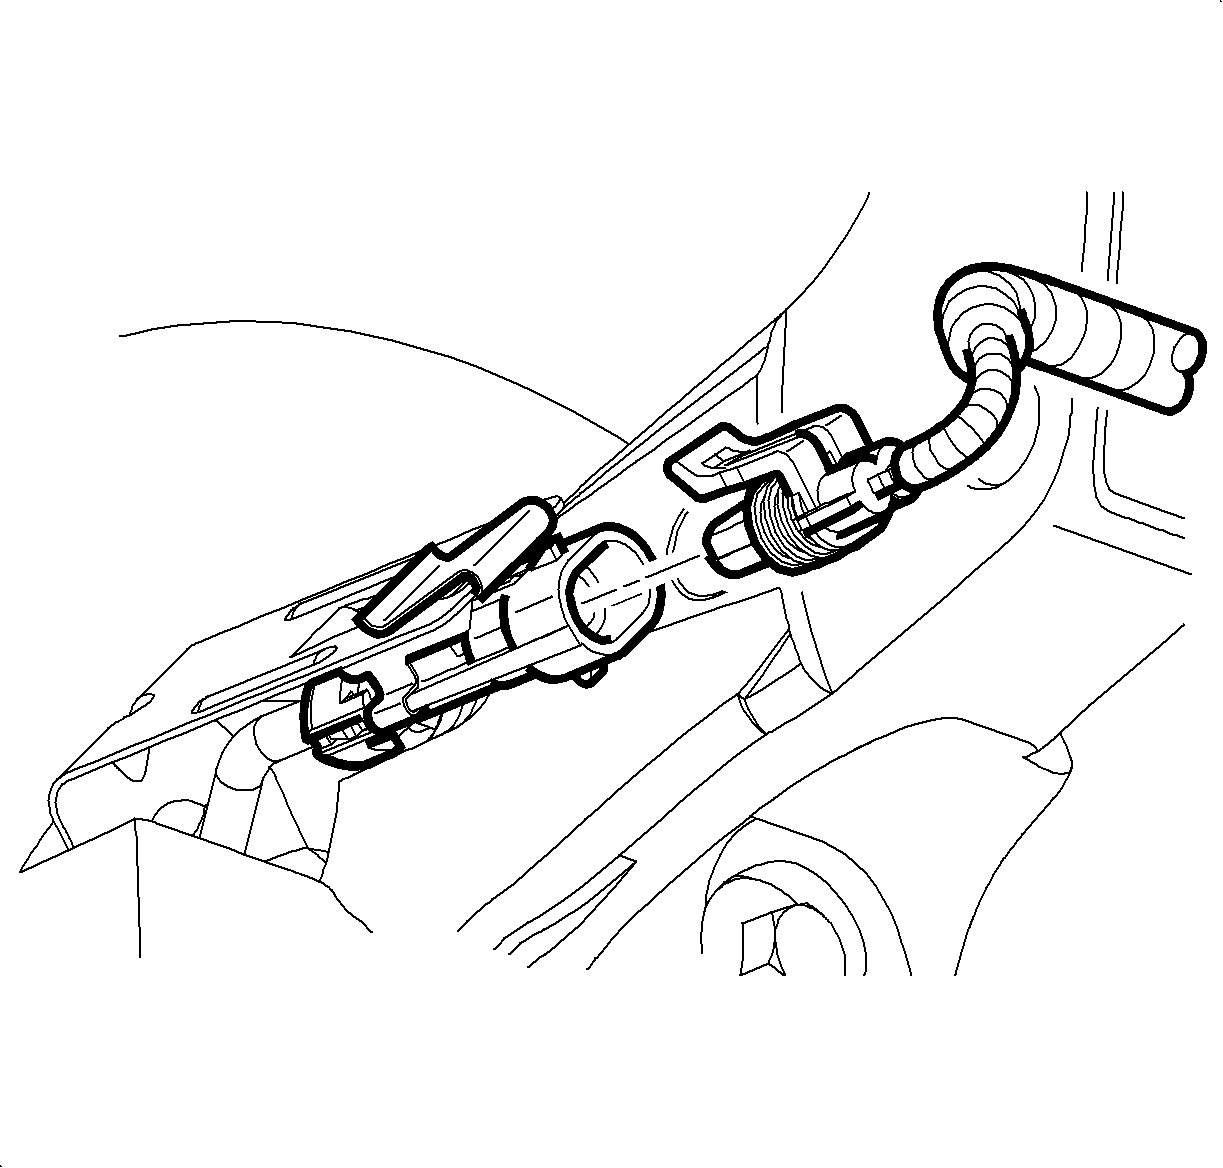
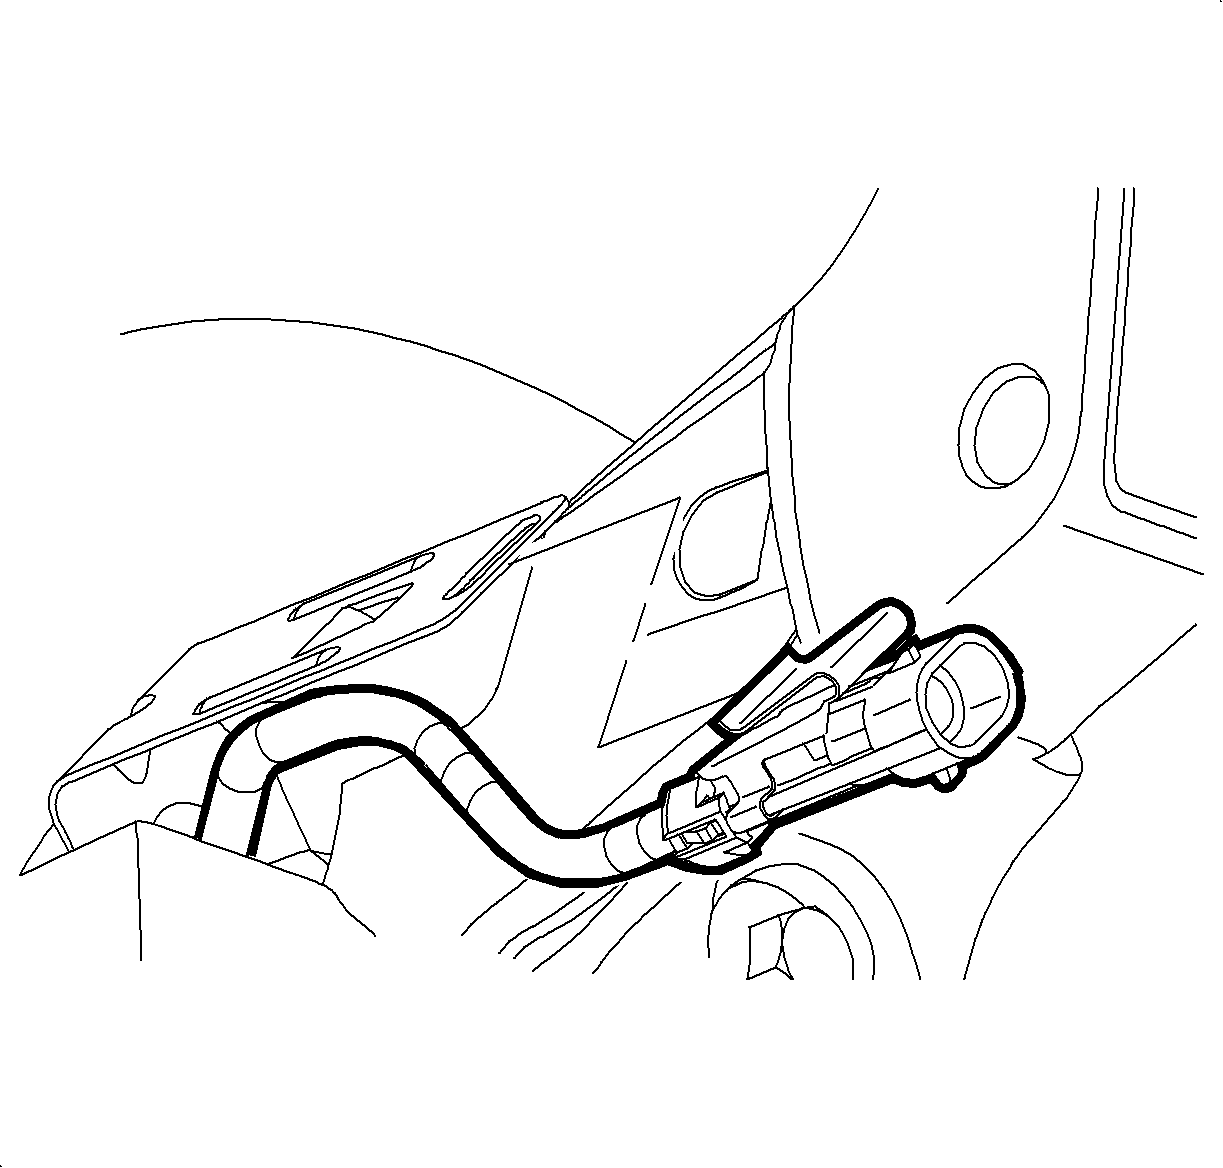
- Disconnect the wheel speed sensor electrical connector, if equipped.
- Remove the wheel speed sensor electrical connector, if equipped, from the connector bracket.
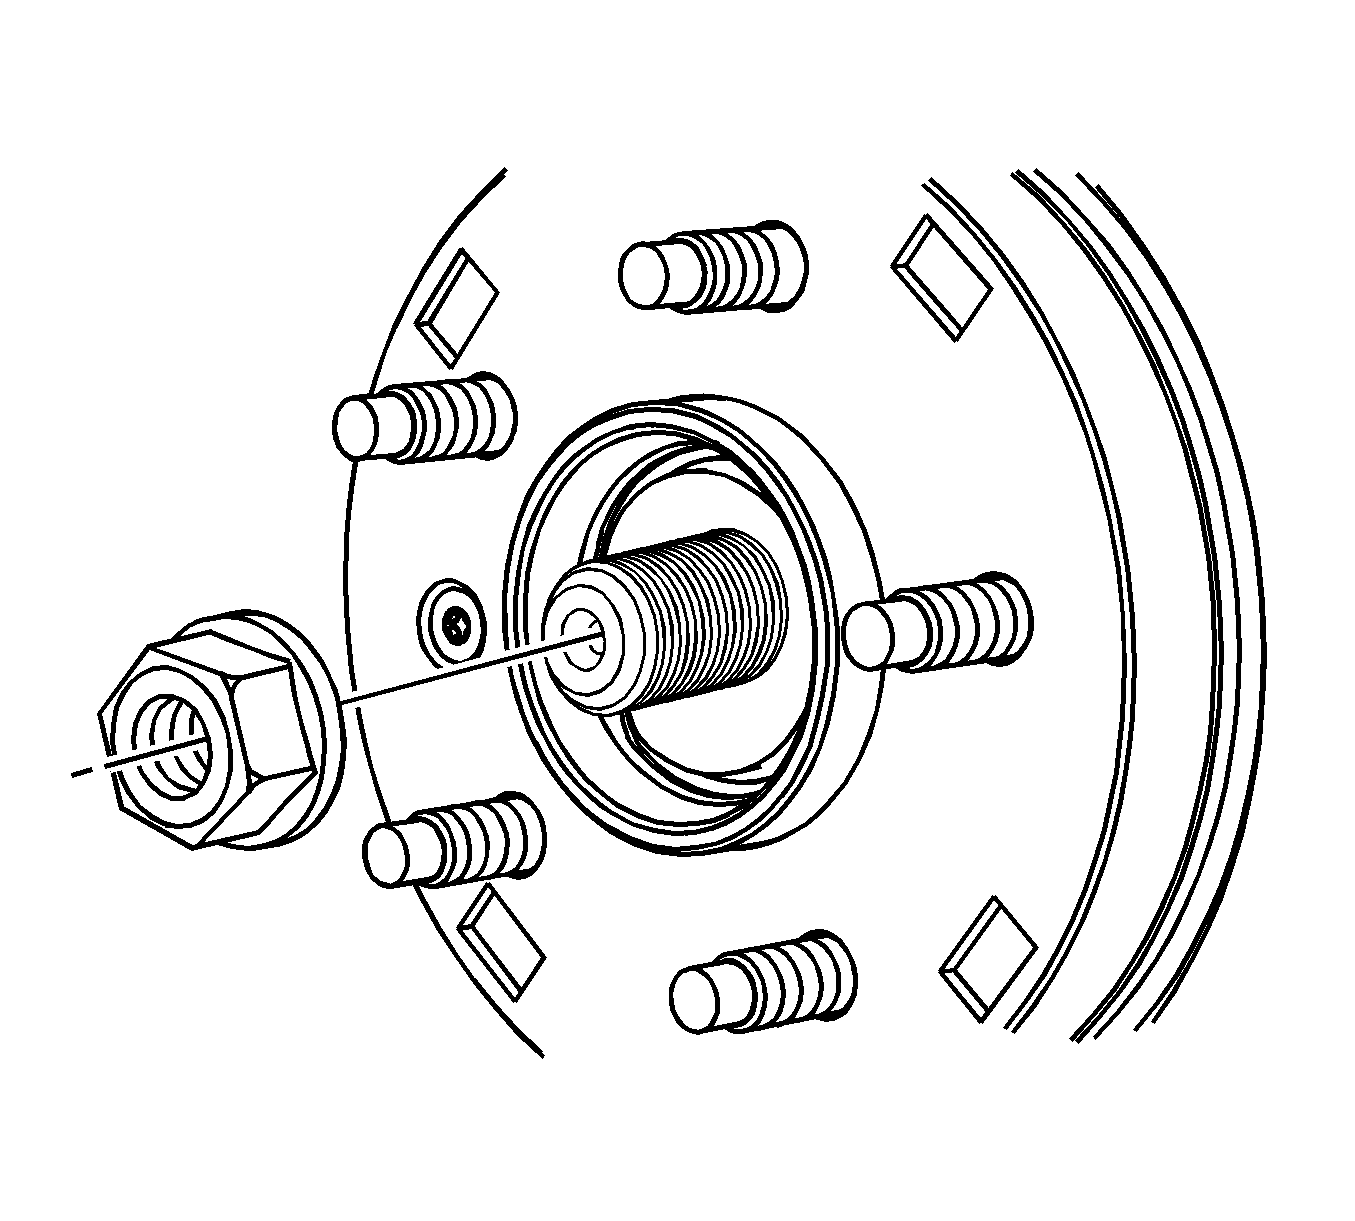
- Remove the front hub nut.
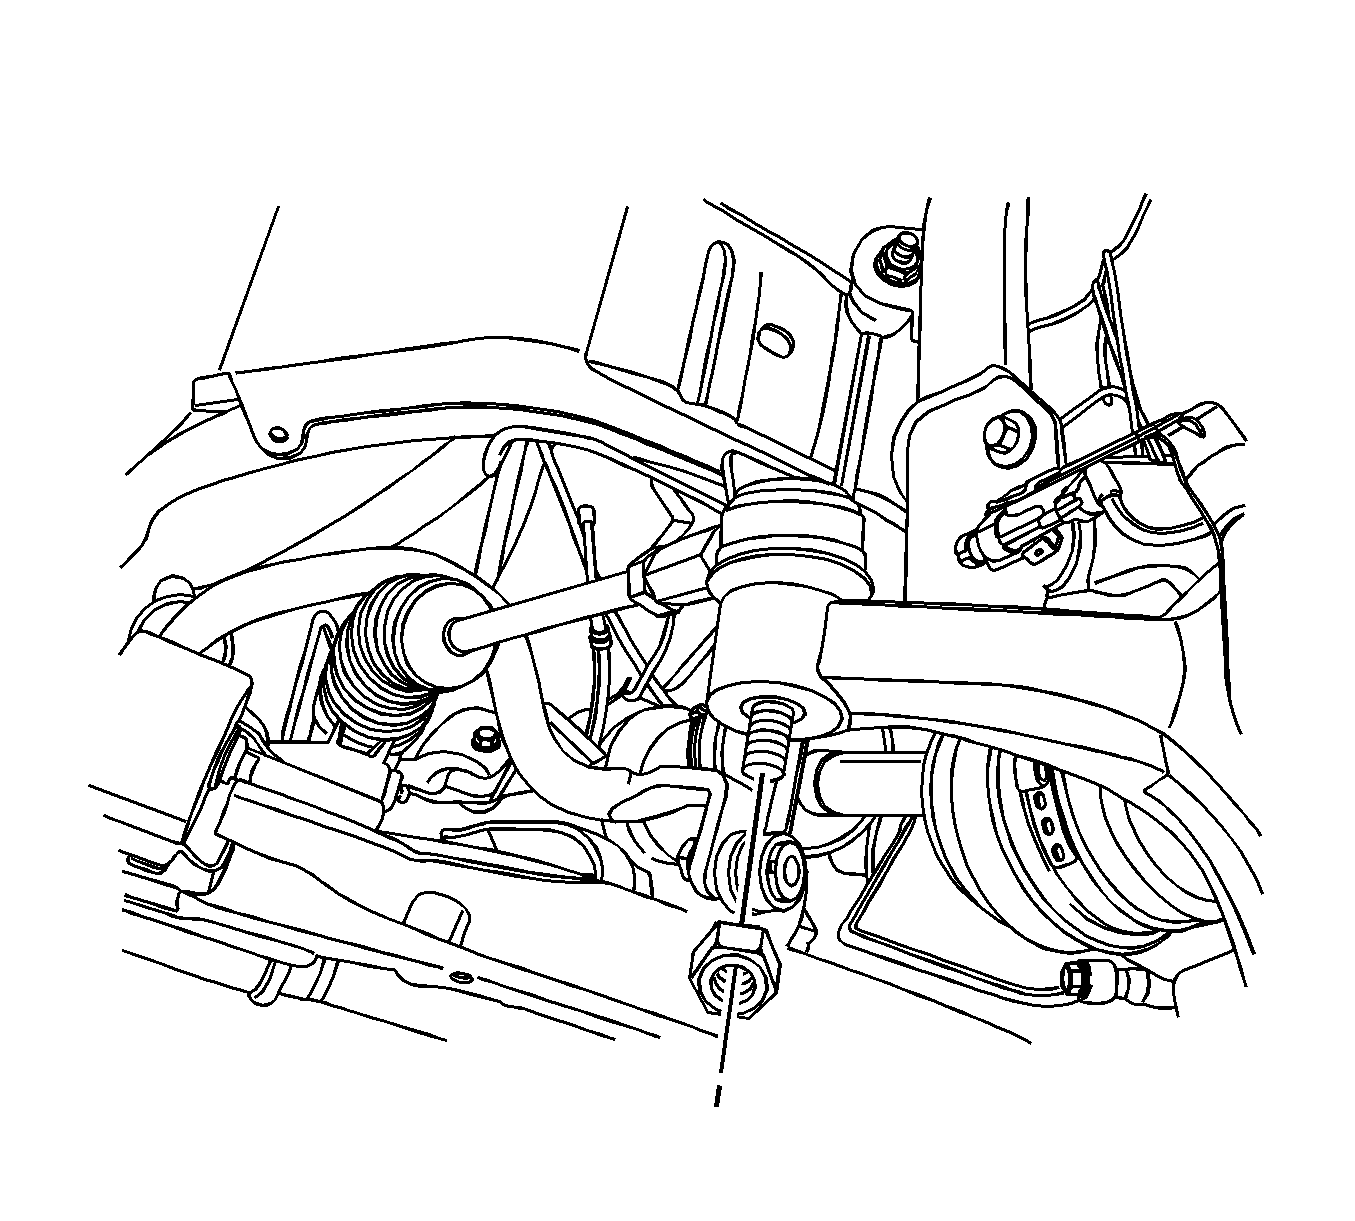
- Remove the nut that retains the outer tie rod end to the knuckle.
- Separate the outer tie rod end from the knuckle.
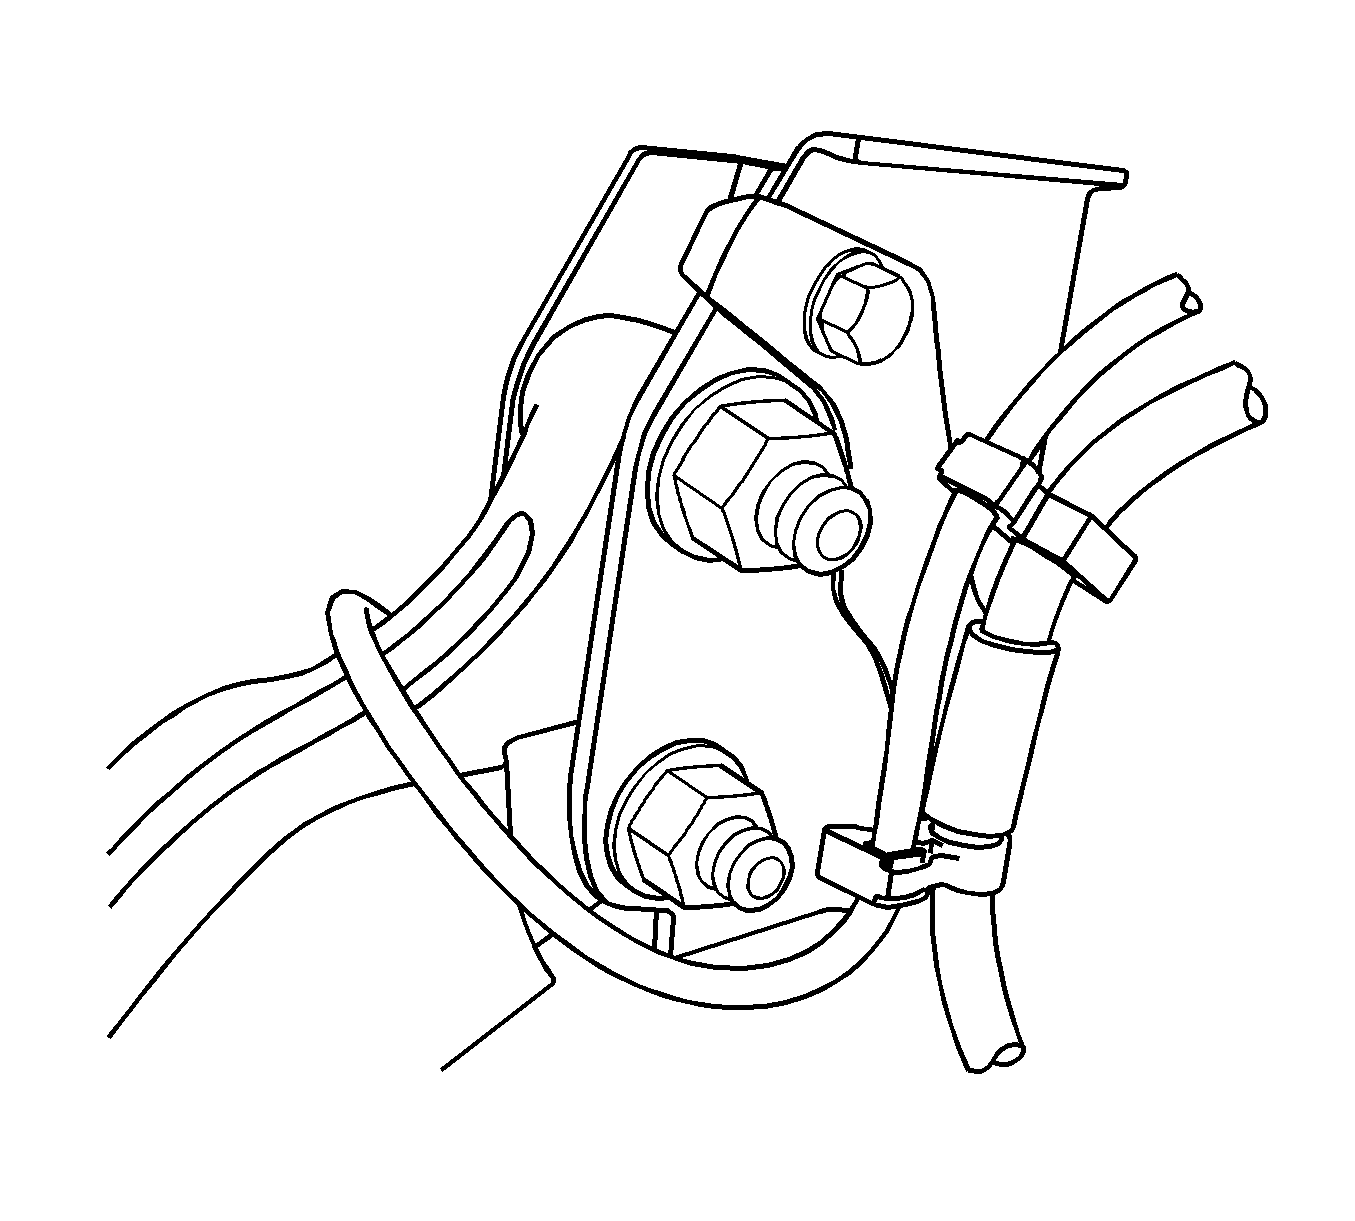
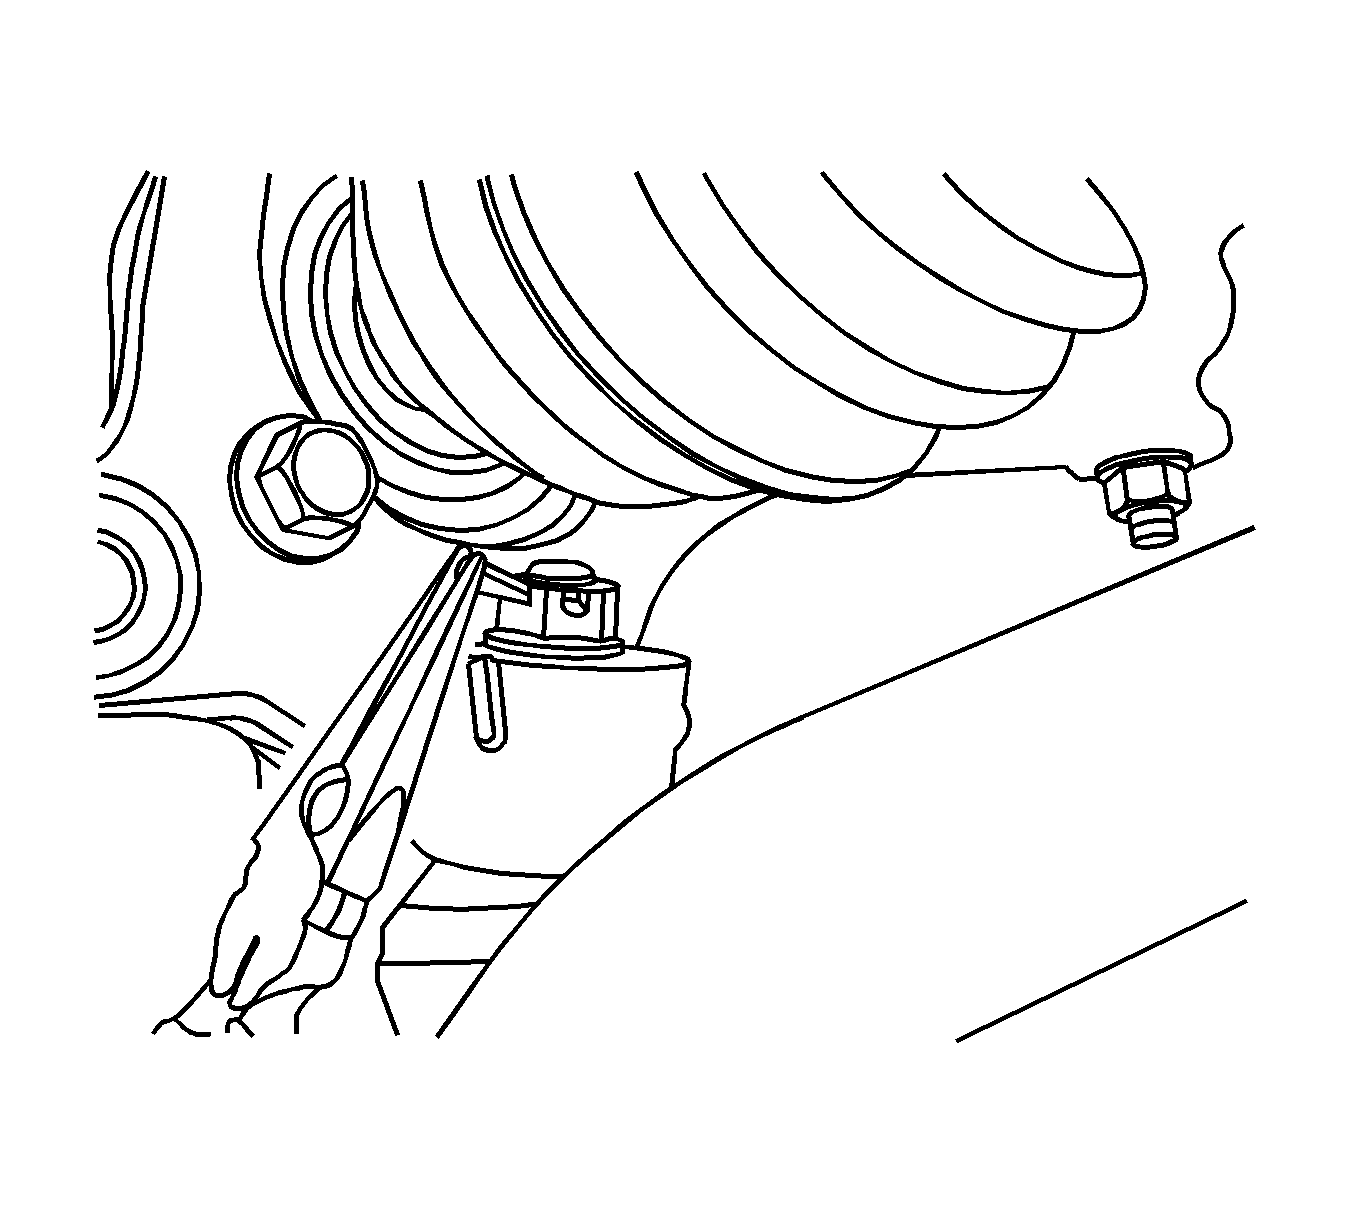
- Remove the cotter pin and the nut that retains the control arm ball joint to the knuckle.
- Separate the control arm ball joint from the knuckle.
- Support the wheel drive shaft with heavy mechanic's wire or equivalent.
- Remove the front strut to knuckle nuts and bolts.
- Remove the knuckle and hub assembly from the wheel drive shaft.
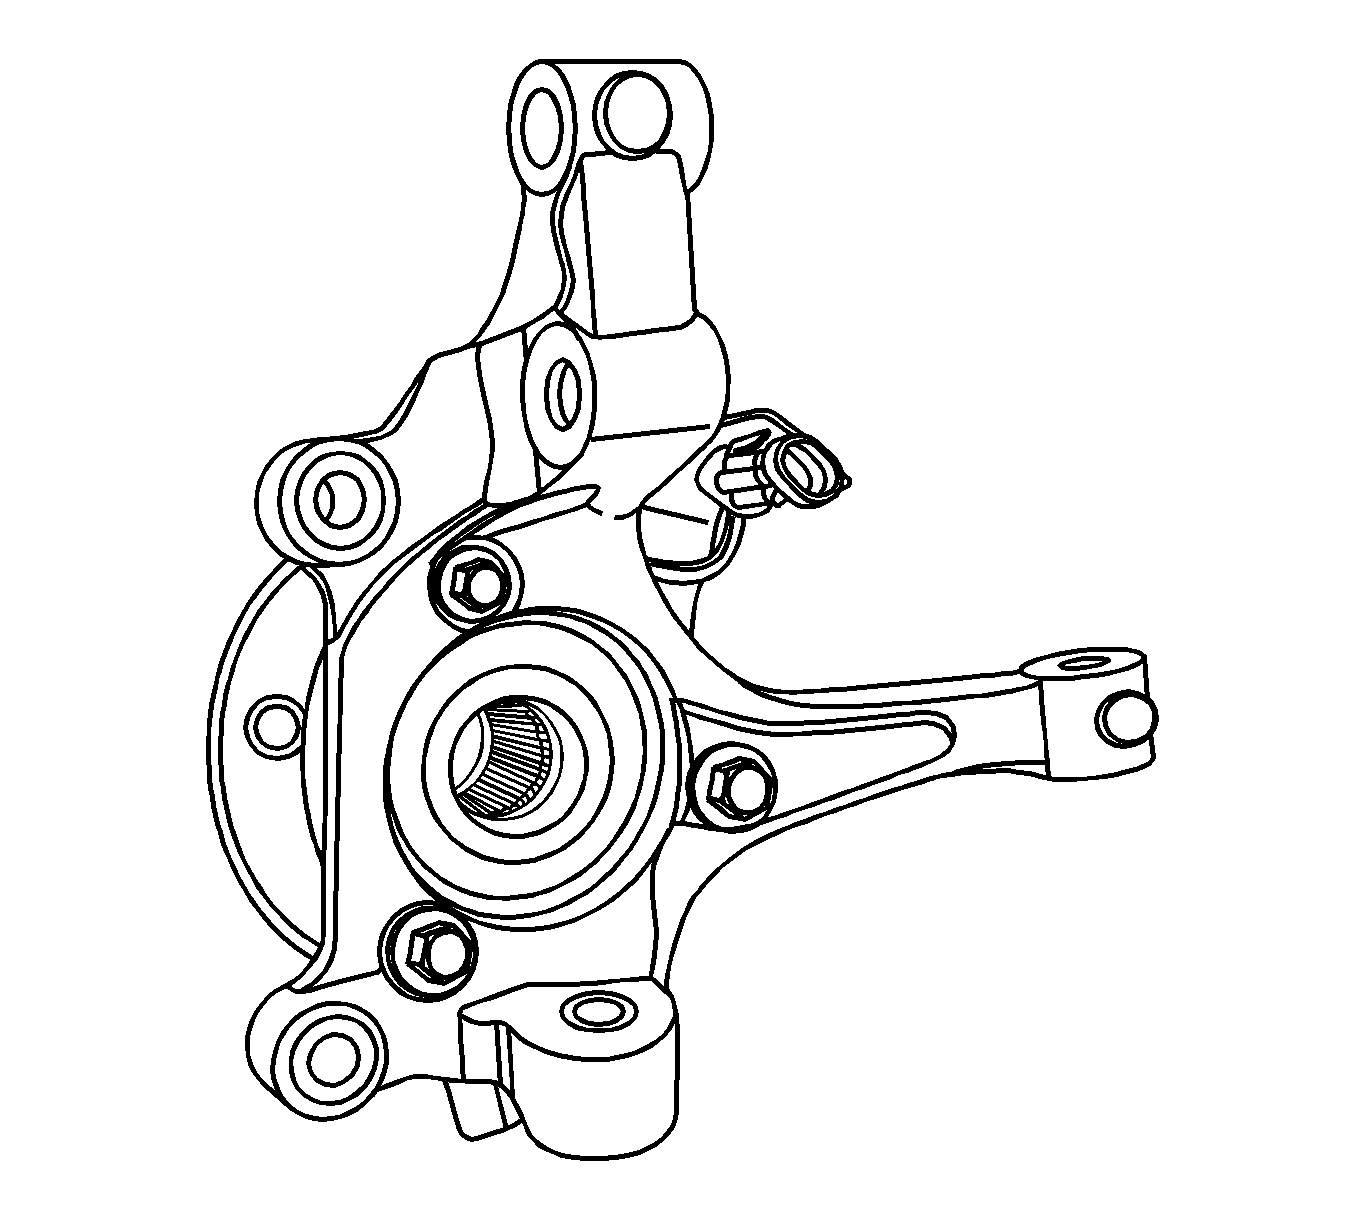
- Remove the hub bolts from the knuckle and separate the hub from the knuckle.
Installation Procedure
- Install the hub to the knuckle with the bolts.
- Install the hub and knuckle assembly to the wheel drive shaft.
- Install the hub nut to the axle shaft.
- Remove the mechanic's wire from the wheel drive shaft.
- Install the knuckle to strut bolts and nuts.
- Install the front brake rotor. Refer to Front Brake Rotor Replacement .
- Install the control arm ball joint to the knuckle.
- Install the nut to the ball joint stud.
- Install the cotter pin.
- Install the outer tie rod end to the knuckle.
- Install the outer tie rod nut.
- Install the wheel speed sensor electrical connector, if equipped, to the mounting bracket.
- Connect the wheel speed sensor electrical connector, if equipped.
- Install the front tire and wheel assembly. Refer to Tire and Wheel Removal and Installation .
- Measure the wheel alignment. Adjust the wheel alignment if necessary. Refer to Wheel Alignment Measurement .
- Lower the vehicle.
Notice: Refer to Fastener Notice in the Preface section.

Tighten
Tighten the hub to knuckle bolts to 115 N·m (85 lb ft).

Tighten
Tighten the hub nut to 205 N·m (157 lb ft).
Tighten
Tighten the knuckle to strut bolts and nuts to 180 N·m (133 lb ft).
Tighten
Tighten the control arm ball joint nut to 10 N·m (89 lb in).
Tighten
Tighten the outer tie rod nut to 50 N·m (37 lb ft).


