For 1990-2009 cars only
Control Valve Body Cover Replacement for Chevrolet Captiva 2007
Removal Procedure
- Raise the vehicle. Refer to Lifting and Jacking the Vehicle .
- Remove the left front wheel and tire assembly. Refer to Tire and Wheel Removal and Installation .
- Remove the left splash shield. Refer to Fender Liner Replacement .
- Remove the front engine mount.
- Remove the transaxle oil cooler lines and seals from the transaxle. Refer to Transmission Fluid Cooler Pipe Seal Replacement .
- Remove the 9 TORX bolts (2) from the control valve body cover (1).
- Remove control valve body cover.
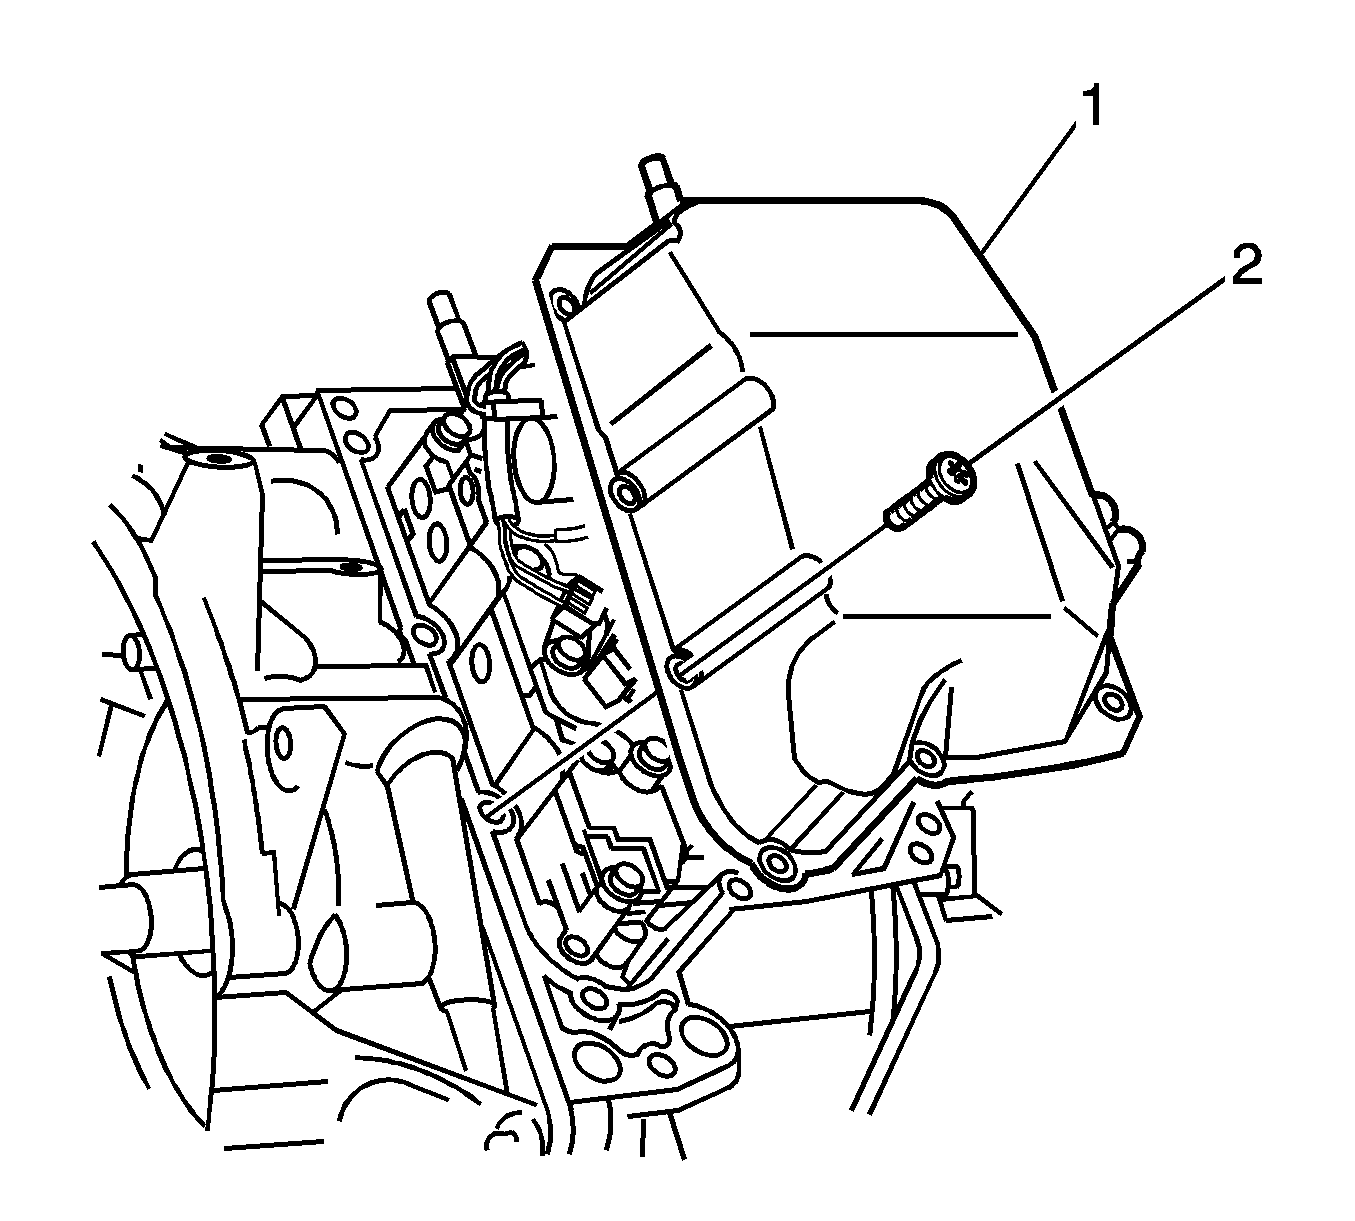
Important: Do not pry with a tool on the transaxle control valve body cover, case or sealing surfaces.
Installation Procedure
- Clean any gasket material from the control valve body cover and inspect the gasket mounting surface.
- Install a 3 mm (0.125 in) bead of RTV sealer GM P/N 89020326 (Canadian P/N 89021188) onto the control valve body cover.
- Install the control valve body cover (1) onto the transaxle case.
- Install the control valve body cover bolts (2) hand tight.
- Tighten the control valve body cover bolts in the sequence shown.
- Install the transaxle oil cooler lines and seals to the transaxle. Refer to Transmission Fluid Cooler Pipe Seal Replacement .
- Install the front engine mount.
- Install the left splash shield. Refer to Fender Liner Replacement .
- Install the left front wheel and the tire assembly. Refer to Tire and Wheel Removal and Installation .
- Lower the vehicle.
- Check the transaxle fluid level. Refer to Transmission Fluid Check .
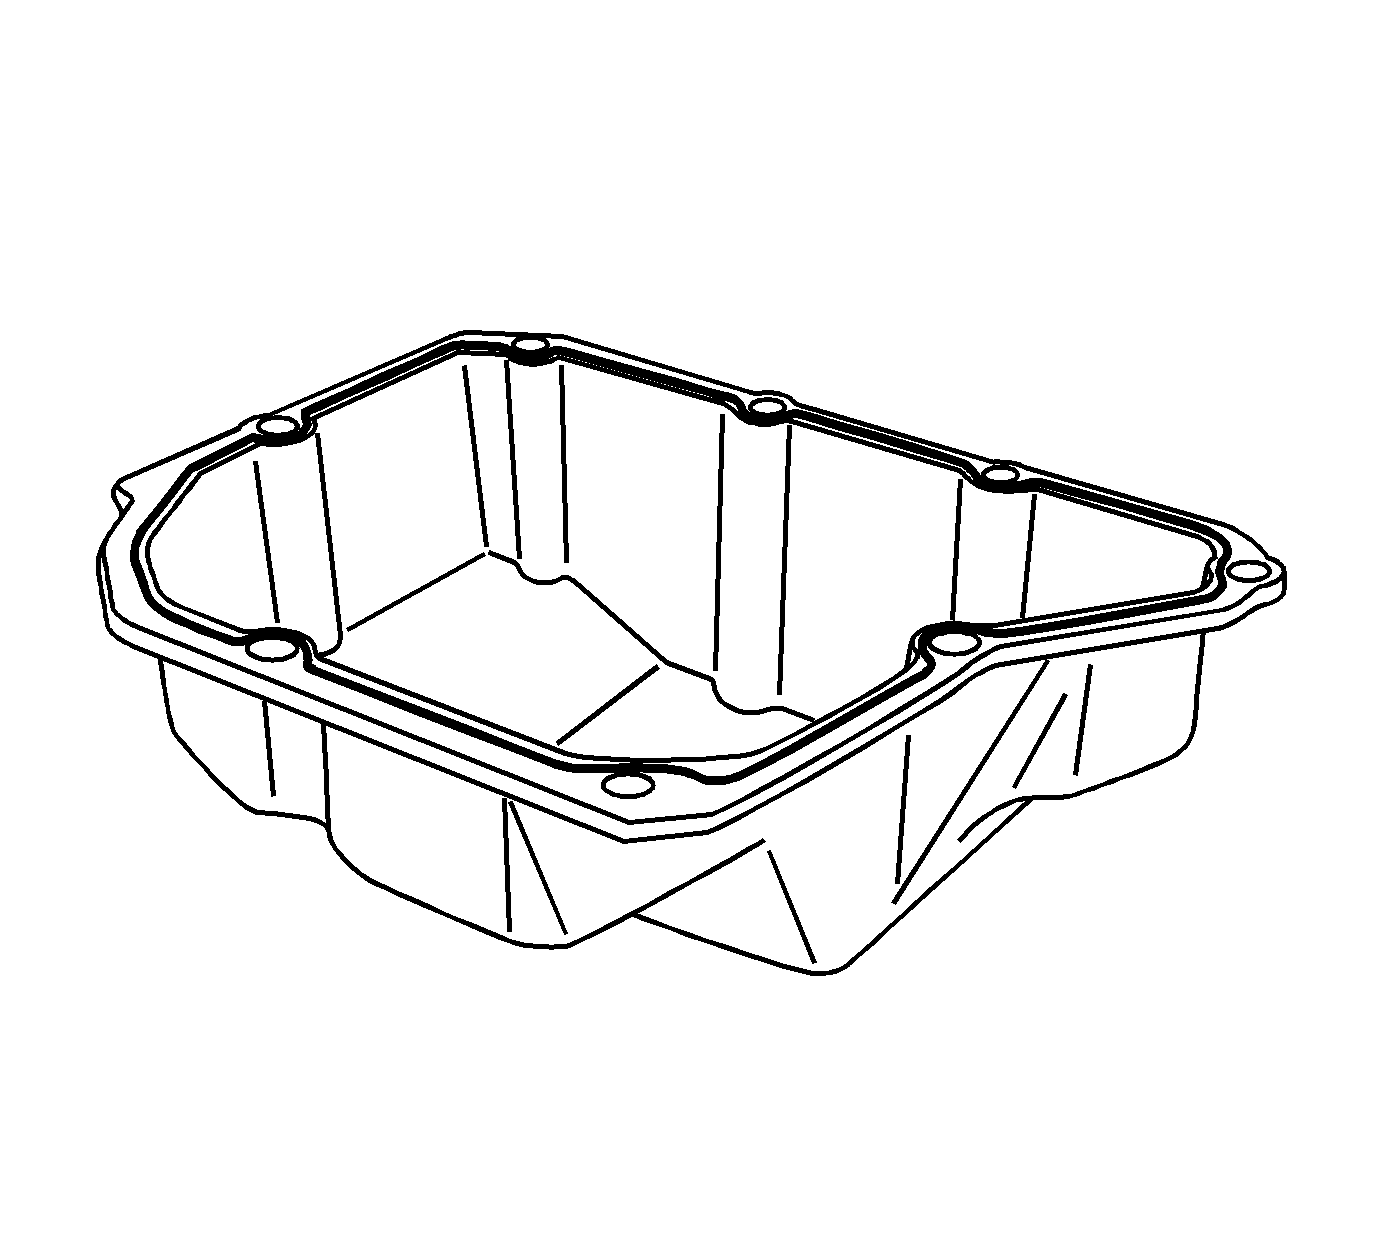
Important: Use LOCTITE™ 242 thread sealer on ALL bolt threads.
Notice: Refer to Fastener Notice in the Preface section.
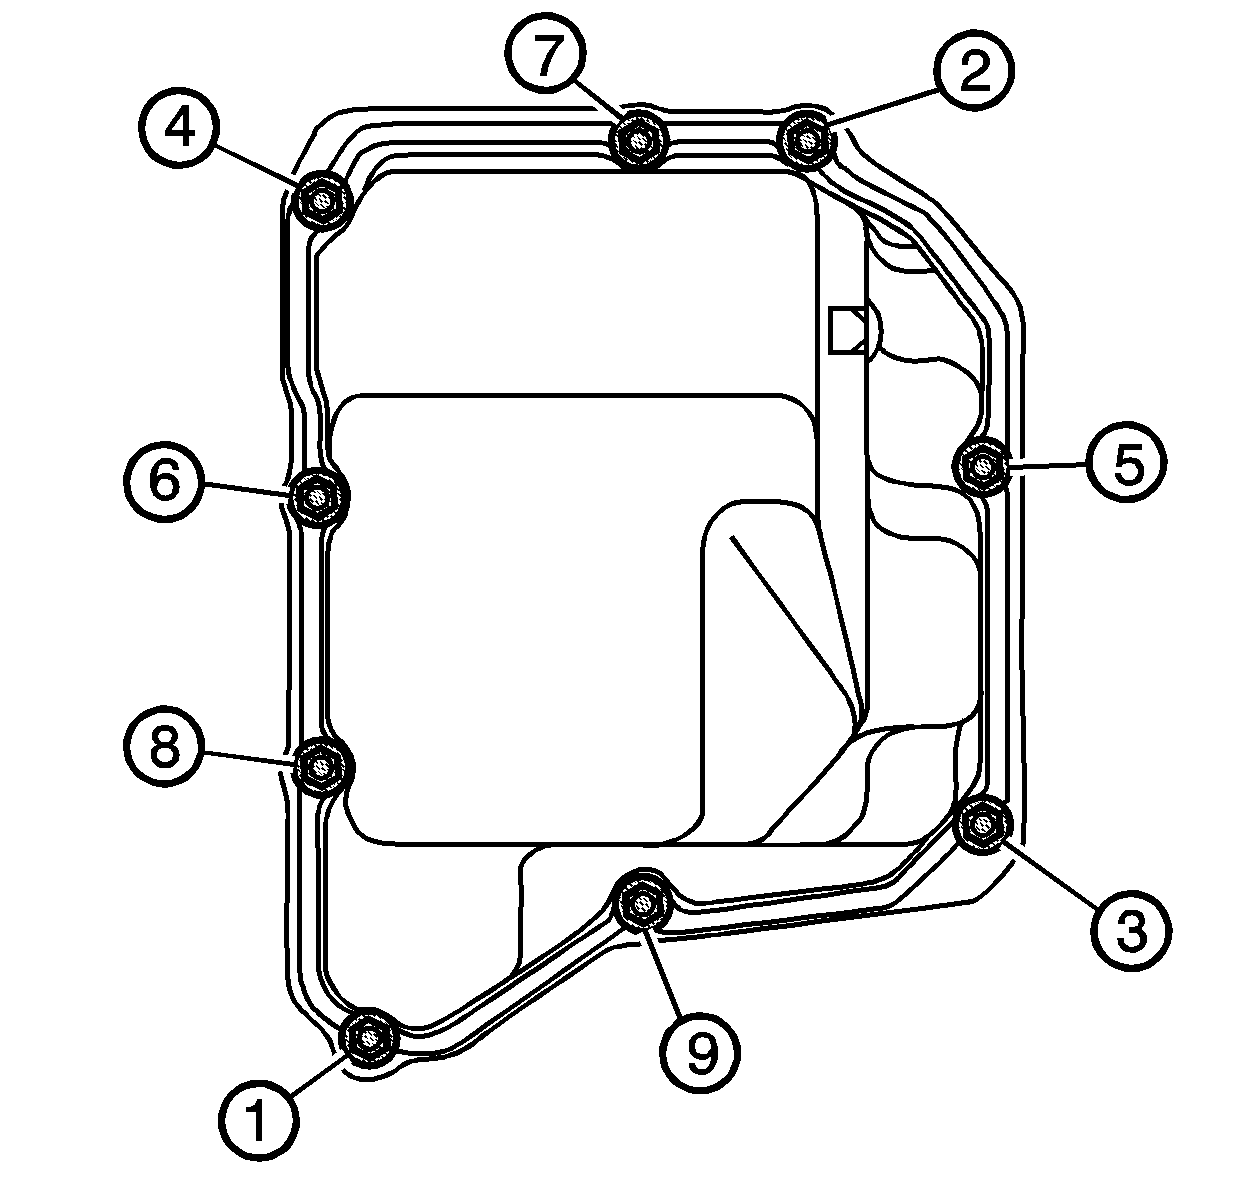
Tighten
Tighten the bolts to 13 N·m (115 lb in).
