Front Fender Replacement C100/Long Body
Removal Procedure
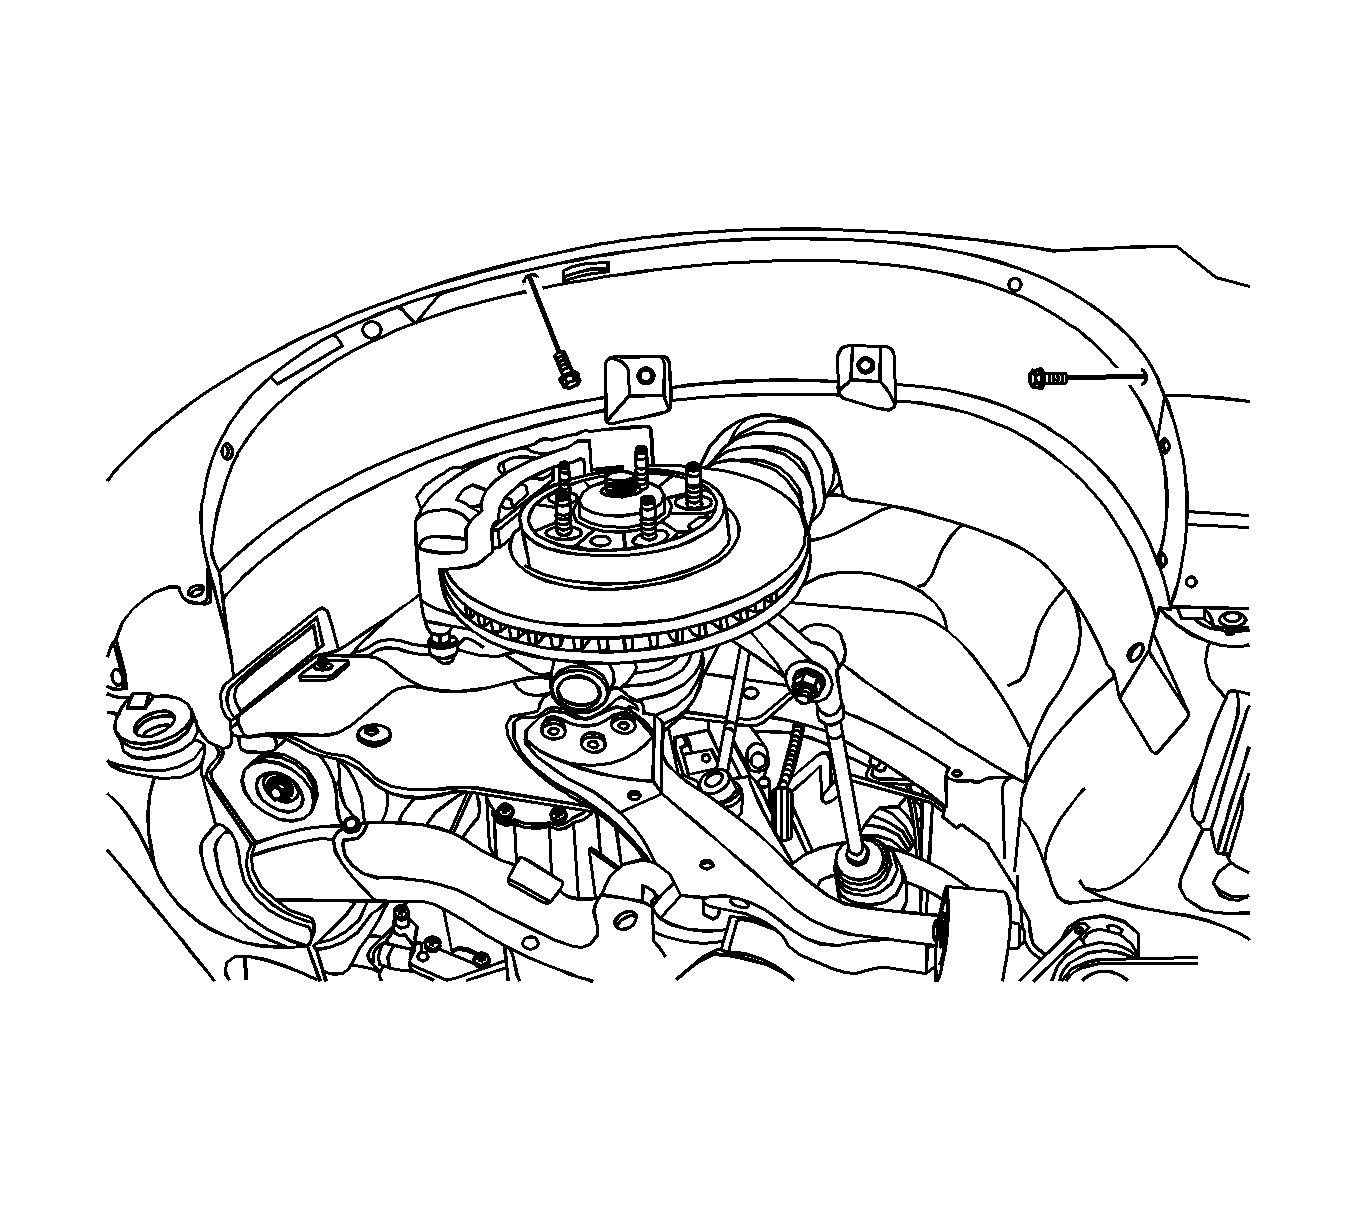
- Remove the two fender liner screws.
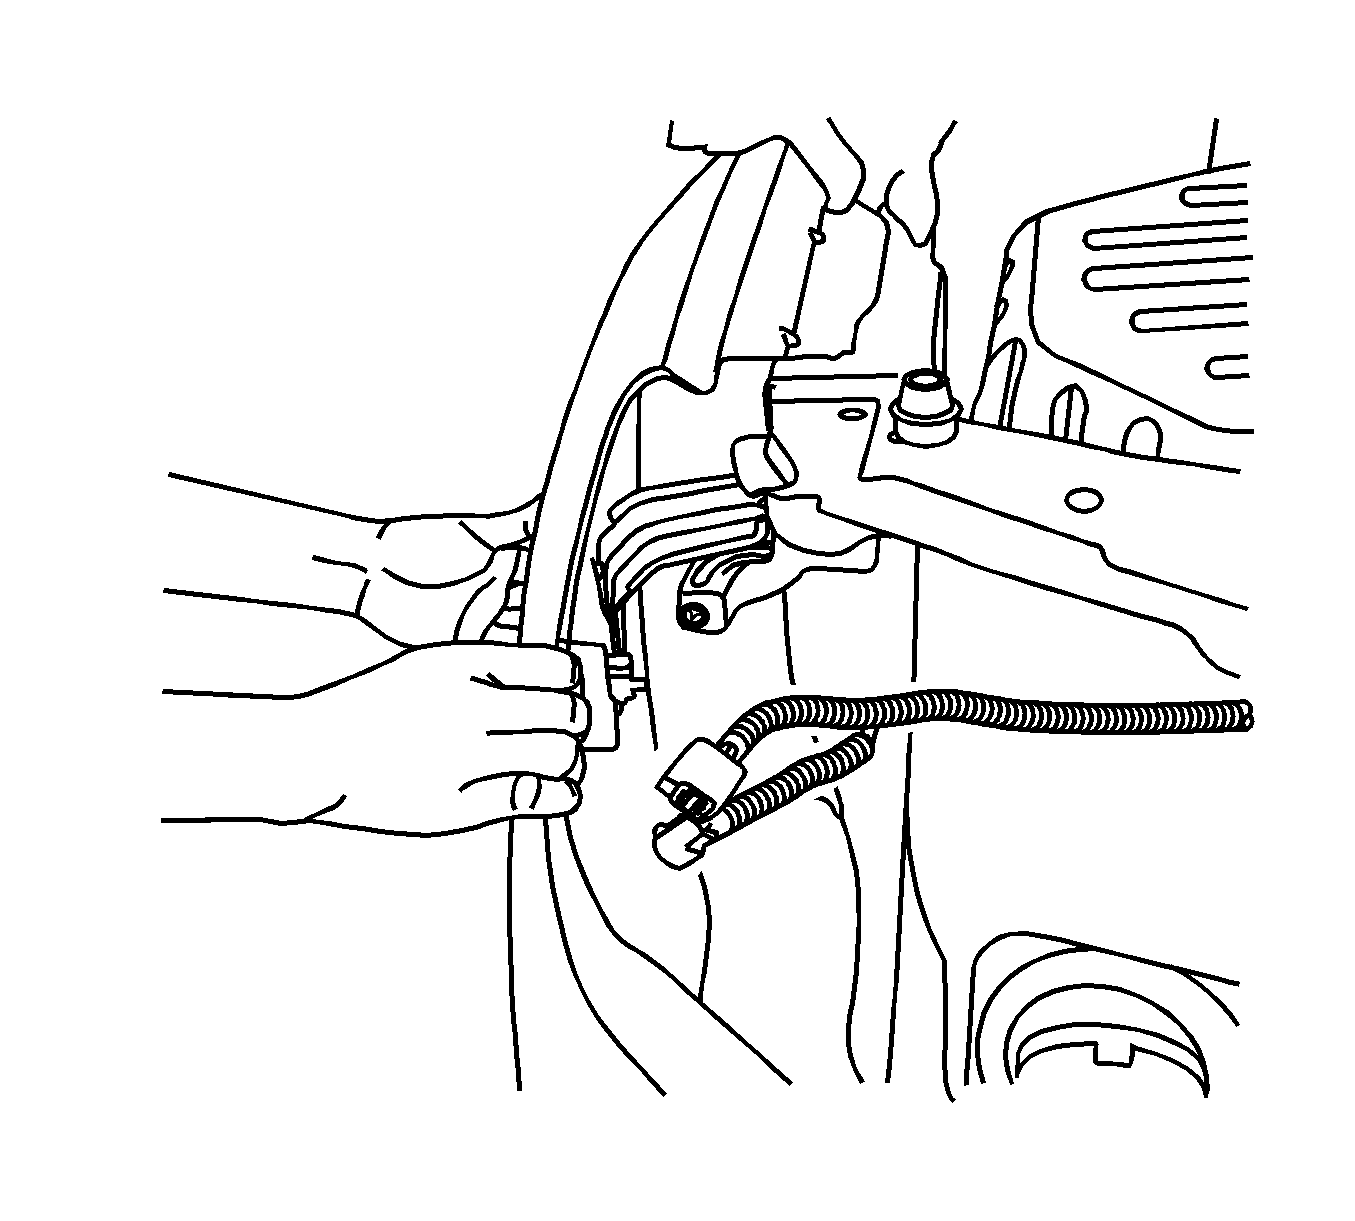
- Remove the screw (1) securing the front fascia to the fender.
- Reposition the front fascia from the fender by pulling the side of the front fascia outward.
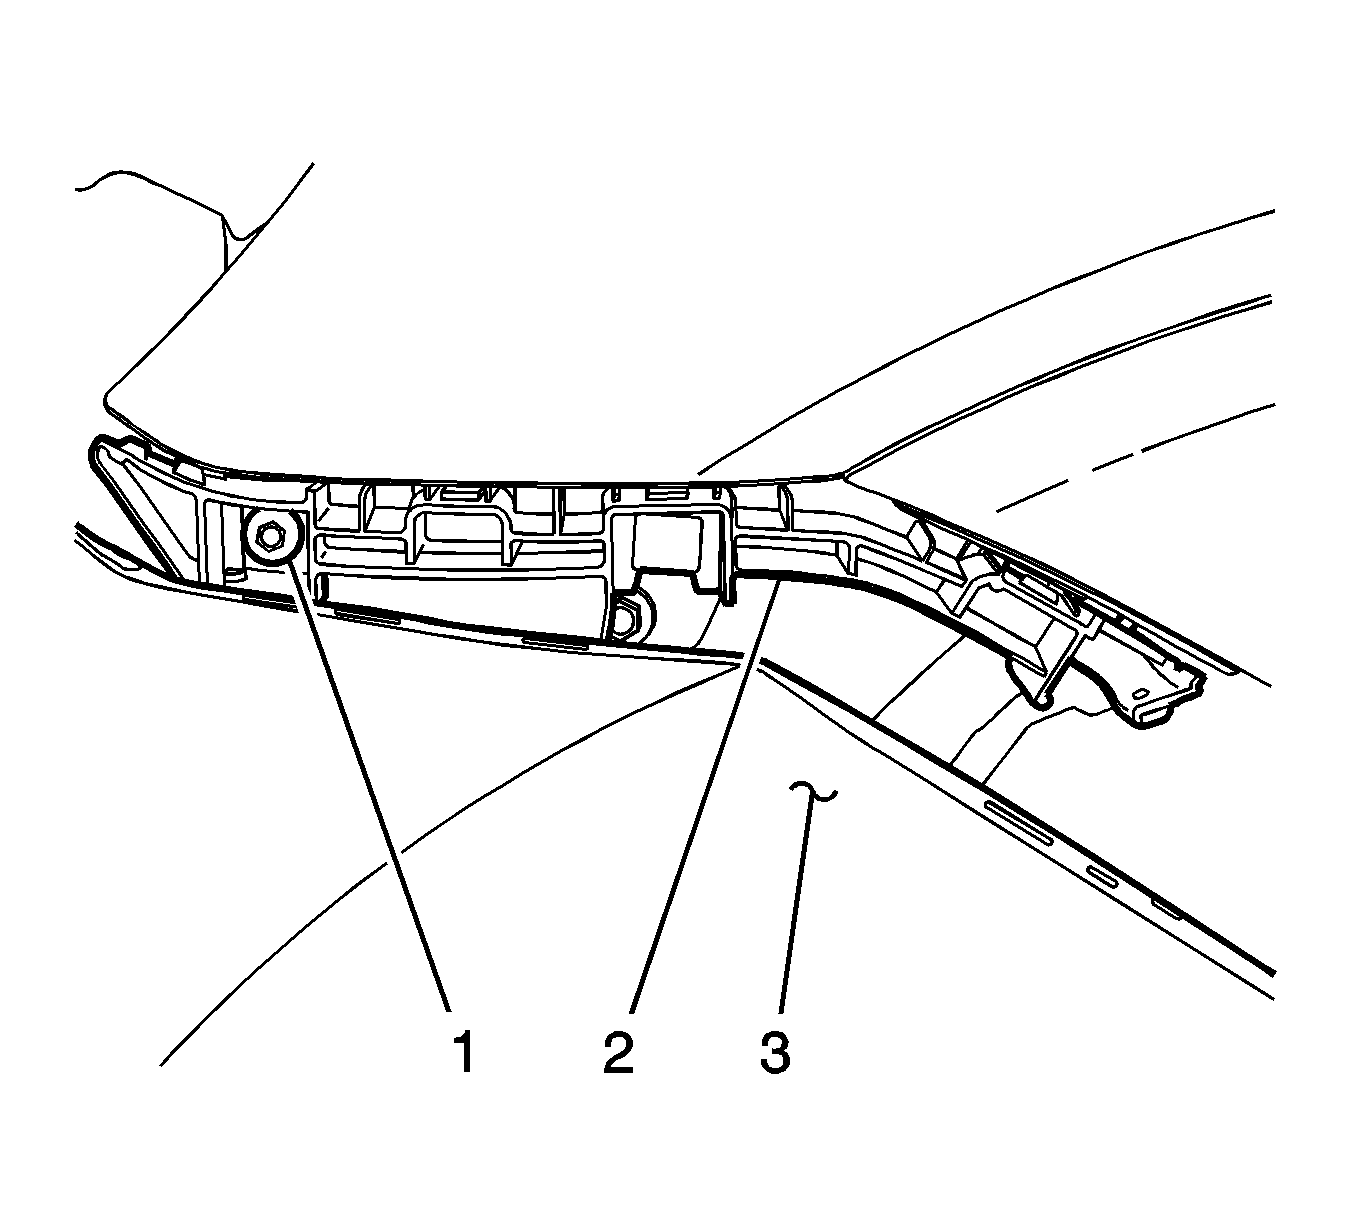
- Pull back on front fascia (3) and remove the bolt (1) that secures the front fascia to fender bracket (2)
- Pull back and remove the front fascia to fender bracket (2) from the fender.
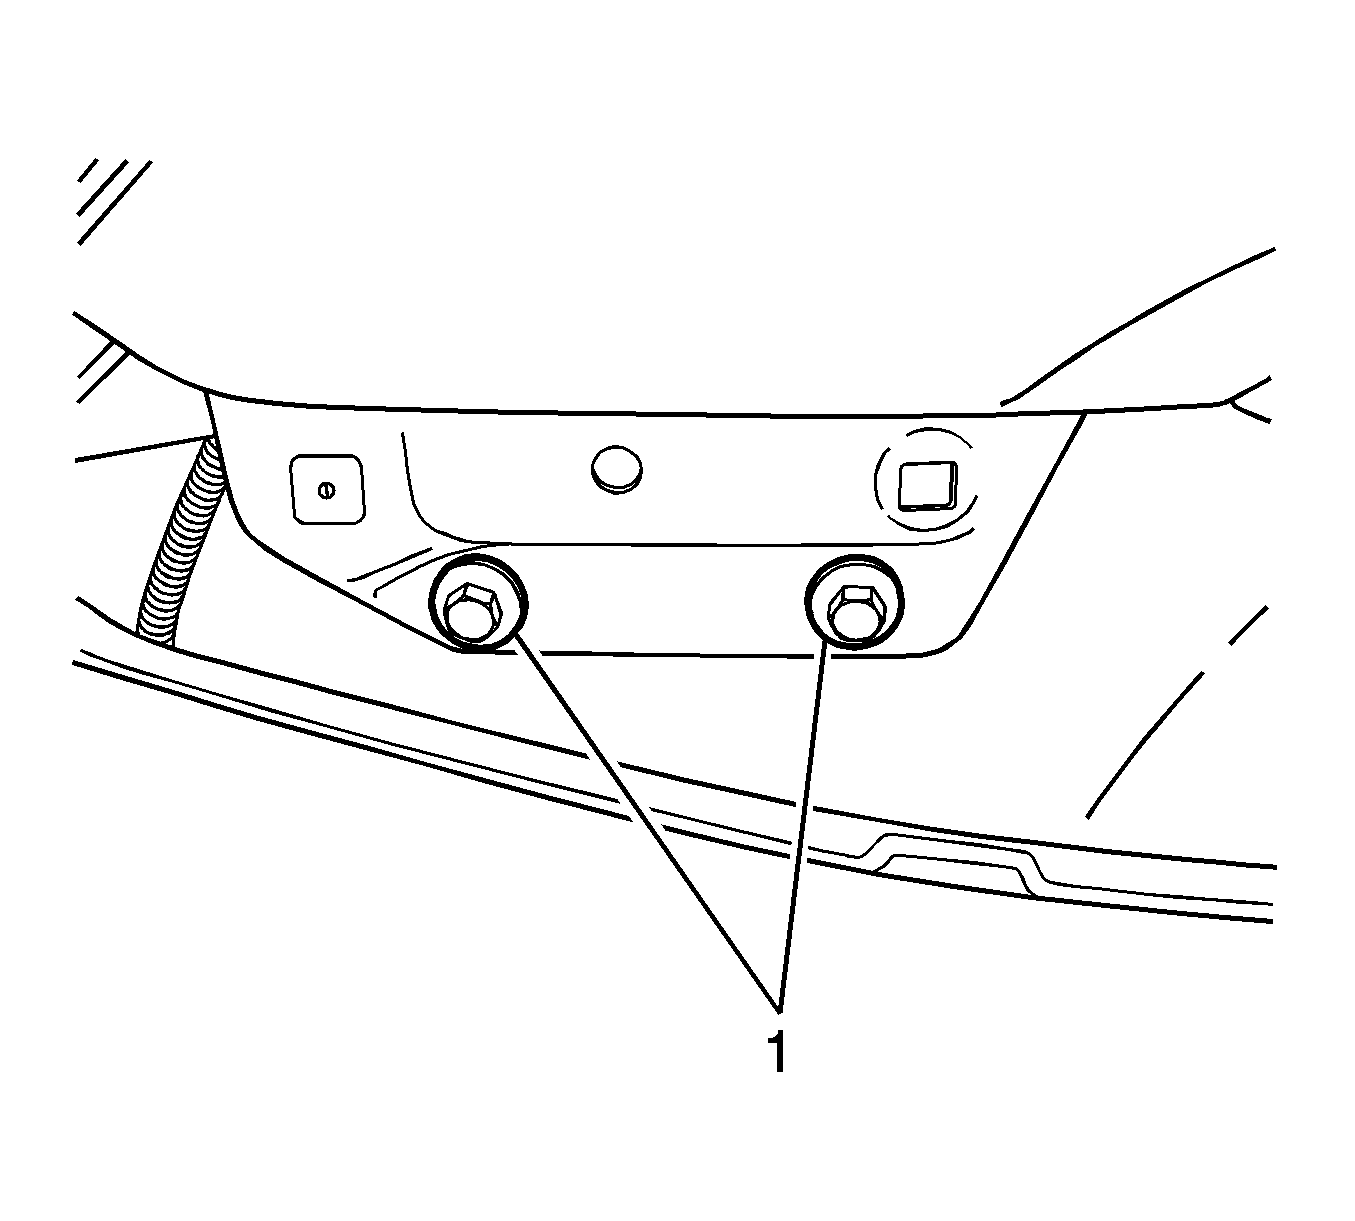
- Remove the two bolts (1) from the front of the fender behind the front fascia.
- Remove the rocker panel molding. Refer to Rocker Panel Molding Replacement.
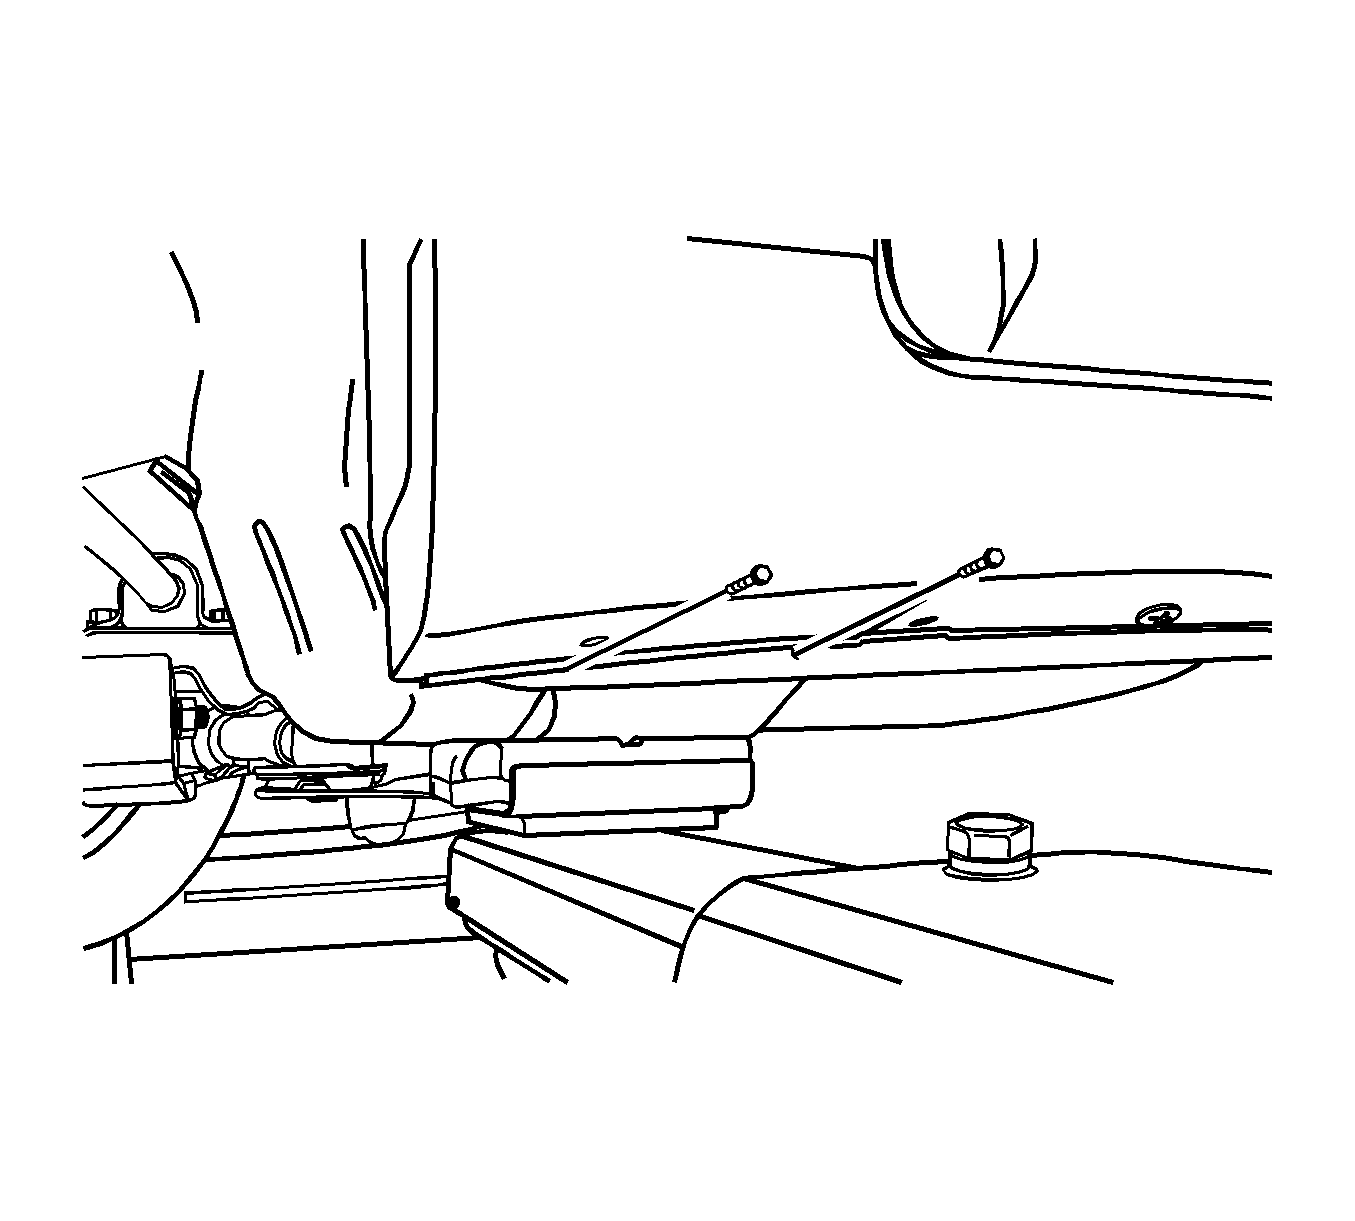
- Remove the bolts at the base of the fender.
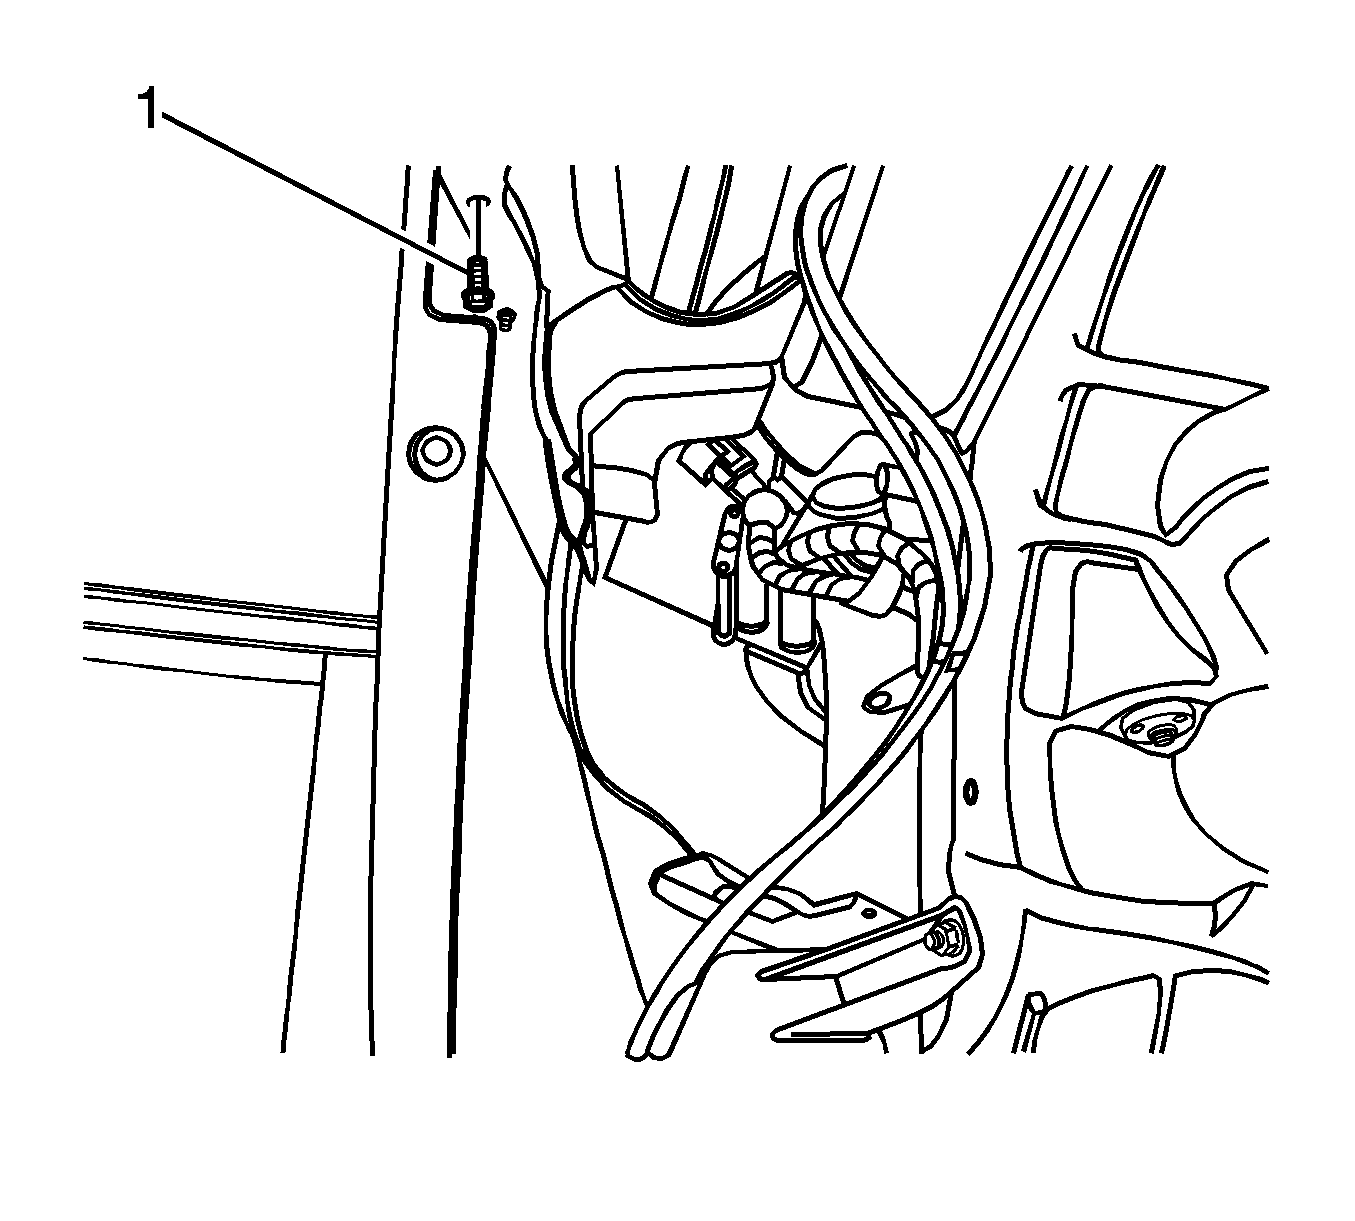
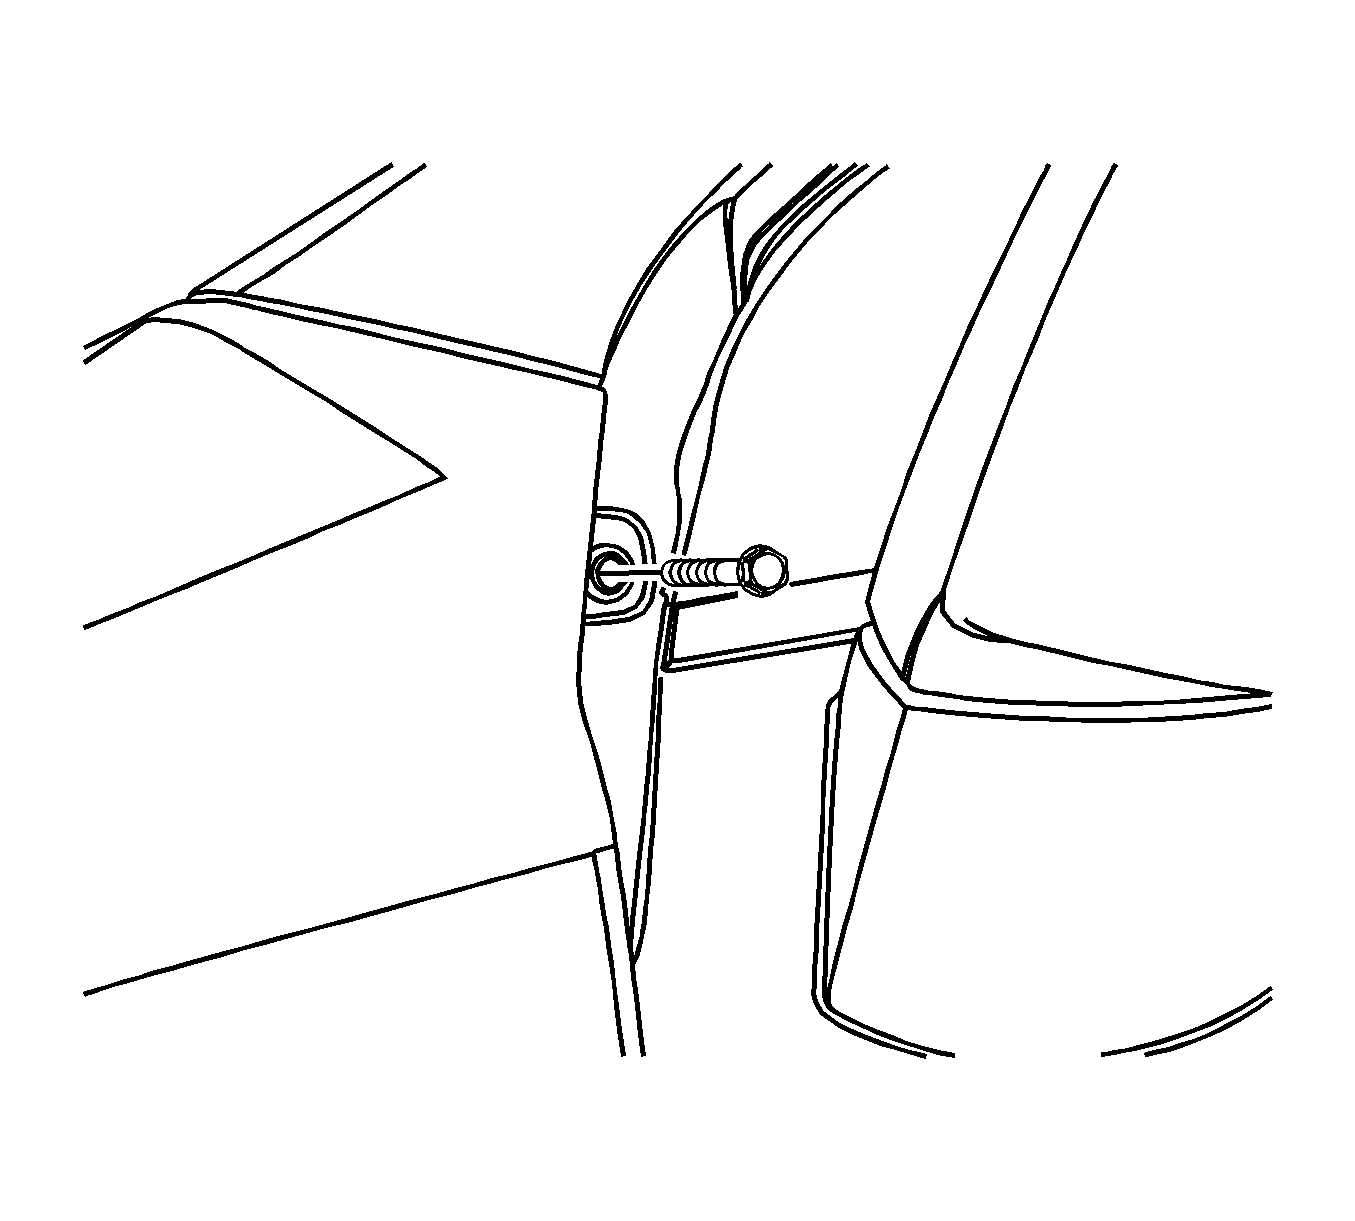
- Open the front door and remove the bolt at the base of the A-pillar.
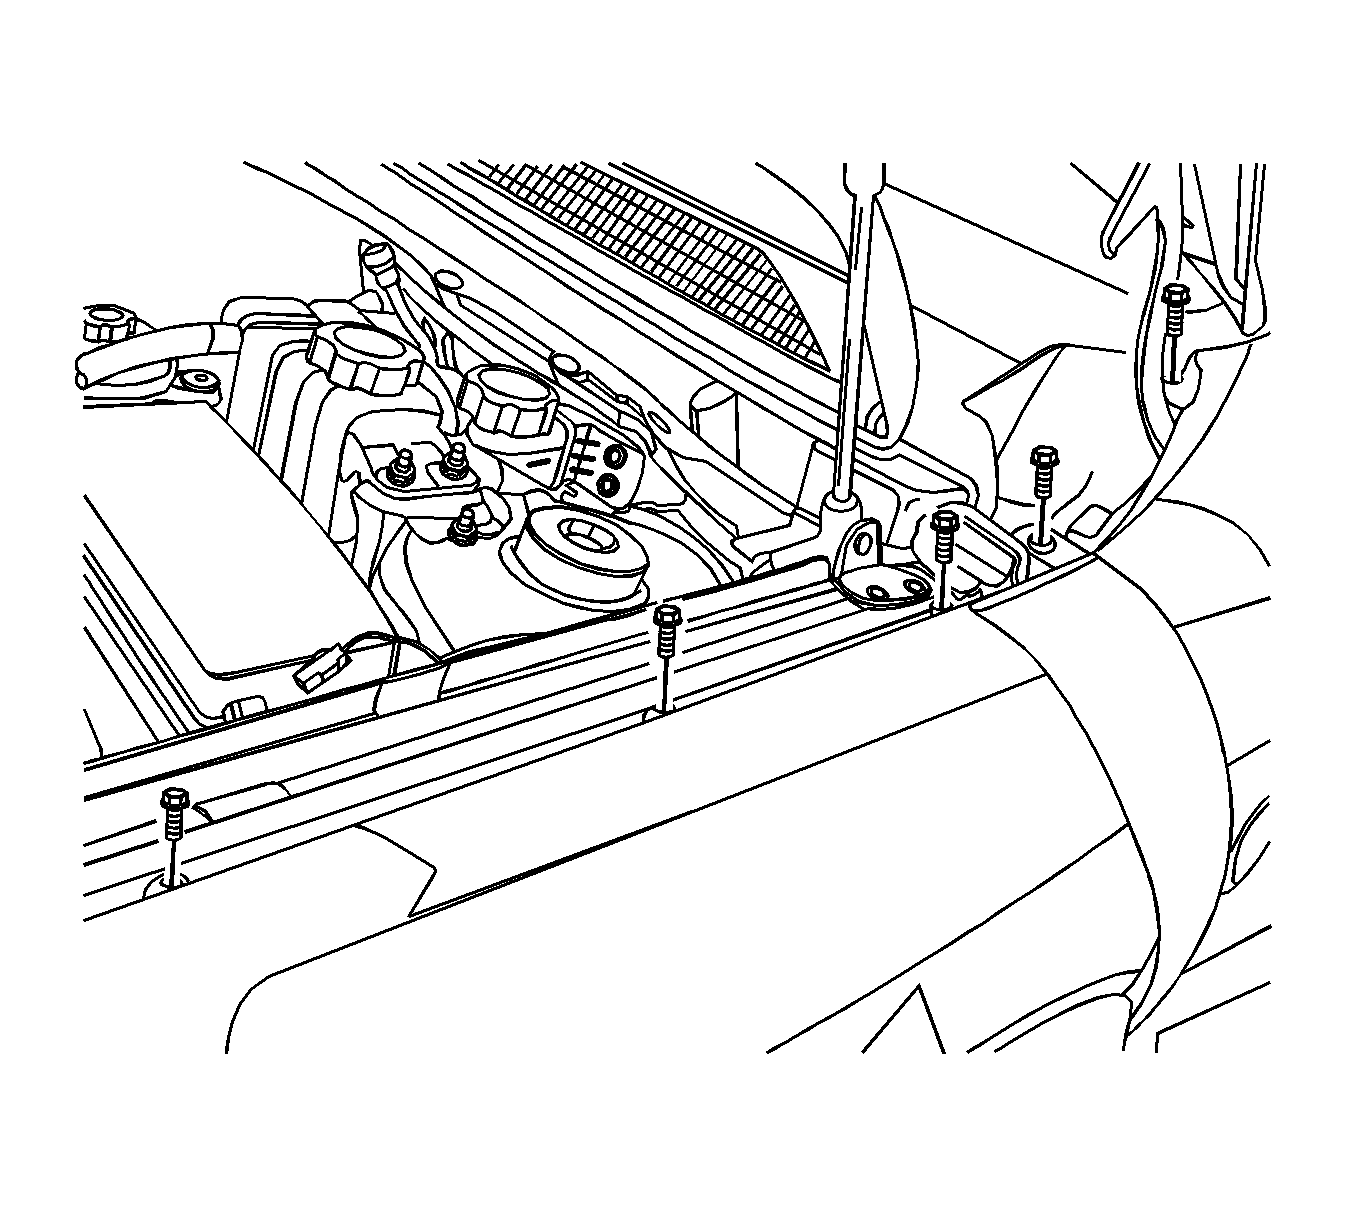
- Remove the upper fender bolts and the fender.
- Remove the fender wheel opening molding, if equipped. Refer to Front Fender Wheel Opening Molding Replacement.
- Remove the fender insulator, if necessary. Refer to Front Fender Insulator Replacement.
- Remove the fender vent grille, if necessary.
Installation Procedure
- Install the fender vent grille, if removed.
- Install the fender insulator, if removed. Refer to Front Fender Insulator Replacement.
- Install the fender wheel opening molding, if removed. Refer to Front Fender Wheel Opening Molding Replacement.
- Install the fender with the upper fender bolts.
- Install the bolt at the base of the A-pillar.
- Install the bolts at the base of the fender.
- Install the rocker panel molding. Refer to Rocker Panel Molding Replacement.
- Install the two fender bolts (1) behind the front fascia.
- Reposition the front fascia (3) and install the front fascia to fender bracket (2) to the fender.
- Install the front fascia to fender bracket bolt (1).
- Install the front fascia to its original position.
- install the screw (1) securing the front fascia to the fender.
- Install the two fender liner screws.
Notice: Refer to Fastener Notice in the Preface section.

Tighten
Tighten the upper fender bolts to 10 N·m (89 lb in).

Tighten
Tighten the A-pillar fender bolt to 10 N·m (89 lb in).

Tighten
Tighten the lower fender bolts to 10 N·m (89 lb in).

Tighten
Tighten the two fender bolts to 10 N·m (89 lb in).

Tighten
Tighten the front fascia bracket to fender bolt to 10 N·m (89 lb in).

Tighten
Tighten the front fascia-to-fender screw to 2.5 N·m (22 lb in).

Front Fender Replacement C105/Short Body
Removal Procedure
- Remove the front fender liner. Refer to Fender Liner Replacement.
- Remove the bolts securing the front fascia to the fender.
- Reposition the front fascia.
- Remove the fender bolts behind the front fascia.
- Remove the rocker panel molding. Refer to Rocker Panel Molding Replacement.
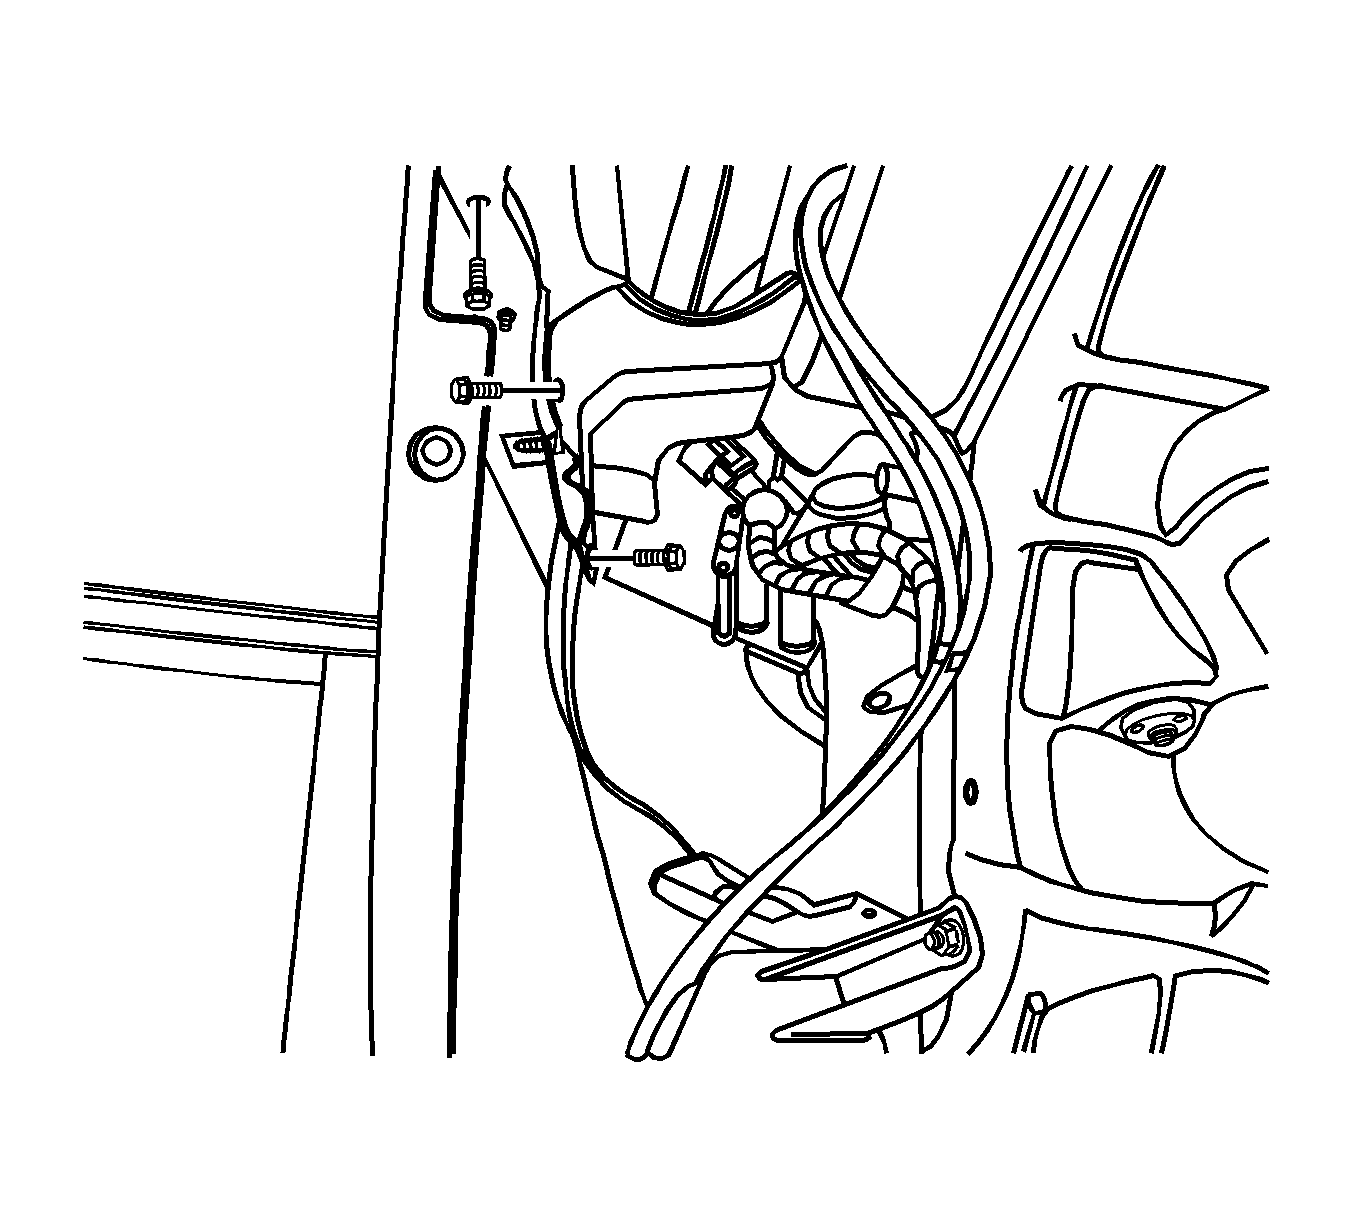
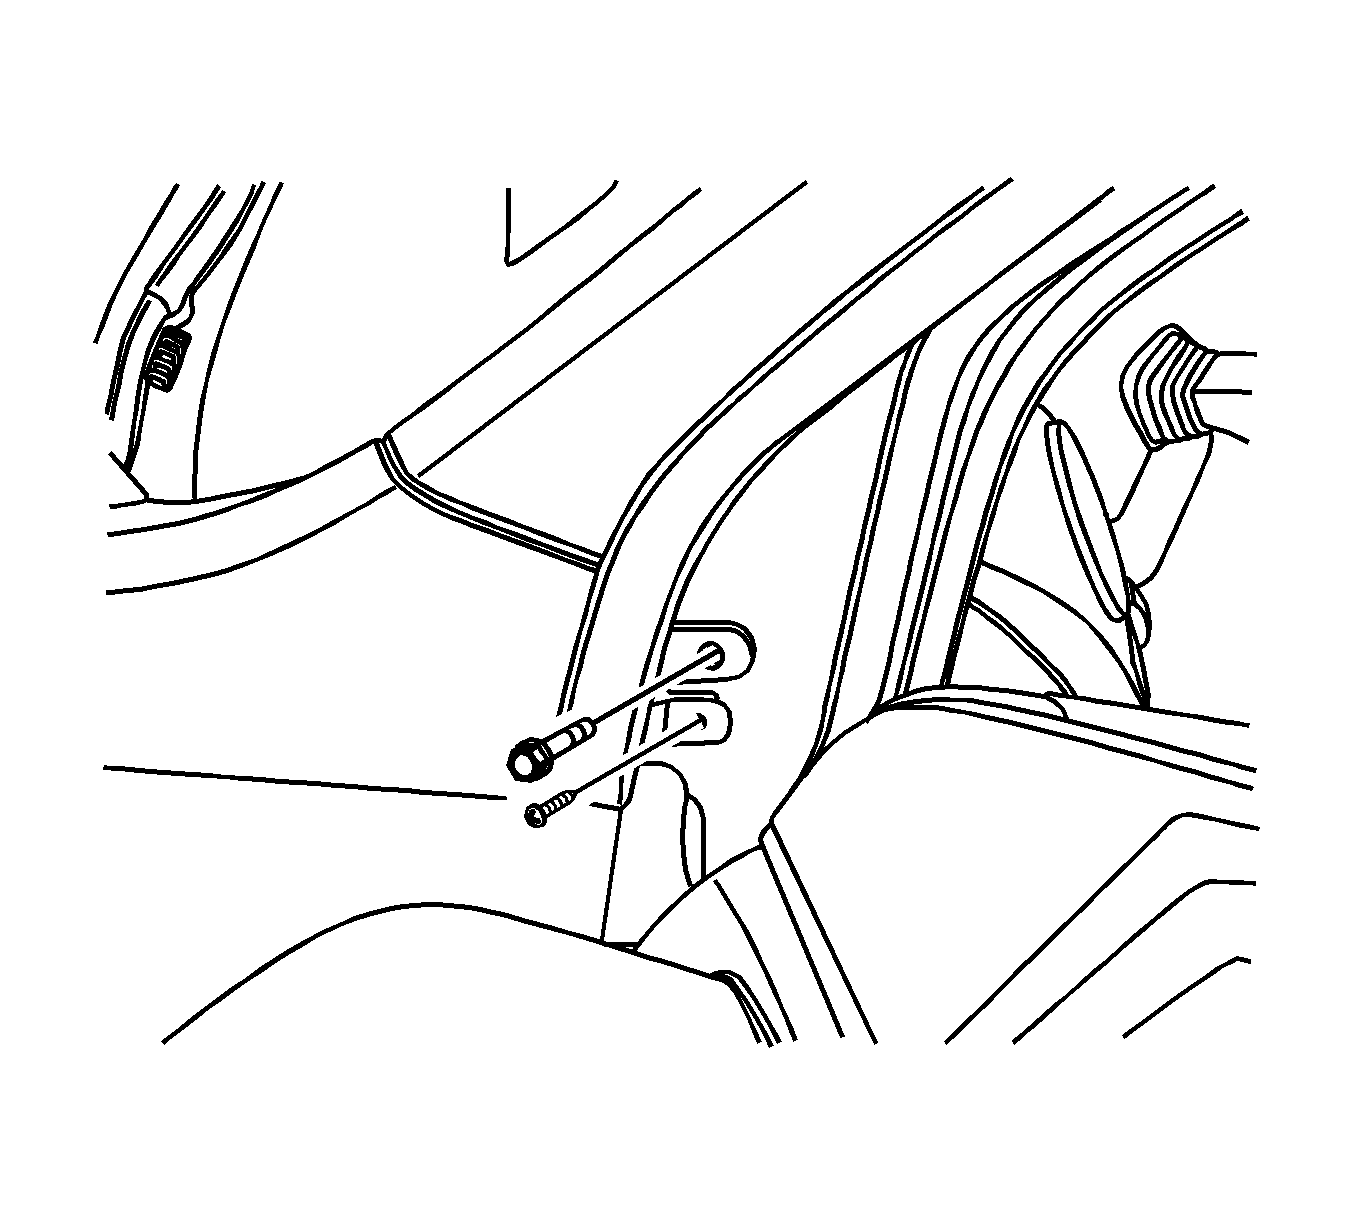
- Remove the bolts at the base of the fender.
- Open the front door and remove the bolt at the base of the A-pillar.
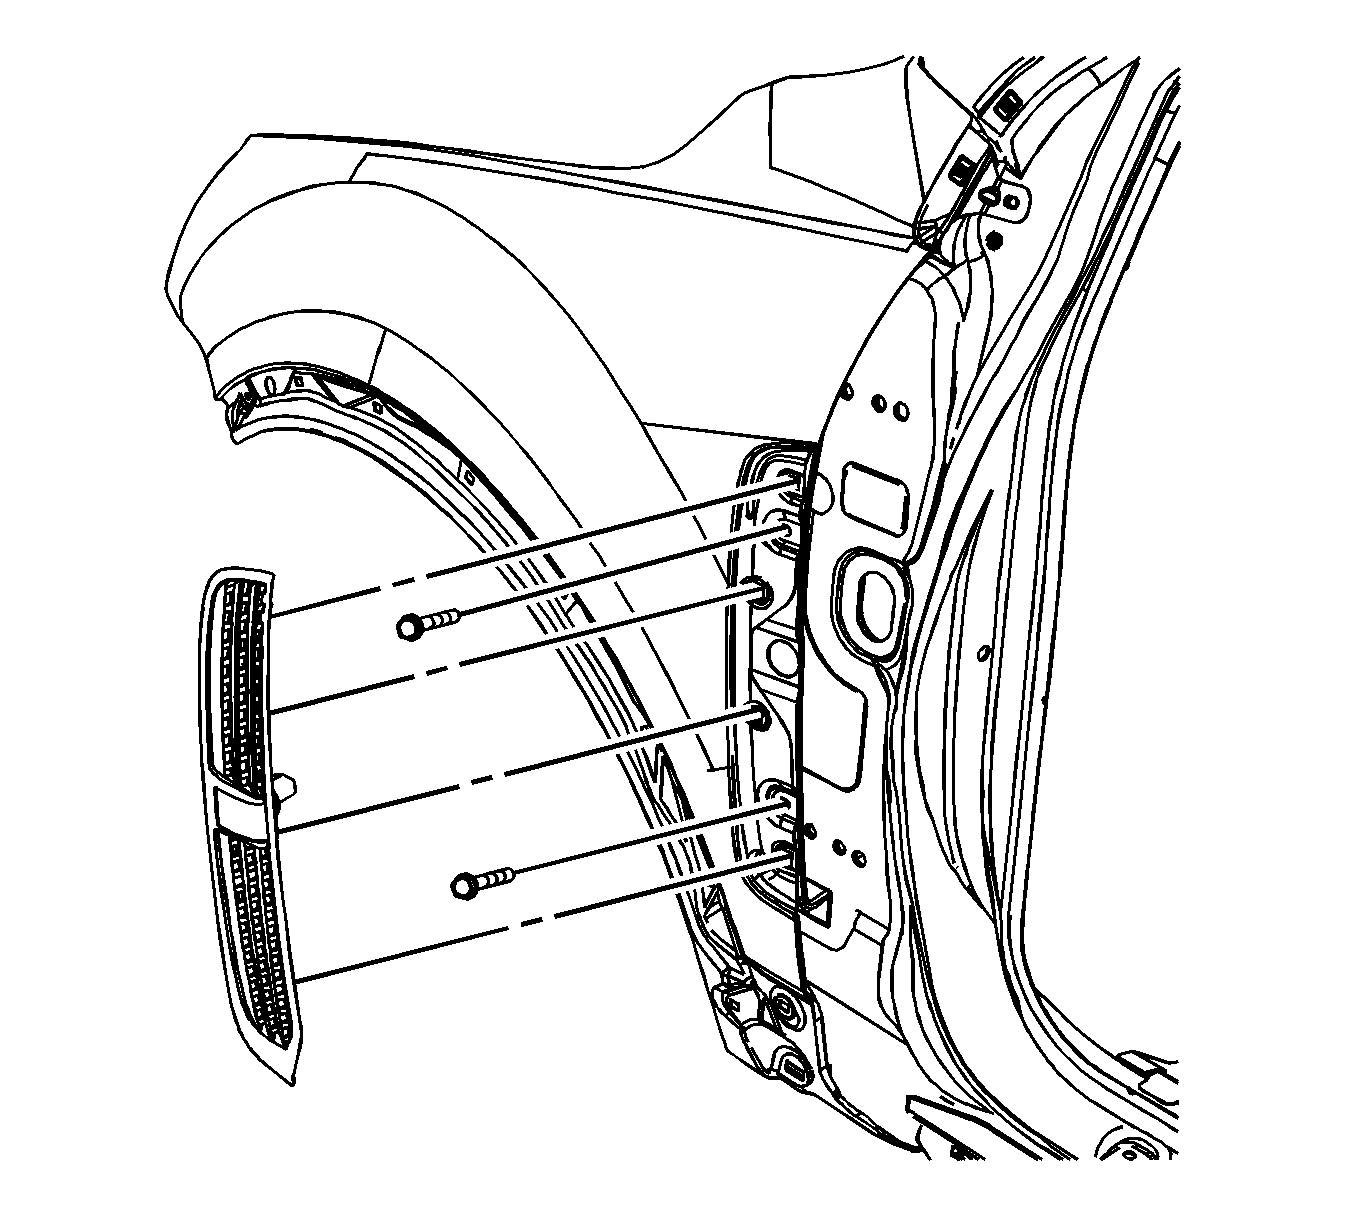
- Remove the fender center molding from the fender by disengaging the four retainer clips.
- Remove the fender bolts.
- Remove the upper fender bolts and the fender.


Installation Procedure
- Install the fender with the upper fender bolts.
- Install the bolt at the base of the A-pillar.
- Install the bolts at the base of the fender.
- Install the rocker panel molding. Refer to Rocker Panel Molding Replacement.
- Install the front fender bolts behind the front fascia.
- Install the fender bolts.
- Install the fender center molding.
- Install the front fascia to its original position.
- Install the bolts securing the front fascia to the fender.
- Install the front fender liner. Refer to Fender Liner Replacement.
Notice: Refer to Fastener Notice in the Preface section.

Tighten
Tighten the upper fender bolts to 10 N·m (89 lb in).

Tighten
Tighten the A-pillar fender bolt to 10 N·m (89 lb in).

Tighten
Tighten the lower fender bolts to 10 N·m (89 lb in).
Tighten
Tighten the front fender bolts to 10 N·m (89 lb in).

Tighten
Tighten the front fender bolts to 10 N·m (89 lb in).

Tighten
Tighten the front fascia-to-fender bolts to 2.5 N·m (22 lb in).
