Removal Procedure
- Disconnect the negative battery cable. Refer to Battery Negative Cable Disconnection and Connection.
- Remove the engine dress cover. Refer to Engine Front Cover Replacement.
- If required, remove the upper intake manifold assembly. Refer to Upper Intake Manifold Replacement.
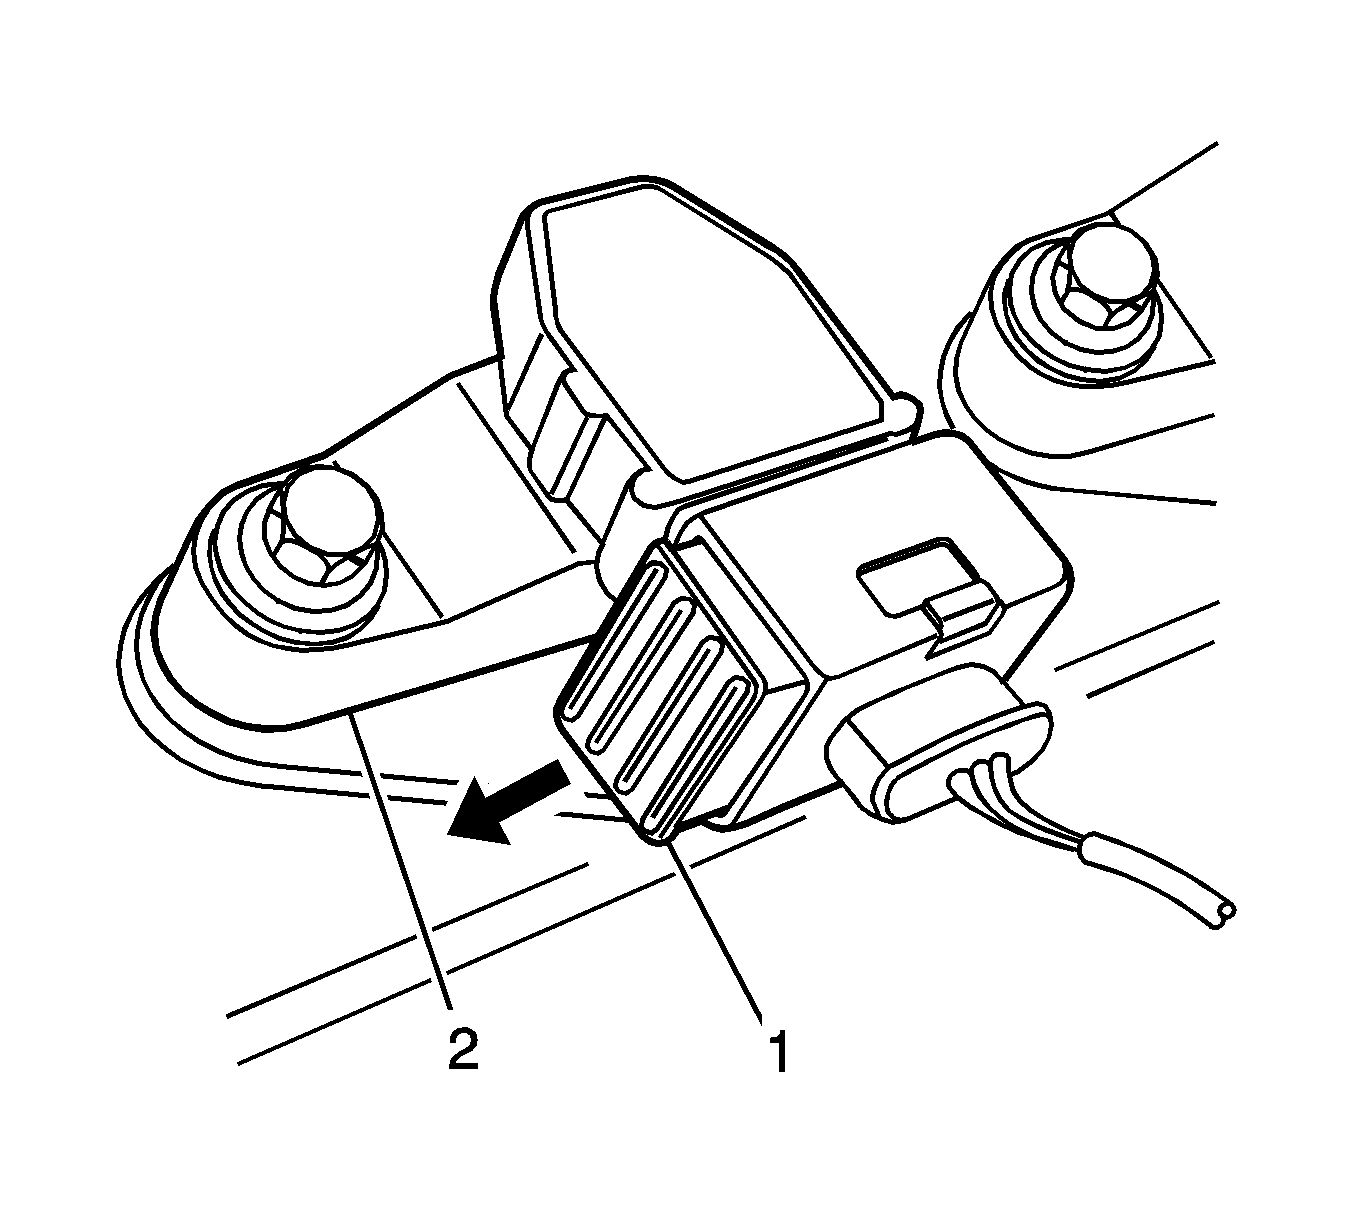
- Using a flat-bladed screwdriver, slide the connector retaining latch (1) in the direction of the arrow.
- Remove the wiring harness connector from the ignition coil (2).
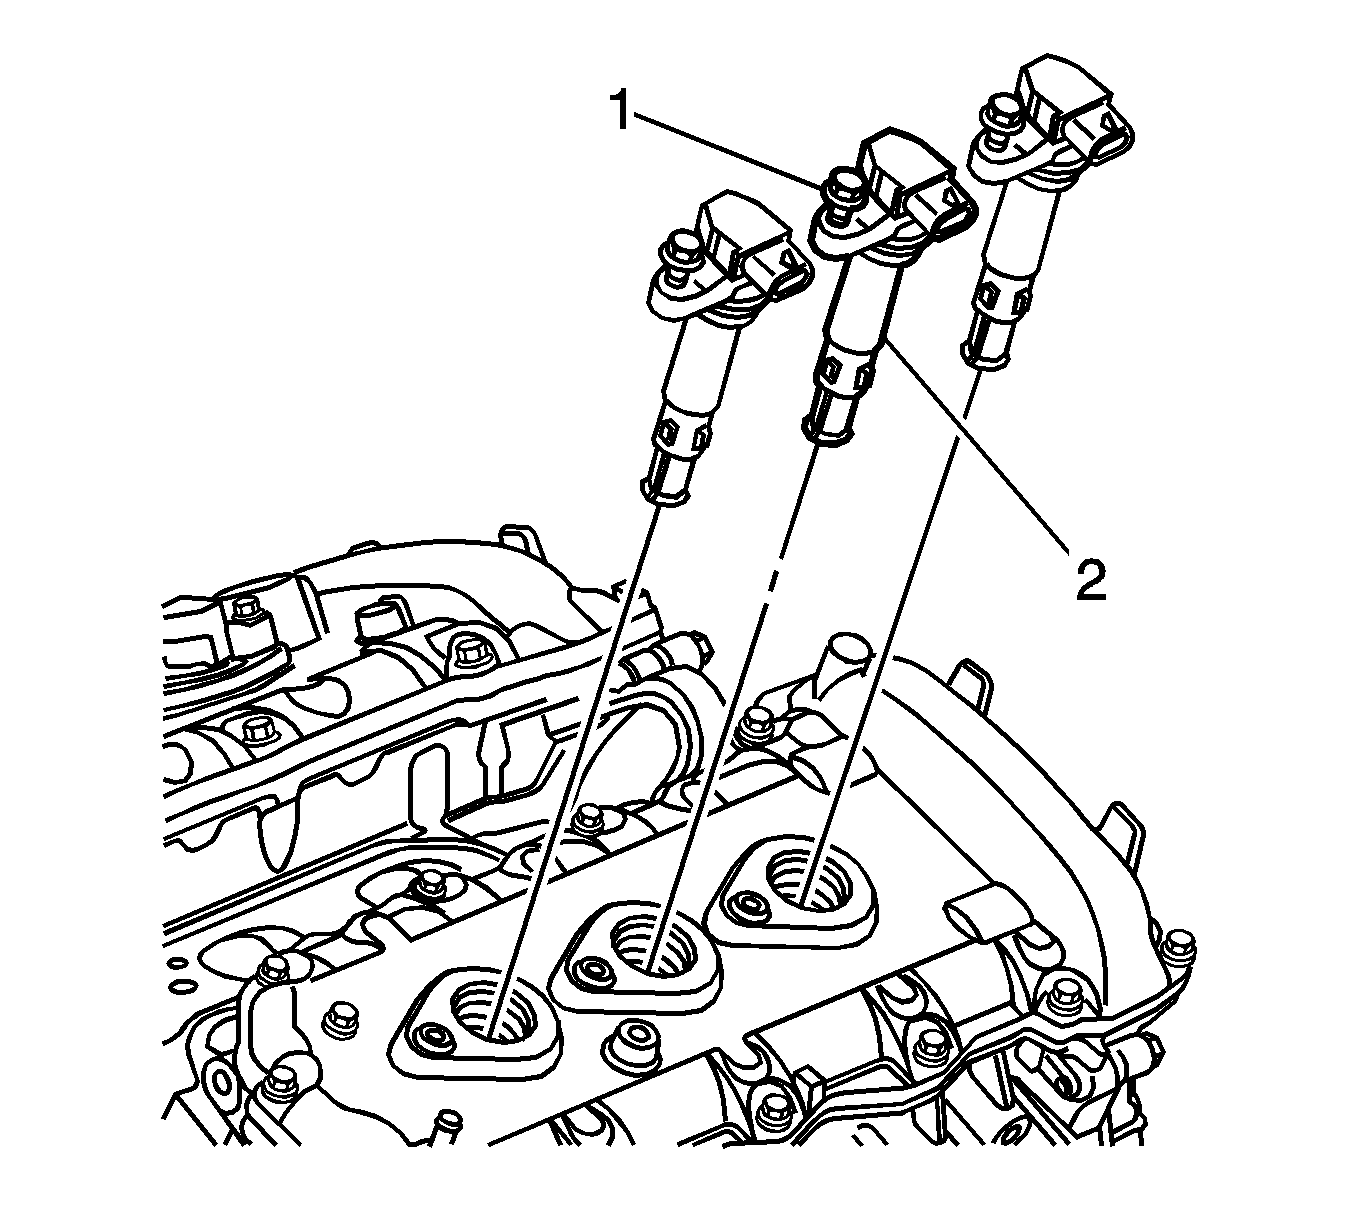
- Fully loosen the bolt (1) attaching the ignition coil (2) to the camshaft cover.
- Remove the ignition coil by first, twisting the coil to release it, and then pulling the ignition coil upwards to remove it.
- Using your thumb, work the ignition coil boot (2) off the ignition coil insulator (3).
- Remove the spring (1) from the ignition coil insulator.
Warning: Refer to Battery Disconnect Warning in the Preface section.
Note: If removing the upper intake manifold, plug the lower manifold openings to prevent dirt and other contaminants from entering.
Note: Clean the area around the ignition coil before removal to avoid debris from entering the engine.
Note: The ignition coil bolts are captive. Do not attempt to remove the bolts from the ignition coil.
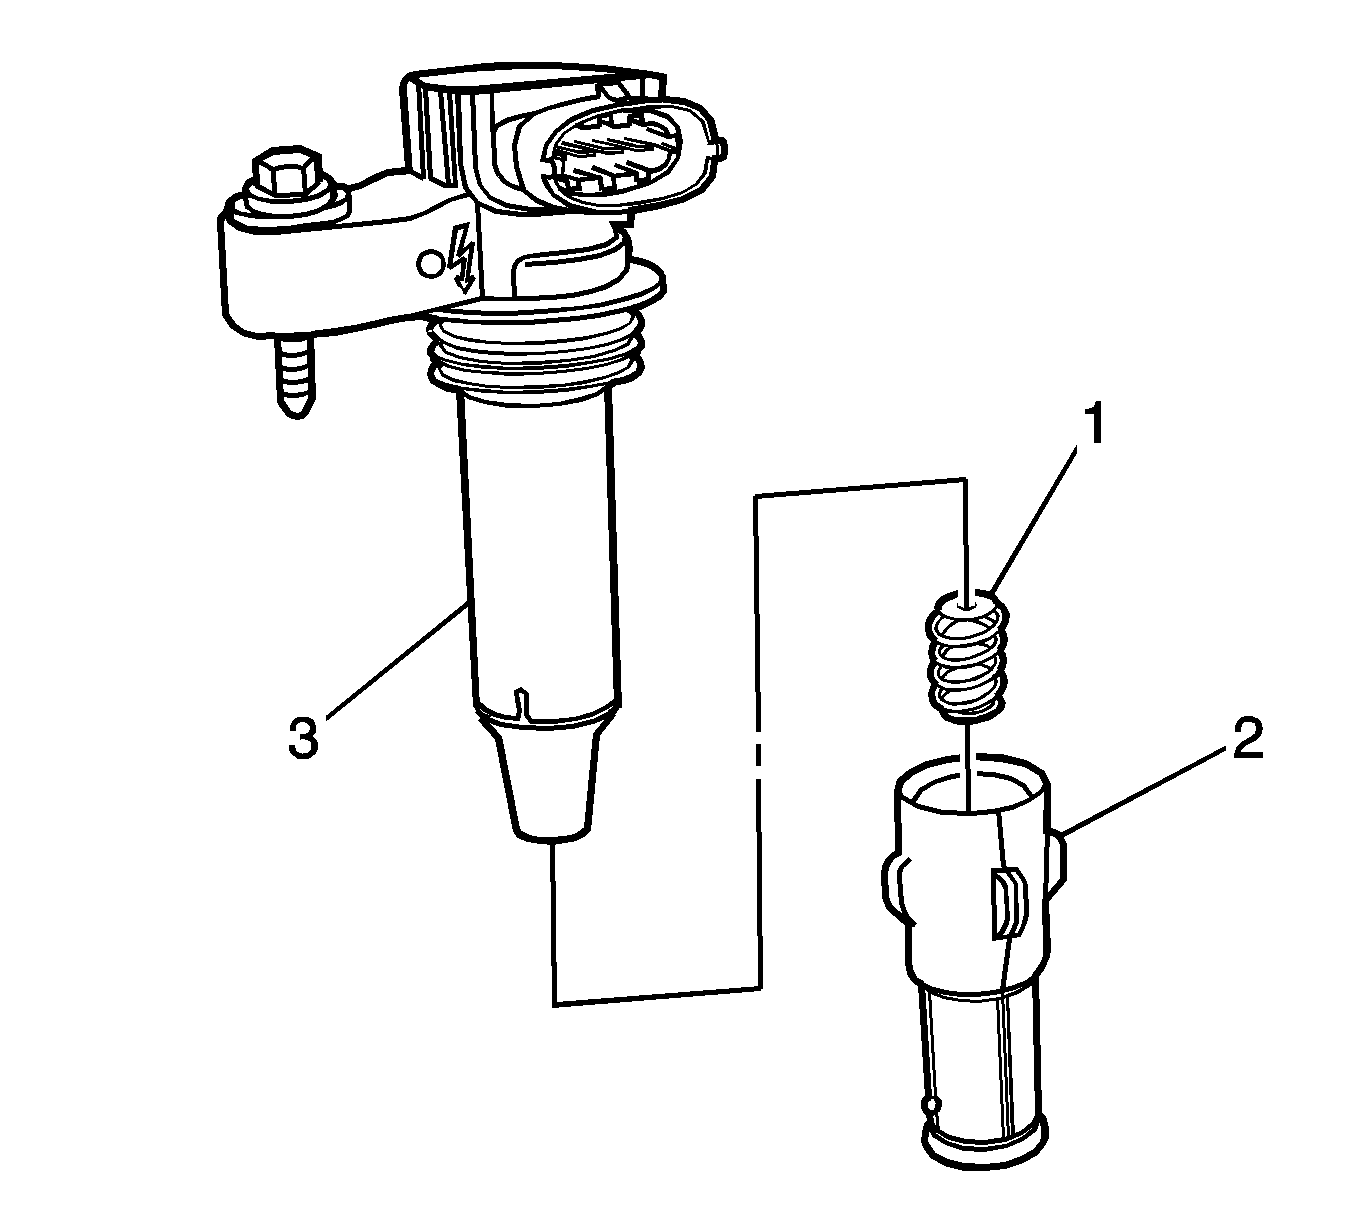
Note: Take care the spring does not become dislodged as the boot is removed. To aid removal of the boot, use a blunt instrument to lift the boot edge away from the coil insulator and spray a release agent between the boot and the coil insulator.
Installation Procedure
- Position the spring in the insulator recess.
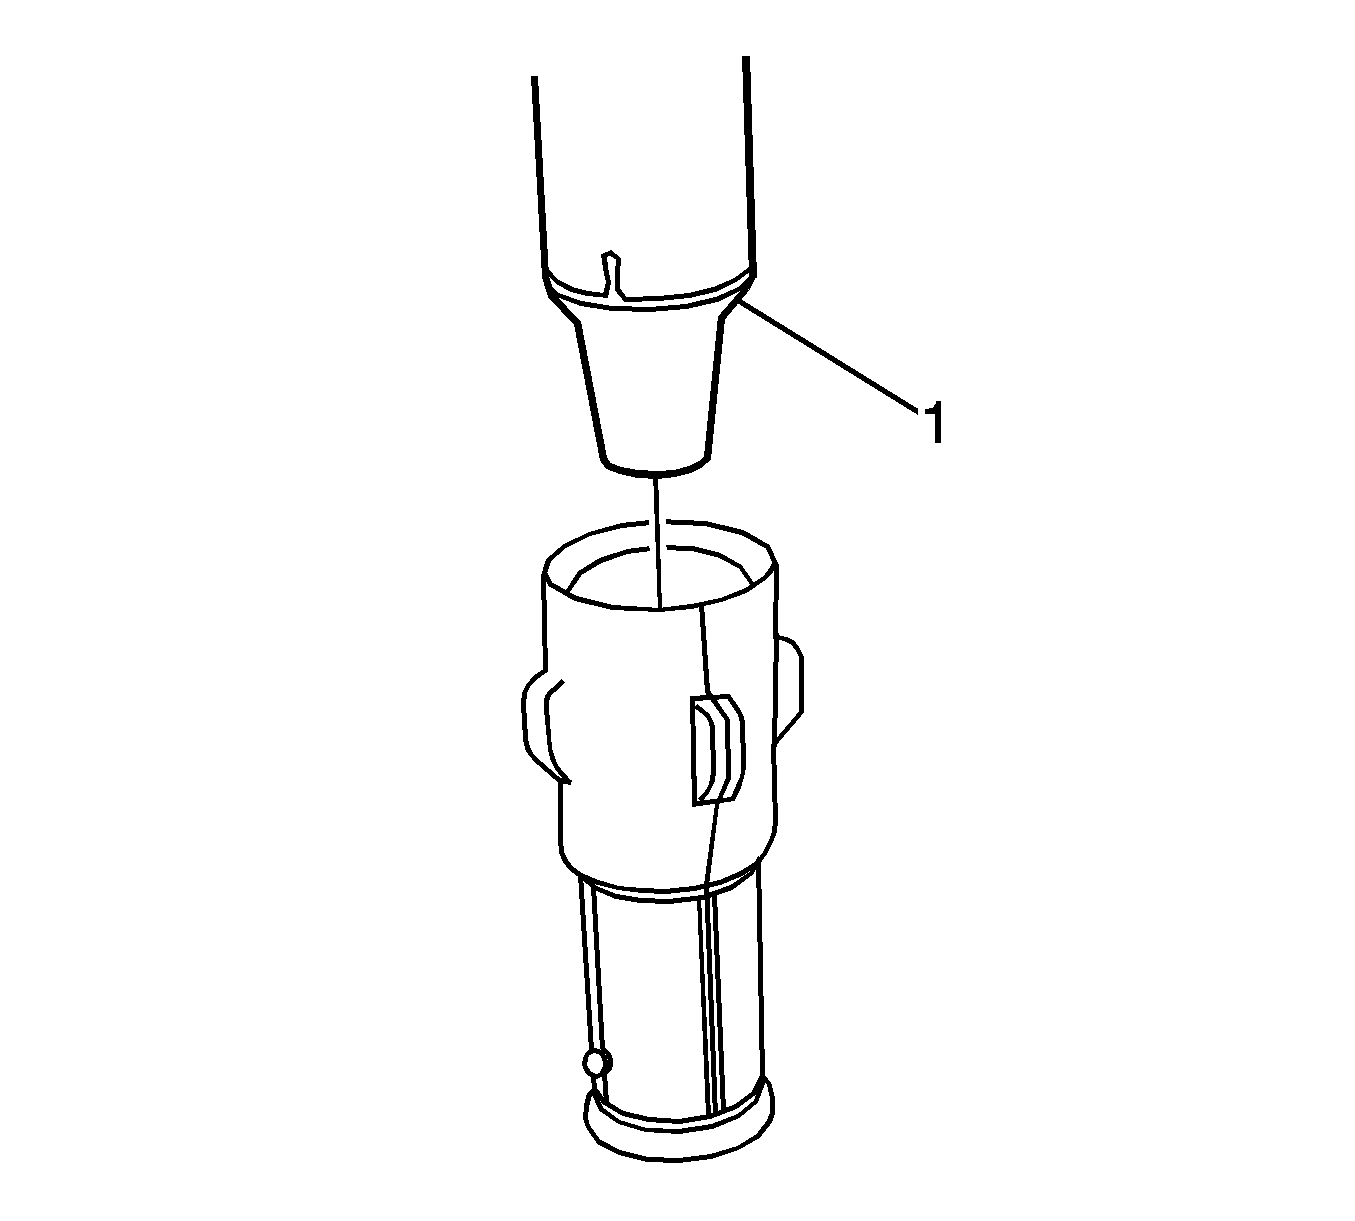
- Lubricate the ignition coil insulator (1) with talcum powder.
- Fit the ignition coil boot, ensuring it is fully seated at the top of the insulator.
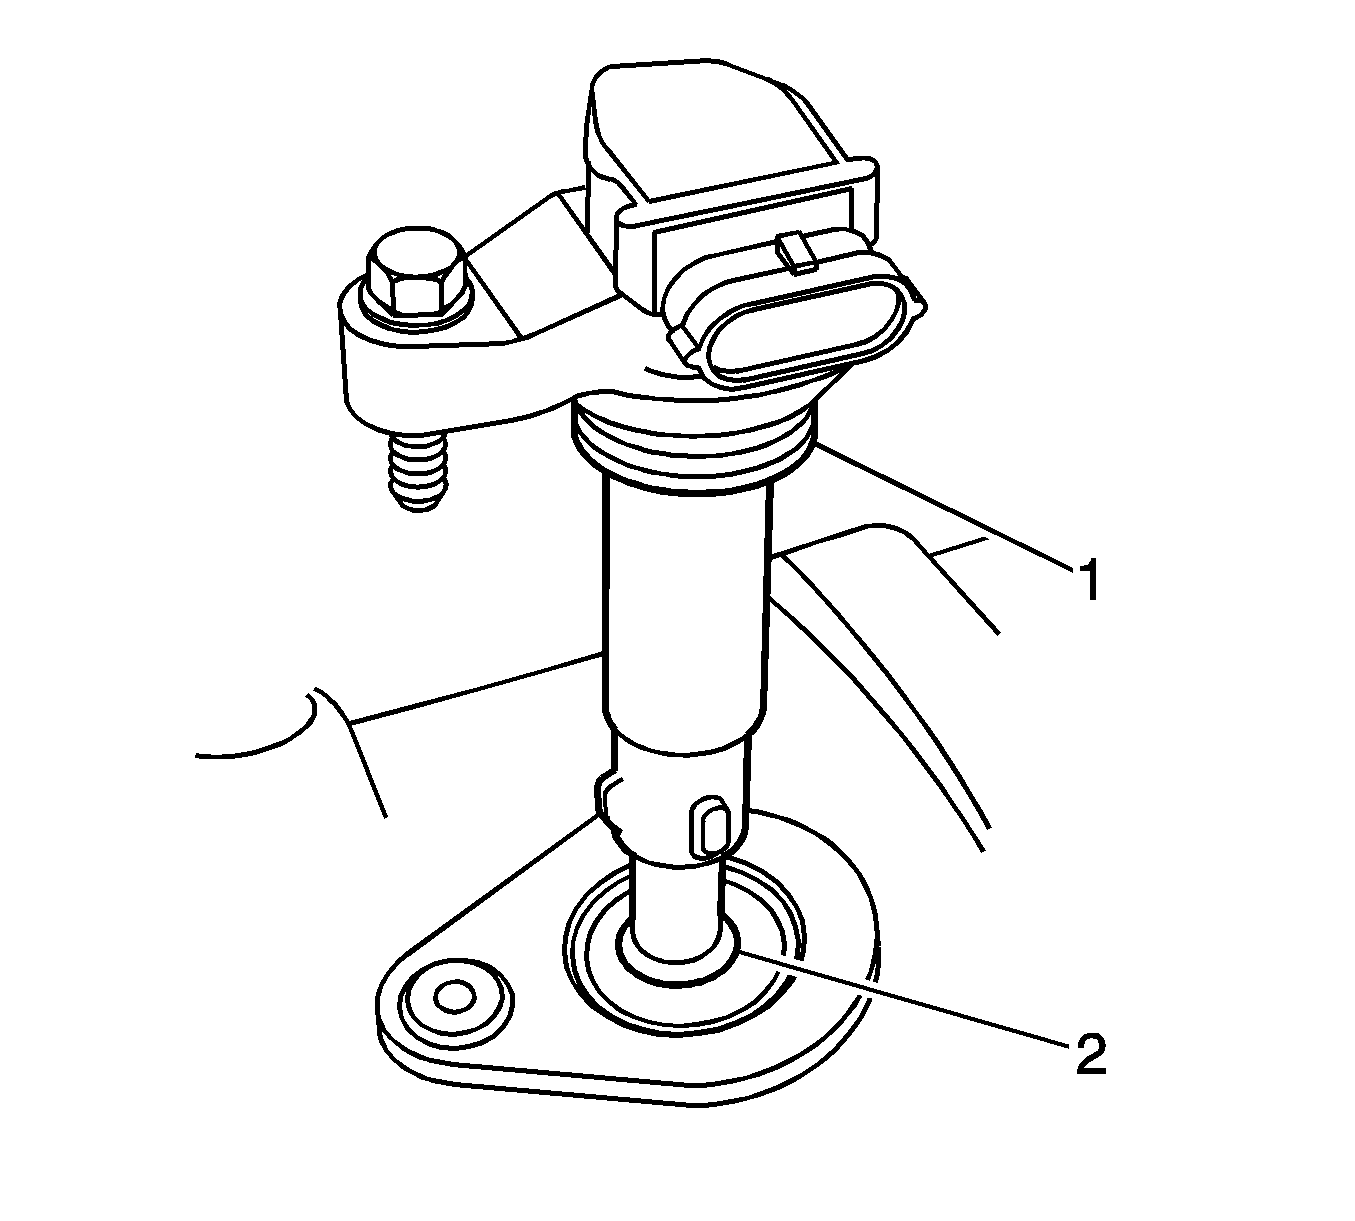
- Lubricate the ignition coil sealing rubber (1) with clean engine oil, and the inside of the ignition coil boot (2) with talcum powder.
- Install the ignition coil by pushing down on the ignition coil to engage the sealing rubber in the cylinder head cover.
- Install the ignition coil attaching bolt and tighten to 9 N·m (80 lb in).
- Connect the negative battery cable. Refer to Battery Negative Cable Disconnection and Connection.
Caution: Refer to Fastener Caution in the Preface section.
Note: Ensure the ignition coil is fully seated before tightening the attaching bolt to the specified torque.
