For 1990-2009 cars only
Removal Procedure
- Raise and support the vehicle. Refer to Lifting and Jacking the Vehicle .
- Drain the rear differential, if needed. Refer to Rear Axle Lubricant Replacement .
- Remove the exhaust system. Refer to Muffler Replacement .
- Remove the rear wheel drive shafts. Refer to Rear Wheel Drive Shaft Replacement .
- Remove the propeller shaft from the vehicle. Refer to Propeller Shaft Replacement .
- Support the rear differential with a transmission jack stand.
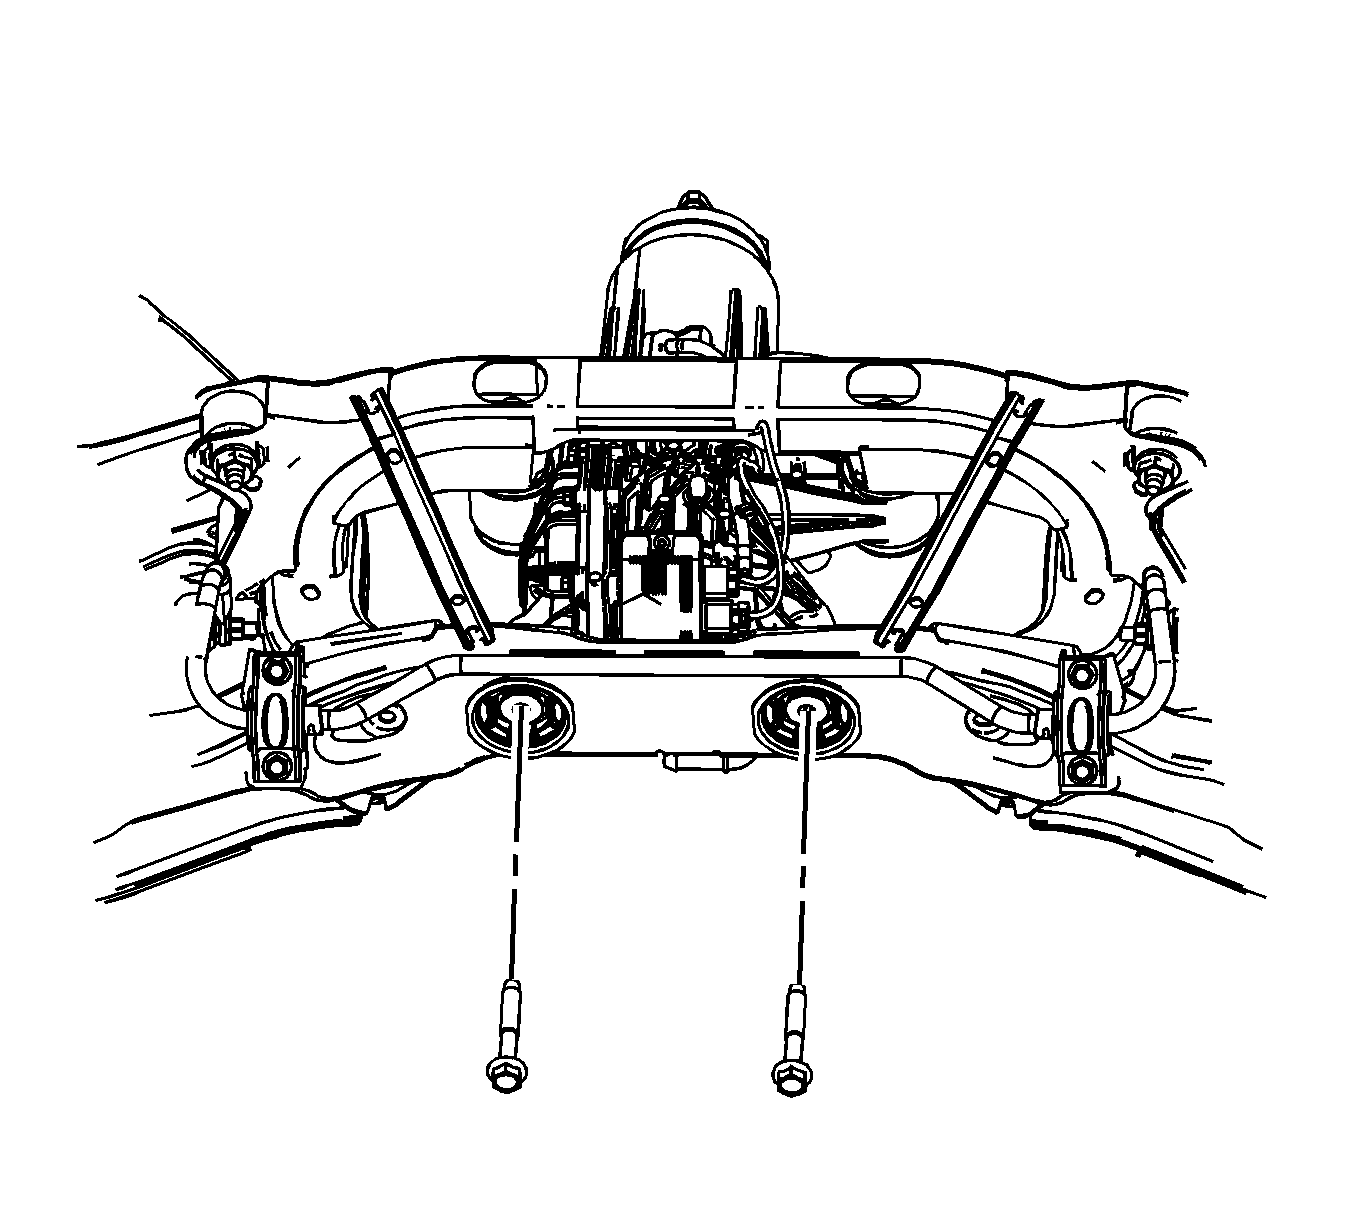
- Remove the rear differential support bushing bolts.
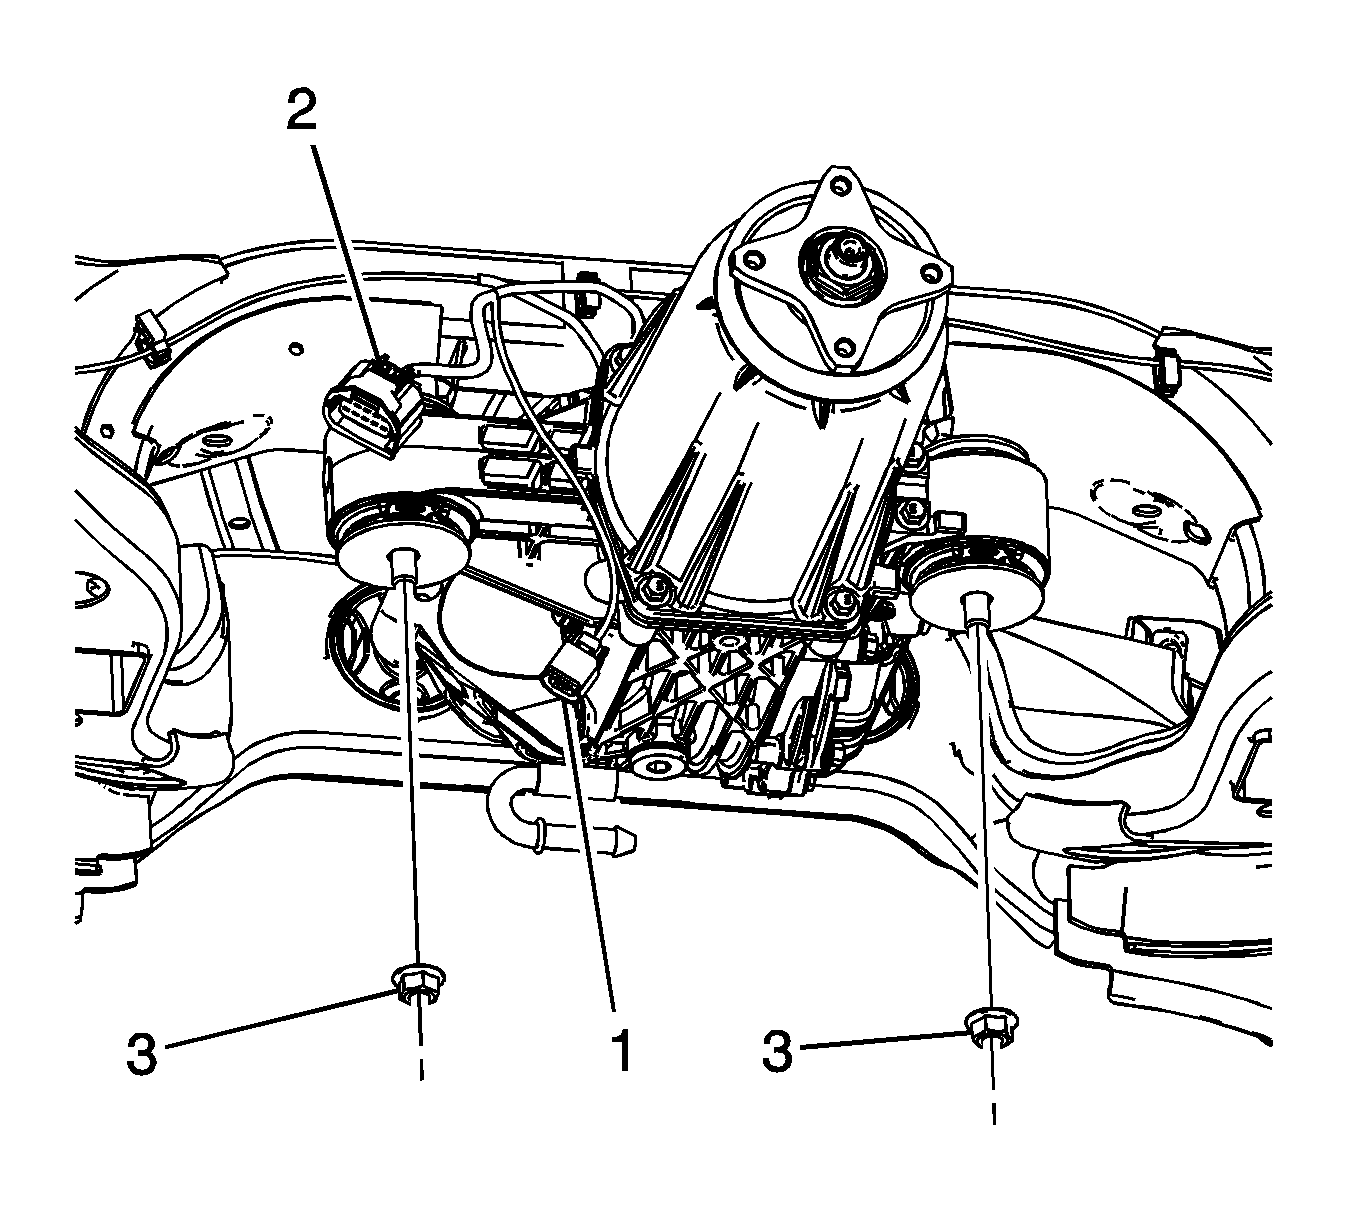
- Remove the front mounting nuts for the rear differential (3).
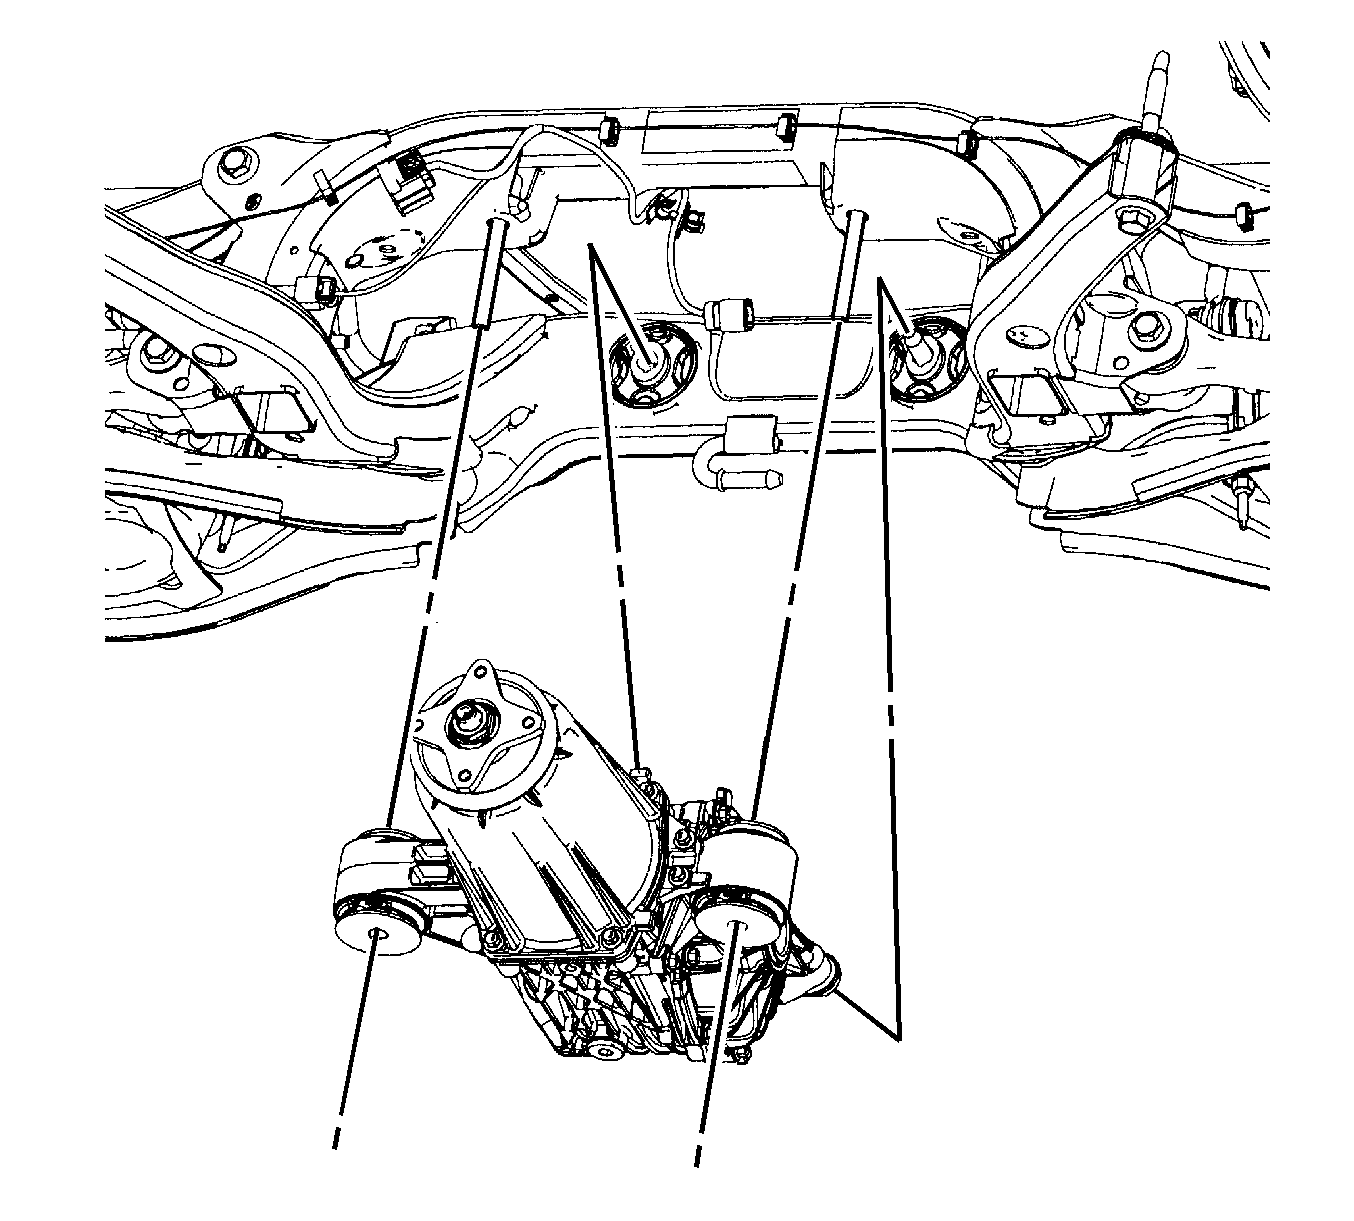
- Lower the rear differential to gain access rear differential clutch control module.
- Remove the small electrical connector from the control module (1).
- Remove the large electrical connector from the control module (2).
- Remove the rear differential assembly from the vehicle.


Installation Procedure
- Position the rear differential assembly in the rear cradle.
- Install the small electrical connector (1).
- Install the large electrical connector (2).
- Install the front mounting nuts (3).
- Install the rear differential support bushing bolts.
- Raise the rear differential assembly into place.
- Tighten the front mounting nuts.
- Tighten the rear differential support bushing bolts.
- Remove the transmission jack stand.
- Install the propeller shaft. Refer to Propeller Shaft Replacement .
- Install the rear wheel drive shafts. Refer to Rear Wheel Drive Shaft Replacement .
- Install the exhaust system. Refer to Muffler Replacement .
- Fill the rear differential assembly with fluid, if drained. Refer to Rear Axle Lubricant Replacement .
- Lower the vehicle.

Important: When positioning the rear differential assembly in the rear cradle, leave enough room to access the clutch control module.

Important: When installing the front mounting bolts tighten by hand.

Notice: Refer to Fastener Notice in the Preface section.
Tighten
Tighten the nuts to 122 N·m (90 lb ft).
Tighten
Tighten the nuts to 188 N·m (139 lb ft).
