Special Tools
| • | J 8062
Valve Spring Compressor |
| • | J 43963
Valve Spring Compressor (off car) |
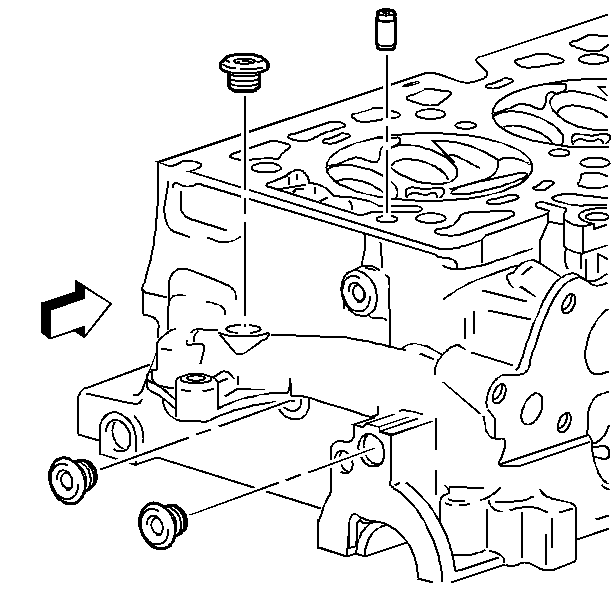
Notice: In order to avoid damage, install the spark plugs after the cylinder
head has been installed on the engine.
- Install NEW cylinder head plugs. Coat the plugs with sealer GM P/N 12345382 (Canadian P/N 10953489) or equivalent.
- Inspect the valve springs for the following conditions:
| • | Any distorted springs should be replaced |
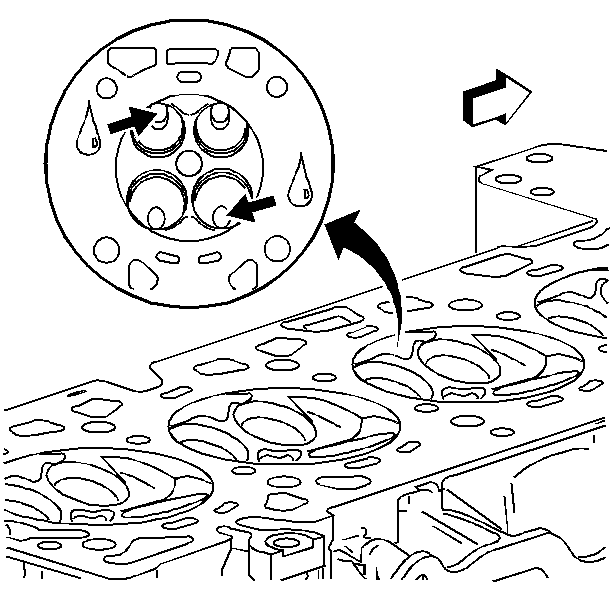
- Assemble the valves.
- Use the following steps to measure valve runout:
| 4.1. | Apply a dab of Prussian blue on the entire valve face. Seat the valve but do not rotate it. The Prussian blue traces transferred to the valve seat are an indication of concentricity of the valve seat. |
| 4.2. | Clean all traces of Prussian blue. |
| 4.3. | Apply a dab of Prussian blue on the valve seat and repeat the check. The traces of Prussian blue transferred to the valve face indicates valve face concentricity. |
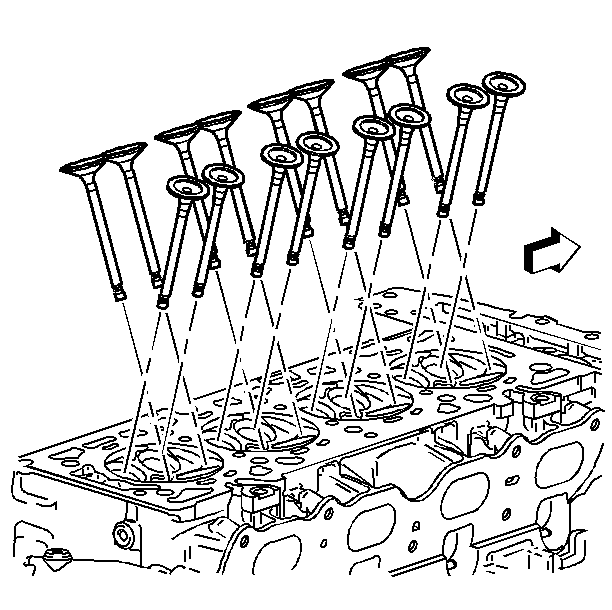
- Replace the valves, if required.
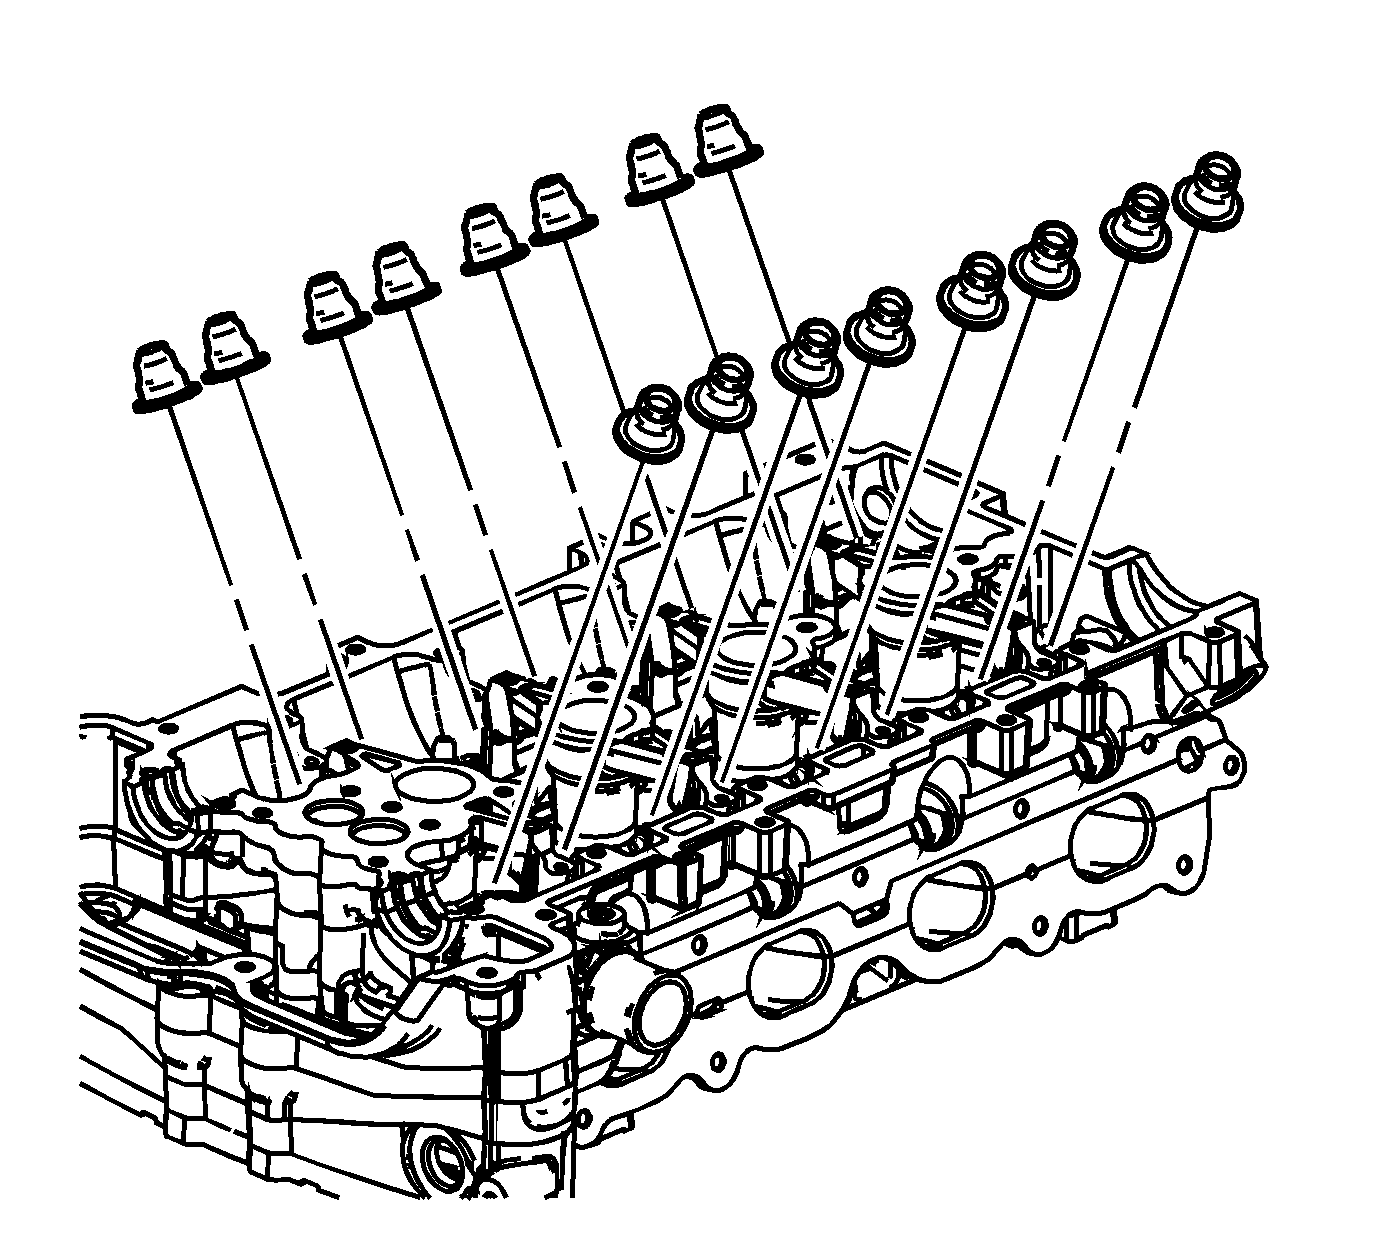
- Install the new valve seals. Fully seat the seals on the valve guides.
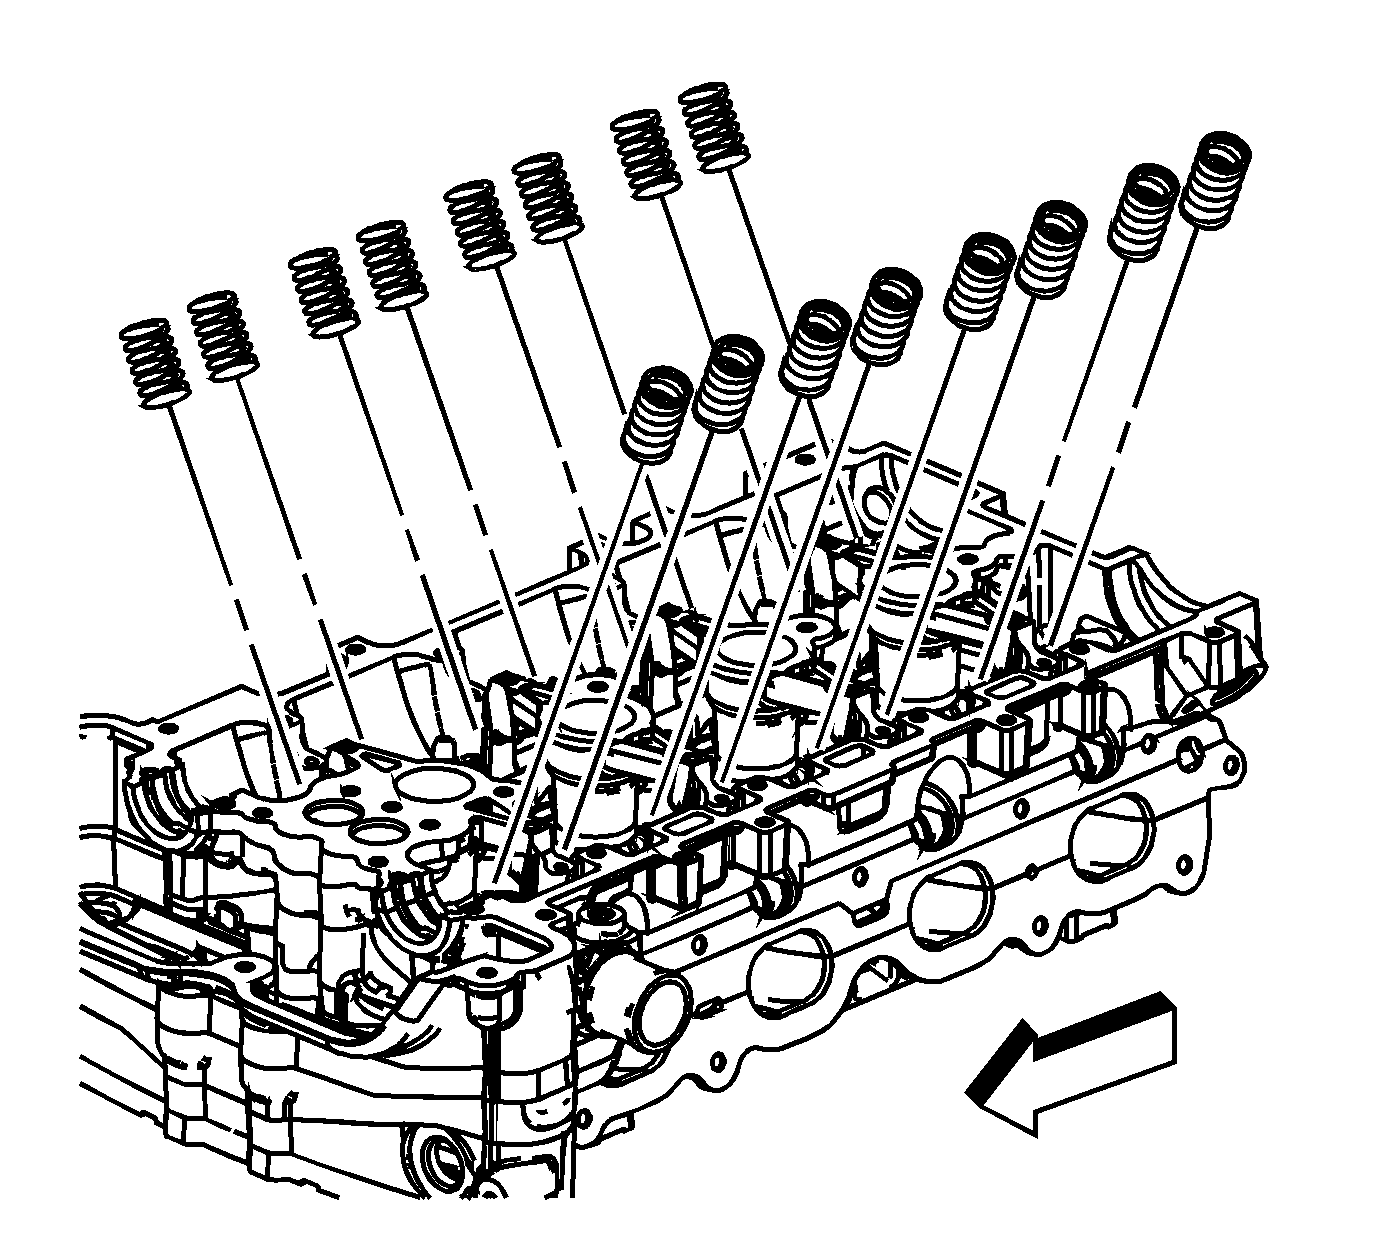
- Install the springs.
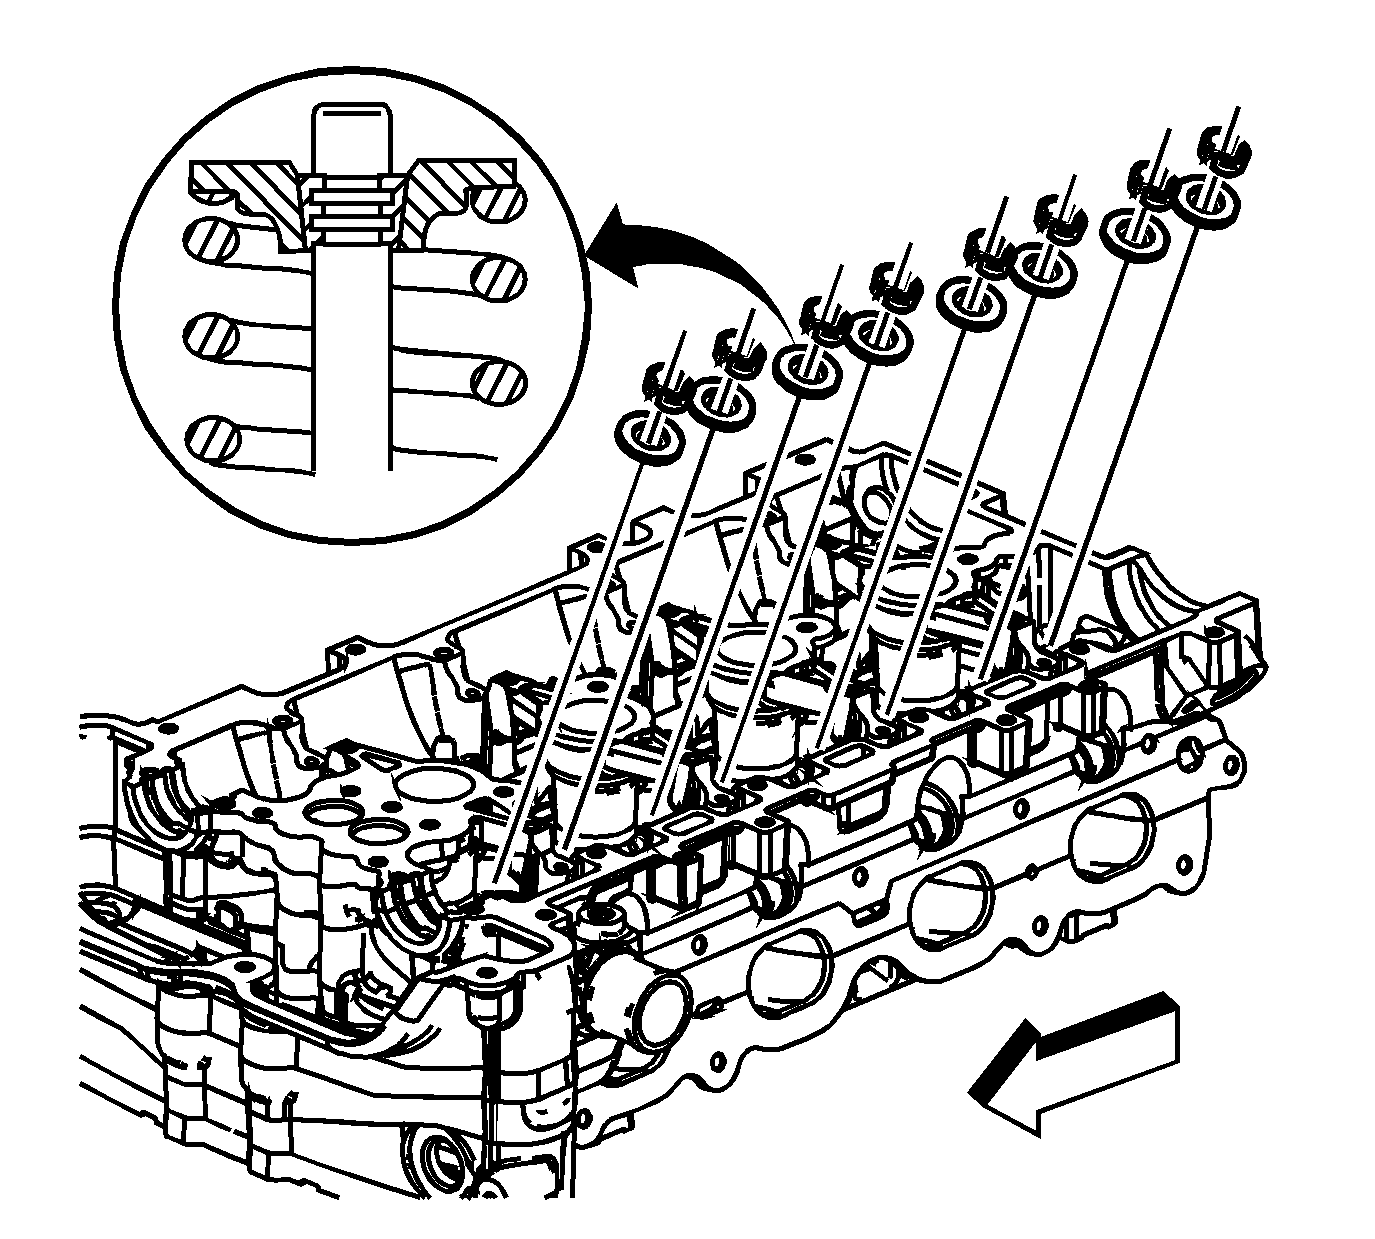
- Install the retainer.
- Using the
J 8062
and the
J 43963
, compress the valve spring.
- Install the valve keys.
- Slowly release the
J 8062
and the
J 43963
from the valve/spring assembly.
- Inspect for proper valve key seating.
- Install the remaining valves, springs, and other components.
Notice: Refer to Fastener Notice in the Preface section.
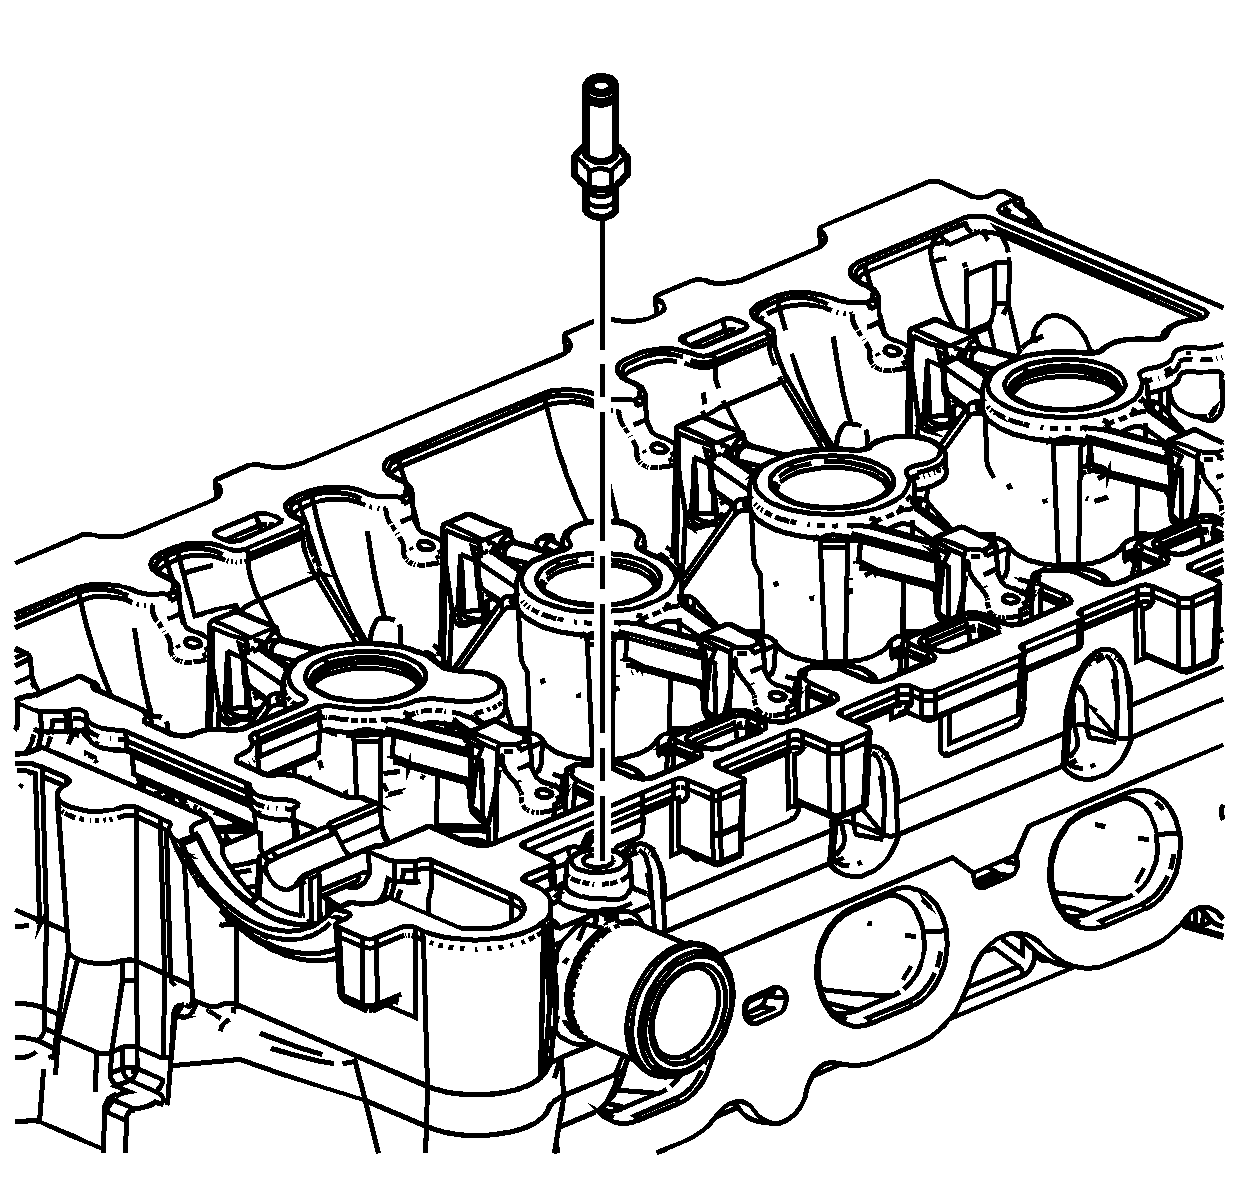
- Install the cylinder head air bleed tube.
Tighten
Tighten the tube to 15 N·m (11 lb ft).
Special Tools
| • | EN-8062 Valve Spring Compressor
|
| • | EN-9666 Valve Spring Tester
|
| • | EN-43963 Valve Spring Compressor (off car)
|
For equivalent regional tools, refer to
Special Tools.
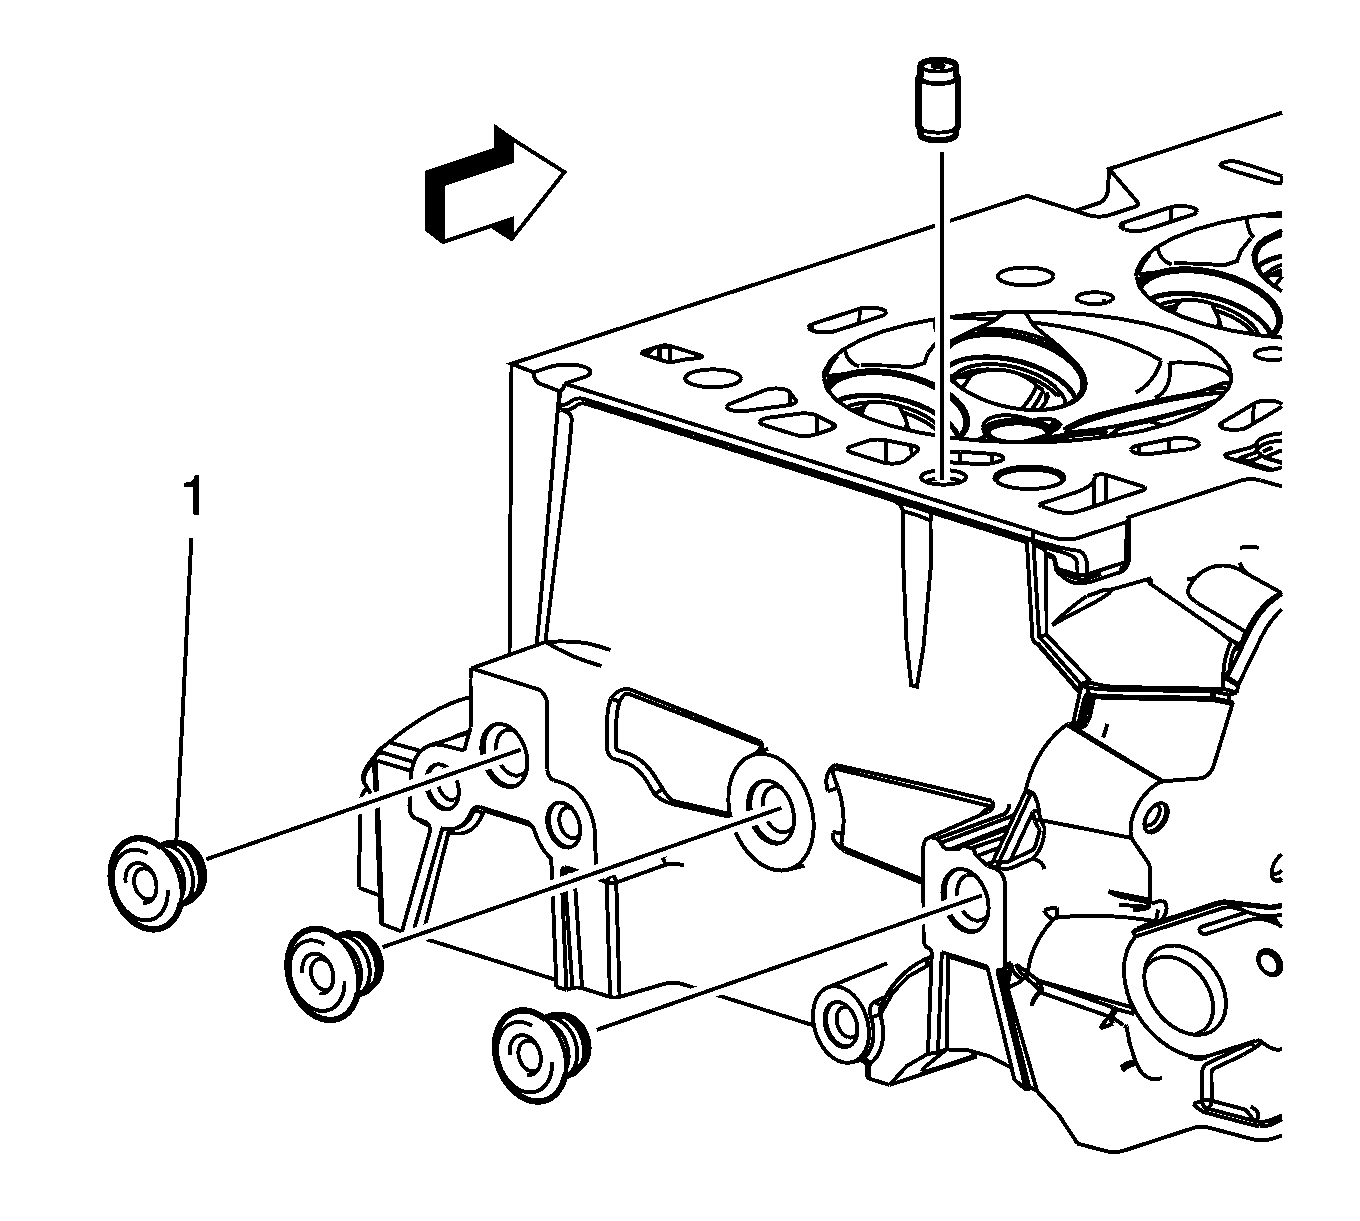
Caution: In order to avoid damage, install the spark plugs after the cylinder head has been installed on the engine.
- Install NEW cylinder head plugs (1). Coat the plugs with sealer GM P/N 12345382 (Canadian P/N 10953489) or equivalent.
- Inspect the valve springs for the following conditions:
| • | Spring tension using
EN-9666 tester
|
| • | Any distorted springs should be replaced |
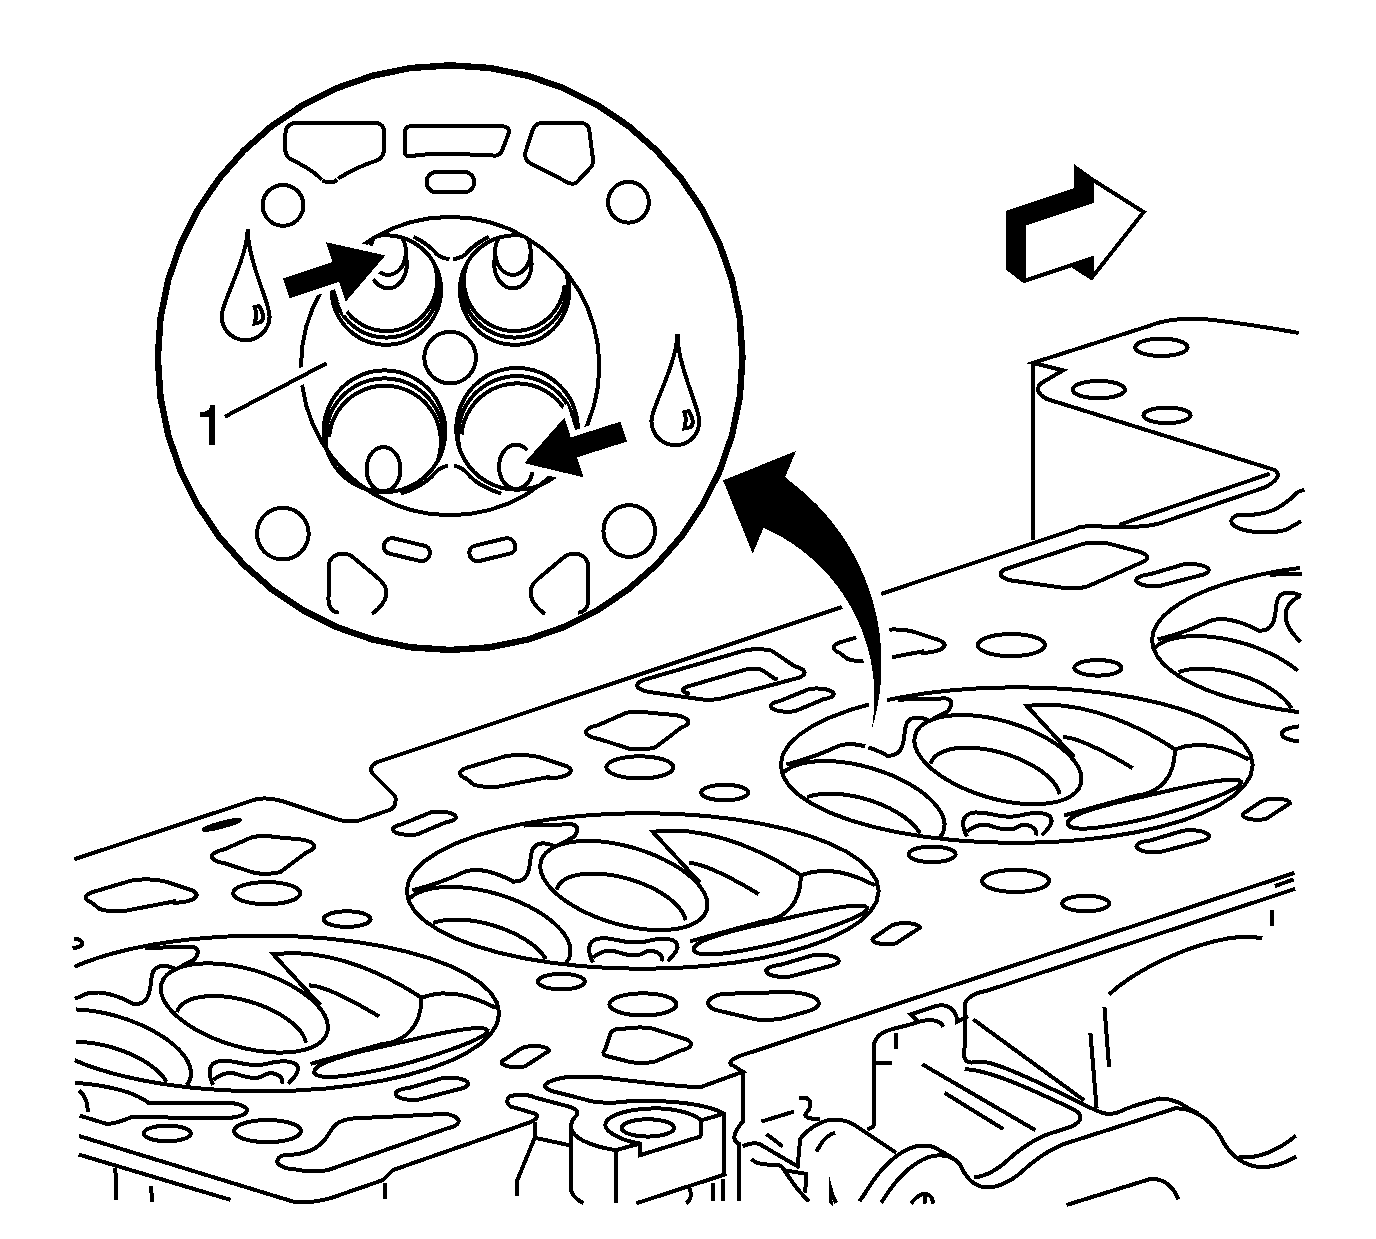
- Assemble the valves (1).
- Use the following steps to measure valve runout:
| 4.1. | Apply a dab of Prussian blue on the entire valve face. Seat the valve but do not rotate it. The Prussian blue traces transferred to the valve seat are an indication of concentricity of the valve seat. |
| 4.2. | Clean all traces of Prussian blue. |
| 4.3. | Apply a dab of Prussian blue on the valve seat and repeat the check. The traces of Prussian blue transferred to the valve face indicates valve face concentricity. |
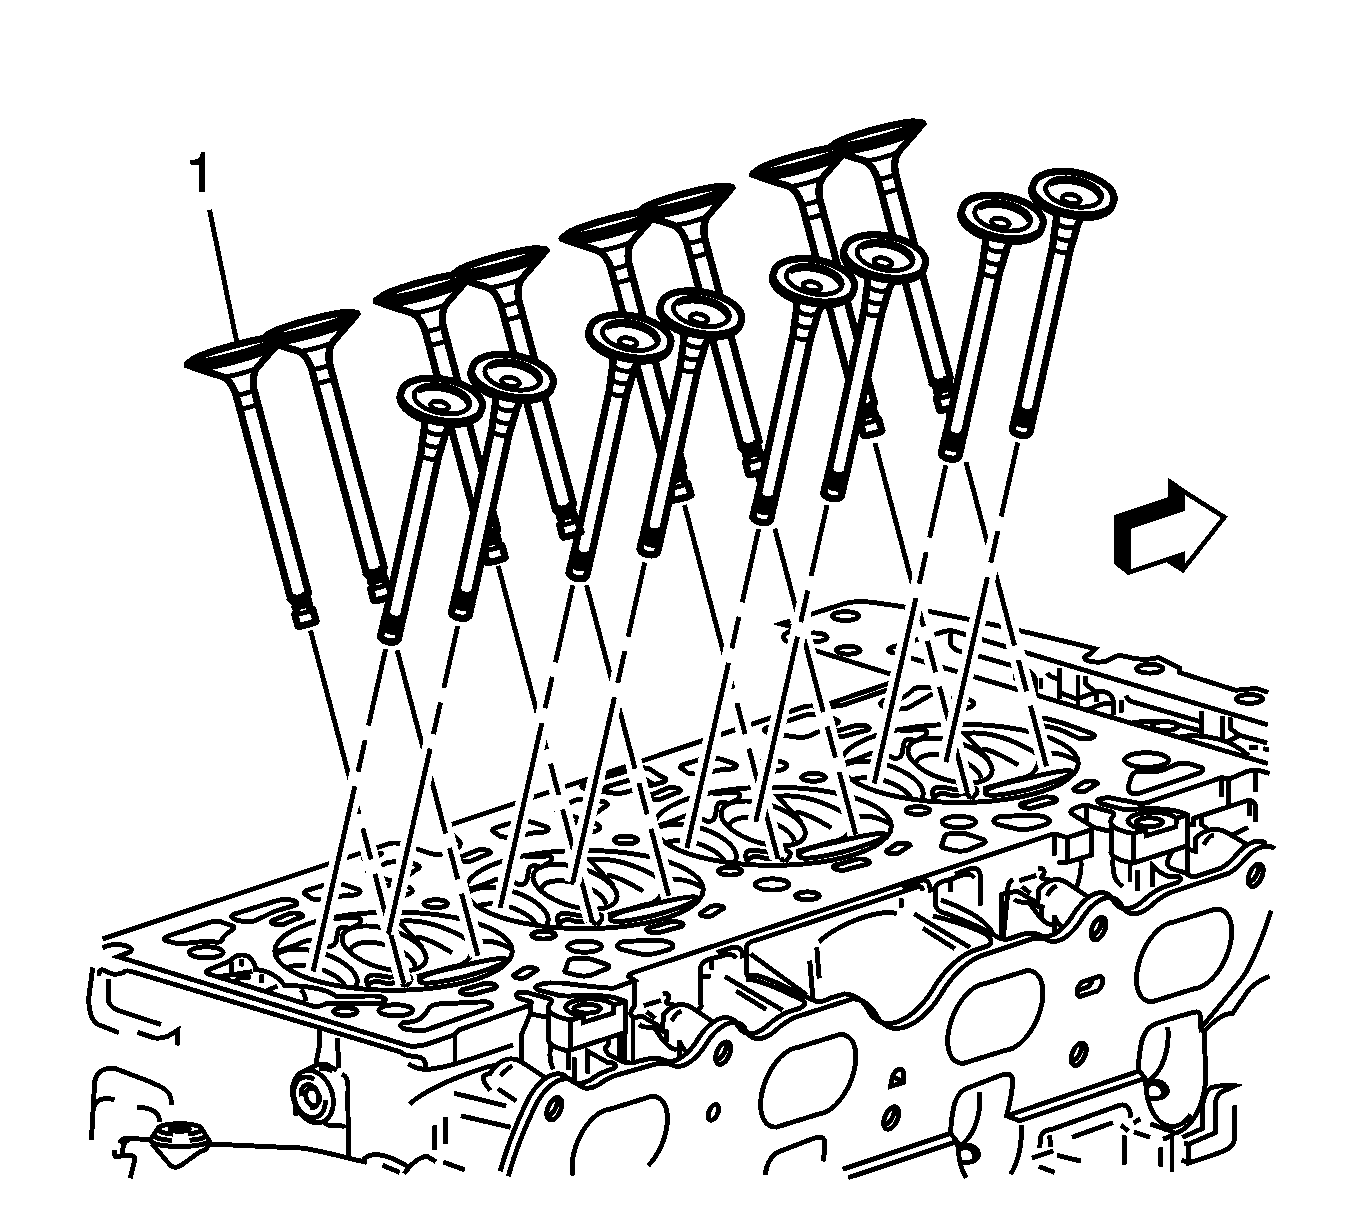
- Replace the valves (1), if required.
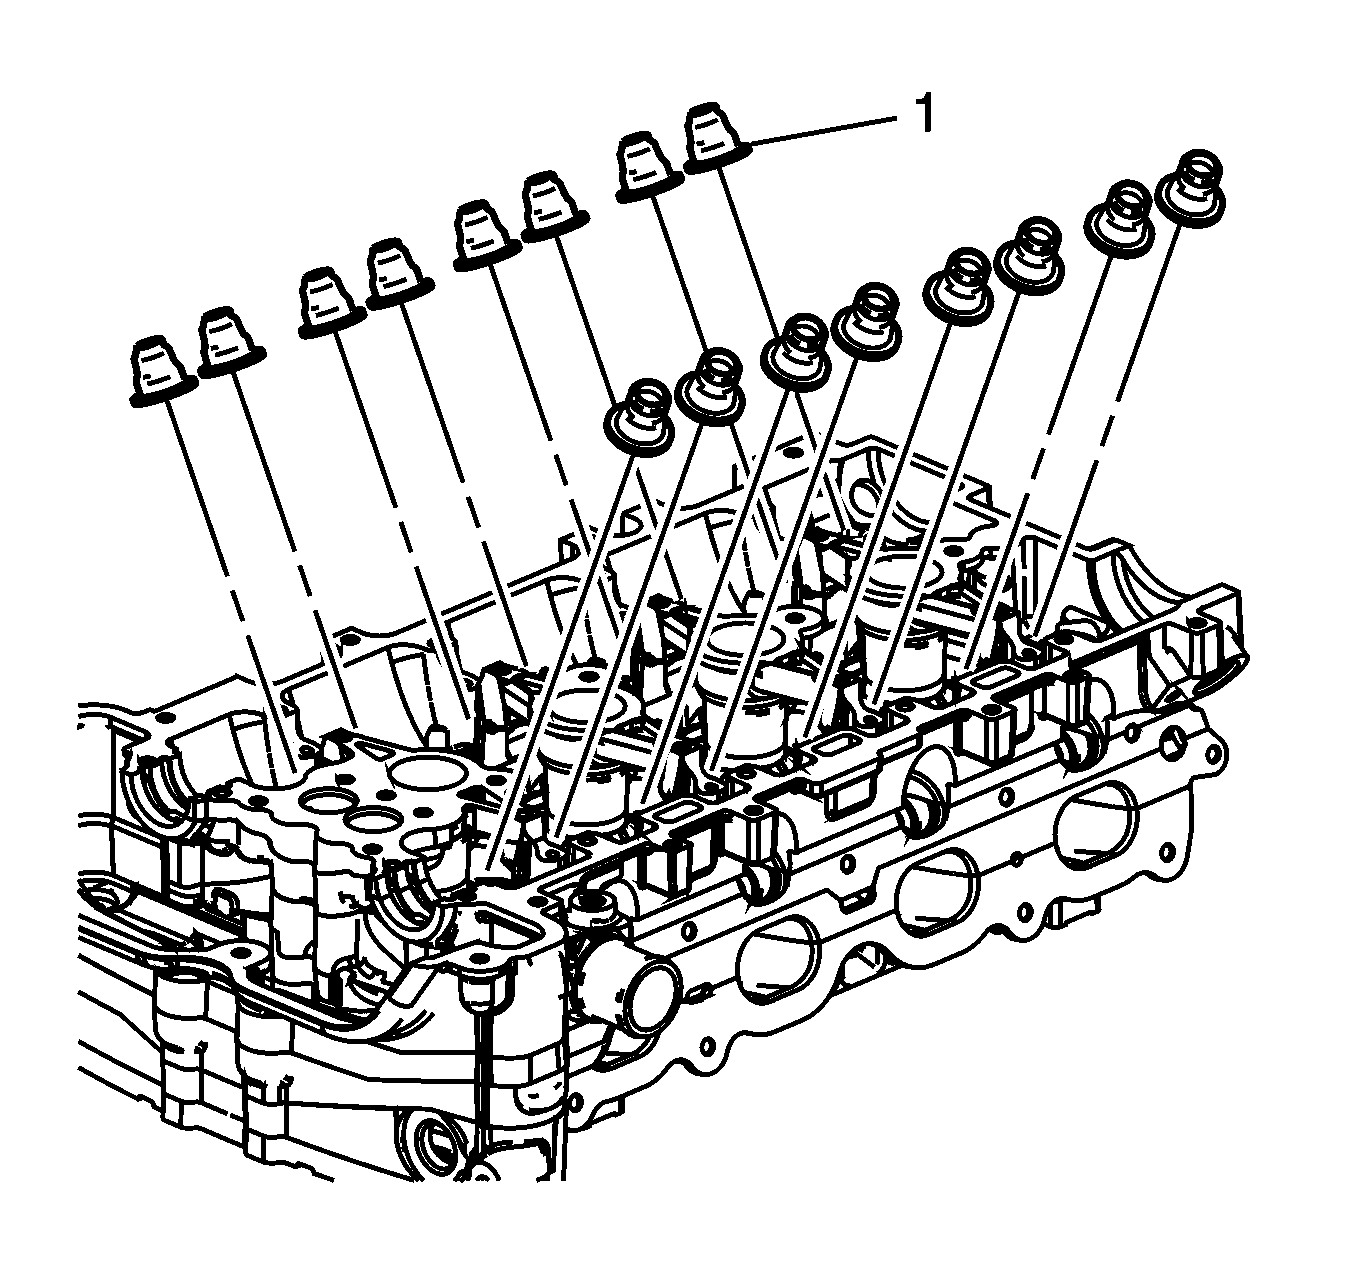
- Install the new valve seals (1). Fully seat the seals on the valve guides.
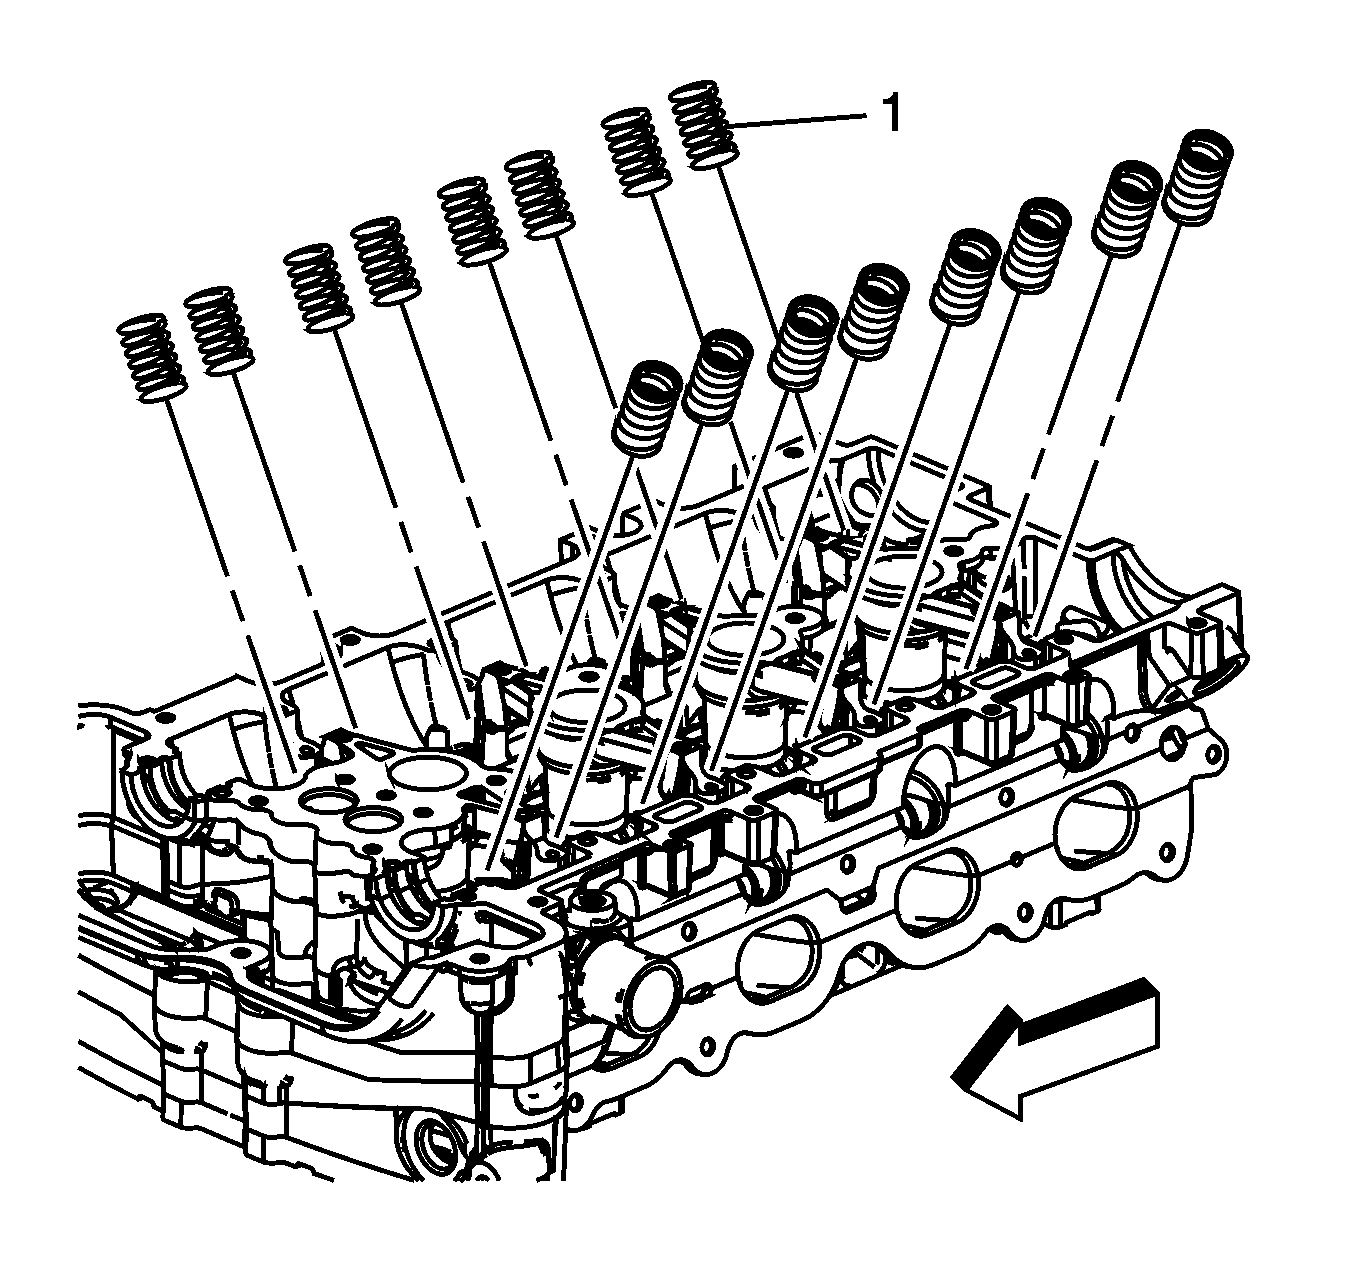
- Install the springs (1).
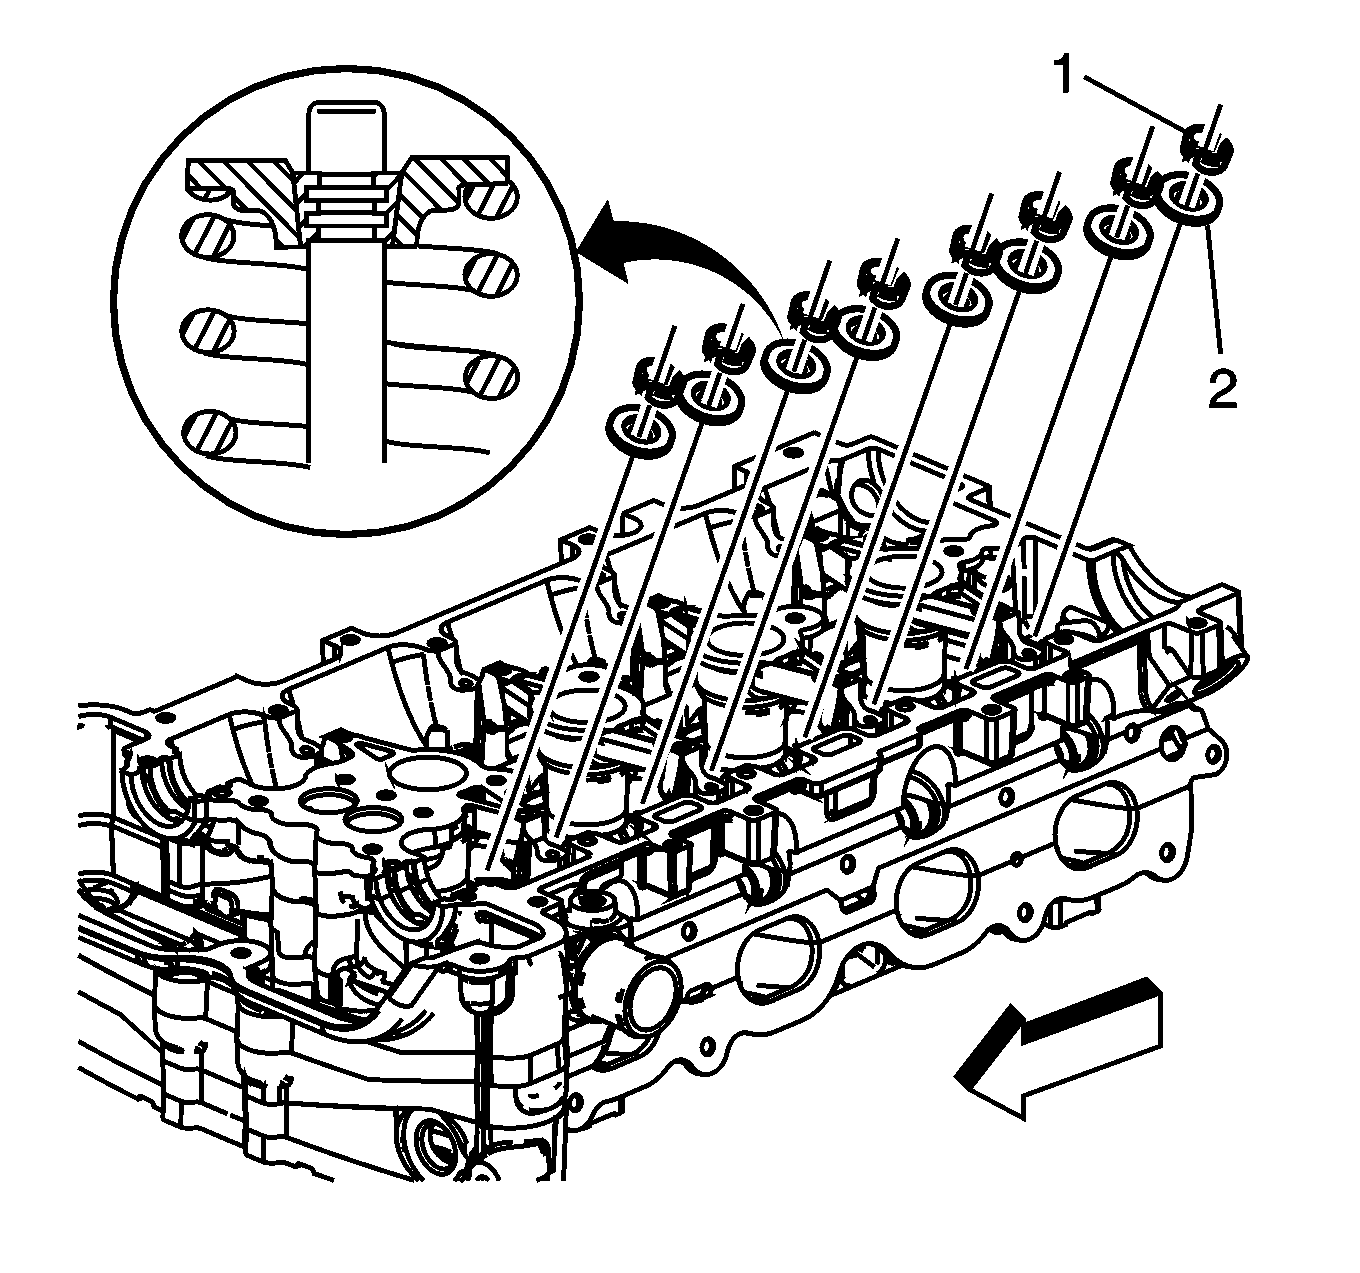
- Install the retainer (1).
- Using the
EN-8062 compressor
and the
EN-43963 compressor (off car)
, compress the valve spring.
- Install the valve keys.
- Slowly release the
EN-8062 compressor
and the
EN-43963 compressor (off car)
from the valve/spring assembly.
- Inspect for proper valve key seating.
- Install the remaining valves, springs, and other components.
Caution: Refer to Fastener Caution in the Preface section.
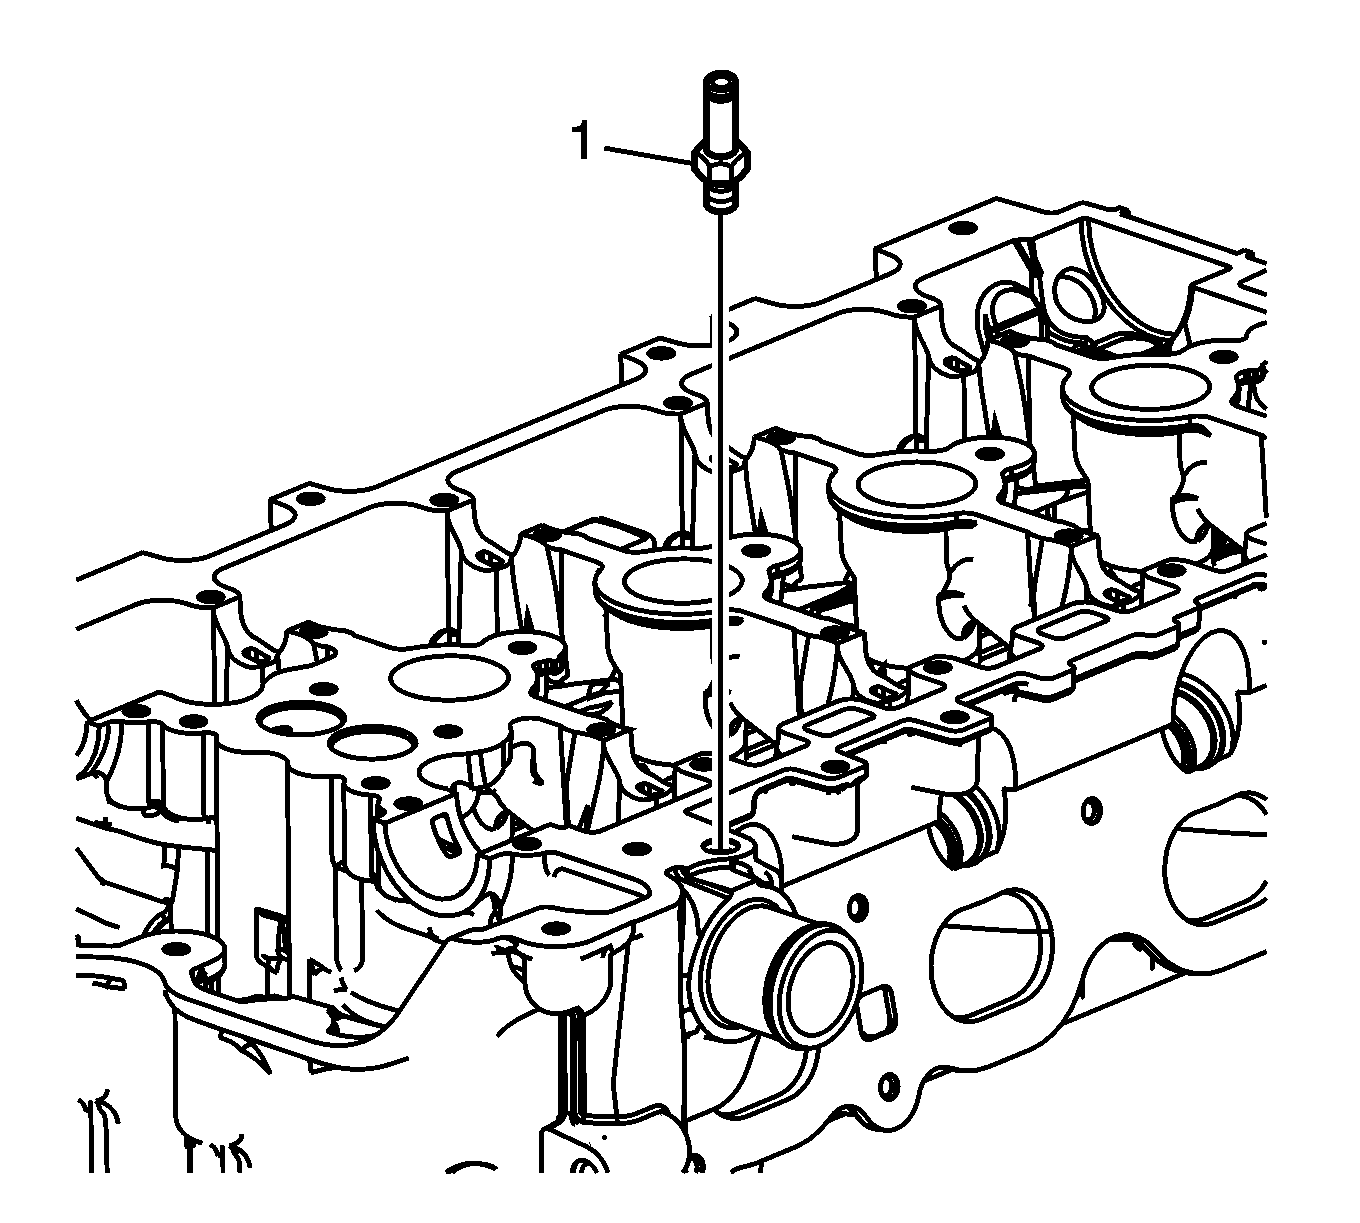
- Install the cylinder head air bleed tube (1) and tighten the tube to
15 N·m (11 lb ft).


