For 1990-2009 cars only
Removal Procedure
Tools Required
| • | J 38868 Shaft Removal Tool |
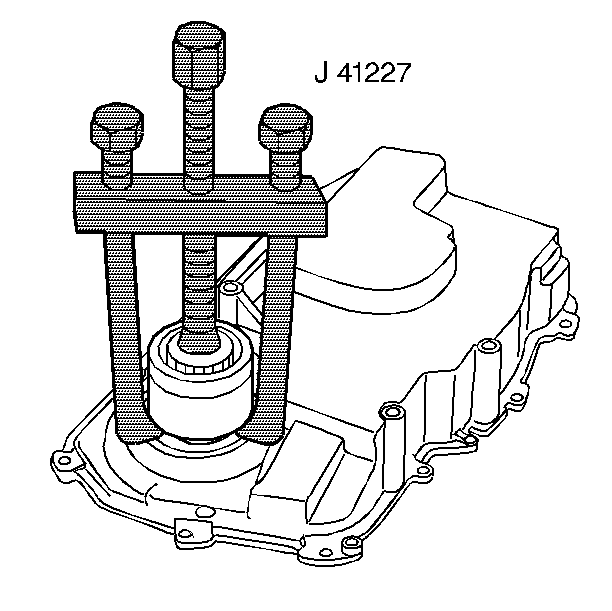
| • | J 41227 Axle Shaft Sleeve Removal Tool |
| • | J 6125-1B Slide Hammer |
- Raise the vehicle. Support the vehicle. Refer to General Vehicle Lifting and Jacking in General Information.
- Remove the drive axle assembly. Refer to Drive Axle in Drive Axle On-Vehicle Service.
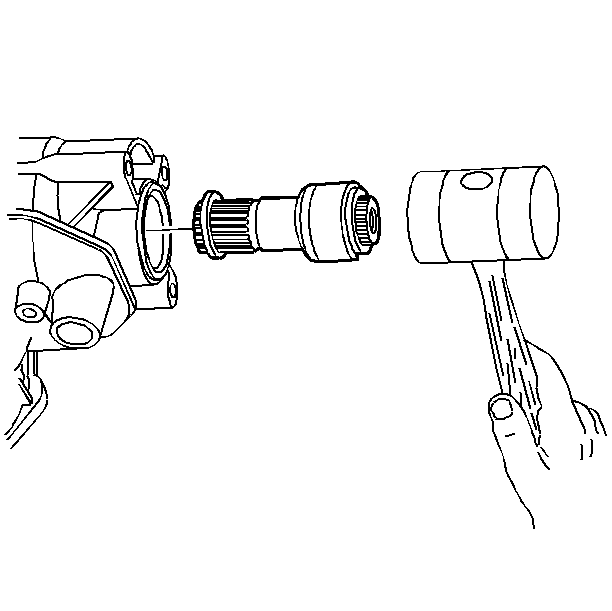
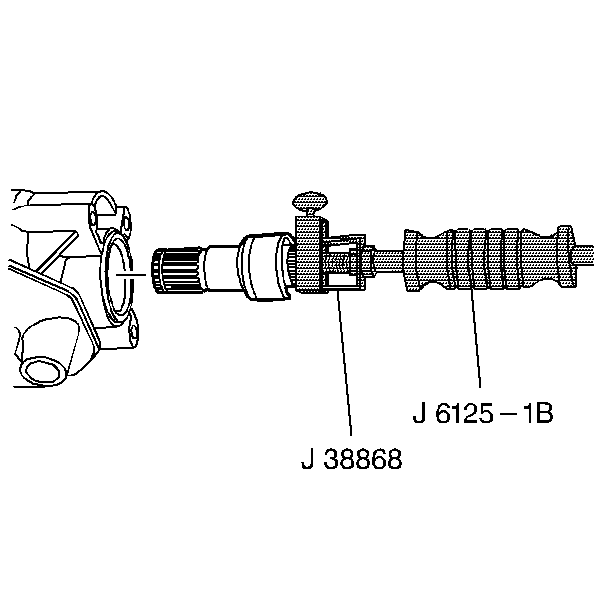
- Remove the stub shaft from the transmission. Use the J 38868 and the J 6125-1B .
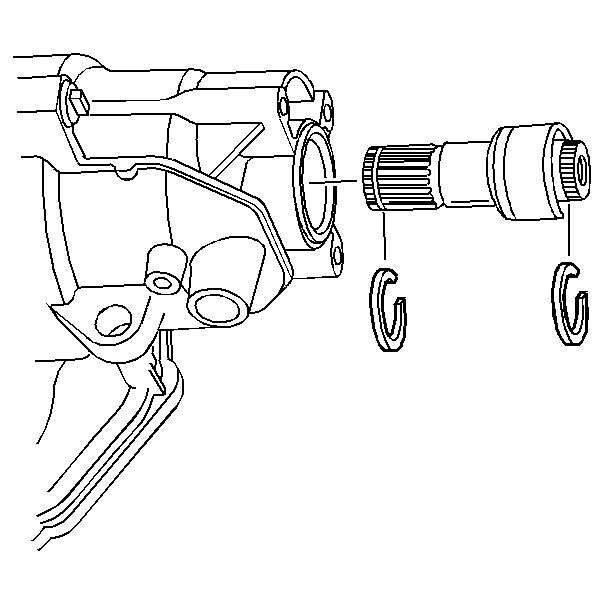
- Remove the snap rings from the stub shaft. Discard the snap rings, these are not reusable.
- Remove the sleeve from the stub shaft. Use the J 41227 .
- Inspect the sleeve for excessive wear, scratches or nicks that may cause a leak or damage to the seal portion. Replace the sleeve if it appears to be damaged.
Installation Procedure
Tools Required
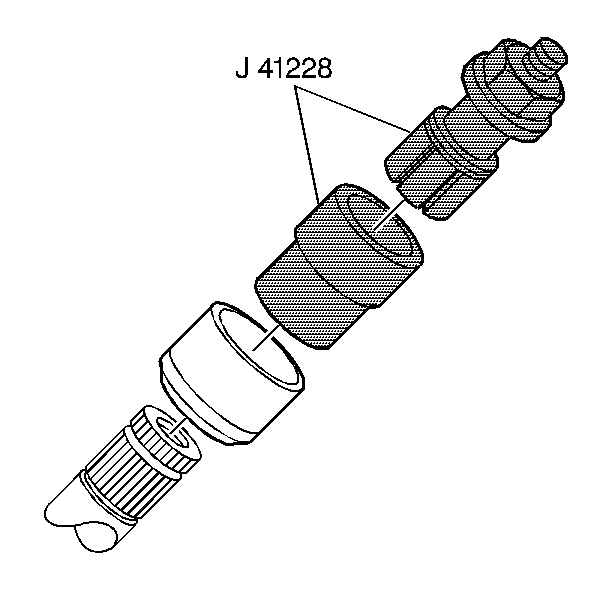
J 41228 Stub Shaft Sleeve Installer
- Install a new sleeve on the stub shaft. Use the J 41228 . Install the J 41228 so that the collar is in the snap ring groove.
- Install the two new snap rings on the stub shaft.
- Add Polyurea grease to the splines of the output shaft in order to prevent damage to the shaft splines during vehicle operation.
- Install the stub shaft into the transmission assembly.
- Install the drive axle assembly. Refer to Drive Axle in Drive Axle On-Vehicle Service.
- Lower the vehicle.
- Inspect the shaft sleeve for leaks.
- Check the oil level.
