For 1990-2009 cars only
Tool Required
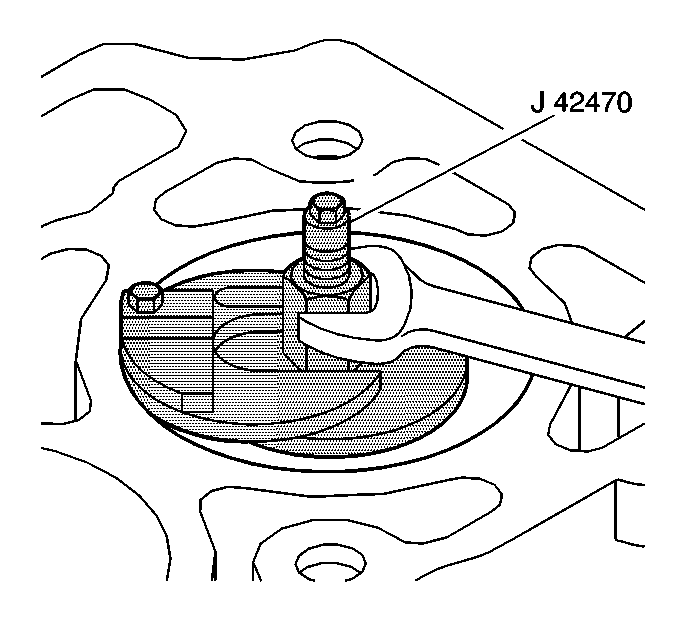
J 24270 Ridge Reamer
- Remove the cylinder head. Refer to Cylinder Head Removal.
- Remove the oil pan. Refer to Oil Pan Removal.
- Turn the crankshaft until the piston is a bottom dead center.
- Remove the connecting rod cap.
- Keep the connecting rod and the connecting rod cap together as mating parts.
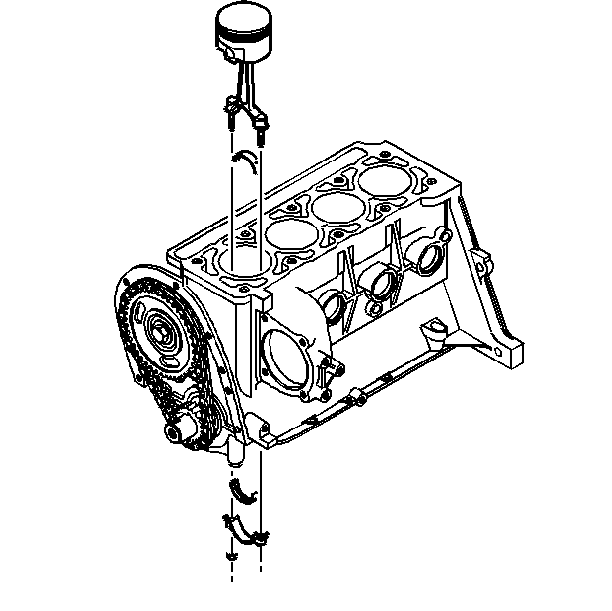
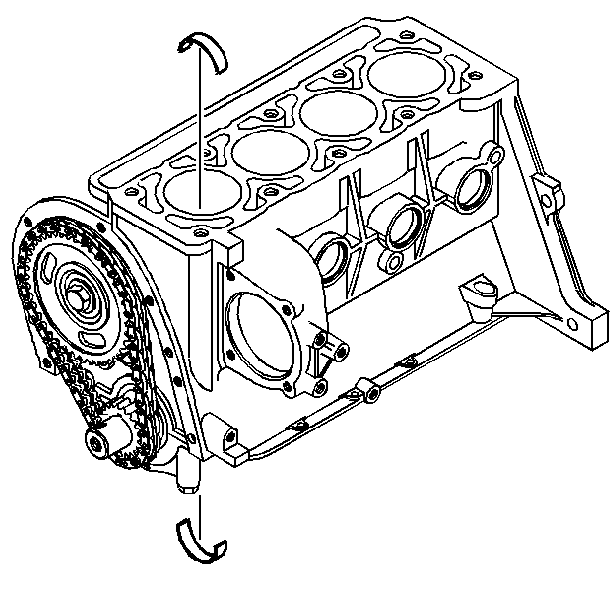
- Remove the connecting rod bearings.
- Remove the connecting rod and the piston.
- For cleaning and inspection information, refer to Piston and Connecting rod Clean and Inspect.

| 3.1. | Place a cloth on top of the piston. |
| 3.2. | Perform the cutting operation with the J 24270 . |
| 3.3. | Turn the crankshaft until the piston is at top dead center. |
| 3.4. | Remove the cloth and cuttings. |

| 5.1. | Check the connecting rod and the connecting rod cap for identification marks. |
| 5.2. | Mark the parts if necessary to keep each connecting rod and cap together. |


| 7.1. | Slide a piece of 3/8 fuel or vacuum line over each connecting rod bolt. This protects the crankshaft journal during removal. |
| 7.2. | Push the piston out of the bore. |
| 7.3. | After removing the connecting rod and the connecting rod cap, assemble the connecting rod and the connecting rod cap. This helps keep the correct mating parts together. |
