For 1990-2009 cars only
Removal Procedure
- Raise and support the vehicle. Refer to Lifting and Jacking the Vehicle in General Information.
- Remove the oil pan, filter, and the seal. Refer to Automatic Transmission Fluid and Filter Replacement .
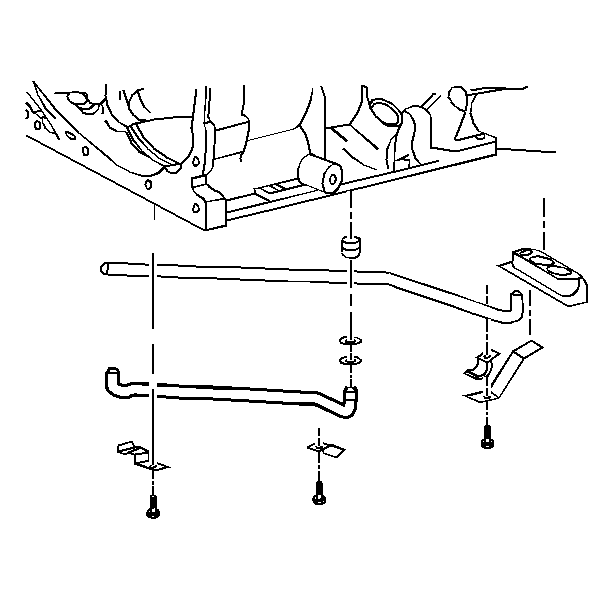
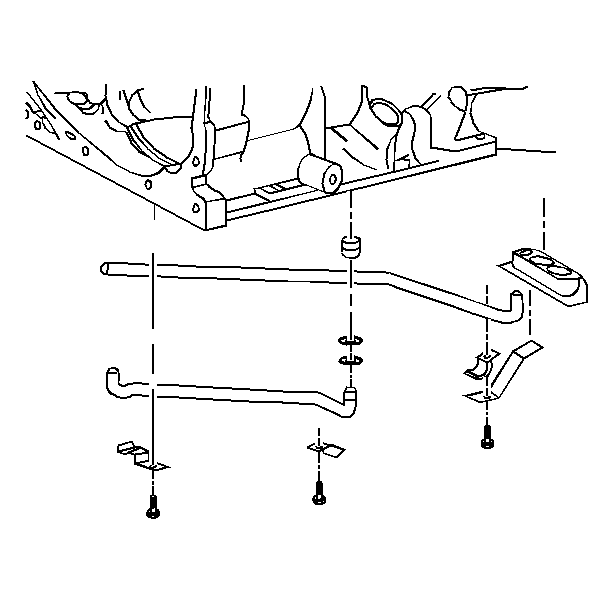
- Remove the reverse oil pipe.
- Remove the back-up ring seal.
- Remove the reverse pipe to case O-ring.
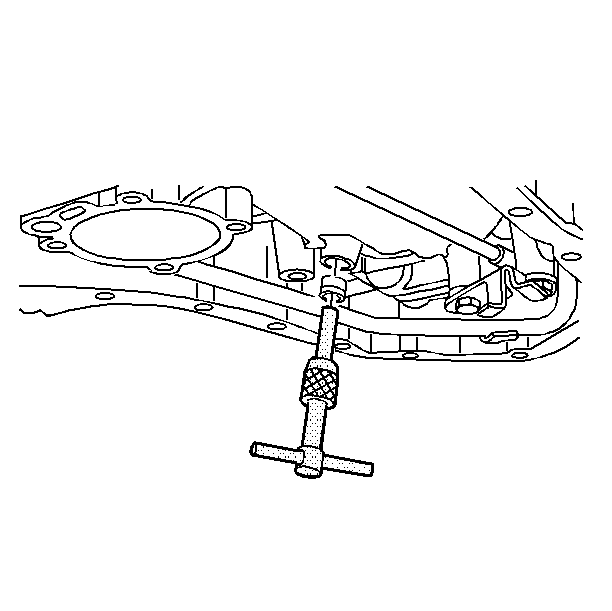
- Remove the low and reverse cup plug. Use the screw extractor.


Installation Procedure
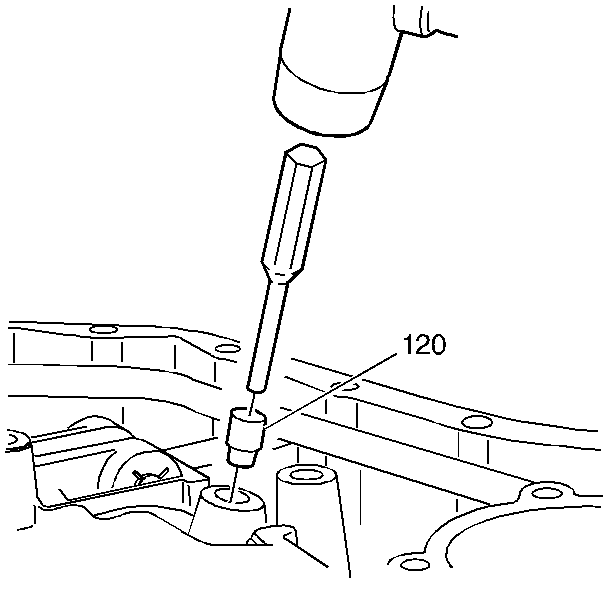
- Use a drift pin and a mallet in order to install the low and reverse cup plug seal (120) into the case. Seat the seal (120) fully against the low and reverse clutch piston housing.
- Install the reverse pipe to case O-ring.
- Install the new back up ring seal.
- Install the reverse oil pipe.
- Install the oil pan, the filter and the seal. Refer to Automatic Transmission Fluid and Filter Replacement
- Lower the vehicle.
- Fill the transmission to the proper level with DEXRON®-III oil. Refer to Transmission Fluid Check .
- Inspect the oil pan gasket for leaks.


Notice: Do NOT overfill the transaxle. The overfilling of the transaxle causes foaming, loss of fluid, shift complaints, and possible damage to the transaxle.
