For 1990-2009 cars only
Removal Procedure
- Raise and support the vehicle. Refer to Lifting and Jacking the Vehicle in General Information.
- Remove the oil pan, the filter, and the seal. Refer to Automatic Transmission Fluid and Filter Replacement .
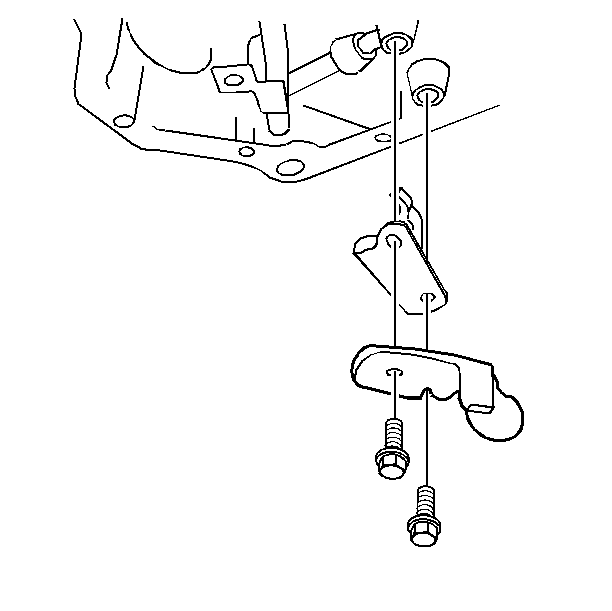
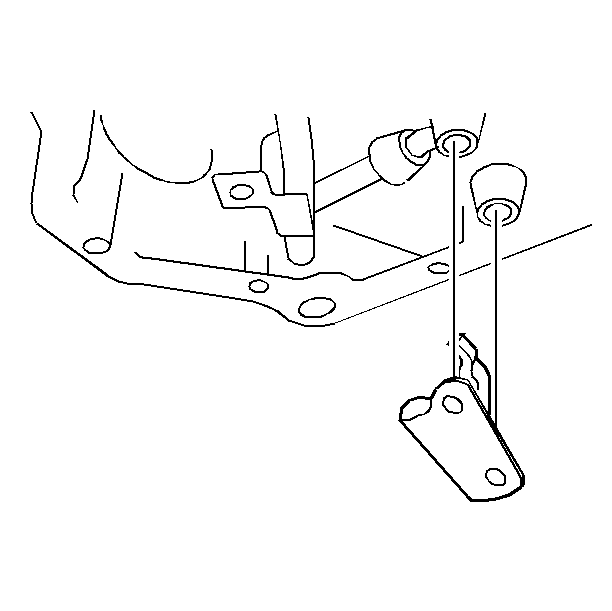
- Remove the transmission fluid level indicator stop bracket.
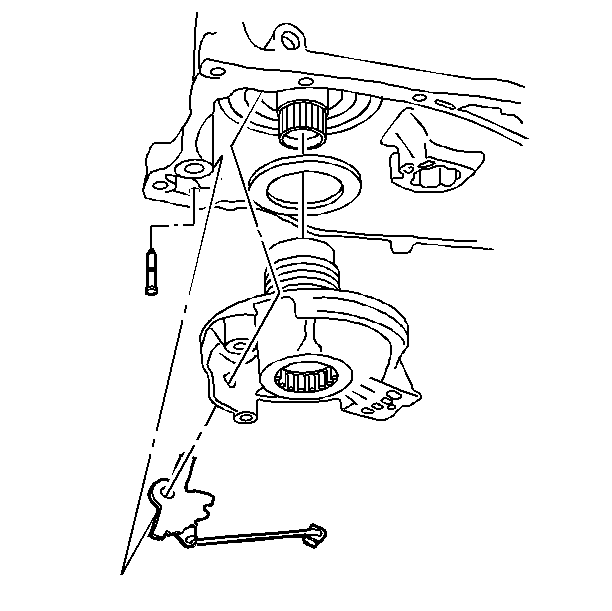
- Remove the spring shaft retainer.
- Remove the parking pawl actuator bracket.
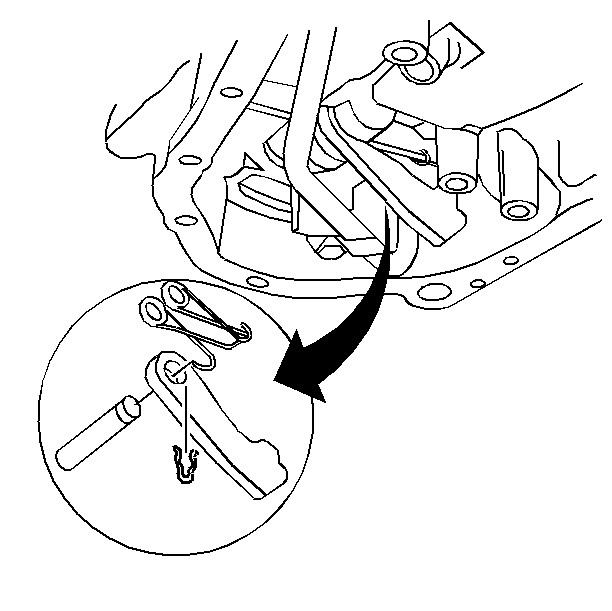
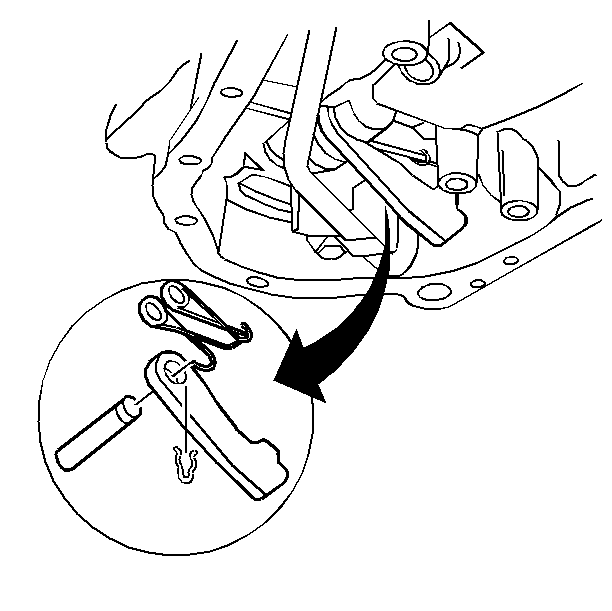
- Remove the clip.
- Remove the manual shift shaft pin.
- Remove the manual valve with the retainer rod.
- Remove the manual valve pin.
- Remove the parking pawl spring.
Installation Procedure
- Install the parking pawl spring.
- Install the manual valve pin.
- Install the manual valve with the retainer rod.
- Install the manual shift shaft pin.
- Install the clip.
- Install the parking pawl actuator bracket.
- Install the spring shaft retainer.
- Install the transmission fluid level indicator stop bracket.
- Install the oil pan, the filter and the seal. Refer to Automatic Transmission Fluid and Filter Replacement .
- Lower the vehicle.
- Fill the transmission to the proper level with DEXRON®-III oil. Refer to Transmission Fluid Check .
- Inspect the oil pan gasket for leaks.
- Inspect the shift linkage.



Notice: Do NOT overfill the transaxle. The overfilling of the transaxle causes foaming, loss of fluid, shift complaints, and possible damage to the transaxle.
