For 1990-2009 cars only
Tools Required
| • | J 21474-4 1/2 inch Nut |
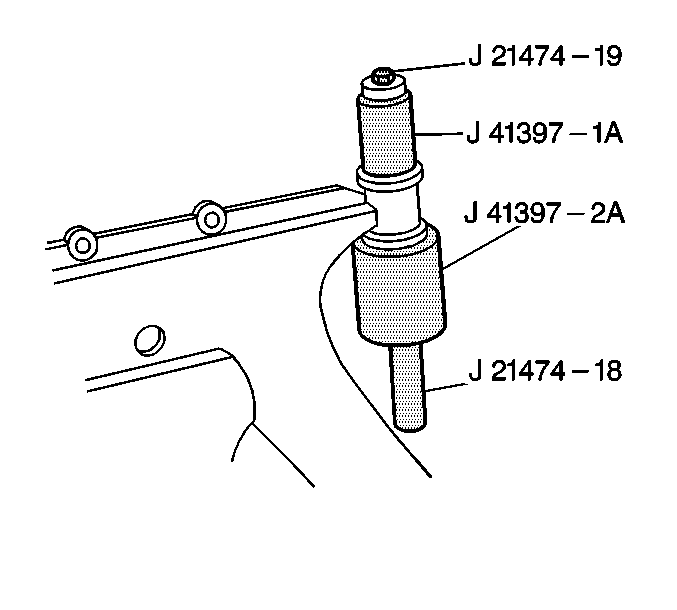
| • | J 21474-18 3/8 inch Nut |
| • | J 21474-19 3/8 inch Bolt |
| • | J 23444-A High Pressure Lubricant |
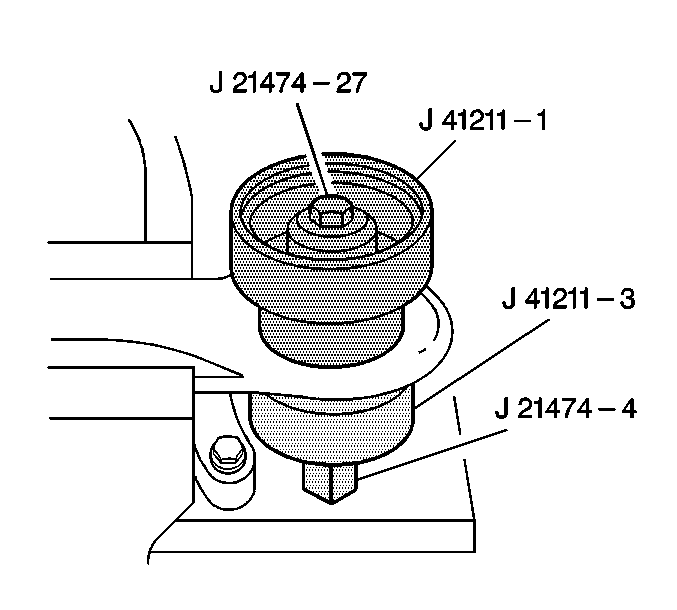
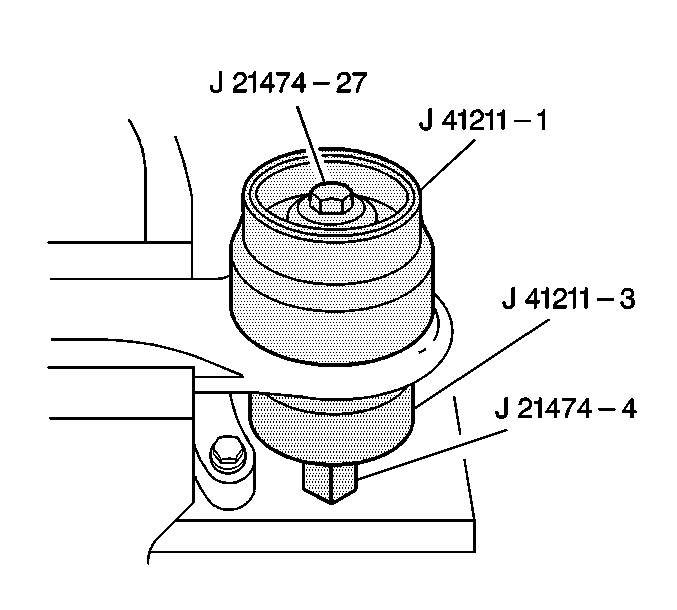
| • | J 41211 Lower Front Control Arm Vertical Bushing Set |
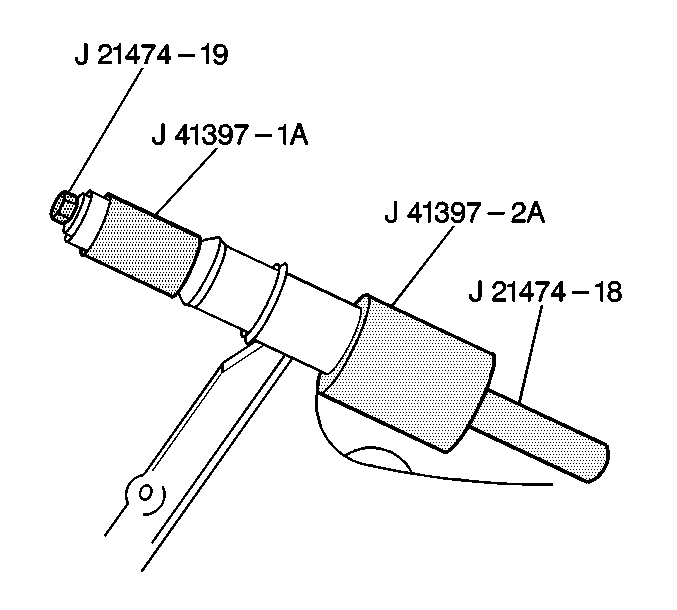
| • | J 41397 Lower Control Arm Bushings Remover/Installer |
Removal Procedure
- Remove the lower control arm. Refer to Lower Control Arm Replacement .
- Secure the lower control arm in a vice.
- Assemble the following bushing removal tools as shown:
- Tighten the J 21474-18 until the front bushing is removed from the control arm.
- Disassemble the bushing removal tools.
- Assemble the following bushing removal tools as shown:
- Tighten the J 21474-27 until the rear bushing is removed from the control arm.
- Disassemble the bushing removal tools.

Important: ApplyJ 23444-A or equivalent high pressure lubricant to the threads of the J 21474-19
| • | The remover/installer from the J 41397 |
| • | The receiver from the J 41397 |

| • | The remover/installer from the J 41211 |
| • | The receiver from the J 41211 |
Installation Procedure
- Insert the rear bushing into the control arm.
- Assemble the following bushing installation tools as shown:
- Tighten the J 21474-4 until the rear bushing is fully seated in the control arm.
- Disassemble the bushing installation tools.
- Lubricate the outer casing of the front bushing.
- Insert the front bushing into the control arm.
- Assemble the following bushing installation tools as shown:
- Tighten the J 21474-19 until the front bushing is fully seated in the control arm.
- Disassemble the bushing installation tools.
- Install the lower control arm. Refer to Lower Control Arm Replacement .

Important: ApplyJ 23444-A or equivalent high pressure lubricant to the threads of the J 21474-27 .
| • | The receiver/installer from the J 41211 |
| • | The receiver from the J 41211 |

| • | The remover/installer from the J 41397 |
| • | The receiver from the J 41397 |
