Removal Procedure
Notice: If the engine is damaged internally and a new engine assembly
is installed in the vehicle, make sure all foreign material is completely
flushed out of the cooling system. The oil cooler system should also be flushed
out (if equipped). Failure to rid the oil or cooler system of debris can result
in engine damage to the replacement engine.
The engine replacement procedure varies with the following
information:
| • | The type of optional equipment |
| • | The available shop facilities |
The following procedure is intended only as a guide for performing the
work. You must determine what additional work is needed.
Note the Cautions and Notices that describe the following:
| • | Methods that may harm personnel |
| • | Methods that may damage the vehicle |
| • | Methods that may make the vehicle unsafe |
If you use a service procedure or tools which are not recommended, you
must be thoroughly satisfied that neither the safety of the personnel, nor
the safety of the vehicle will be jeopardized by the service method selected.
All of the steps do not apply to every vehicle. Follow only the steps
which apply to the vehicle involved.

- Disconnect the battery
negative cable. Refer to
Battery Replacement
in Engine Electrical.
- Remove the engine access cover (in the cab).
- Remove the hood. Refer to
Hood Replacement
in Body Front End.
- Drain the vehicle cooling system. Refer to
Cooling System Draining and Filling
in Engine Cooling.
- Bleed the air brake system (if equipped). Refer to
Draining Reservoirs
in Air Brakes.
- Evacuate the air conditioning system (if equipped).
- Remove the air intake duct from the air cleaner assembly. Refer
to
Air Intake System Replacement
in
Engine Controls-6.0L, 7.0L.
- Remove the air cleaner assembly. Refer to
Air Cleaner and Extension Replacement
in Engine Controls-6.0L,
7.0L.
- Remove the air compressor for the air brakes (if equipped). Refer
to
Air Compressor Replacement
in Air
Compressor.
- Remove the A/C compressor from the vehicle if equipped).
- Remove the A/C condenser from the vehicle (if equipped).
- Remove the auxiliary engine oil cooler. Refer to
Engine Oil Cooler Hose/Pipe Replacement
in Engine Cooling.
- Remove the radiator from the vehicle. Refer to
Radiator Replacement
in Engine Cooling.
- Disconnect the electrical harnesses from all of the connections.
- Disconnect the vacuum lines from all of the connections.
- Disconnect the accelerator controls from the throttle body.
Important: Cap all of the fuel lines in order to prevent fuel leakage.
- Disconnect the fuel lines at the rear of the engine.
- Raise the vehicle, if necessary.
- Remove the starter motor from the engine assembly. Refer to
Starter Motor Replacement
in Engine Electrical.
- Remove the oxygen sensor (left exhaust manifold). Refer to
Oxygen Sensor Replacement
in Engine Controls-6.0L,
7.0L.
- Disconnect the exhaust pipe from the exhaust manifold. Refer to
Exhaust Pipe Replacement
in Engine Exhaust.
- Disconnect the wire from the block heater, if equipped.
- Disconnect the oil cooler lines from the engine.
- Remove the torque converter bolt from the flywheel.
- Lower the vehicle, if necessary.
- Disconnect the power steering lines from the pump.
- Remove the bolts from the transmission to the engine block.

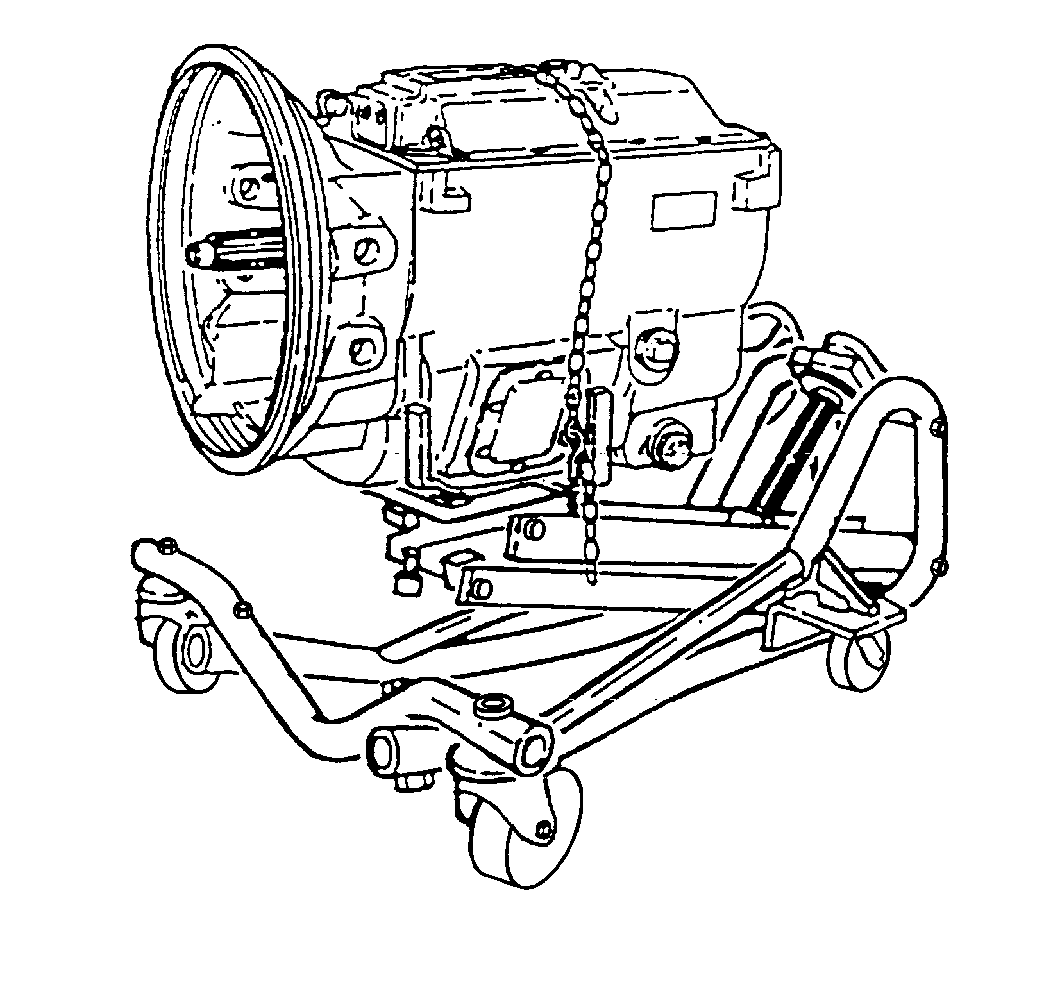
- Support the transmission
with a suitable transmission jack.
- Remove the engine mounting bolts. Refer to
Engine Mount Replacement
.
- Attach a chain to the engine.
- Attach a suitable lifting device to the engine.
Important: On manual transmissions, carefully pull the engine forward in order
to disengage the clutch driven disc from the transmission split spline shaft.
It may be necessary to raise the transmission slightly with a suitable
transmission jack.
- Do not damage the following parts:
| • | The transmission input shaft (manual transmission) |
| • | The clutch cover and the disc (manual transmission) |
| • | The transmission oil pan (automatic transmission only) |
Important: May sure that the engine assembly is clear of the transmission input
shaft before removing the engine from the vehicle.
- Remove the engine from the vehicle.
Important: It maybe necessary to remove the clutch and flywheel from the crankshaft
before installing the engine assembly on a suitable engine stand.
- Install the engine assembly on a suitable engine stand.
- Remove the lifting device from the engine assembly.
Installation Procedure

- Install the lifting device
on the engine assembly.
- Remove the engine from the engine assembly from the stand.
- Install flywheel and the clutch assembly (if removed) to the crankshaft.
- Install the engine assembly in the vehicle.
- Install the bolts from the transmission to the engine block.
- Install the engine mounting bolts. Refer to
Engine Mount Replacement
.
- Remove the lifting device from the engine.
- Remove the chain from the engine.
- Remove the support from the transmission.
- Raise the vehicle, if necessary.
- Install the torque converter bolt to the flywheel.
- Install the starter motor to the engine. Refer to
Starter Motor Replacement
in Engine Electrical.
- Connect the exhaust pipes to the exhaust manifold. Refer to
Exhaust Pipe Replacement
in Engine Exhaust.
- Install the oxygen sensor in the left exhaust manifold. Refer
to
Oxygen Sensor Replacement
in Engine Controls-6.0L, 7.0L.
- Connect the oil cooler lines to the engine.

- Connect the wire to the
block heater, if equipped.
- Lower the vehicle, if necessary.
- Connect the power steering lines to the pump.
- Connect the fuel lines to the rear of the engine.
- Connect the engine wiring harness to all of the connectors.
- Connect the vacuum lines to all of the connectors.
- Connect all of the ground wires.
- Connect the accelerator cables to the throttle body.
- Install the A/C compressor to the left accessory bracket. Refer
toCompressor Replacement (6.0/7.0L Engines)
in
HVAC Systems with A/C-Manual.
- Install the air compressor for the air brakes (if equipped).
- Install the radiator in the vehicle. Refer to
Radiator Replacement
in Engine Cooling.
- Install the A/C condenser in the vehicle (if equipped).
- Install the auxiliary engine oil cooler. Refer to
Engine Oil Cooler Hose/Pipe Replacement
in Engine Cooling.
- Connect the battery negative cable to the battery. Refer to
Battery Replacement
in Engine Electrical.
- Refill the vehicle cooling system. Refer to
Cooling System Draining and Filling
in Engine Cooling.
- Fill the air brake reservoir with compressed air (if equipped).
Refer to
Filling Reservoirs
in Air
Brakes.
- Install the hood on the vehicle. Refer to
Hood Replacement
in Body Front End.
- Recharge the A/C system.
- Install the air cleaner assembly in the vehicle. Refer to
Air Cleaner and Extension Replacement
in Engine
Controls-6.0L, 7.0L.
- Install the air intake duct the air cleaner assembly. Refer to
Air Intake System Replacement
in Engine Controls-6.0L,
7.0L.
- Install the engine access cover (in the cab). Refer to Engine Cover Replacement
in Interior Trim.
- Before starting the engine, perform the following steps:
| • | Electrical connections are properly connected |
| • | All fuel lines fittings and clamps are tight |
| • | All coolant hoses clamps are tight |
| • | All ground straps are tight and secure |
| • | All fluids are at their proper levels |
- Start the vehicle and check for leaks.
- Make any adjustments that are necessary.


