Removal Procedure

- Remove
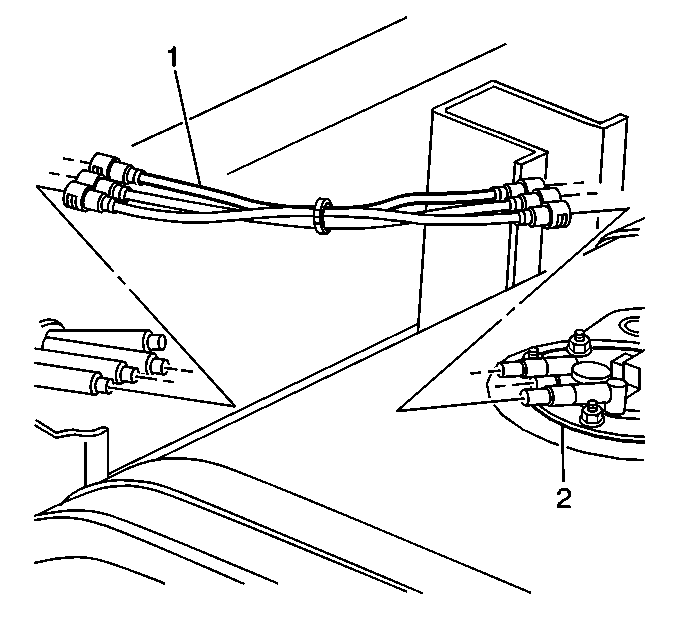
the fuel feed (2) and the return pipes at the TBI unit.
- Remove the fuel feed and the return pipes at the fuel sender assembly.
- Remove the in-line fuel filter.
- Inspect the in-line fuel filter for contamination.
- Replace the filter, if it is plugged. Refer to
In-Line Fuel Filter Replacement
.
Important:
| • | Only use oil free compressed air to blow out fuel pipes. |
| • | If the in-line fuel filter is plugged, inspect the fuel tank internally
and purge if necessary. |
- Clean the fuel lines by applying air pressure in the opposite direction
of the fuel flow.
Installation Procedure
Important: Take care not to fold over or twist the strainer, when installing the
sending unit, as this will restrict fuel flow.
- Install the new strainer (if necessary) on the fuel sender assembly.
- Install the fuel sender assembly with a new seal into the fuel
tank.
- Install the fuel tank. Refer to
Fuel Tank Replacement - Right Side
and
Fuel Tank Replacement - Left Side
.
- Disconnect the fuel feed pipe at the TBI unit.
- Connect the hose to the fuel feed pipe at the TBI unit.
- Insert the other end of the hose into a 3.8 liter (1.0 gallon)
fuel can.
- Connect the negative battery cable.
- Add 23 liters (6.0 gallons) of clean fuel into the fuel
tank.
- Purge the fuel pump and the lines.
| 9.1. | Disconnect the fuel pump oil pressure switch electrical connector. |
| 9.2. | Connect a fused jumper between the fuel pump signal circuit and
the battery feed circuit at the electrical connector. |
| 9.3. | Operate the fuel pump until 2 liters (½ gallon)
of fuel flows into the fuel can. |
- Install the jumper and reinstall connector.
- Install the fuel line at the TBI unit.
- Check for fuel leaks using the following process:
| 12.1. | Turn the ignition switch ON for 2 seconds. |
| 12.2. | Turn the ignition switch OFF for 10 seconds. |
| 12.3. | Turn the ignition switch ON. |
| 12.4. | Check for fuel leaks. |
