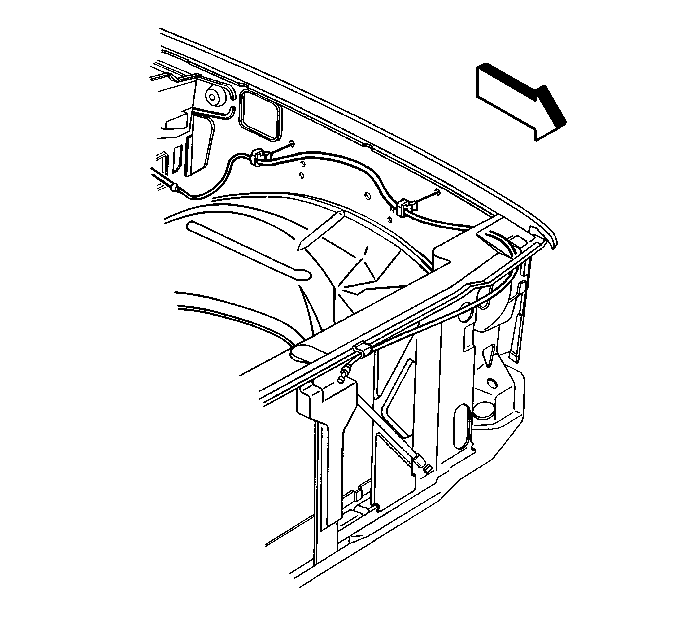
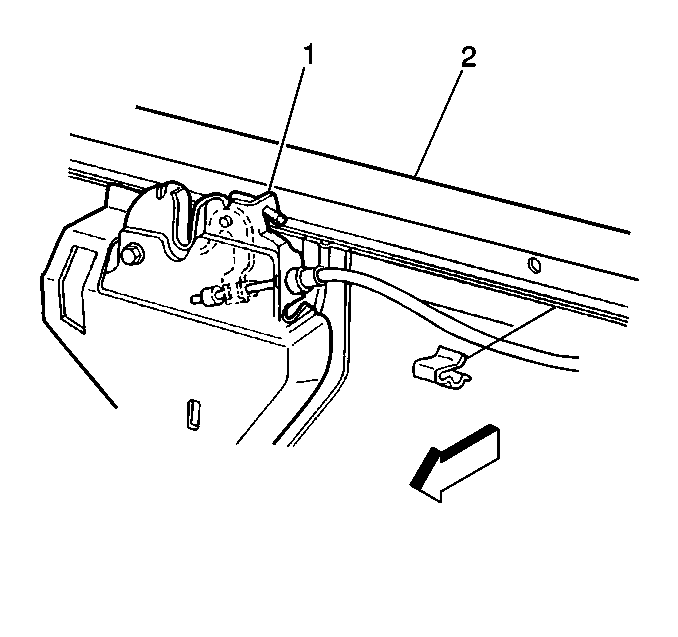
Removal Procedure

- When the cable breaks,
release the hood by pressing the primary latch tab on the left side of the
lock assembly. Use a rod to press the latch tab.

- Raise the hood.
- Remove the cable from the primary latch (1).
| 3.1. | Insert a flat-bladed tool into the clip. |
| 3.2. | Lift the cable from the lock. |
| 3.3. | Carefully pry the cable grommet from the lock flange. |
- Remove the upper radiator grille. Refer to
Grille Replacement
in Exterior Trim.
- Move the grille forward to access the cable.
- Remove the cable from the radiator support (2).
- Remove the cable from the wheelhouse retaining clips.
- Remove the 2 bolts from under the instrument panel inside the
cab retaining the hood release handle.
- Push the cable into cab from the engine compartment.
- Push the grommet into the cab from the engine compartment.
- Remove the cable from the vehicle.
Installation Procedure

- Install the cable to the
vehicle.

- Install the cable from
the driver's side of the cowl.
- Push the cable and the grommet into the engine compartment.
- Install the 2 bolts holding the hood release handle to the bottom
of the instrument panel.
- Seat the grommet.
- Install the cable through the retaining clips and the radiator
support (2).
- Install the upper radiator grille. Refer to
Grille Replacement
in Exterior Trim.
- Install the cable to the primary latch (1).
- Lower the hood.


