For 1990-2009 cars only
Removal Procedure
- Remove the door.
- Remove the sealer surrounding the hinge.
- Scribe the location of the existing hinges on the body pillar.
- Lightly hand sand the existing hinge with 100 grit or finer sand paper to locate each weld attaching the hinge to the pillar.
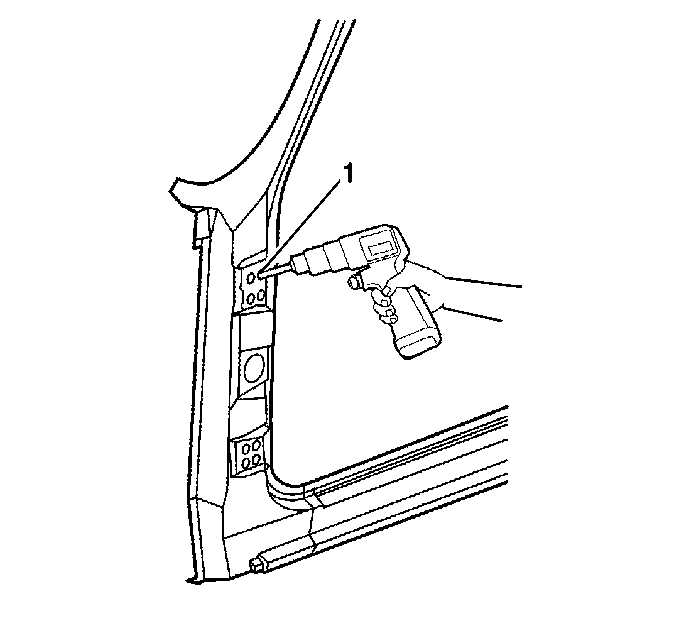
- Center punch each of the four welds (1) on the original hinge base it is critical to punch the center of the weld so that as much of the weld is removed during drilling as possible.
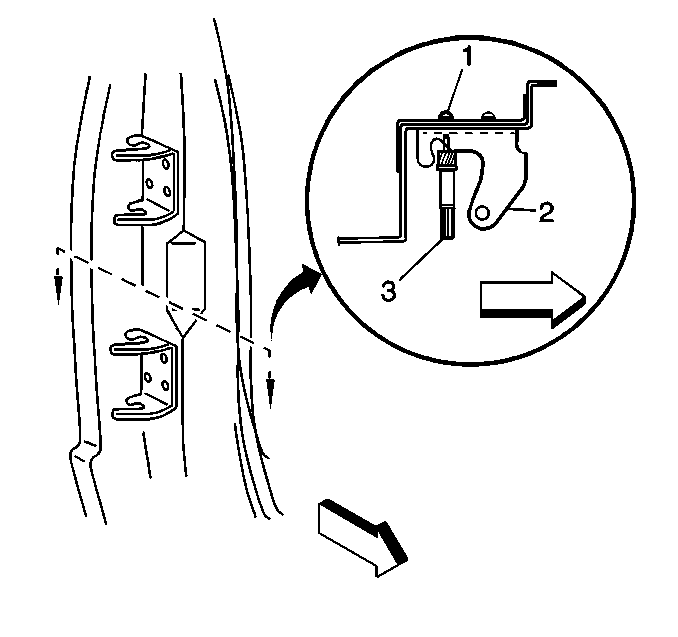
- At each punch location, drill through hinge base (2) only using a 13.0 mm (½ in) rotabroach hole saw or equivalent (3).
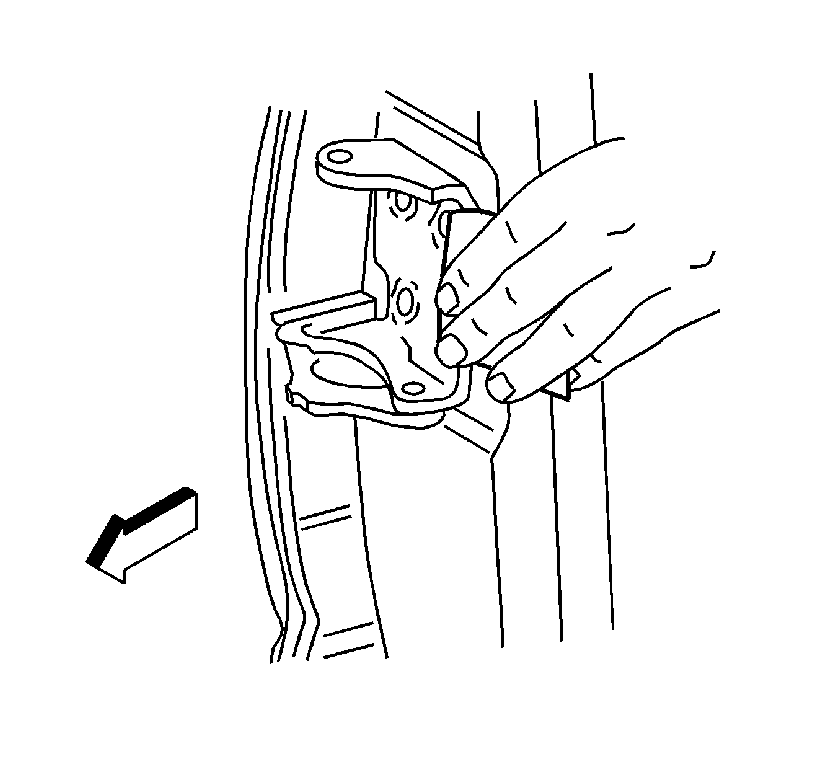
- Remove the hinge. If necessary use a chisel to separate the hinge from the pillar.
- Remove all the remaining weld from the pillar surface to ensure a flush fit of the service hinge.
Important: Original punch marks may not indicate the center of welds.
Important: Do not drill into the hinge pillar. Drill through the hinge only. Hinge thickness is 5.3 mm.
Installation Procedure
- Repair any damage done to the pillar during drilling or removal.
- Position the service hinge within the scribe marks on the hinge pillar.
- Center punch each bolt hole location.
- Drill a 3 mm (1/8 in) pilot hole (1) at each center punch location.
- Using the pilot hole as a guide, drill 10 mm (7/16 in) hinge bolt attaching holes.
- Apply an approved anti-corrosion primer to all bare metal surfaces.
- Apply full-bodied caulk to the entire hinge mounting surface to ensure proper seal.
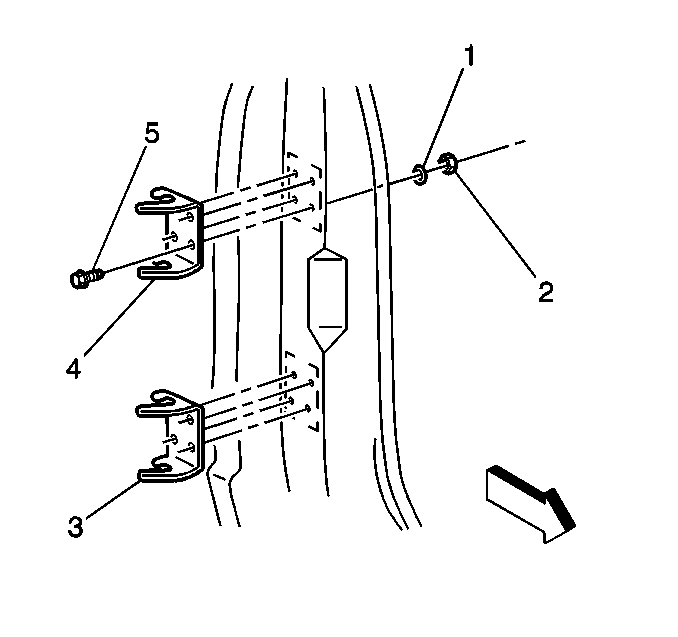
- Align the hinge (3,4) and install using the fasteners supplied (1-5).
- Before installing the access door (1), modify the door side of the hinge upper and lower extensions (2).
- Clean, prepare and refinish all surfaces as necessary.
- Install and align all related panels and components.
Notice: Refer to Fastener Notice in the Preface section.
Tighten
Torque hinge bolts to 35 N·m(26 ft lb).
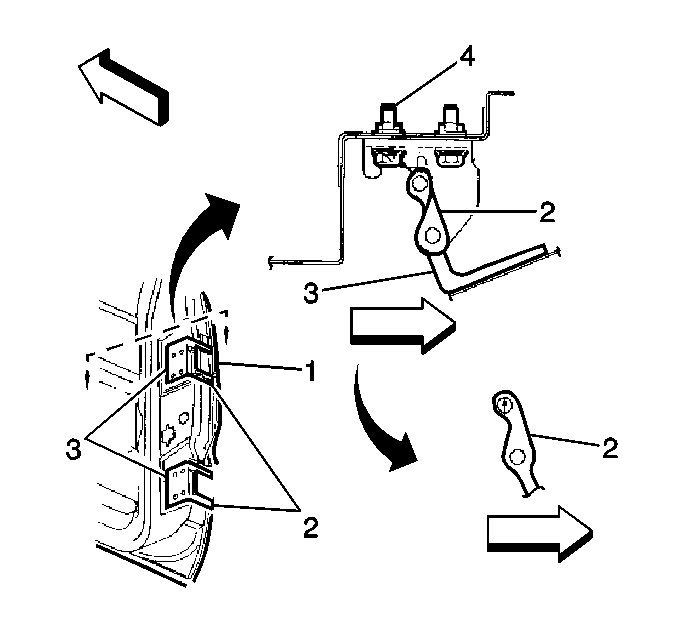
The replacement hinge must maintain a gap of 2 mm between the door side of the hinge and body side hinge bolts.
Important: Maintain a wall thickness of 2 mm around hole at end of extension.
