For 1990-2009 cars only
Removal Procedure
Tools Required
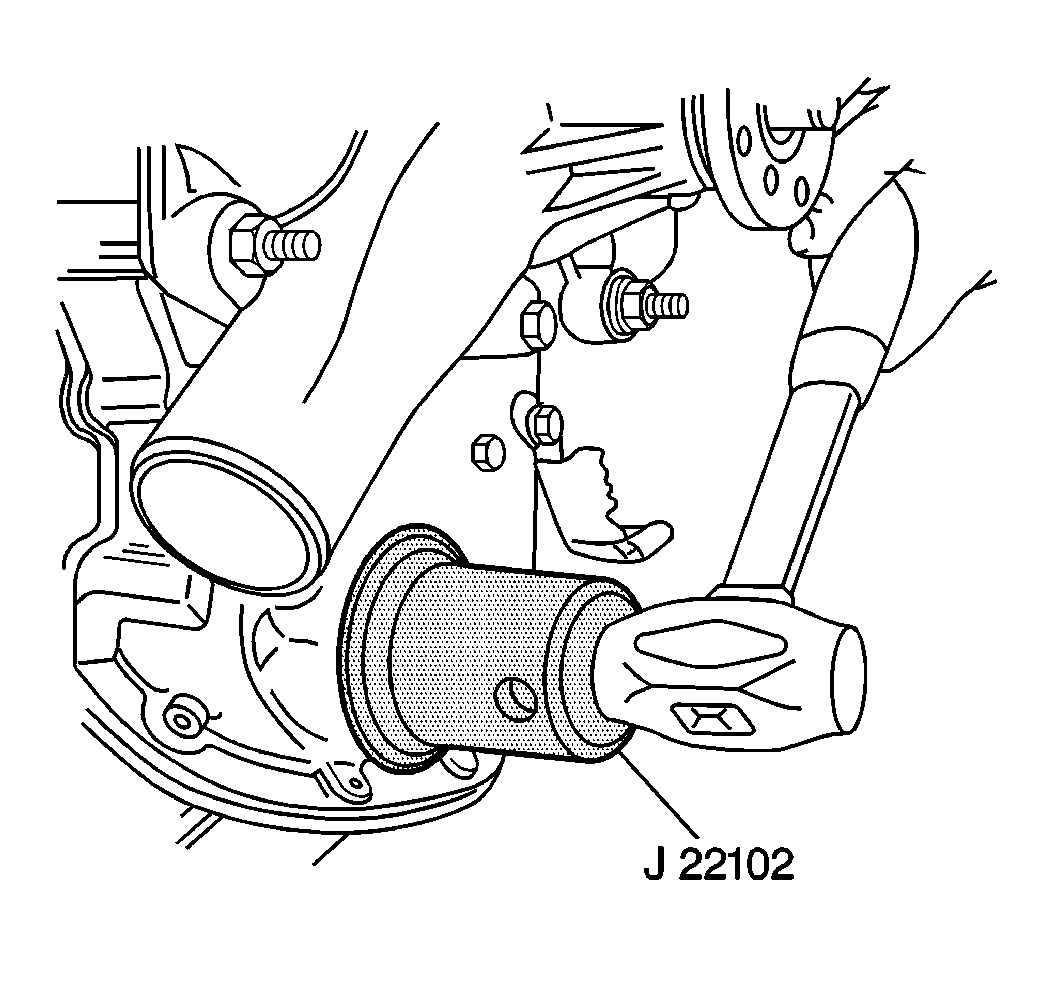
J 22102 Seal Installer
- Open the hood.
- Disconnect the battery negative cable from the battery. Refer to Battery Cable in Engine Electrical.
- Raise the vehicle. Refer to Lifting and Jacking the Vehicle in General Information.
- Remove the drive belt form the vehicle. Refer to Drive Belt Replacement .
- Remove the lower fan shroud from the radiator. Refer to Fan Shroud Replacement .
- Remove the crankshaft balancer. Refer to Crankshaft Balancer Replacement .
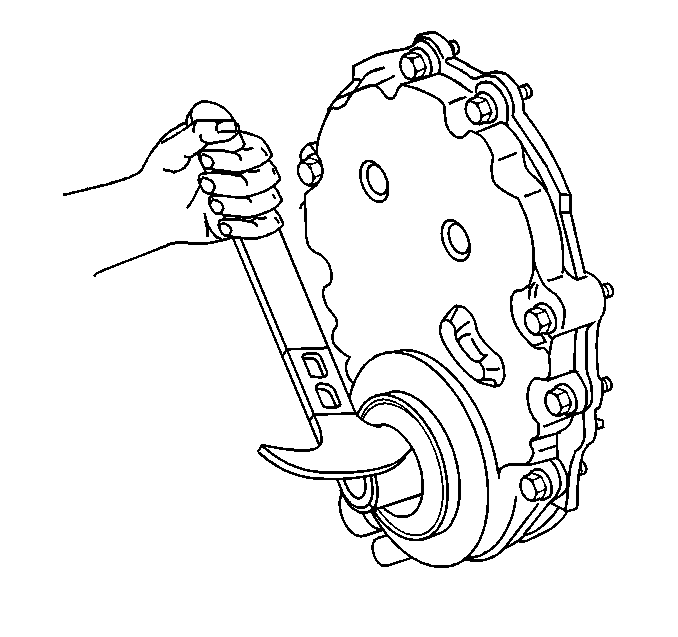
- Remove the crankshaft front cover oil seal from the engine front cover.
Caution: Before servicing any electrical component, the ignition and start switch must be in the OFF or LOCK position and all electrical loads must be OFF, unless instructed otherwise in these procedures. If a tool or equipment could easily come in contact with a live exposed electrical terminal, also disconnect the negative battery cable. Failure to follow these precautions may cause personal injury and/or damage to the vehicle or its components.

Important: Use care as not to damage the engine front cover or the crankshaft sealing area when removing the crankshaft front cover oil seal.
Installation Procedure
Tools Required
J 22102 Seal Installer
- Coat the crankshaft front cover oil seal with clean engine oil.
- Use the J 22102 to install the crankshaft front cover oil seal.
- Remove the J 22102 from the crankshaft front cover oil seal.
- Install the crankshaft balancer to the crankshaft. Refer to Crankshaft Balancer Replacement .
- Install the drive belt on the vehicle. Refer to Drive Belt Replacement .
- Install the lower fan shroud on the radiator. Refer to Fan Shroud Replacement .
- Lower the vehicle. Refer to Lifting and Jacking the Vehicle in General Information.
- Connect the battery negative cable to the battery. Refer to Battery Cable in Engine Electrical.
- Close the hood.

