Tail/Turn Signal Lamp Replacement Cab/Chassis
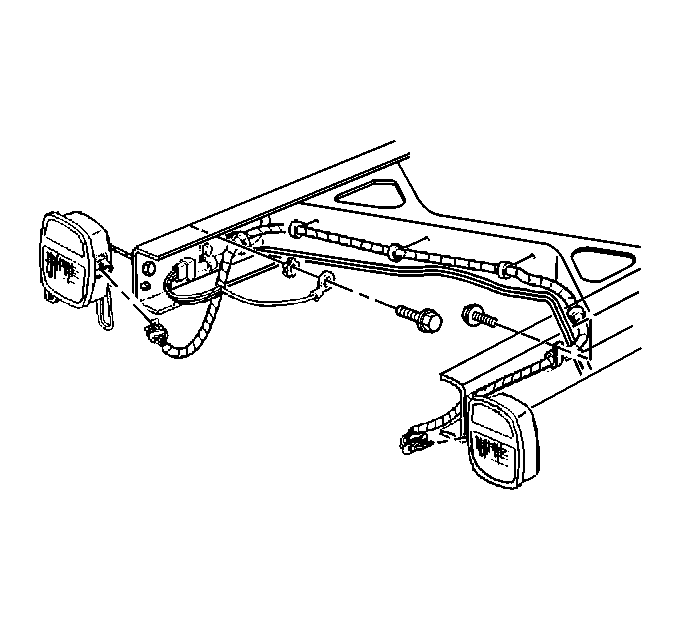
Removal Procedure

- Disconnect
the lamp electrical connector from the lamp assembly.
- Remove the nuts from the back of the bracket.
- Remove the lamp assembly from the bracket.
- Remove the 4 lens screws.
- Remove the lens.
- Remove the gasket.
- Remove the bulb.
Installation Procedure

- Install
the lamp assembly to the bracket.
- Install the nuts.
- Connect the electrical connector to the lamp assembly.
- Install the bulb.
- Install the gasket.
- Install the lens.
- Install the 4 screws.
Tail/Turn Signal Lamp Replacement Pickup, Suburban, Utility
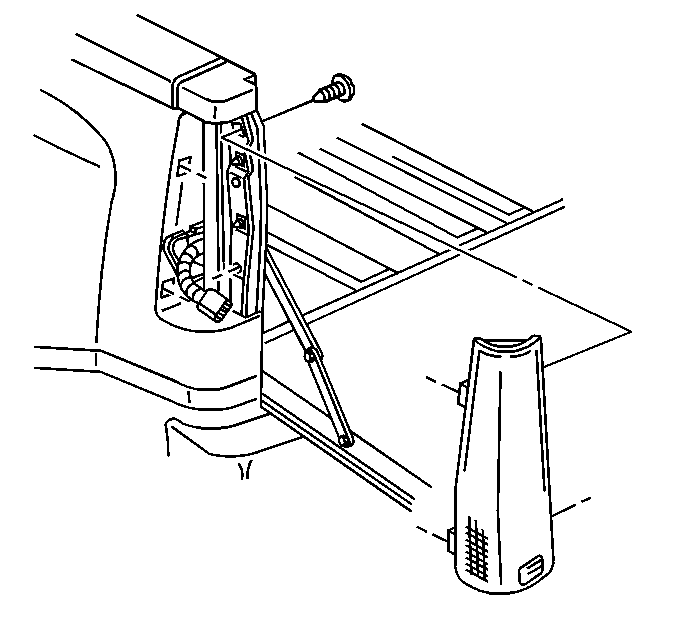
Removal Procedure
- Make sure the headlamp switch is in the OFF position.

- Lower the endgate.
- Remove the 2 screws retaining the tail/turn signal lamp assembly
to the body.
- Rotate the tail/turn signal lamp assembly from the vehicle.
- Disconnect the electrical connector from the assembly.
- Identify the bulb in need of replacement.
| • | The top bulb is a parking lamp. |
| • | The center bulb is a parking, brake, and turn indicator lamp. |
| • | The lower bulb is a backup lamp. |
- Pull the bulb straight out by the tabs on the base of the bulb
in order to remove the bulb.
Installation Procedure
- Push the bulb straight into the lamp assembly in order to install
the bulb.
- Install the lamp base to the lens assembly with the 2 screws.

- Connect the electrical
connector.
- Install the tail/turn signal lamp assembly to the vehicle with
the 2 screws.


