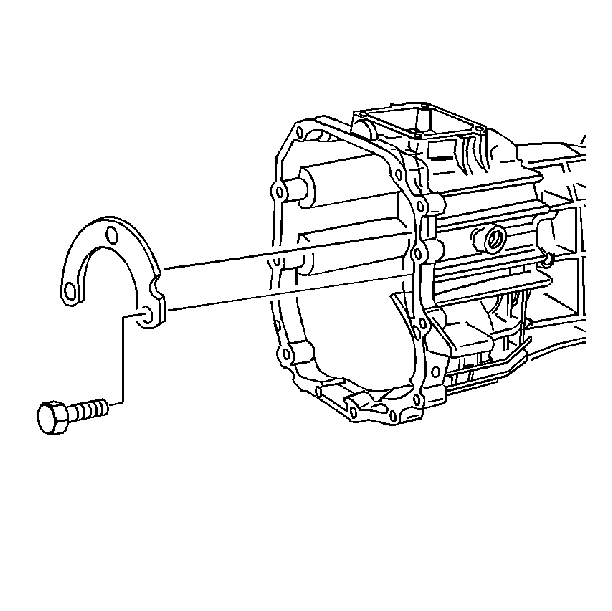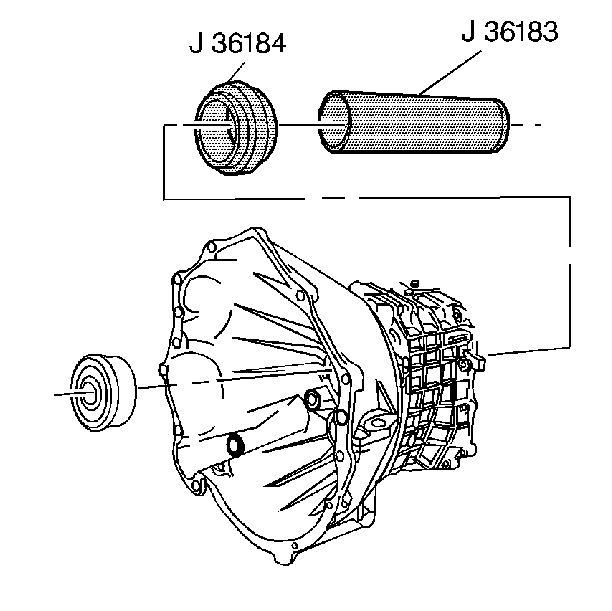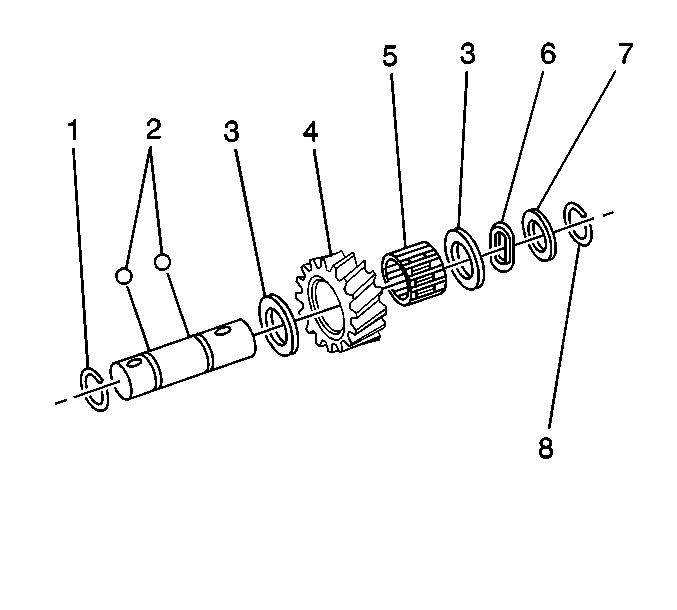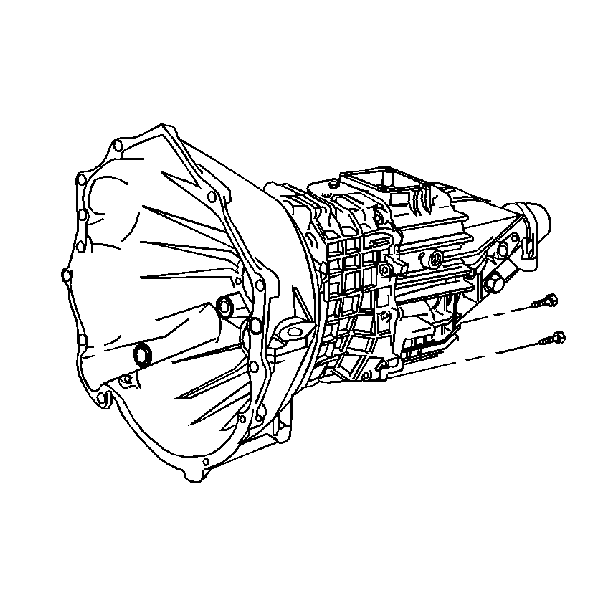
- Remove the two lower housing
bolts.
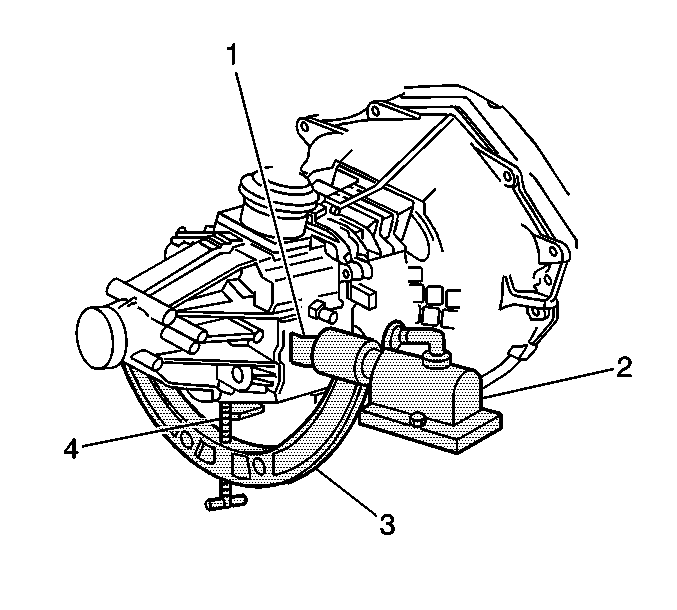
Important: The J 3289-20
requires
mounting securely on a sturdy workbench.
- Assemble the transmission holding fixture to the transmission.
| 2.3. | Place the transmission in the holding fixture and adjust the J 36824
(1) and the J 8763-B
(4) to support
the transmission. |
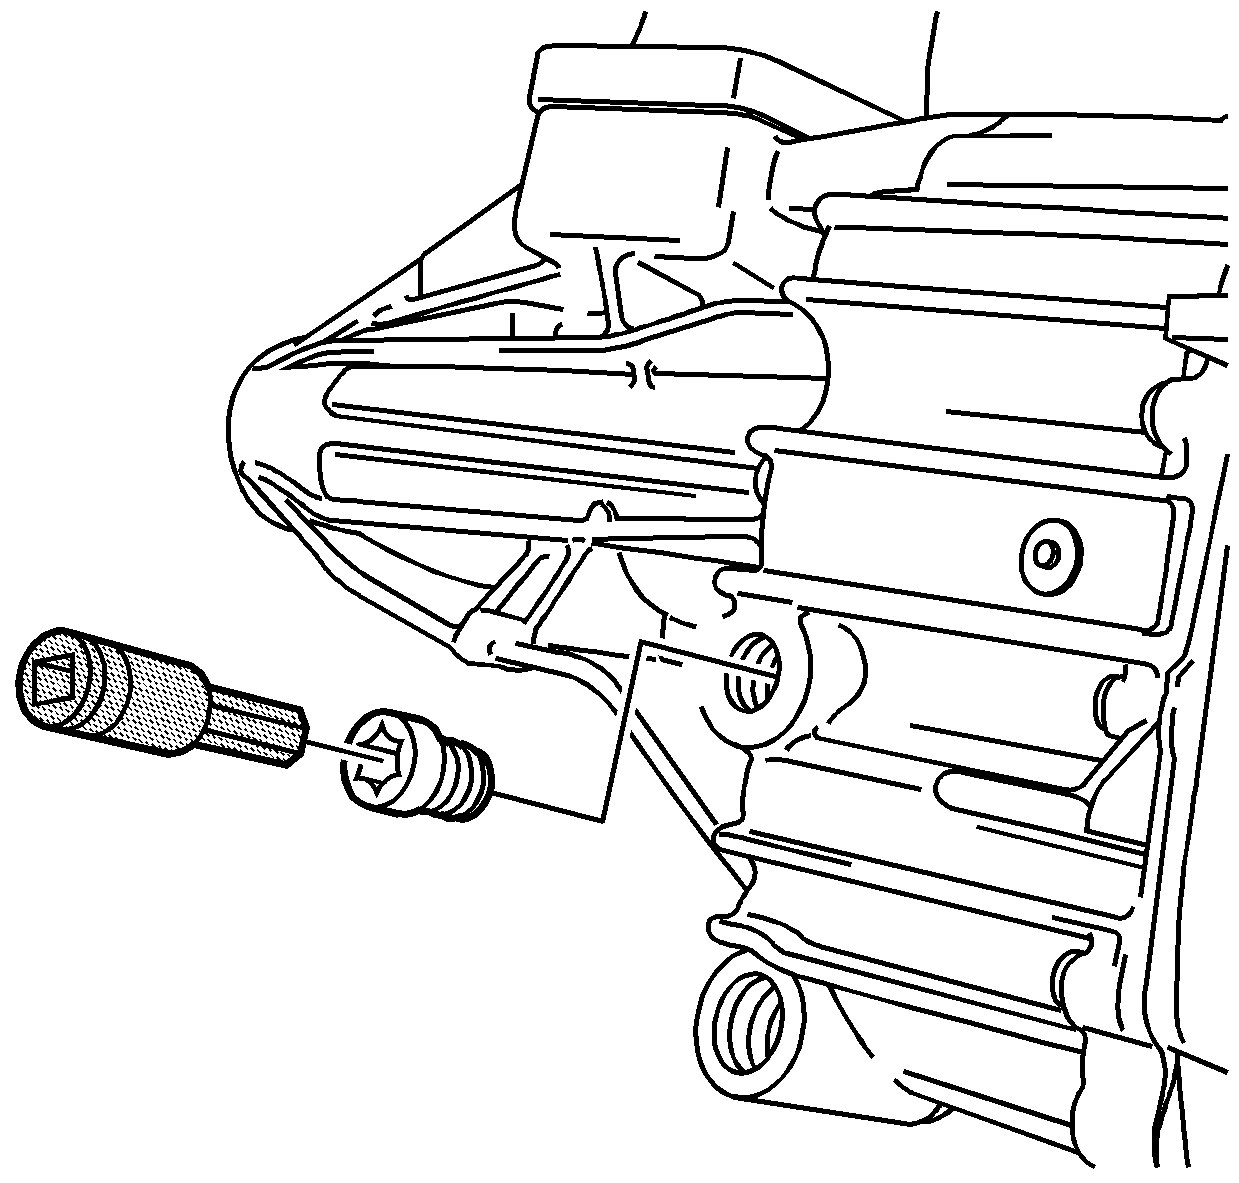
- Using J 36511
, remove the oil fill plug.
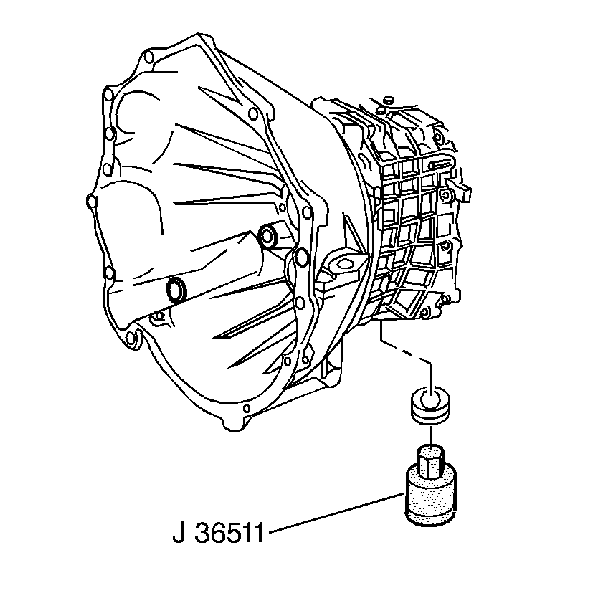
- Place a suitable container
under the transmission assembly in order to drain the remaining transmission
fluid.
- Using J 36511
, remove the oil drain plug.
- Remove the gasket material from the housing.
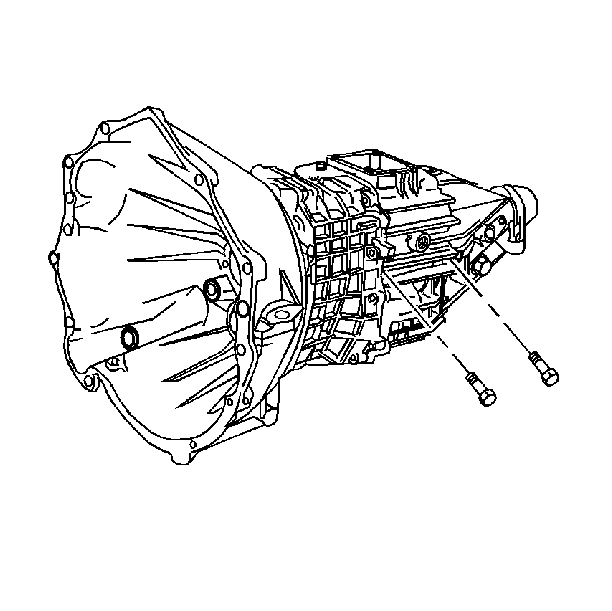
- Remove the two reverse
idler shaft support bolts.
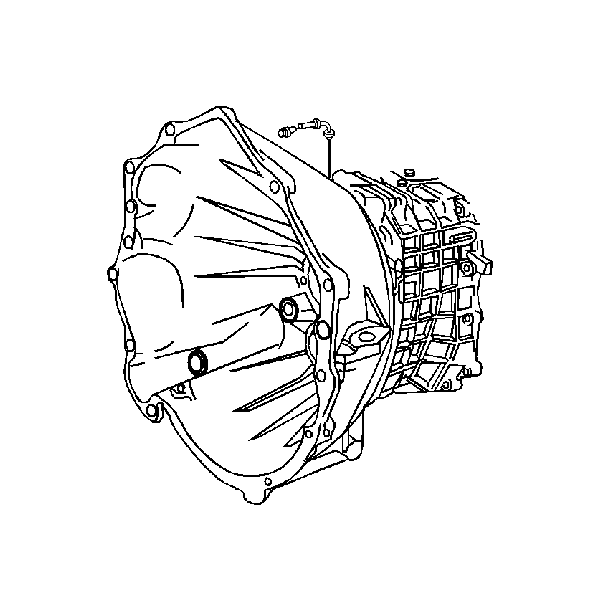
- Remove the transmission
housing vent.
Do not remove the metal tube from the housing.
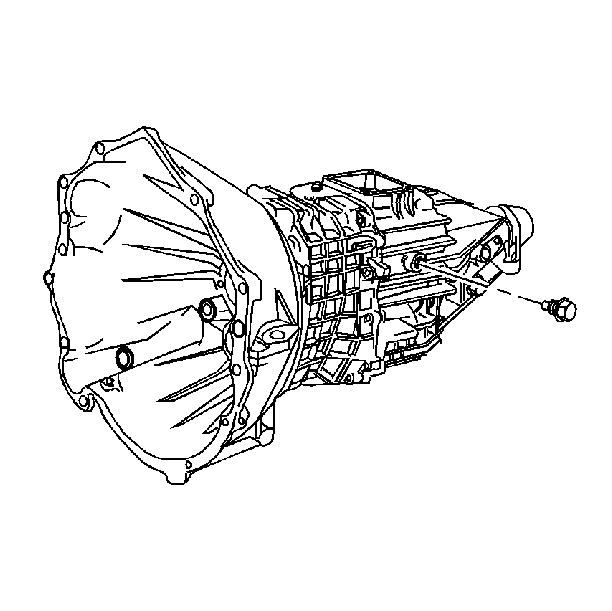
- Remove the backup lamp
switch.
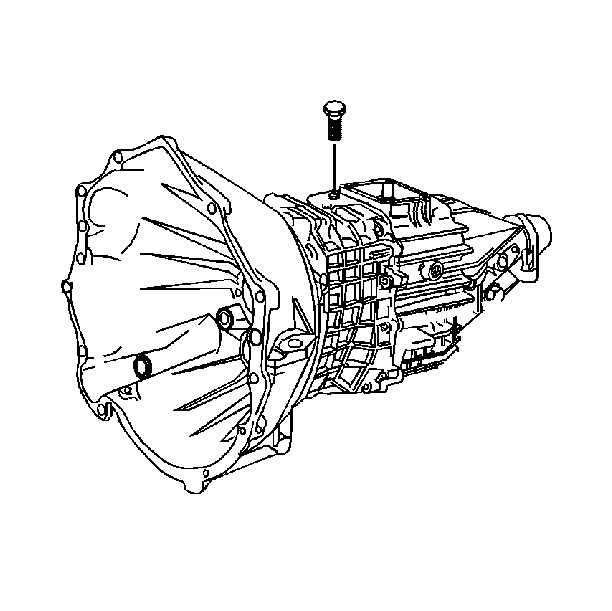
- Remove the shift shaft
block out bushing pin.
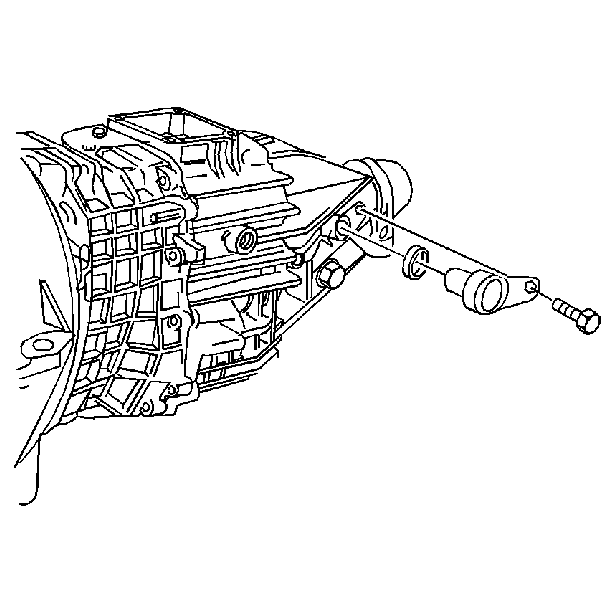
- Remove the vehicle speed
sensor, O-ring, and bolt.
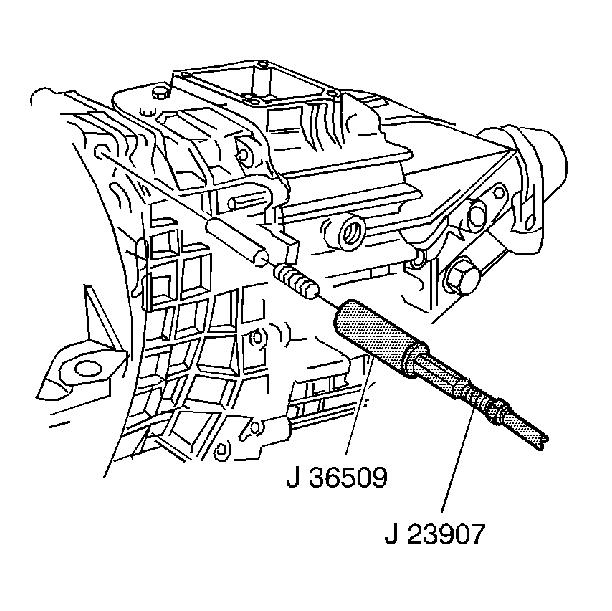
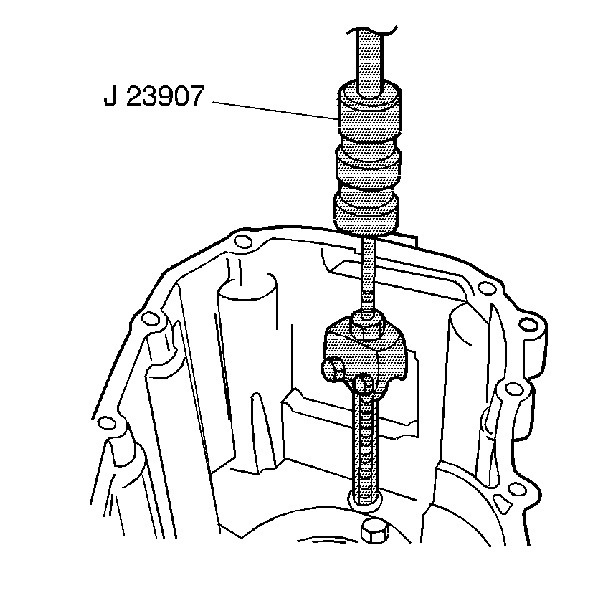
- Using the J 36509
and the J 23907
, remove the detent plug, spring, and detent plunger.
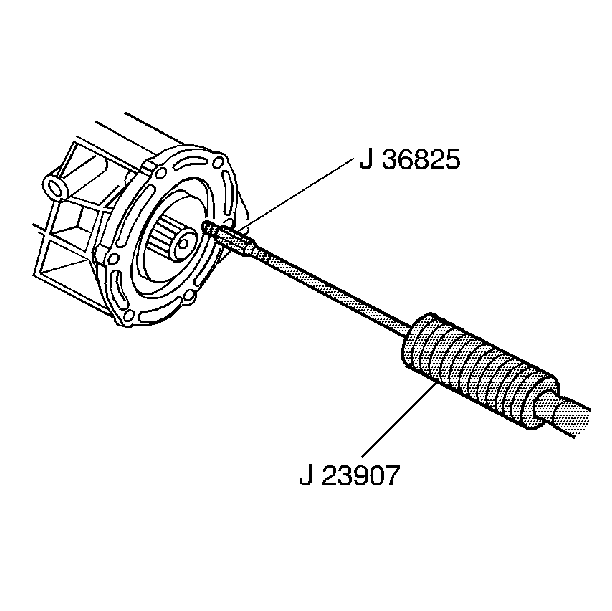
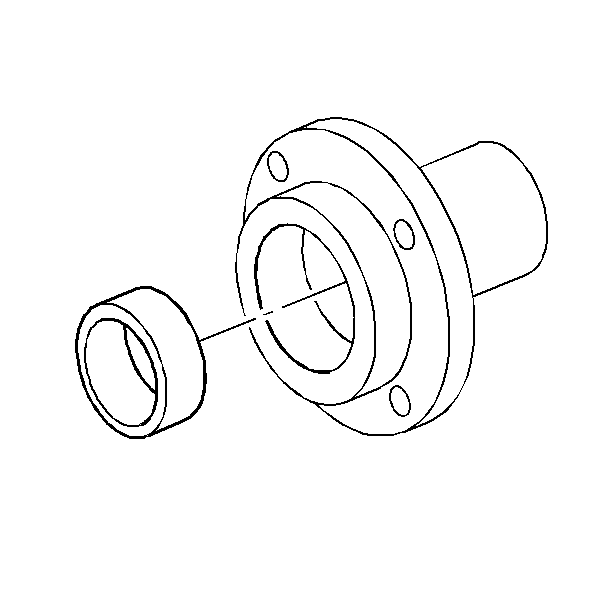
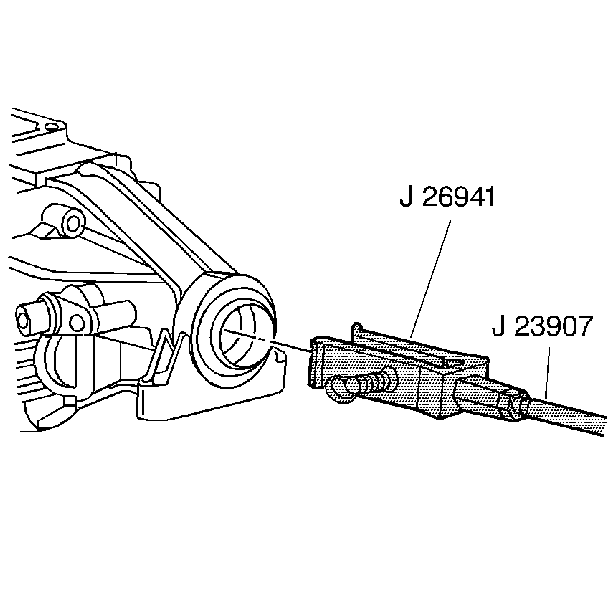
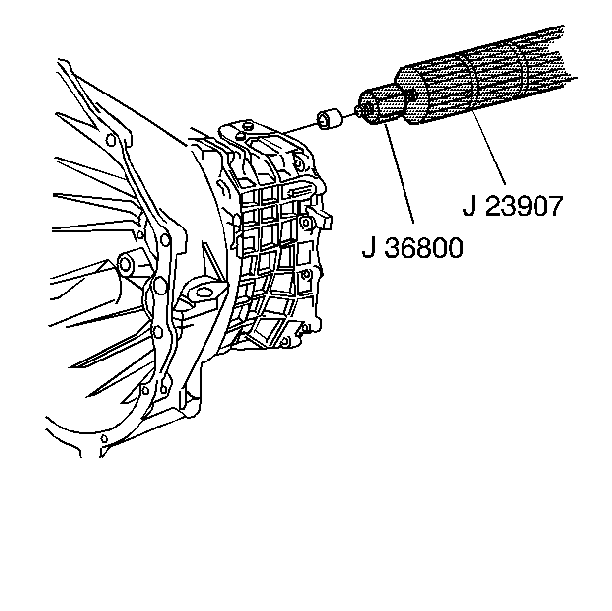
- If 4WD vehicle, remove
the output shaft seal using the J 36825
and the J 23907
. Screw the J 36825
into one of the three perforated holes in the seal.
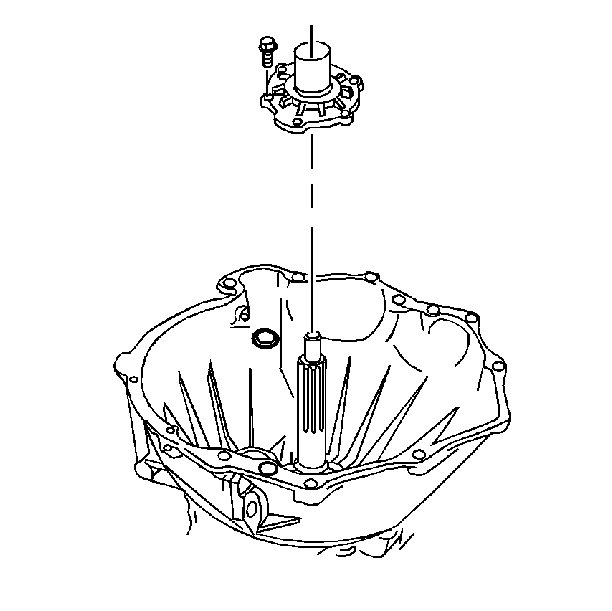
- Remove the six bolts securing
the main drive gear bearing retainer to the front case.
Remove the retainer by screwing two of the removed bolts into the threaded
holes in the retainer.
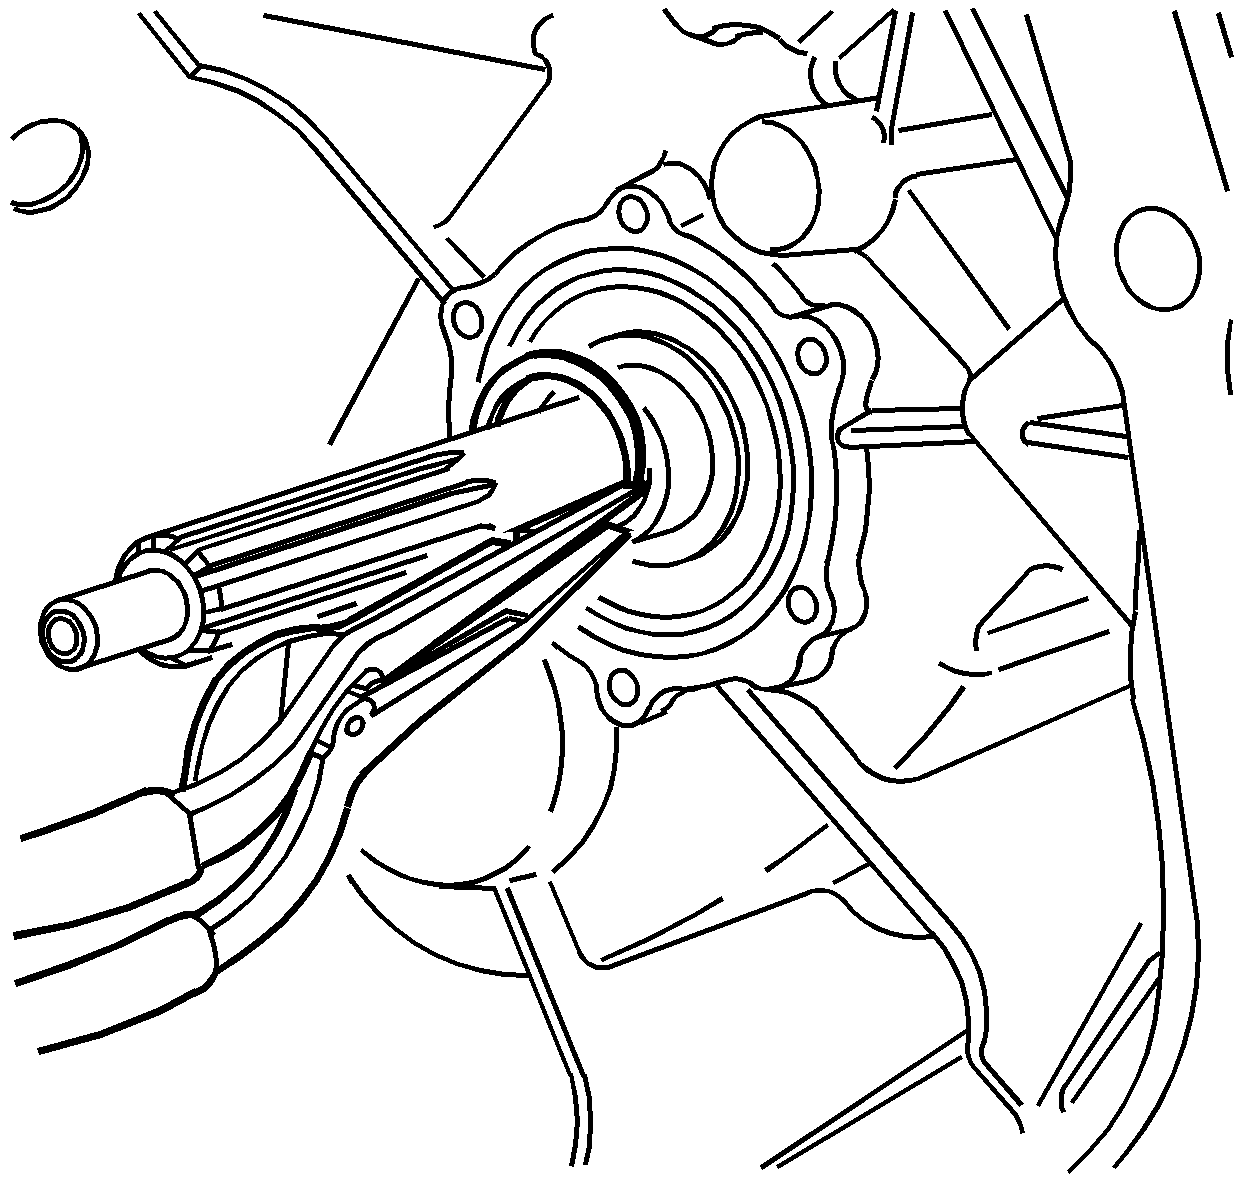
- Remove the main drive
gear snap ring.
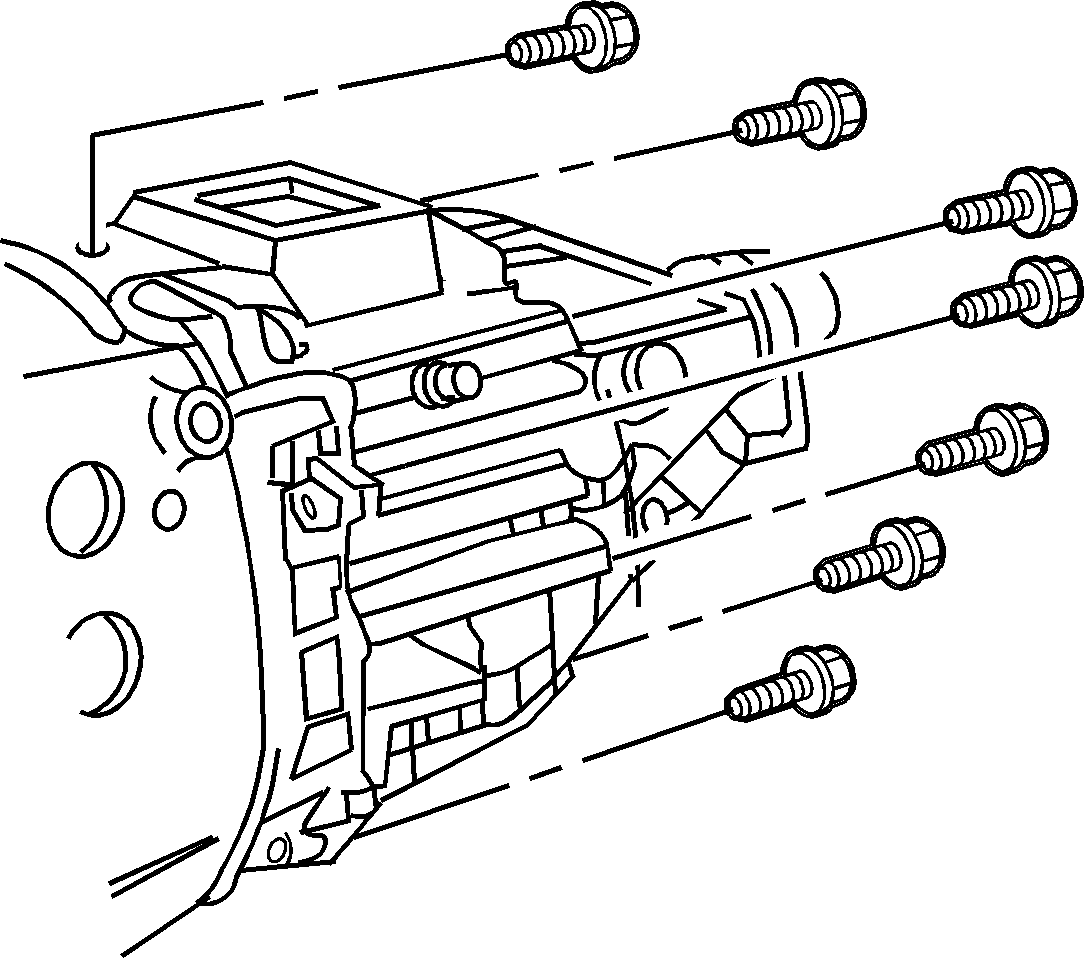
- Remove the bolts securing
the front housing to the rear housing.
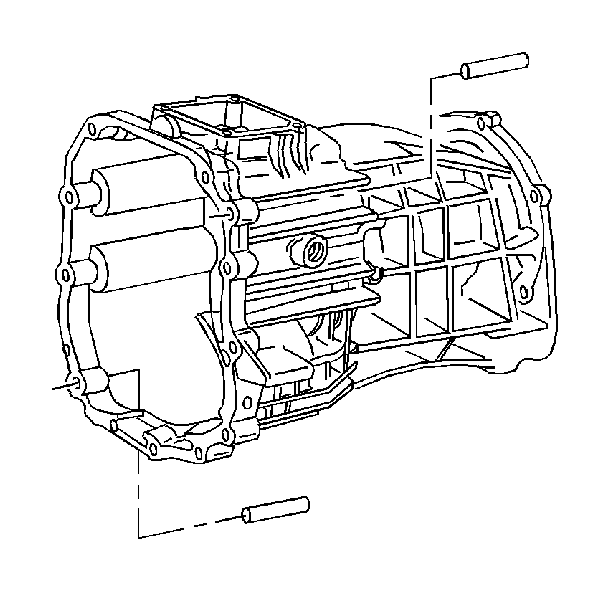
- Drive the two dowel pins
into the front housing.
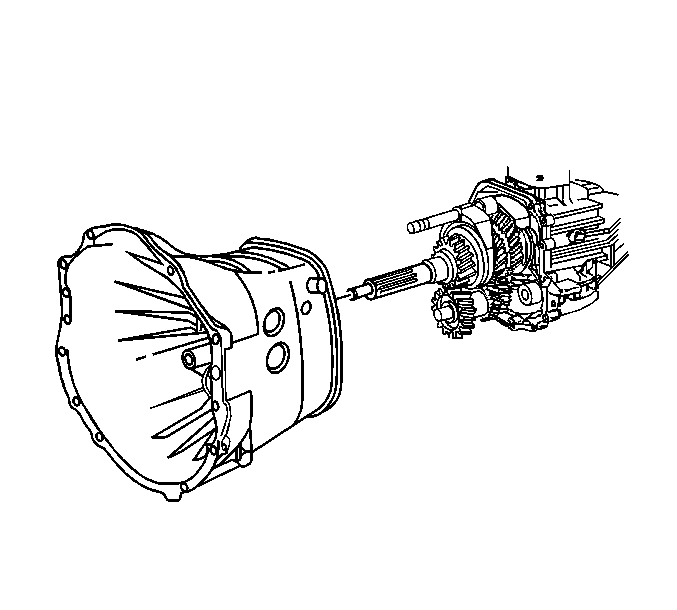
- Remove the front housing.
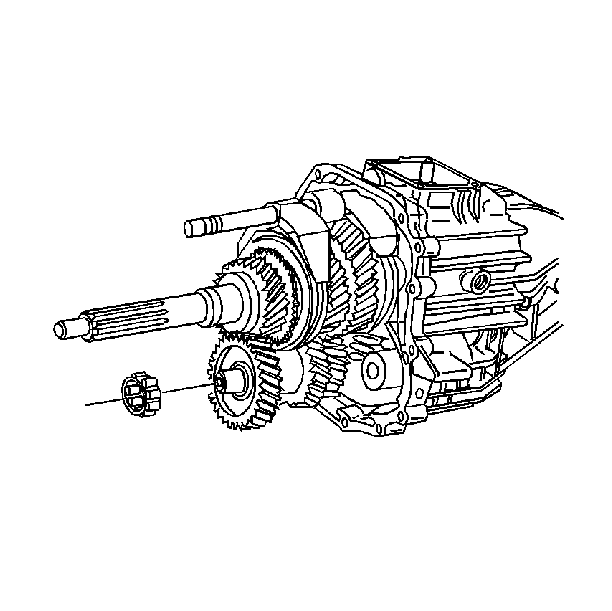
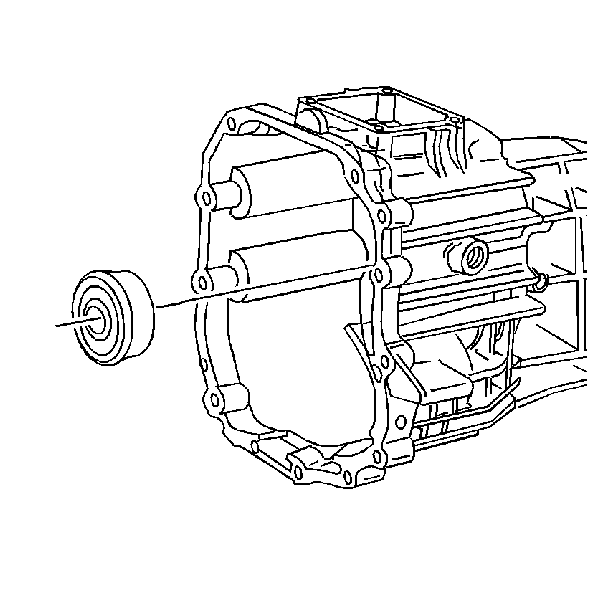
- Remove the countershaft
front bearing.
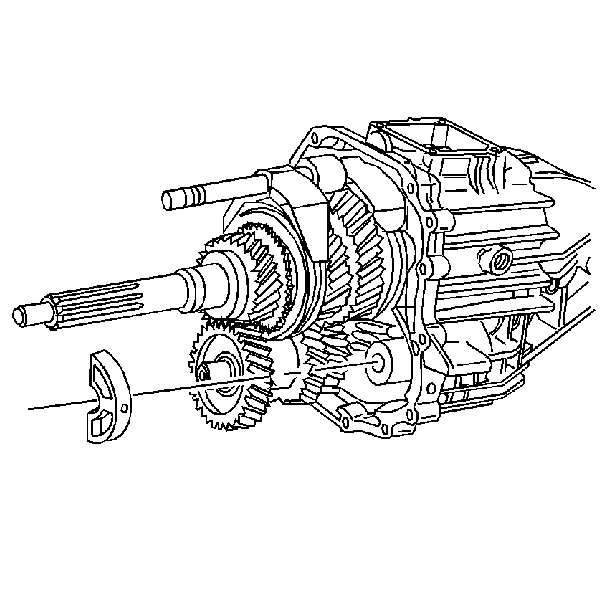
- Remove the reverse idler
shaft support. The idler shaft support will snap out.
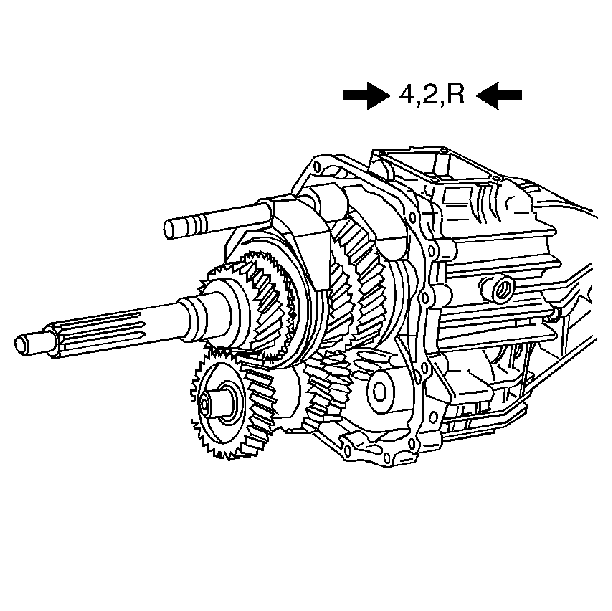
- Move all of the shift
forks forward. Engage the 4th gear, the 2nd gear, and Reverse gear. Retain
the shift lever detent plunger and spring.
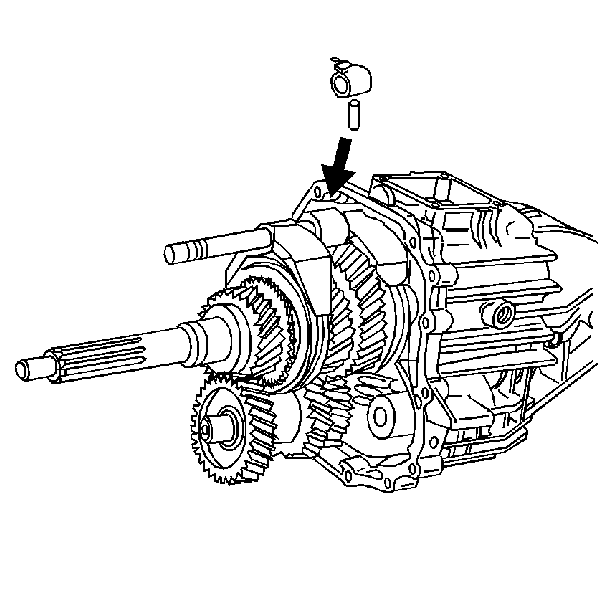
- Remove the shift shaft
lever roll pin.
| 22.1. | Rotate the shift shaft lever finger down. |
| 22.2. | Support the shift shaft end. |
| 22.3. | Drive out the roll pin. |
| 22.4. | Ensure that the roll pin clears the 2nd speed gear. |
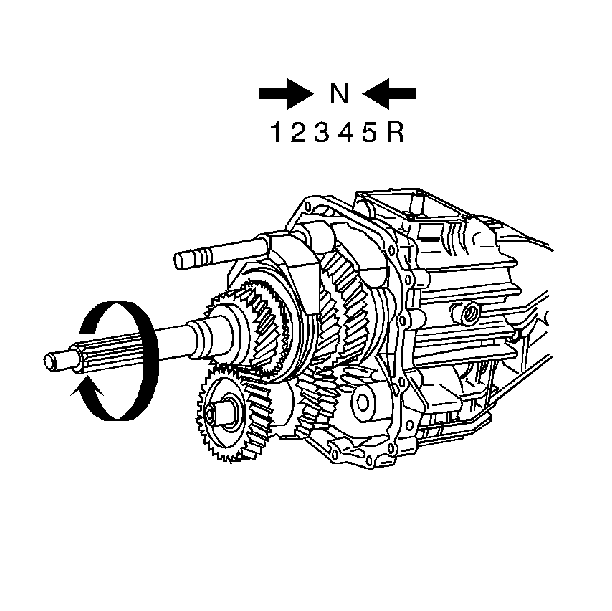
- Shift all of the gears
into neutral.
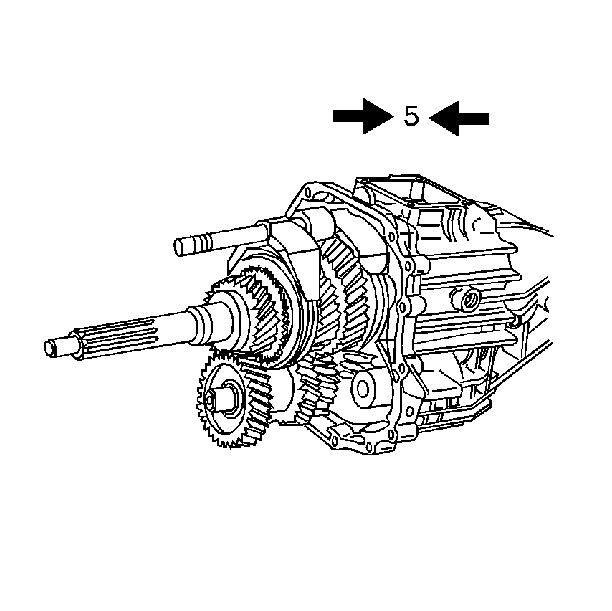
- Engage the 5th speed gear.
Notice: Excessive force peens the shift shaft and damages the shift shaft bearing.
This causes increased shift effort.
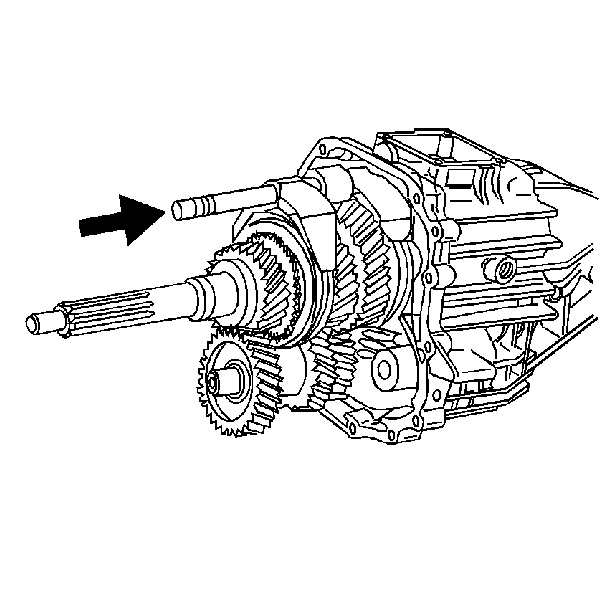
- Push the shift shaft into
the housing.
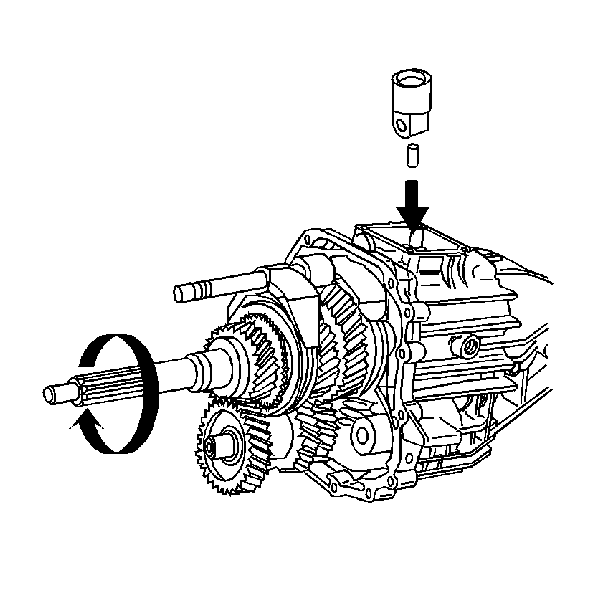
- Remove the shift shaft
socket roll pin.
| 26.1. | Rotate the input shaft until a gap in the 5th speed/reverse speed
synchronizer hub is directly under the roll pin. |
| 26.2. | Support the shift shaft end. |
| 26.3. | Using a 5 mm (3/16 in) punch, remove the roll pin. |
The roll pin will fall into the transmission housing.
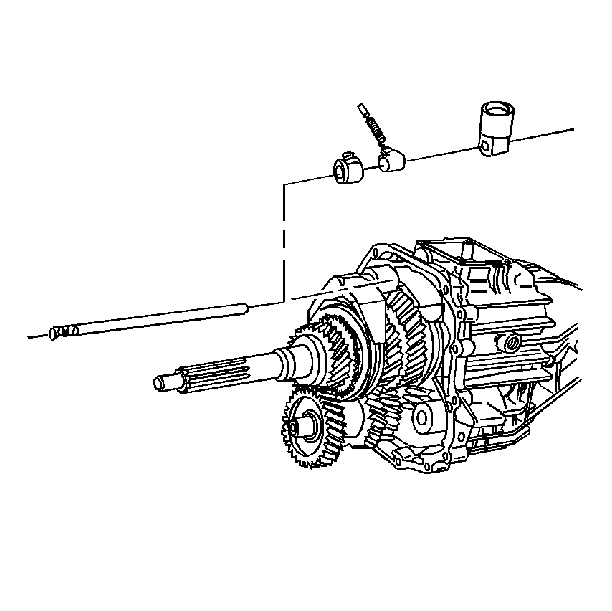
- Remove the following components:
| 27.2. | The shift shaft socket |
| 27.3. | The shift shaft lever |
| 27.4. | The shift shaft block out bushing |
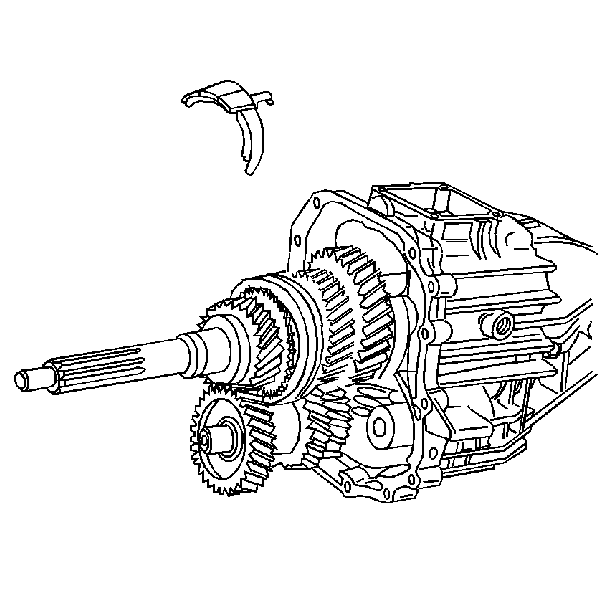
- Rotate the 3rd/4th speed
gear shift fork counterclockwise and remove the 3rd/4th speed gear shift fork
from the transmission case.
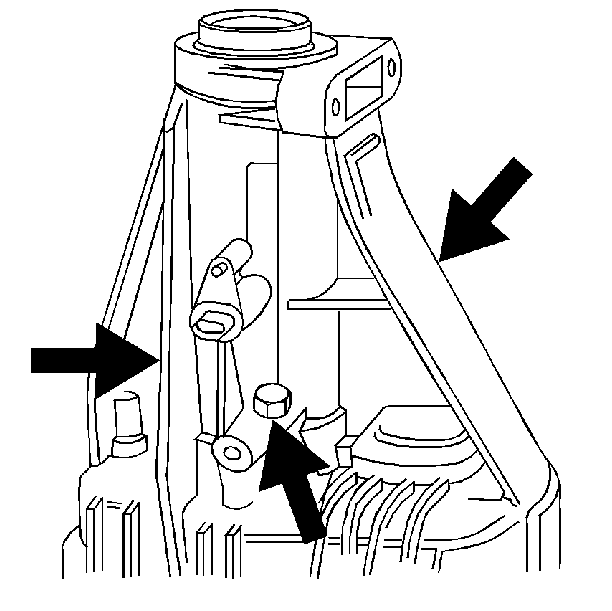
- If rear wheel drive (RWD)
vehicle loosen the three bolts on the rear of the housing. Do not remove the
bolts.
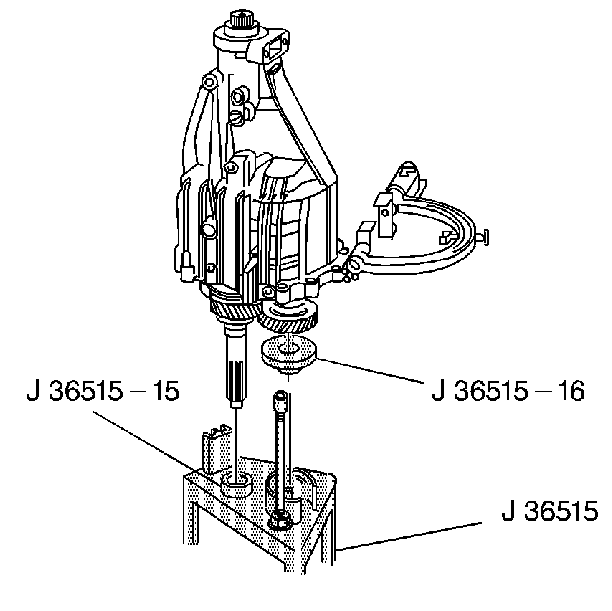
- Install the J 36515-15
on the input shaft.
- Install the J 36515-16
on the countershaft.
- Install the transmission to the J 36515
.
- Remove the transmission holding fixture from the transmission.
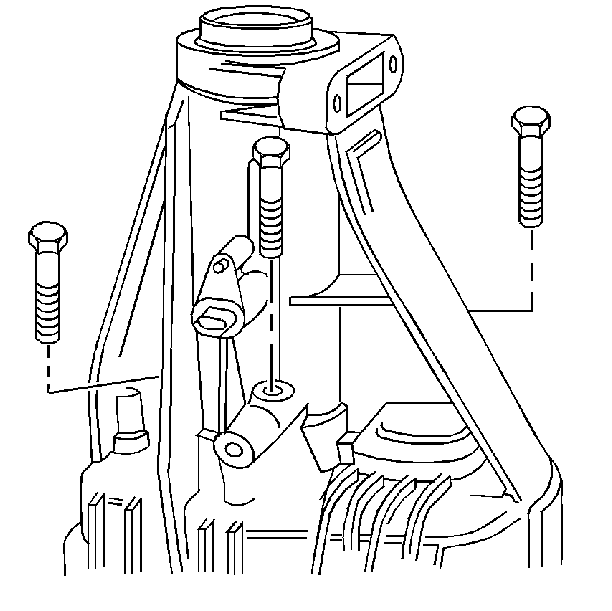
- If RWD vehicle remove
the three bolts on the rear of the housing.
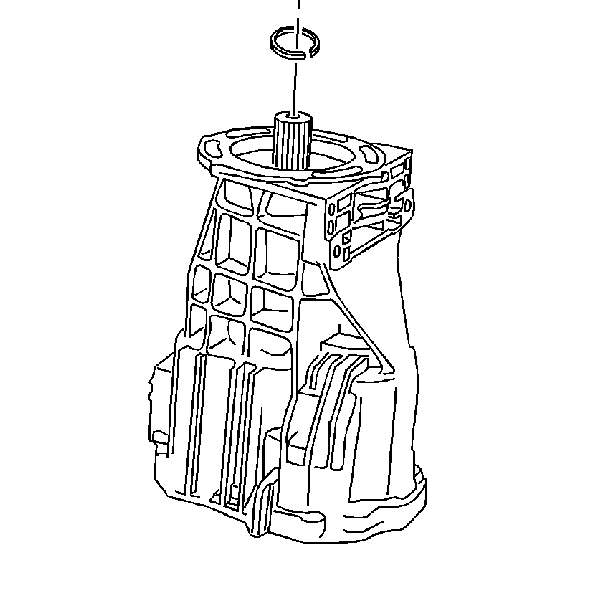
- If 4WD vehicle, remove
the main shaft rear bearing snap ring.
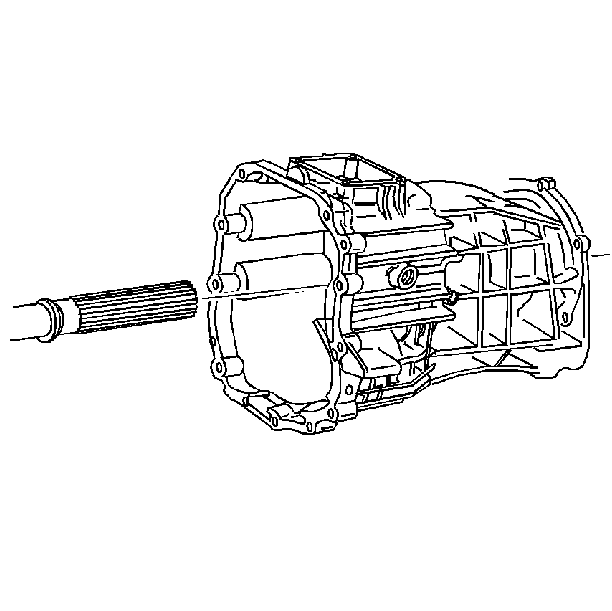
- Remove the rear housing (4WD shown). Tap the rear housing with a rubber
mallet.
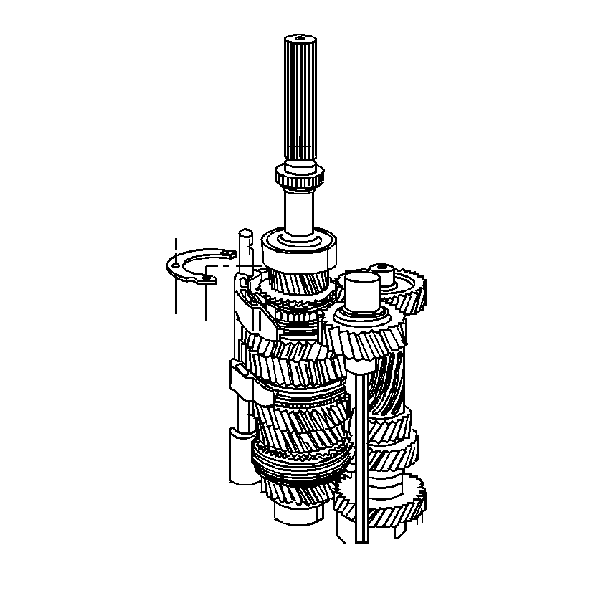
- If RWD vehicle, remove
the main shaft bearing retainer.
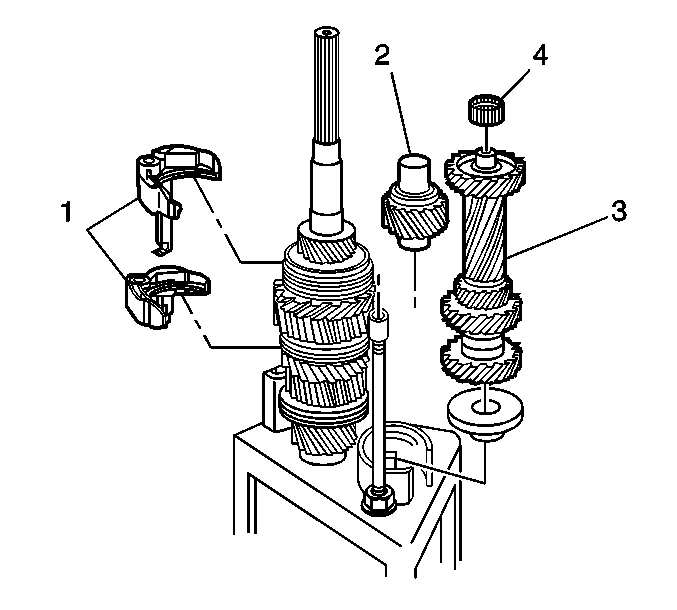
- Remove the following components
from the mainshaft assembly:
| • | The two shift forks (1) |
| • | The reverse idler gear (2) |
| • | The countershaft rear bearing (4) |
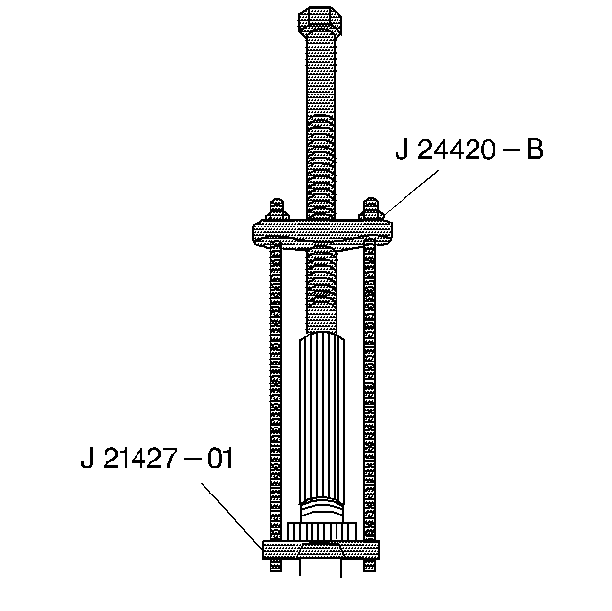
- If RWD vehicle, using
the J 21427-A
and the J 24420-B
, remove the speed sensor
reluctor wheel from the rear of the main shaft.
Do not reuse the reluctor wheel after removal.
- If RWD vehicle, remove
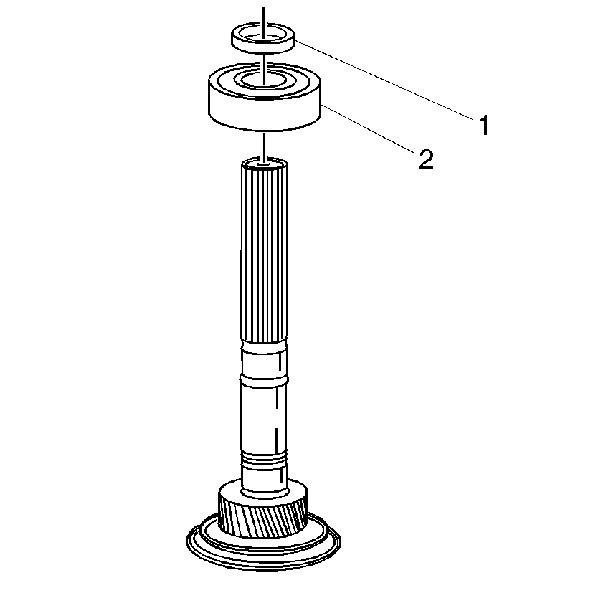
the mainshaft rear bearing snap ring (1) and the mainshaft rear bearing (2).
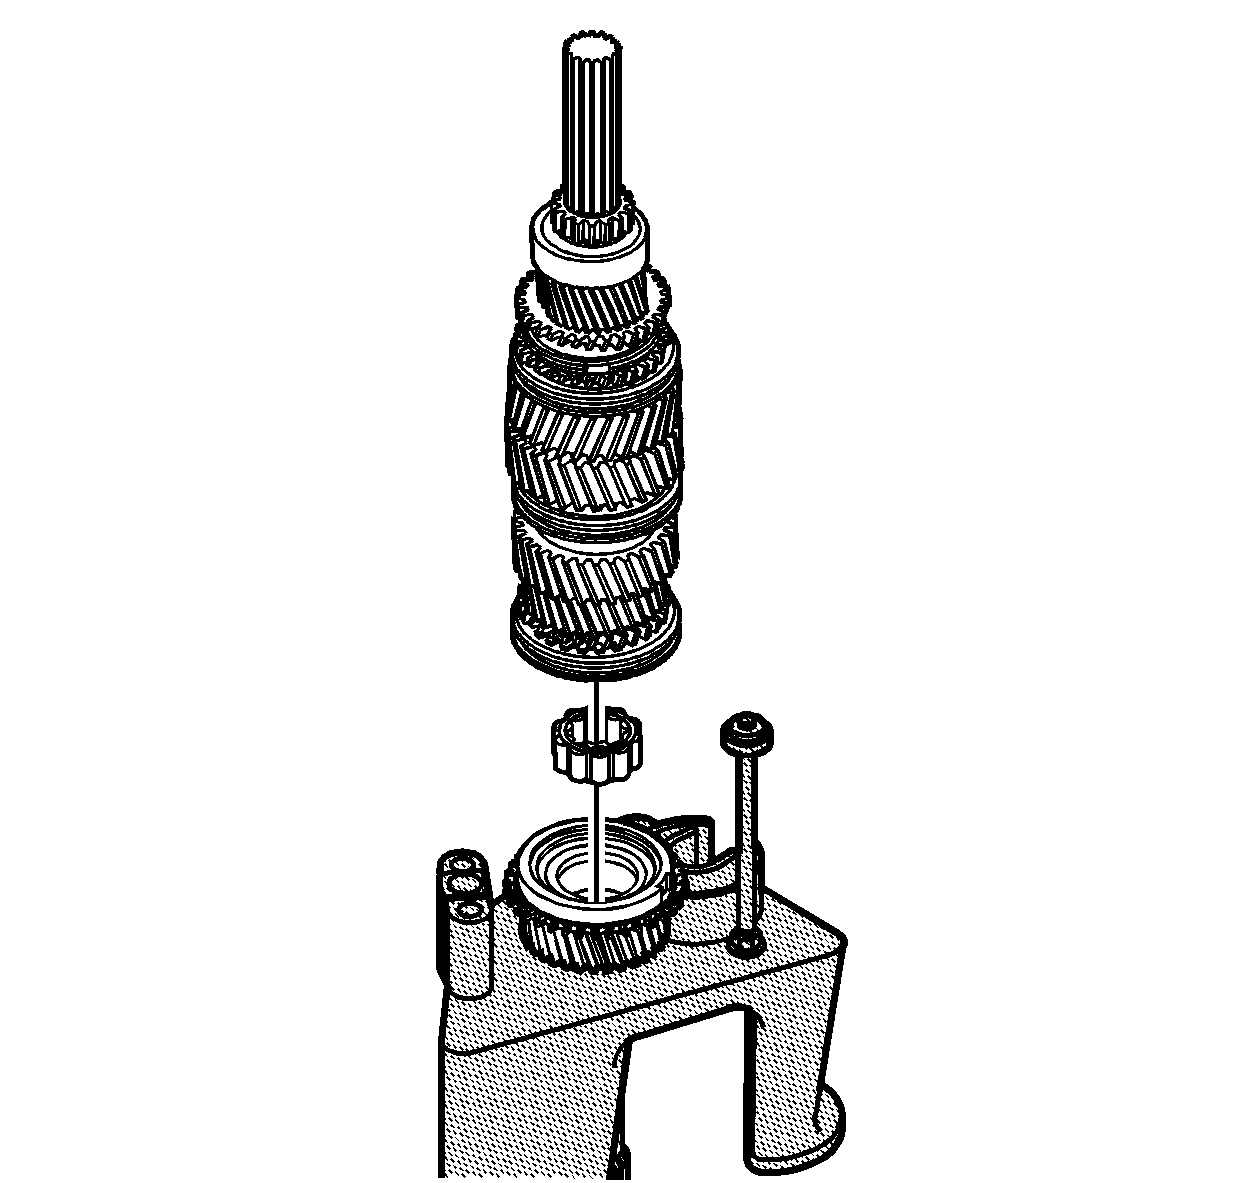
- Remove the mainshaft assembly
from the J 36515
.
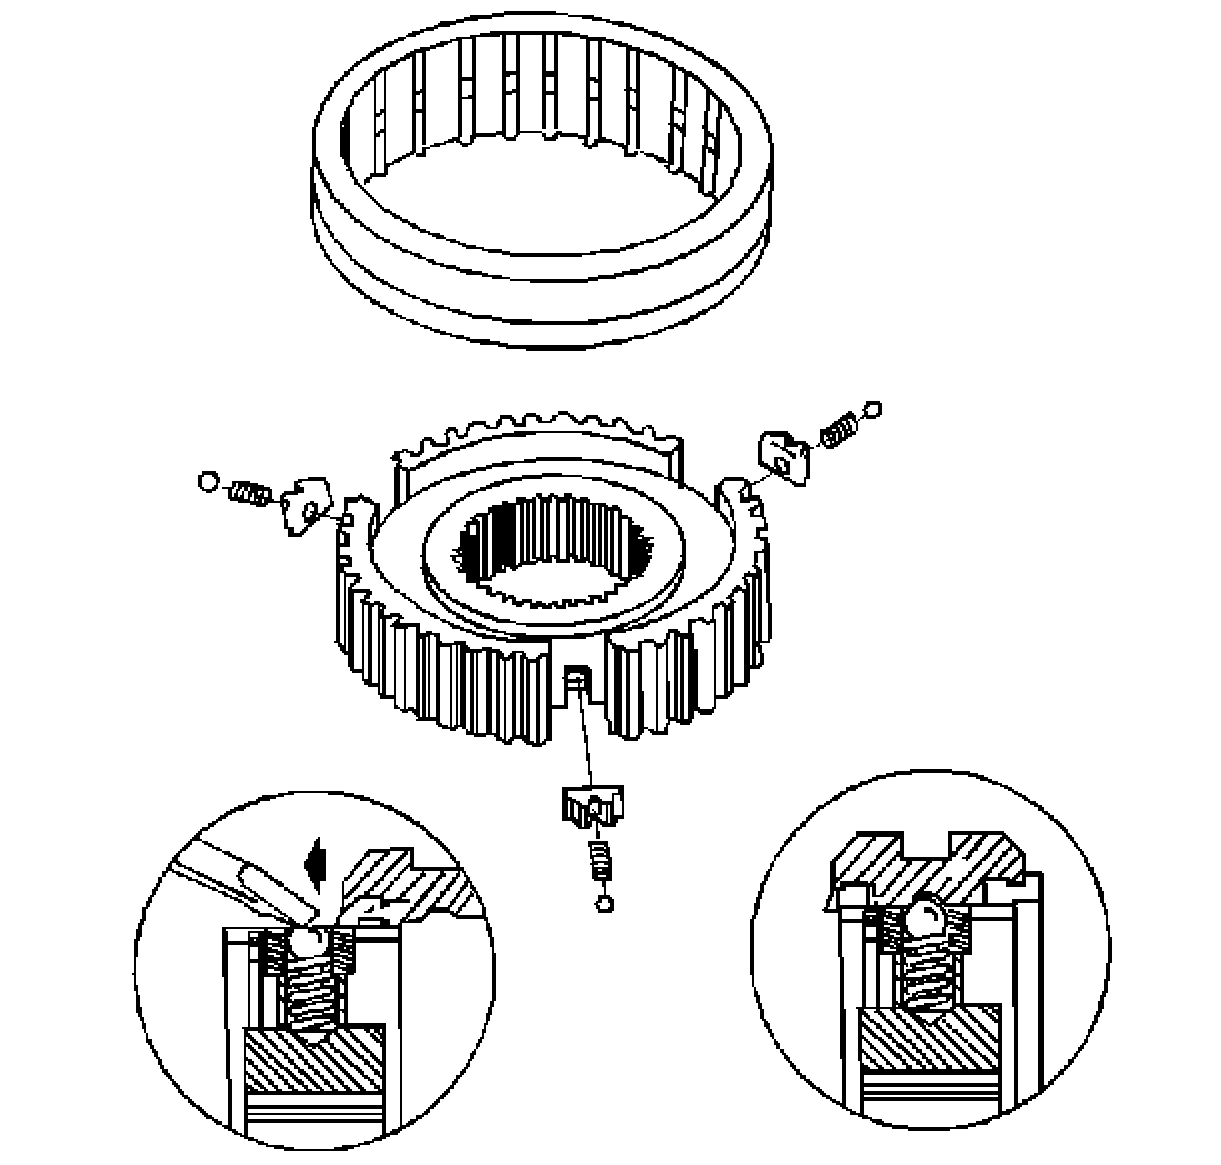
Important: Leave the synchronizer ring on the 3rd/4th synchronizer assembly to
prevent the synchronizer detent balls from popping out.
- Remove the main drive gear and the main drive gear pilot bearing from
the main shaft.
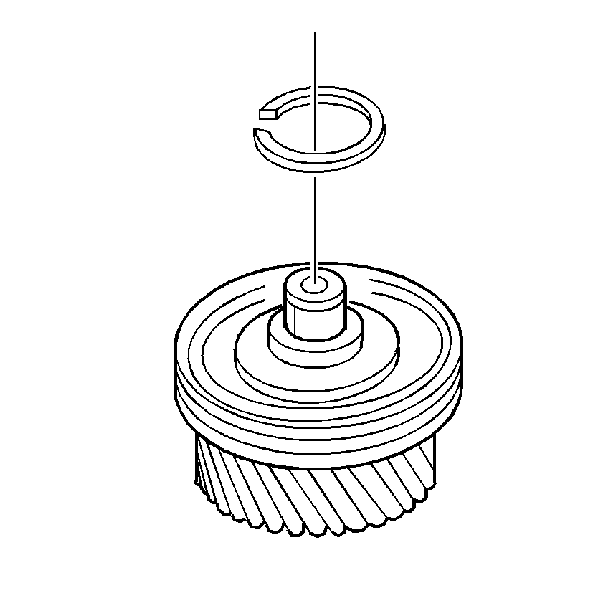
- Remove the mainshaft snap ring.
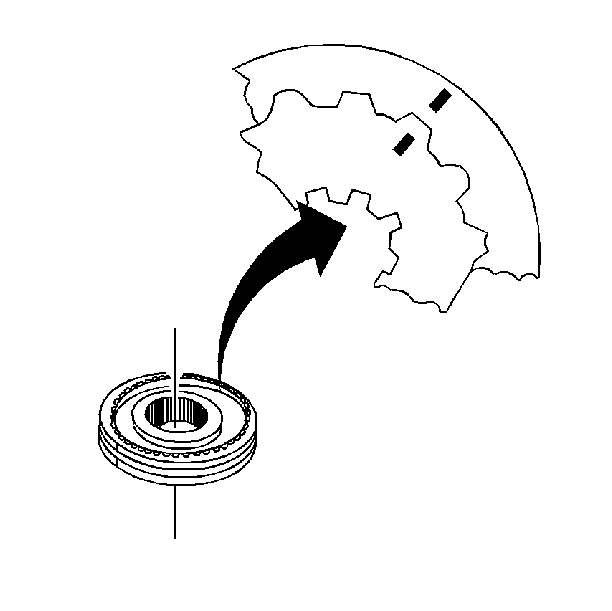
- Scribe an alignment mark on the synchronizer
hub and the synchronizer sleeve in order to properly reassemble the synchronizer
hub assembly.
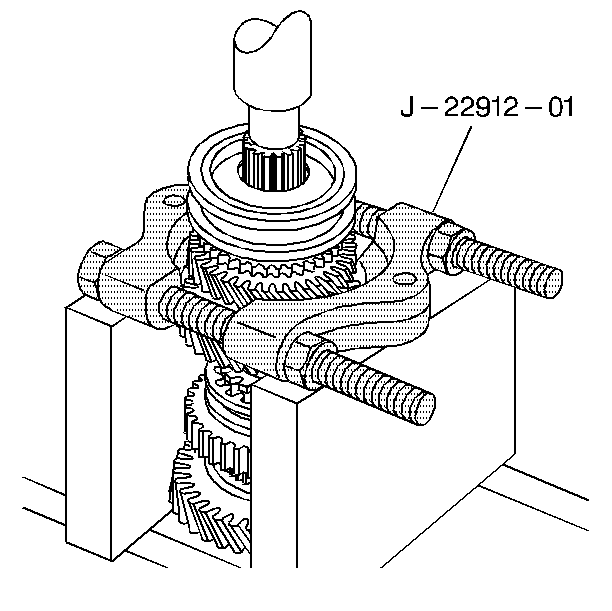
Important: When removing the synchronizer hubs use the J 22912-B
under the gear for that synchronizer and not the synchronizer
sleeve. Do not separate the synchronizer hub from the synchronizer sleeves.
Leave the synchronizer rings with the synchronize assembly to prevent the
synchronizer detent balls from popping out.
- Using a hydraulic press and the J 22912-B
remove the 3rd/4th speed gear synchronizer hub assembly,
the third speed gear and the synchronizer rings.
- Remove the synchronizer assembly from the third gear.
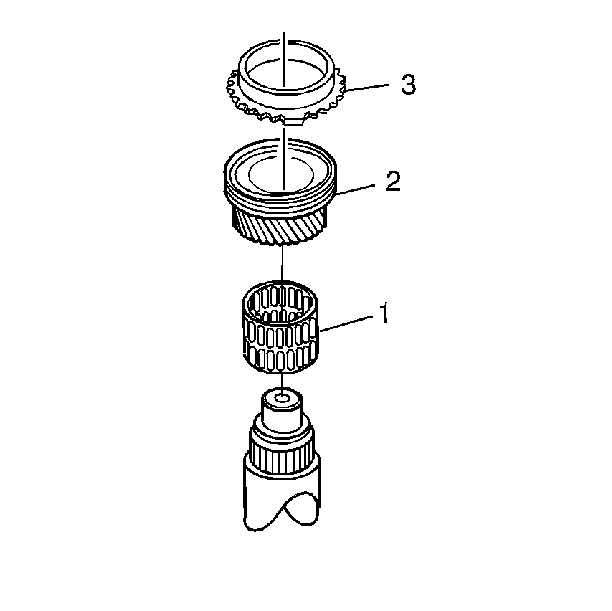
- Remove the 3rd speed gear
needle bearing assembly (1).
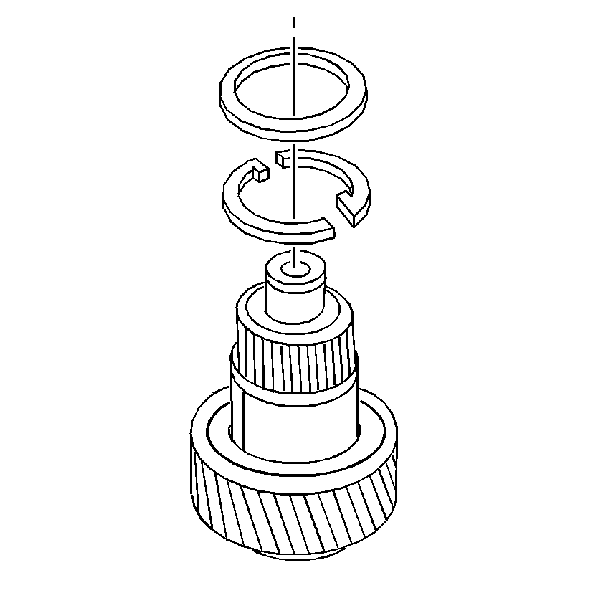
- Remove the following components:
| 48.1. | The 2nd speed gear two piece thrust washer |
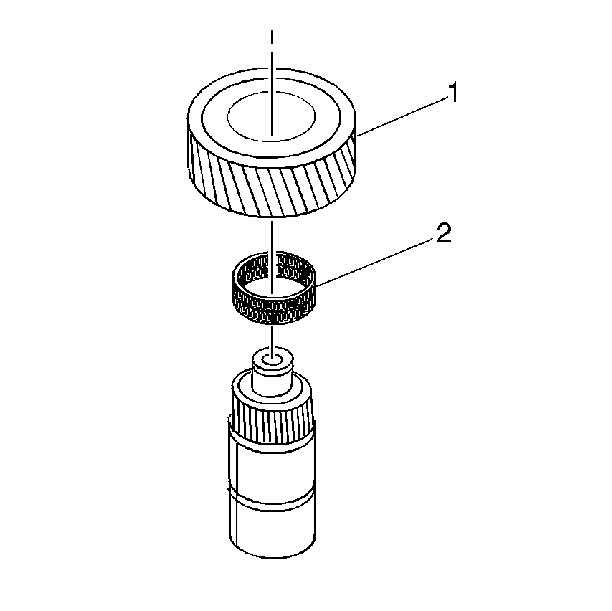
- Remove the following components:
| 49.2. | The 2nd speed gear needle bearing assembly |
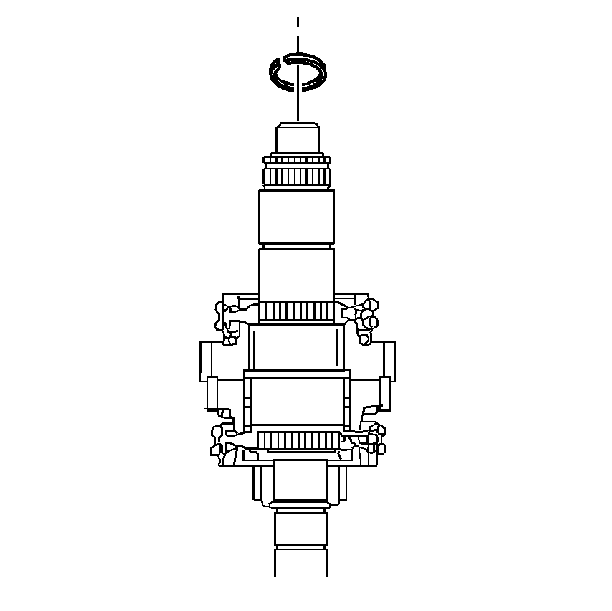
- Remove the 2nd gear synchronizer
snap ring from the main shaft.
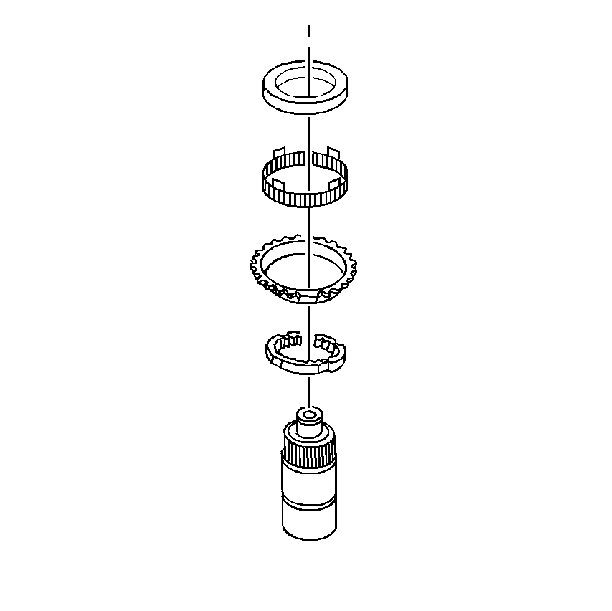
- Remove the following components
for the 2nd gear synchronizer:
| 51.1. | The synchronizer cone |
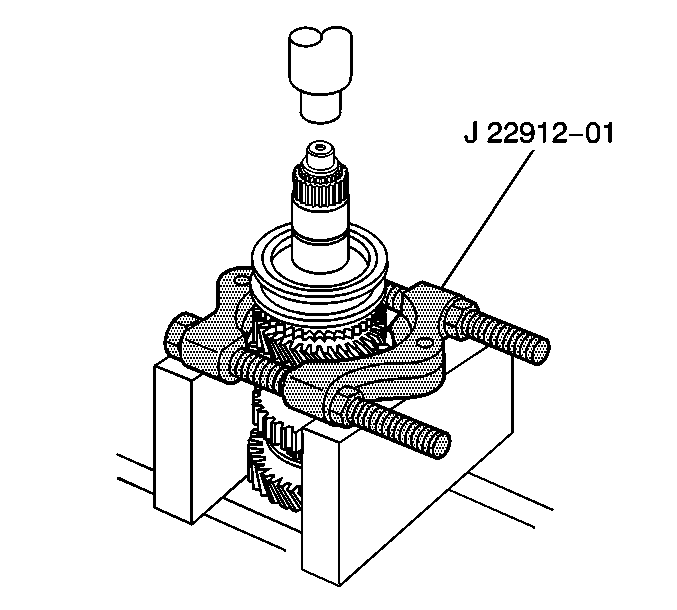
- Scribe an alignment mark
on the synchronizer hub and the synchronizer sleeve in order to properly reassemble
the synchronizer hub assembly.
Important: When removing the synchronizer hubs use the J 22912-B
under the gear for that synchronizer and not the synchronizer
sleeve. Do not separate the synchronizer hub from the synchronizer sleeves.
Leave the synchronizer rings with the synchronize assembly to prevent the
synchronizer detent balls from popping out.
- Using a hydraulic press and the J 22912-B
remove the 1st/2nd speed gear synchronizer hub and the
1st speed gear.
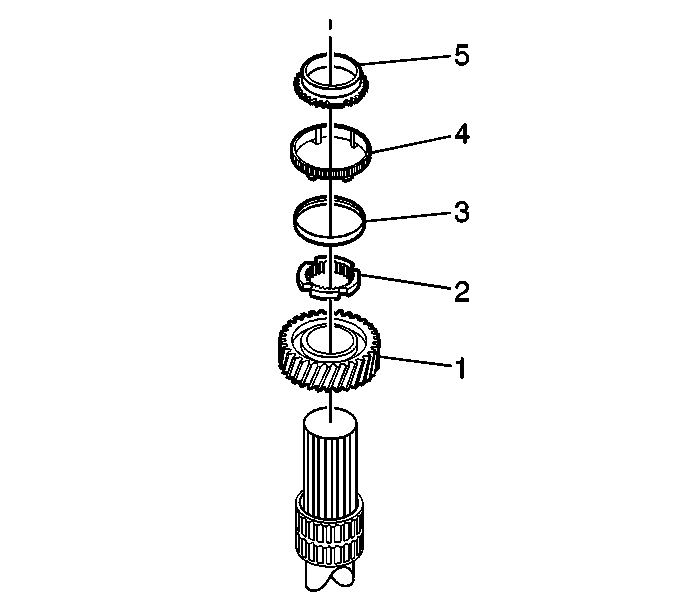
- Remove the following components:
| 54.1. | The synchronizer cone (5) |
| 54.2. | The blocker ring (4) |
| 54.3. | The reactor cone (3) |
| 54.4. | The synchronizer interim ring (2) |
| 54.5. | The 1st speed gear (1) |
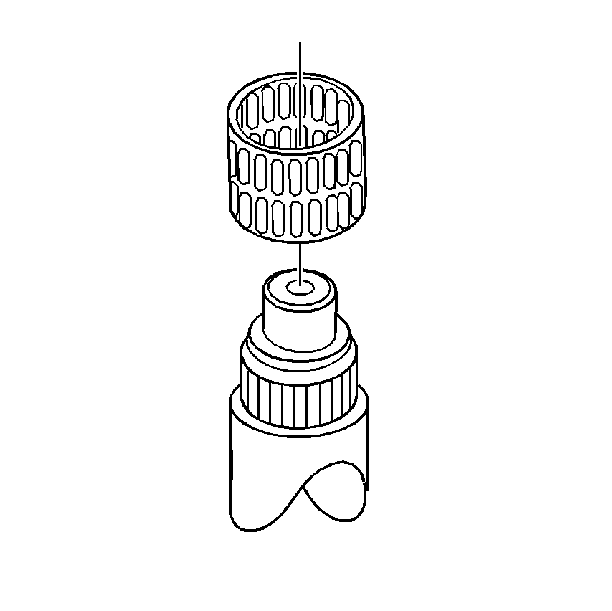
- Remove the 1st speed gear
needle bearing assembly
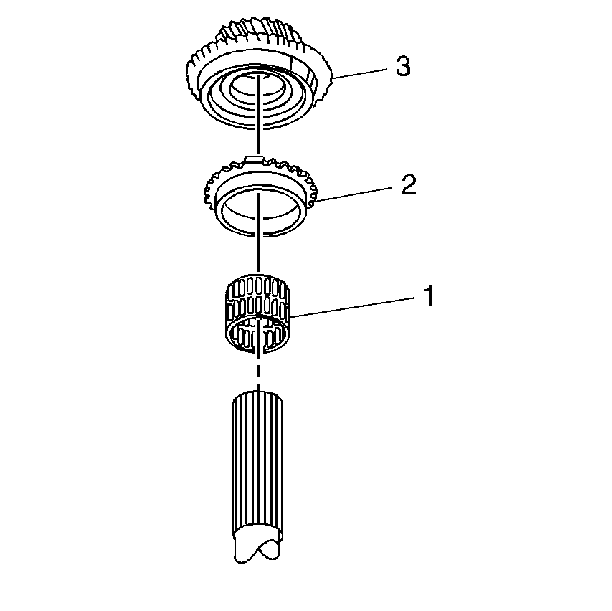
- Turn the mainshaft over
to work on the output end.
- Remove the following components:
| 57.1. | The 5th speed gear (3) |
| 57.2. | The 5th speed gear needle bearing assembly (1) |
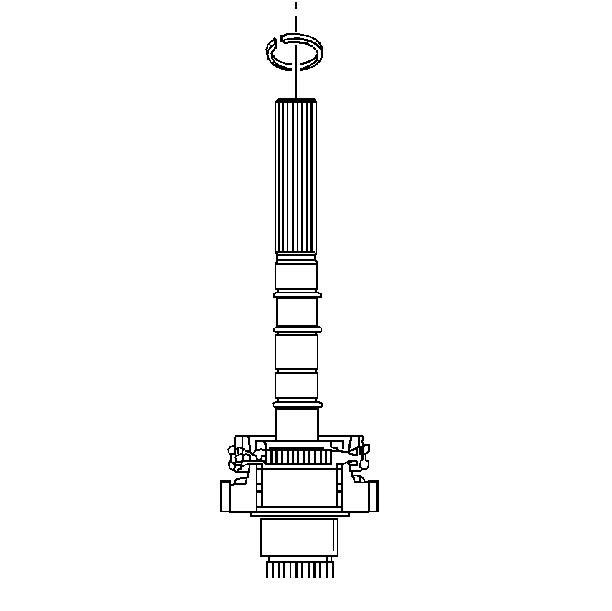
- Remove the snap ring for
the 5th gear synchronizer hub from the mainshaft.
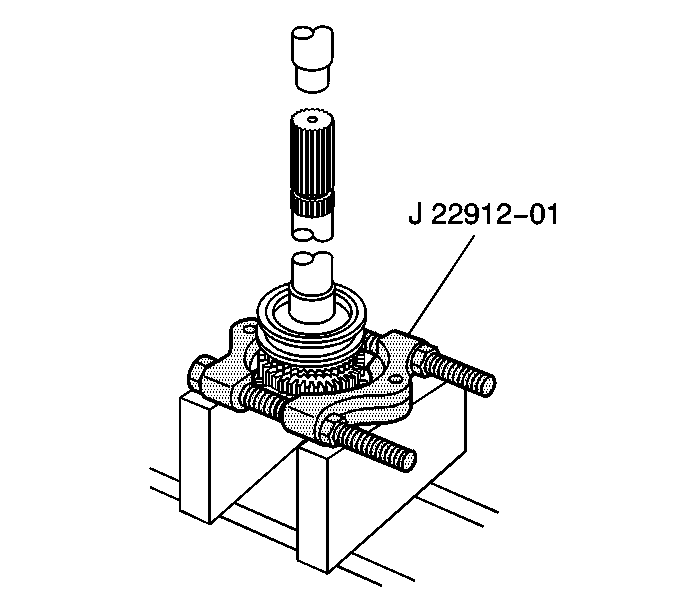
- Scribe an alignment mark
on the synchronizer hub and the synchronizer sleeve in order to properly reassemble
the synchronizer hub assembly.
Important: When removing the synchronizer hubs use the J 22912-B
under the gear for that synchronizer and not the synchronizer
sleeve. Do not separate the synchronizer hub from the synchronizer sleeves.
Leave the synchronizer rings with the synchronize assembly to prevent the
synchronizer detent balls from popping out.
- Using a hydraulic press and the J 22912-B
remove the 5th/Reverse speed gear synchronizer assembly
and the reverse speed gear.
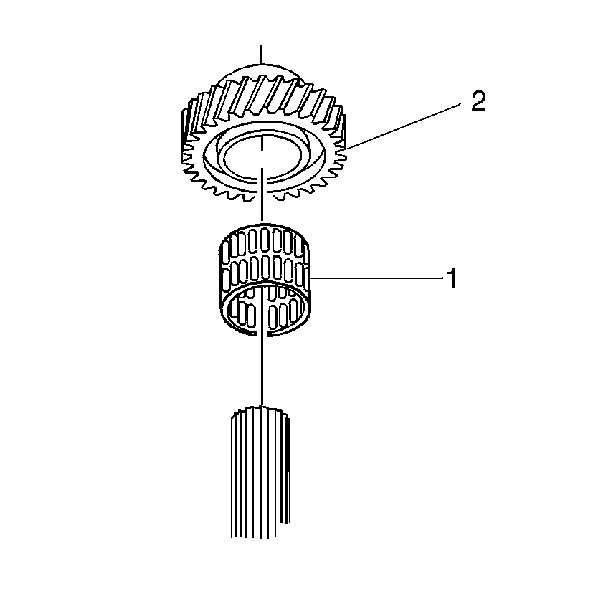
- Remove the following reverse
speed gear needle bearing assembly.
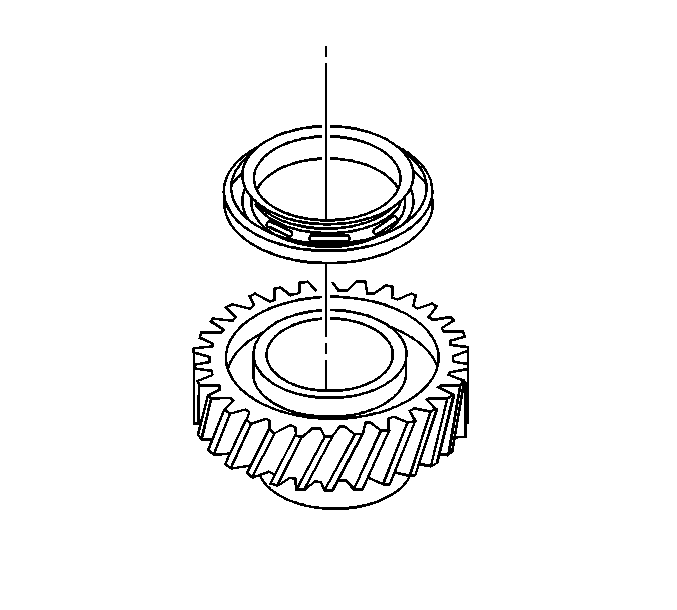
- Remove the reverse speed
gear drag seal.
- Remove the 5th speed gear drag seal.


