Removal Procedure
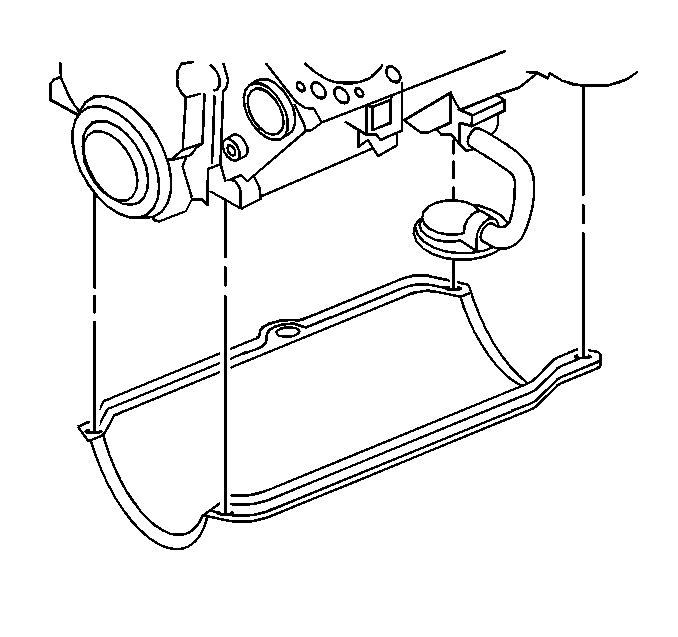
A one-piece type oil pan gasket is used.
- Disconnect the negative battery cable. Refer to
Caution: Unless directed otherwise, the ignition and start switch must be in the OFF or LOCK position, and all electrical loads must be OFF before servicing any electrical component. Disconnect the negative battery cable to prevent an electrical spark should a tool or equipment come in contact with an exposed electrical terminal. Failure to follow these precautions may result in personal injury and/or damage to the vehicle or its components.
in General Information. - Remove the oil level indicator tube.
- Raise the vehicle. Support with suitable safety stands.
- Drain the engine oil.
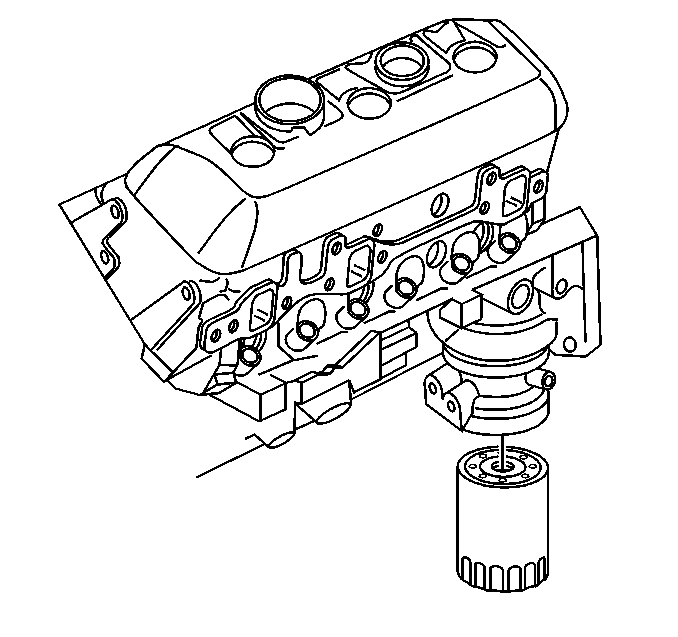
- Remove the oil filter.
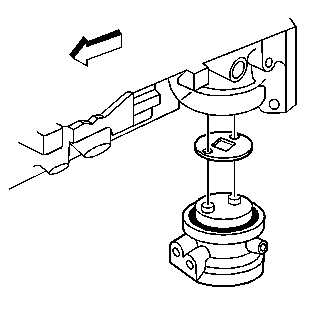
- Disconnect the oil cooler lines from the oil pan and from the adapter. Refer to Oil Cooler Line Replacement in Cooling and Radiator.
- Remove the starter. Refer to Starter Replacement in Engine Electrical.
- Remove the starter shield.
- Disconnect the transmission oil cooler lines.
- Remove the rubber bellhousing plugs.
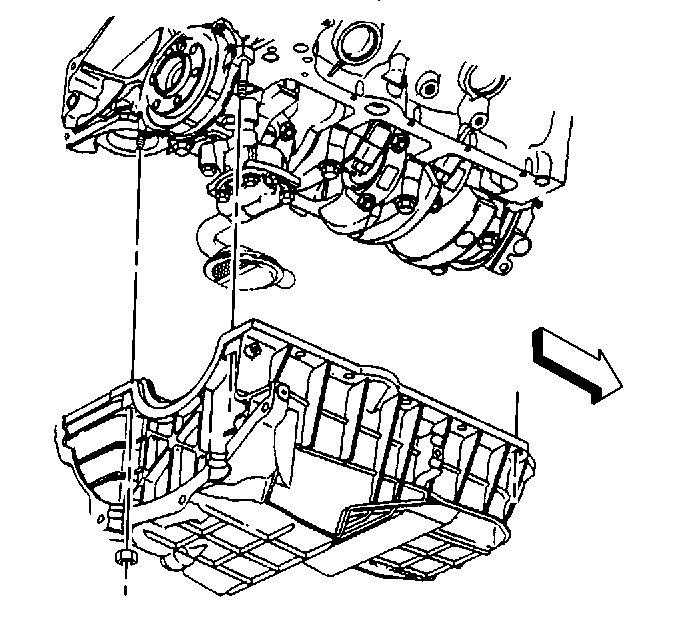
- Remove the oil pan bolts and the nuts.
- Remove the oil pan and the gasket.
- Clean the gasket surfaces on the engine and the oil pan.
- Inspect the oil pan gasket for damage. Replace the gasket if necessary.
Installation Procedure
- Apply sealant GM P/N 12346141, or equivalent, to the front cover to block joint for 25 mm (1 in) in both directions from each of the four corners.
- Apply sealant GM P/N 12346141, or equivalent, to the rear crankshaft seal to block joint for 25 mm (1 in) in both directions from each of the four corners.
- Install the oil pan gasket to the oil pan.
- Install the oil pan to the engine.
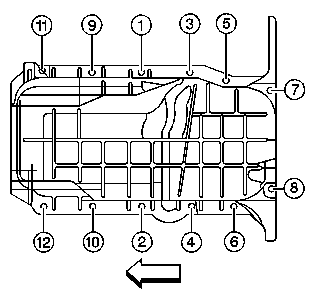
- Install the oil pan bolts and the studs in sequence. Do not tighten.
- Install the rubber bellhousing plugs.
- Use a feeler gage in order to check the clearance between the three oil pan-to-transmission contact points. If the clearance exceeds 0.25 mm (0.010 in) at any of the three points repeat the installation steps until the clearance is within specification.
- Reconnect the transmission oil cooler lines.
- Install the starter and shield. Refer to Starter Replacement in Engine Electrical.
- Install the oil cooler lines. Refer to Oil Cooler Line Replacement in Cooling and Radiator.
- Install the oil filter.
- Lower the vehicle.
- Install the proper quantity and grade of engine oil. Refer to Maintenance and Lubrication.
- Connect the negative battery cable.
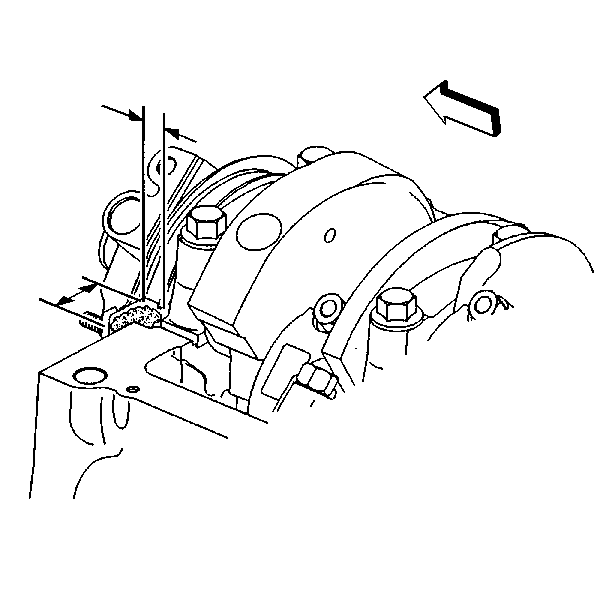
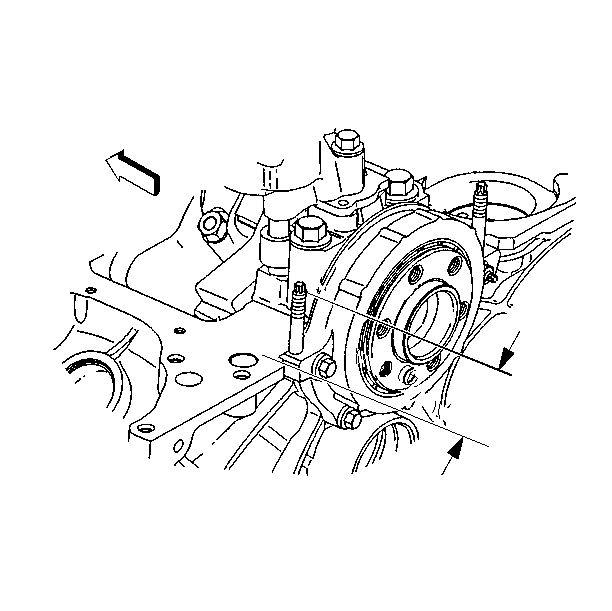

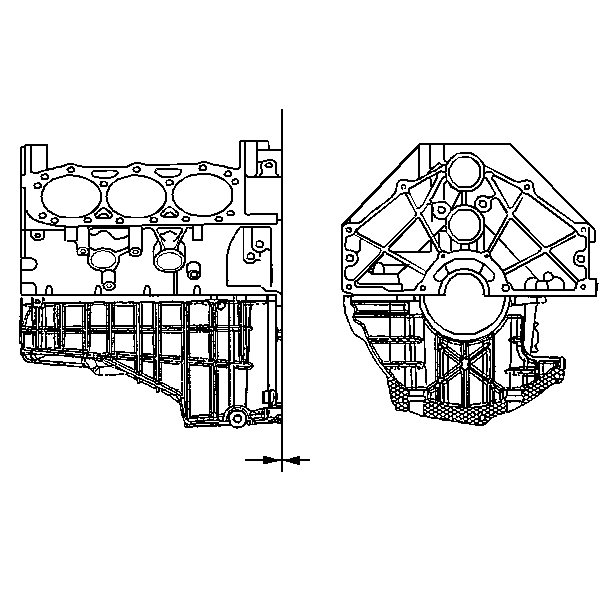
Important: Anytime the transmission and the oil pan are off the engine at the same time, install the transmission before the oil pan. This will allow for the proper measurement of the oil pan tolerance.
Tighten
Tighten the oil pan bolts and the studs in sequence to 25 N·m
(18 lb ft).
Notice: Use the correct fastener in the correct location. Replacement fasteners must be the correct part number for that application. Fasteners requiring replacement or fasteners requiring the use of thread locking compound or sealant are identified in the service procedure. Do not use paints, lubricants, or corrosion inhibitors on fasteners or fastener joint surfaces unless specified. These coatings affect fastener torque and joint clamping force and may damage the fastener. Use the correct tightening sequence and specifications when installing fasteners in order to avoid damage to parts and systems.

