For 1990-2009 cars only
Door Latch Replacement Door Lower
Removal Procedure
- Remove the door trim panel. Refer to Rear Door Trim Panel Replacement .
- Remove the water deflector, as necessary. Refer to Water Deflector Replacement .
- Remove the access hole cover, as necessary.
- Disconnect the control rod (2) from the latch.
- Remove the control latch bolts.
- Remove the control latch from the door.
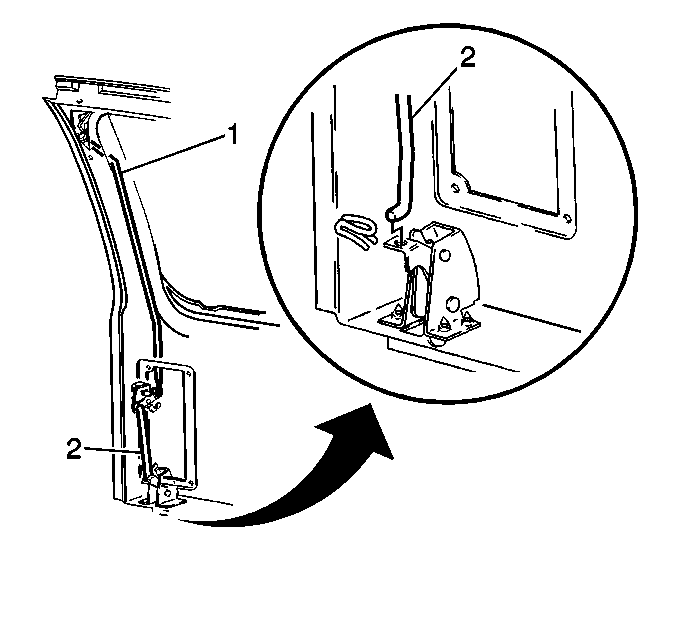
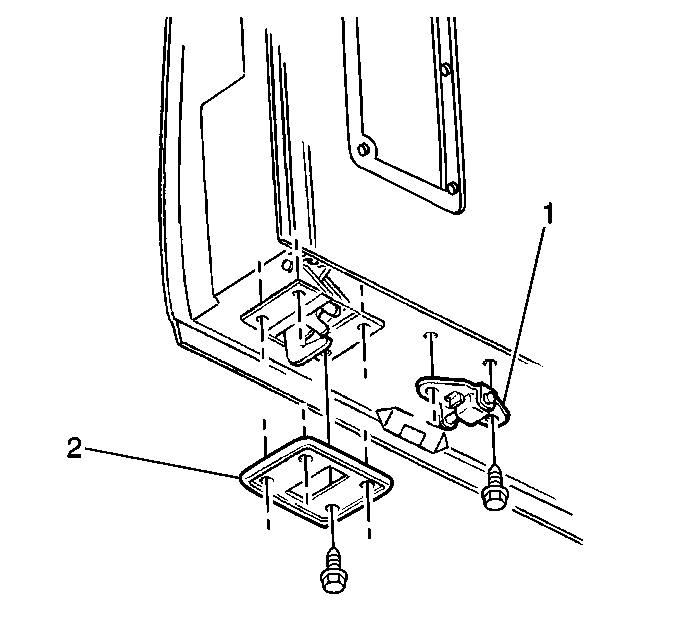
Remove the spacer (2).
Installation Procedure
- Install the control latch to the door.
- Install the control latch spacer (2).
- Connect the control rod (2) to the latch.
- Install the access hole cover, as necessary.
- Install the water deflector, as necessary. Refer to Water Deflector Replacement .
- Install the door trim panel. Refer to Rear Door Trim Panel Replacement .

Install the bolts.

Door Latch Replacement Door Upper
Removal Procedure
- Remove the door trim panel. Refer to Rear Door Trim Panel Replacement .
- Remove the water deflector, as necessary. Refer to Water Deflector Replacement .
- Remove the access hole cover, as necessary.
- Disconnect the control rod (1) from the latch.
- Remove the latch cover screw.
- Remove the latch cover.
- Remove the latch bolts.
- Remove the latch from the door.
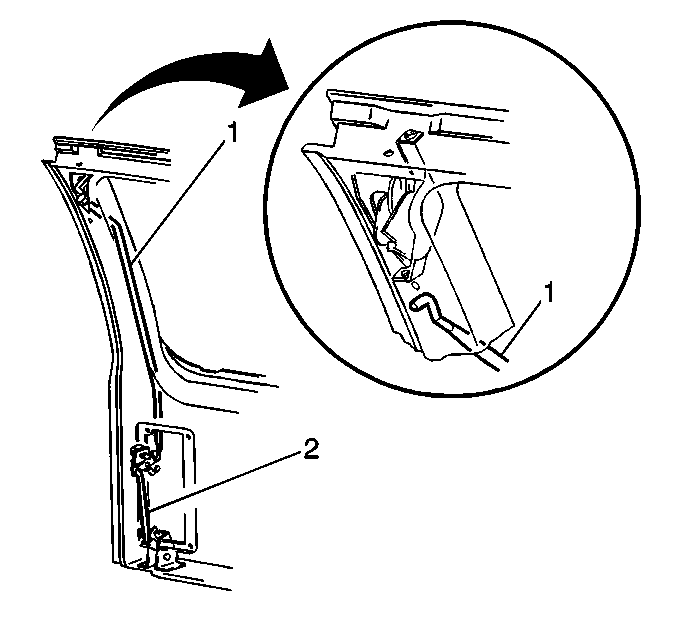
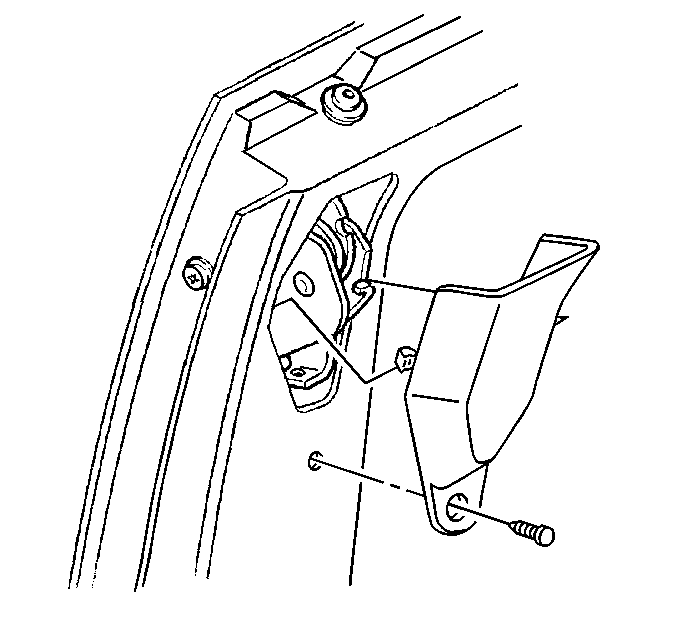
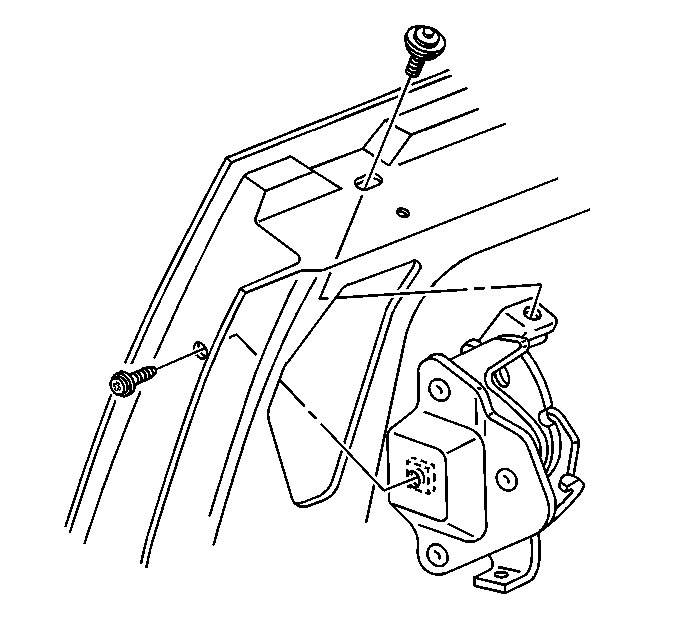
Installation Procedure
- Install the latch to the door.
- Install the latch bolts.
- Connect the control rod (1) to the latch.
- Install the access hole cover, as necessary.
- Install the water deflector, as necessary. Refer to Water Deflector Replacement .
- Install the door trim panel. Refer to Rear Door Trim Panel Replacement .


