Important: All remanufactured cylinder blocks are steel stamped on both sides of the fuel pressure pump boss. The stamp indicates whether the cylinder is standard or over-bored, and if the deck is standard or has been milled.
Stamped ID | Cylinders Bore Size (in.) | Top Deck (STD or Milled) |
|---|---|---|
SS | STD | STD |
01S | 0.010 | STD |
02S | 0.020 | STD |
03S | 0.030 | STD |
SM | STD | Milled |
01M | 0.010 | Milled |
02M | 0.020 | Milled |
03M | 0.030 | Milled |
- Inspect the block for stampings (1) indicating cylinder overbore or a milled deck.
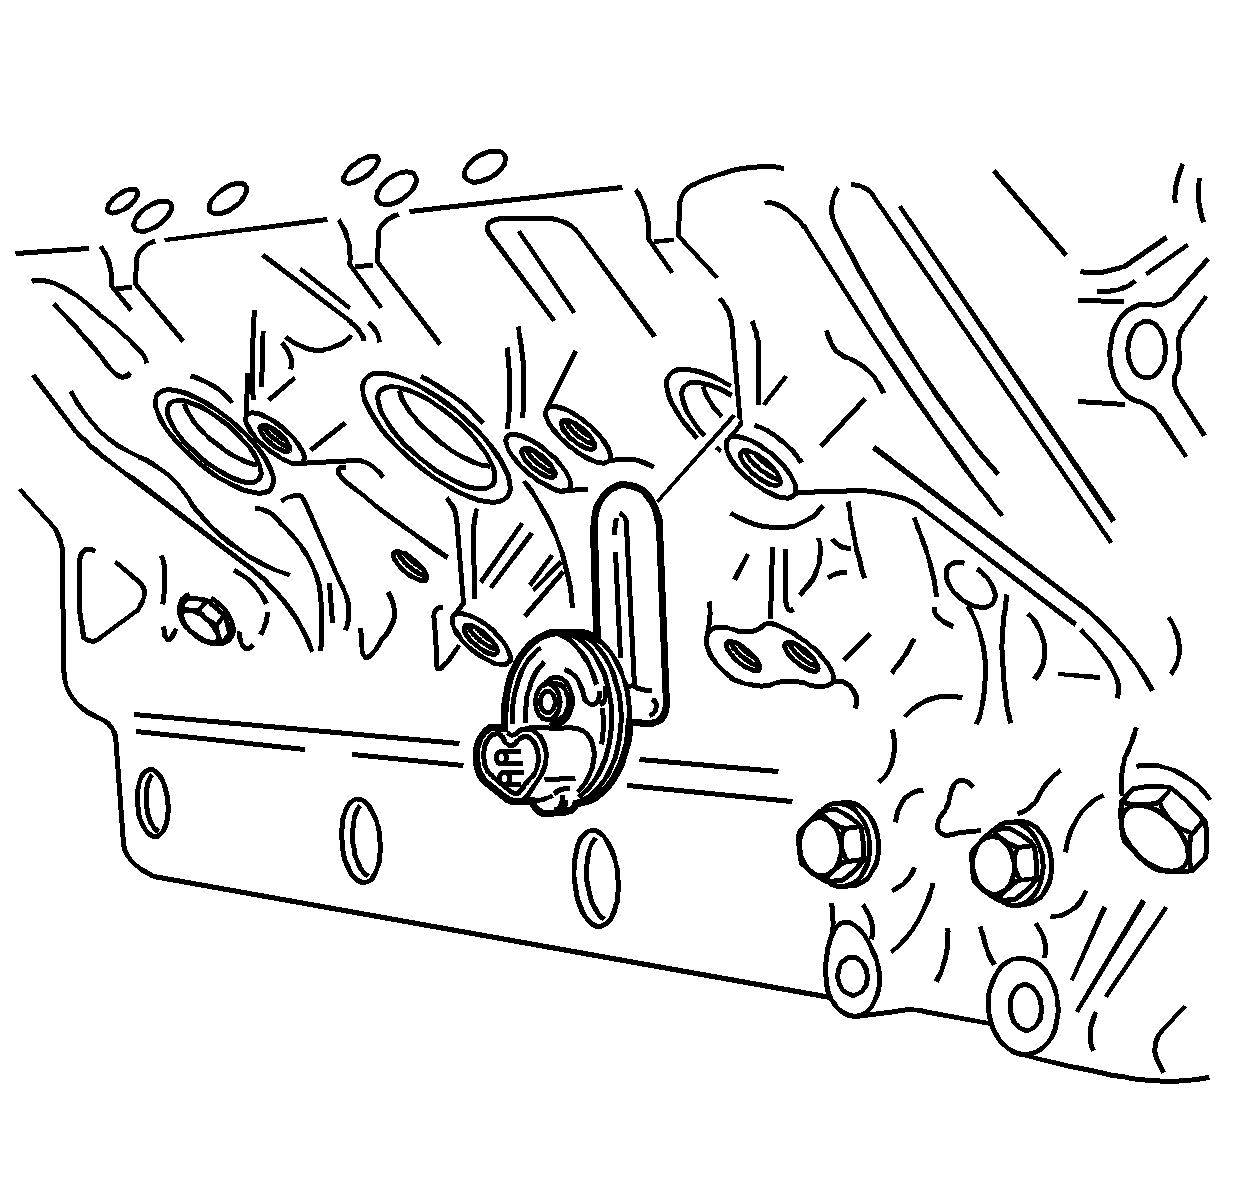
- Remove the engine block heater.
- Remove the O-ring from the block heater and discard.
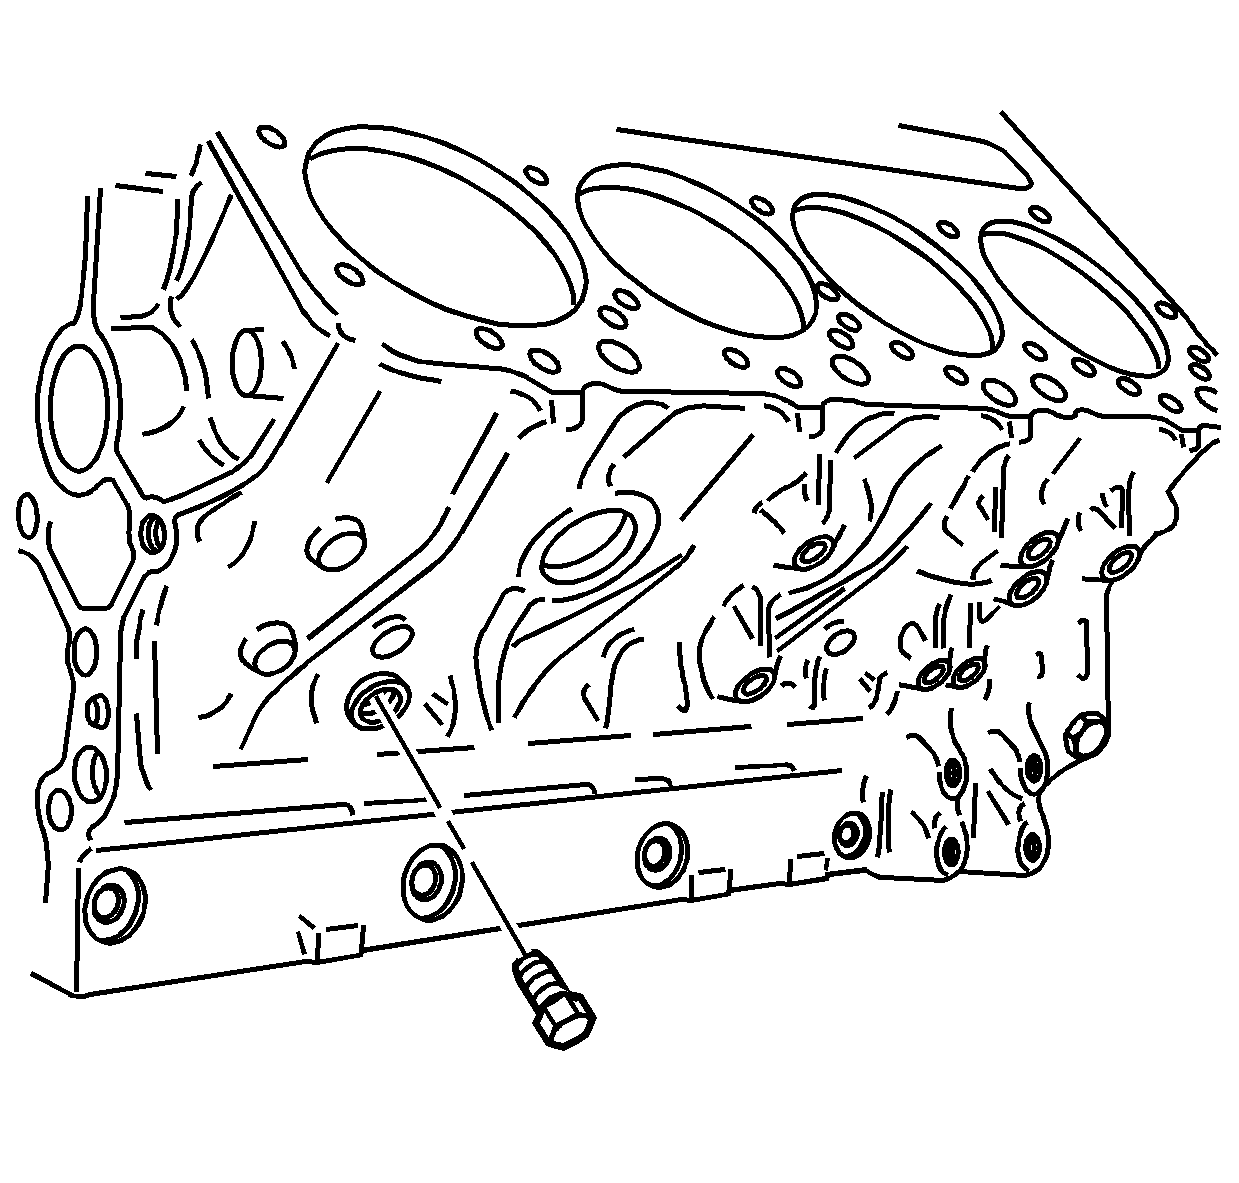
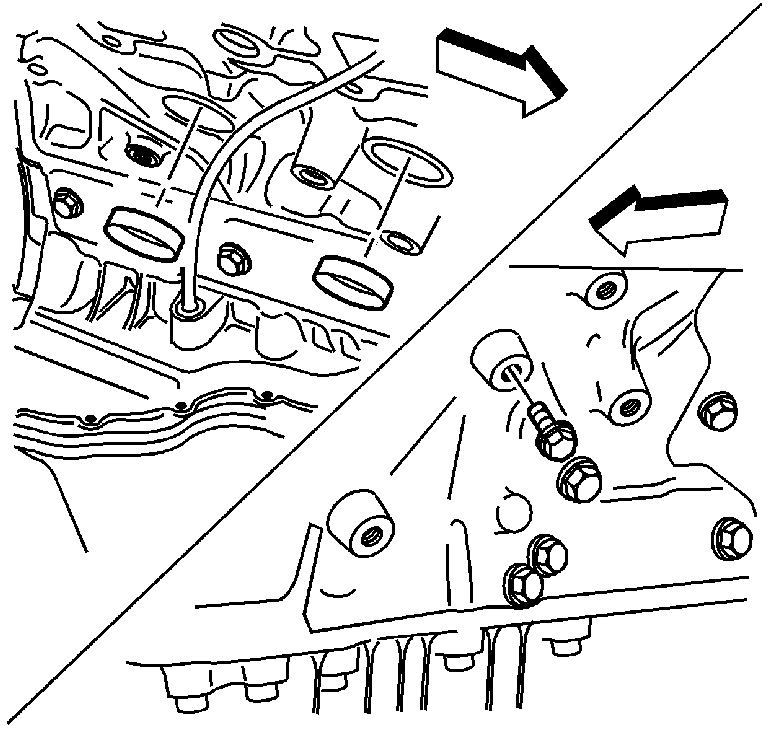
- Remove the oil gallery plugs.
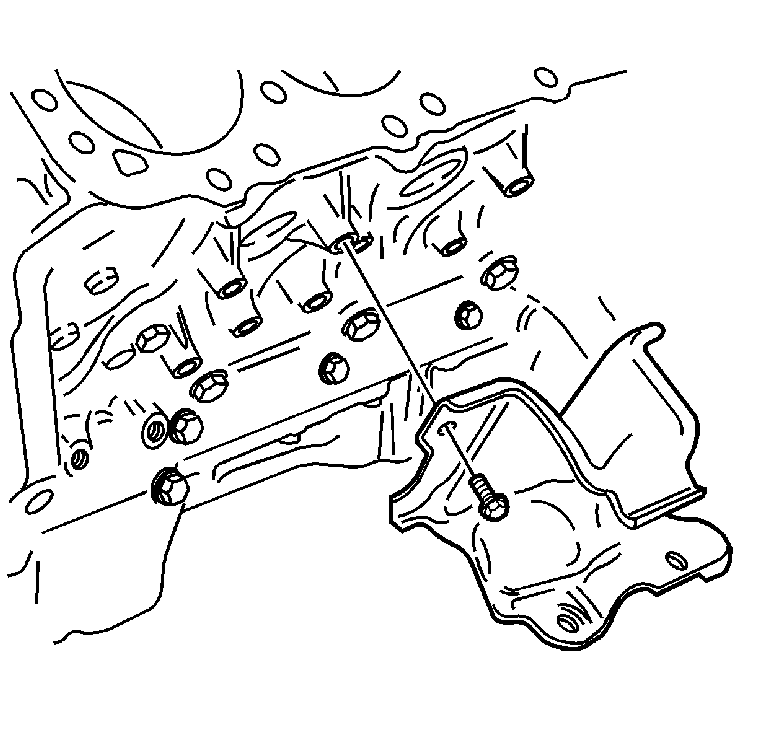
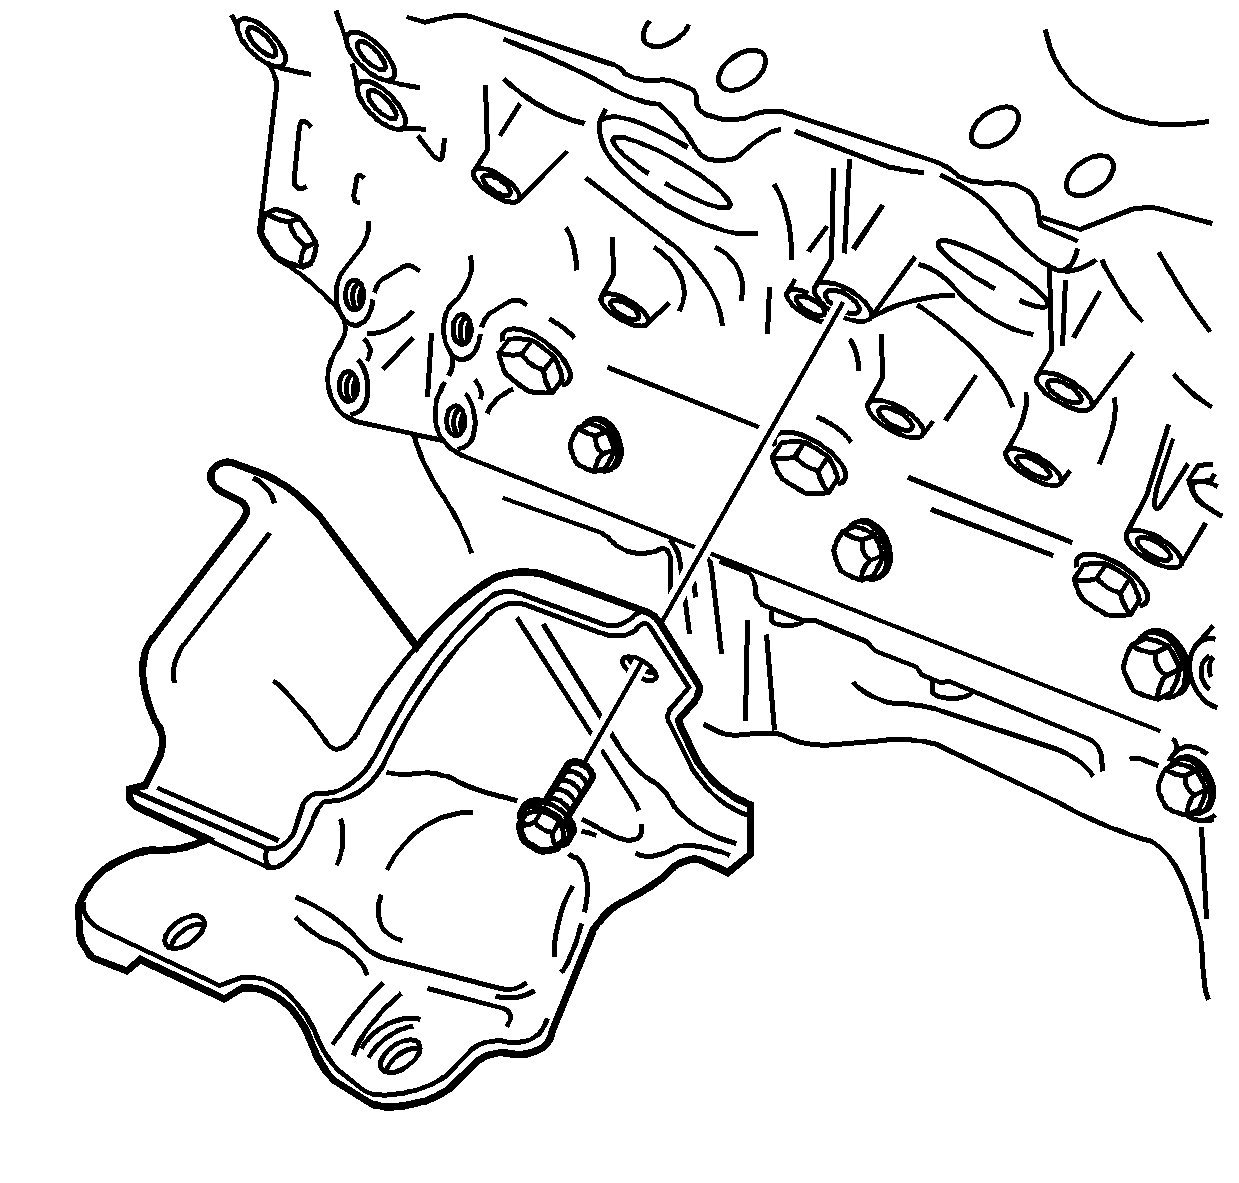
- Remove the left engine mount bolts.
- Remove the left engine mount.
- Remove the right engine mount bolts.
- Remove the right engine mount.
- Clean the sealing material from the gasket mating surfaces of the block.
- Clean the block in cleaning solvent.
- Flush the engine block with clean water or steam.
- Clean the oil passages.
- Clean the cylinder bores.
- Inspect the block for cracks. Use the Magnaflux Spot check dye method, or the equivalent.
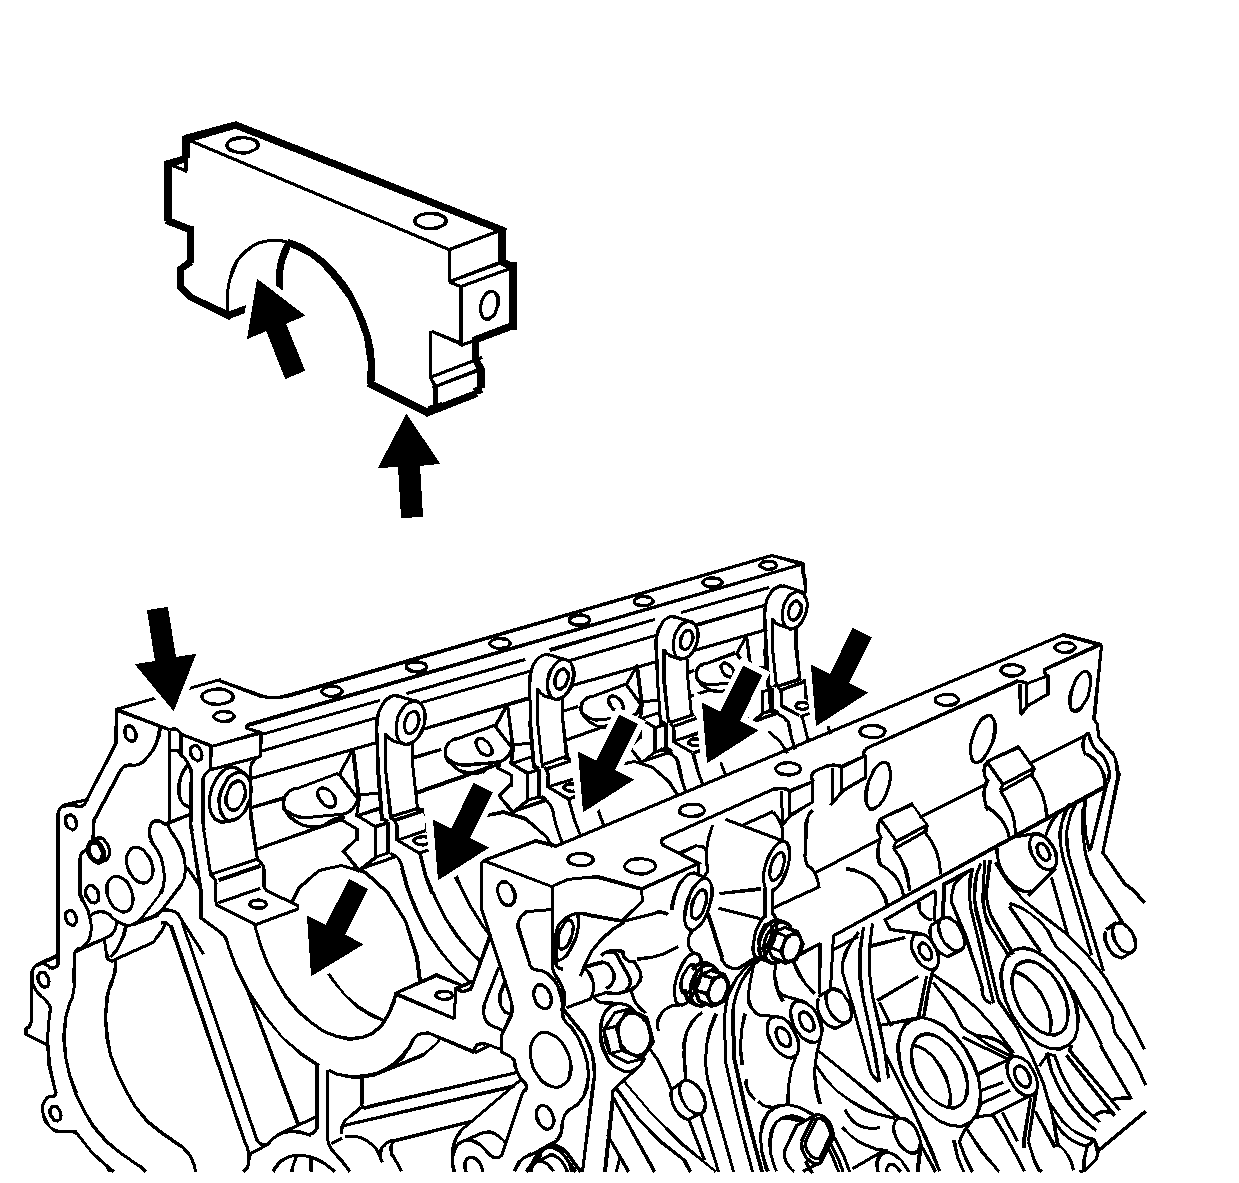
- Inspect the crankshaft bearing bores and caps. The crankshaft bearing bore inside diameters should be round and uniform at all of the bearing supports.
- Inspect the area where the crankshaft bearing inserts contact the crankshaft bearing bore. This area must be free of burrs and scratches.
- Inspect the engine mount bosses.
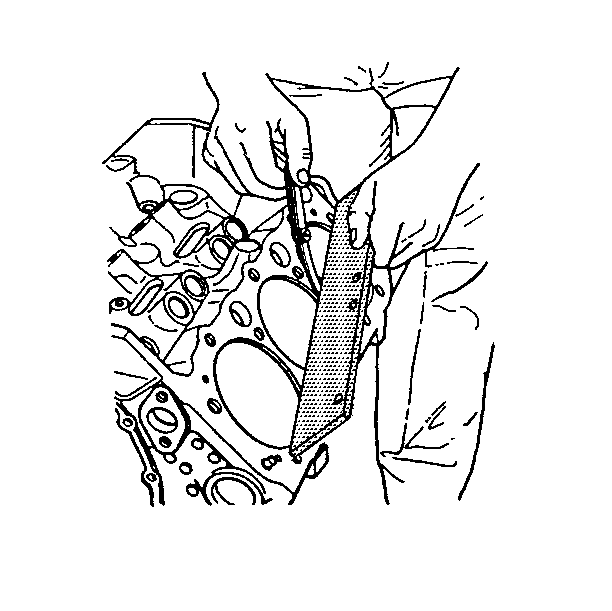
- Inspect the cylinder head gasket mating surfaces for pitting.
- Inspect the engine block to cylinder head gasket surface area for warping. Use a straight edge and feeler gauge. Replace the block if it is warped more than 0.15 mm (0.006 in) longitudinally or more than 0.08 mm (0.003 in) transversely.
- Apply sealer to the oil gallery plugs.
- Install the oil gallery plugs.
- Install the engine block coolant plugs.
- Install the left engine mount and engine mount bolts.
- Install the right engine mount and engine mount bolts.
- Install a new O-ring to the block heater.
- Lubricate the O-ring with engine coolant.
- Install the engine block heater.
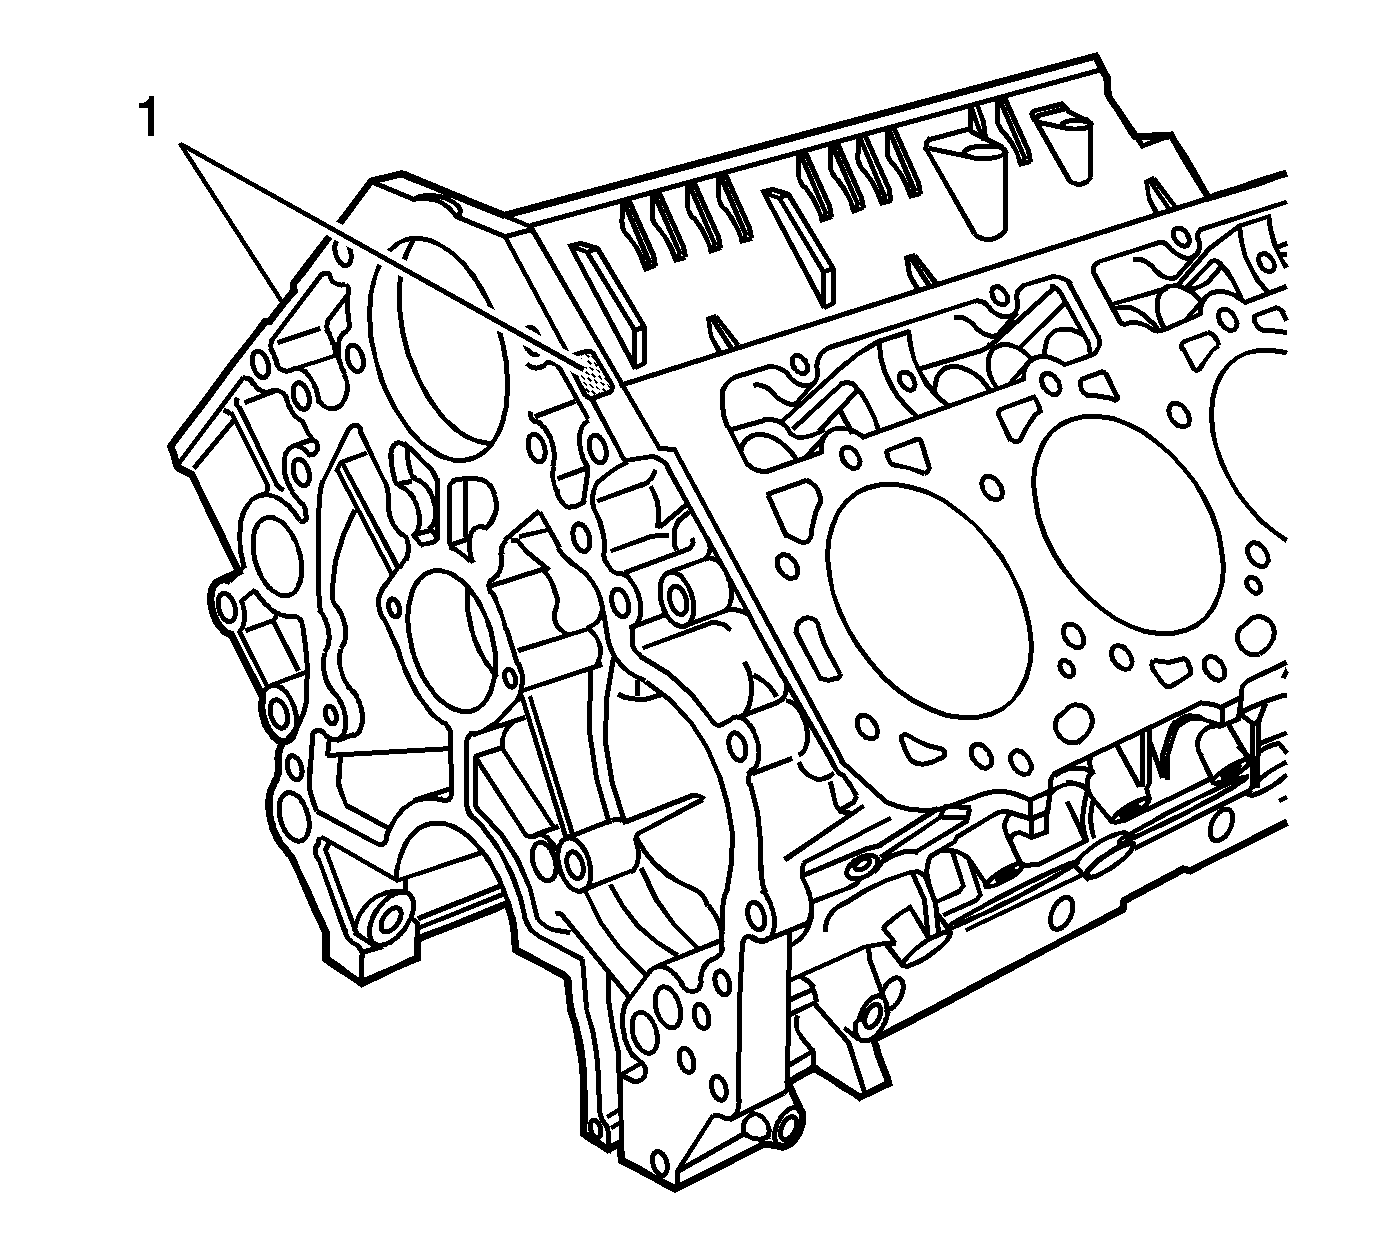
Important: If the block has no stampings, the block has a standard bore and deck.
| • | Inspect the cylinder walls. |
| • | Inspect the coolant jackets. |
| • | Inspect the crankshaft bearing webs. |

Notice: Use the correct fastener in the correct location. Replacement fasteners must be the correct part number for that application. Fasteners requiring replacement or fasteners requiring the use of thread locking compound or sealant are identified in the service procedure. Do not use paints, lubricants, or corrosion inhibitors on fasteners or fastener joint surfaces unless specified. These coatings affect fastener torque and joint clamping force and may damage the fastener. Use the correct tightening sequence and specifications when installing fasteners in order to avoid damage to parts and systems.
Tighten
Tighten the oil gallery plugs to 53 N·m (39 lb ft).
Tighten
Tighten the engine block coolant plugs to 18 N·m (13 lb ft).

Tighten
Tighten the engine mount bolts to 58 N·m (43 lb ft).

Tighten
Tighten the right engine mount bolts to 58 N·m (43 lb ft).

