Important:
| • | The following service procedure covers light duty (LD), heavy duty (HD), and super heavy duty (SHD) versions of this transfer case. |
| • | The front output shaft seal and the input shaft seal only require replacement if faulty, or if removing the front output shaft or input gear. |
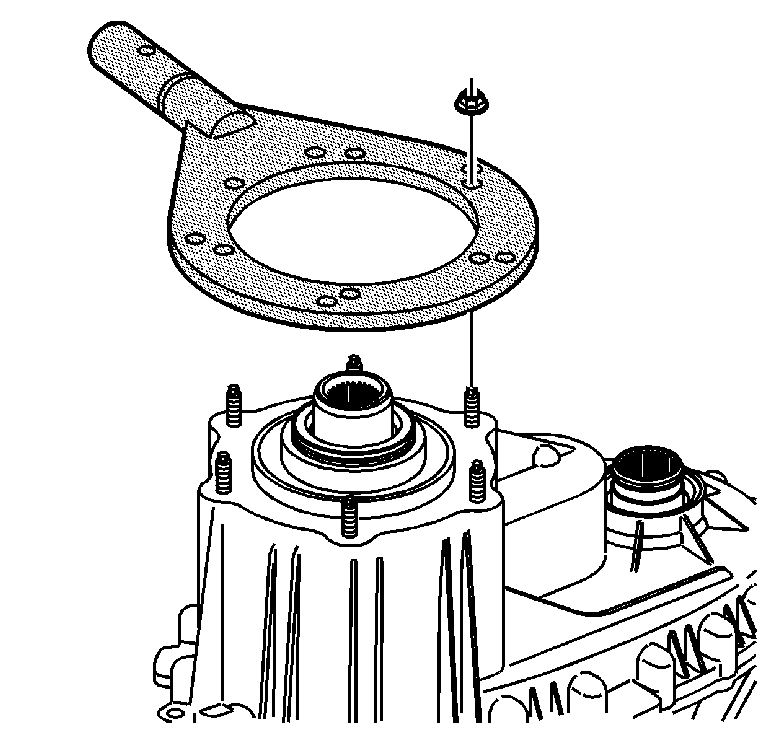
- Attach the
J 45759
to the transfer case using the adapter studs. All of the transfer case disassembly procedures can be performed with the case mounted to the
J 45759
.
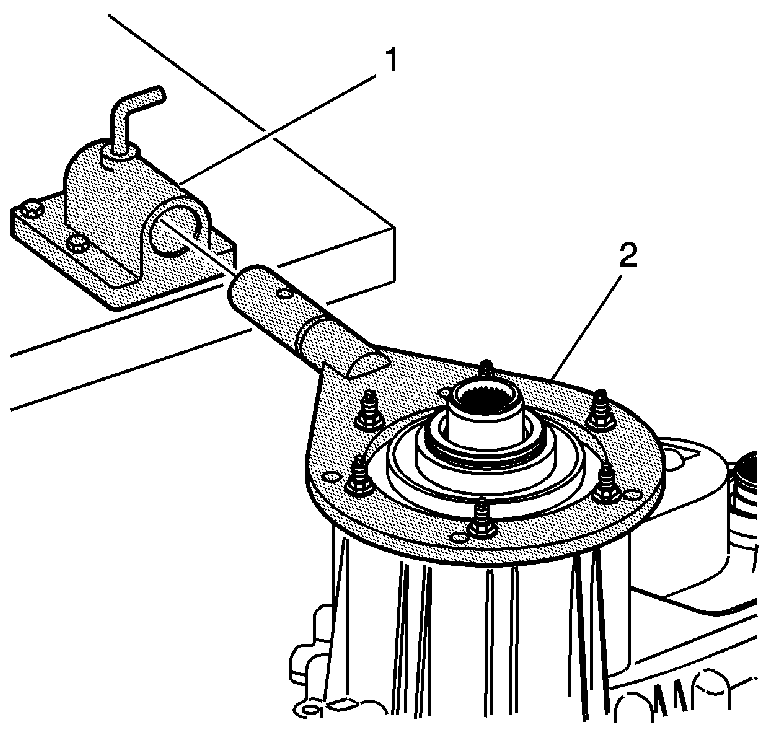
- Mount the
J 3289-20
(1) to a sturdy workbench.
- Install the
J 45759
(2) into
J 3289-20
(1) and secure with pivot pin.
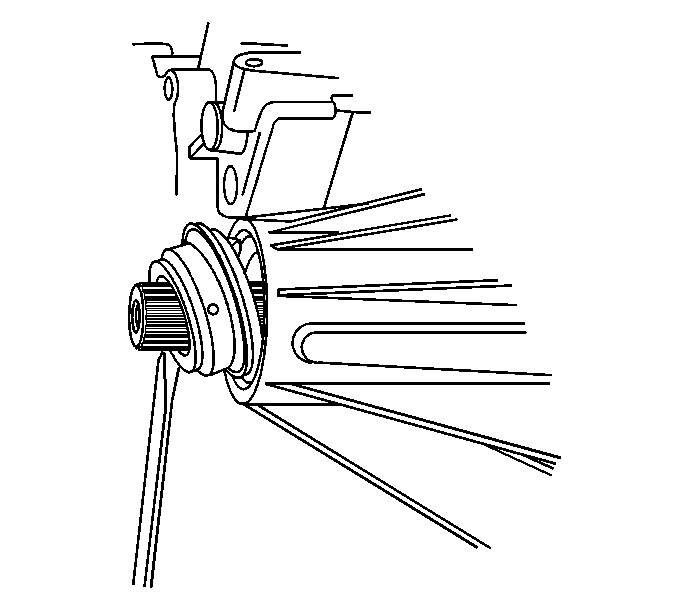
- Remove the rear output shaft seal.
- Inspect the rear output shaft bushing for scoring or wear.
Important: The
J 45380
does not work on the SHD version of the transfer case. Review step 71 if removal of the SHD rear output shaft bushing is required.
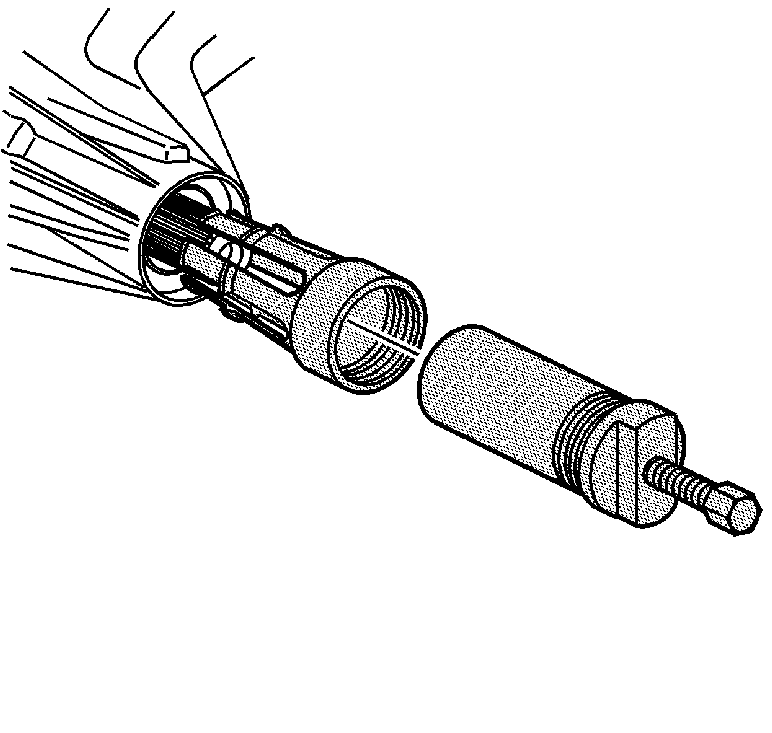
- LD and HD only - Remove the rear output shaft bushing using the
J 45380
.
| • | Install the finger section of the
J 45380
in front of the bushing. |
| • | Install the tube and forcing screw assembly to the finger section. Ensure the forcing screw is backed out. |
| • | Using a wrench on the forcing screw, remove the rear output shaft bushing. |
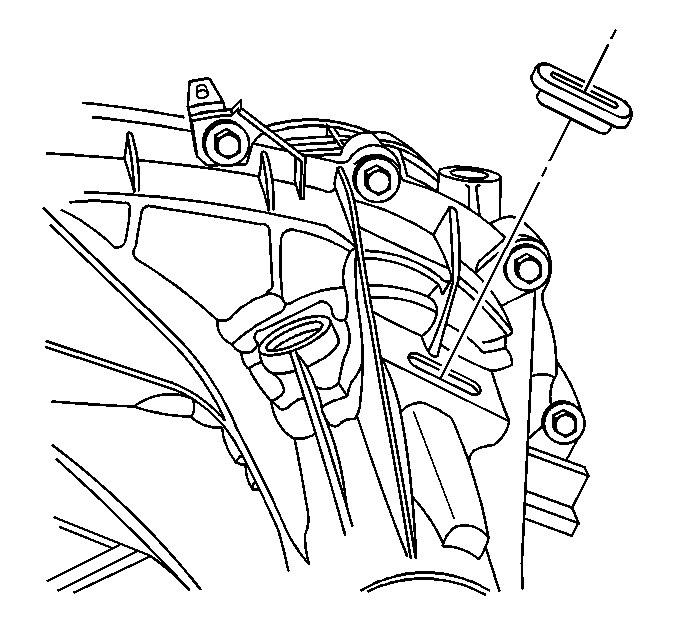
- Remove the access hole plug.
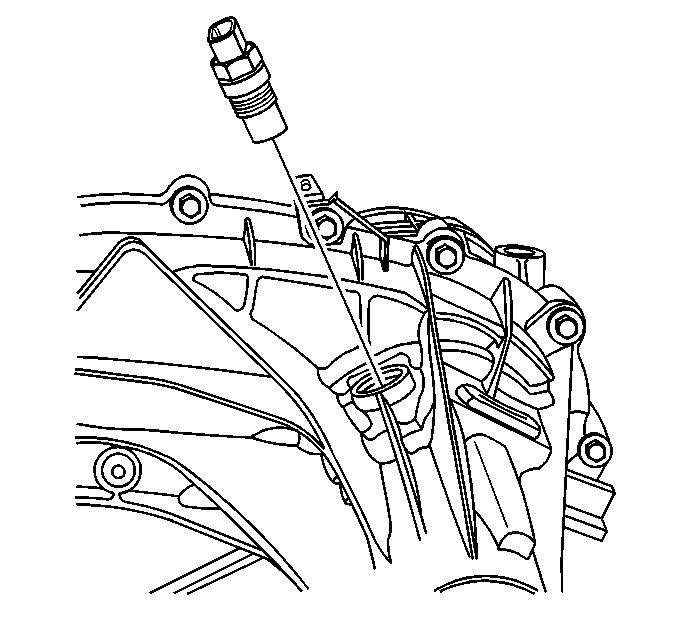
- Remove the transfer case vehicle speed sensor.
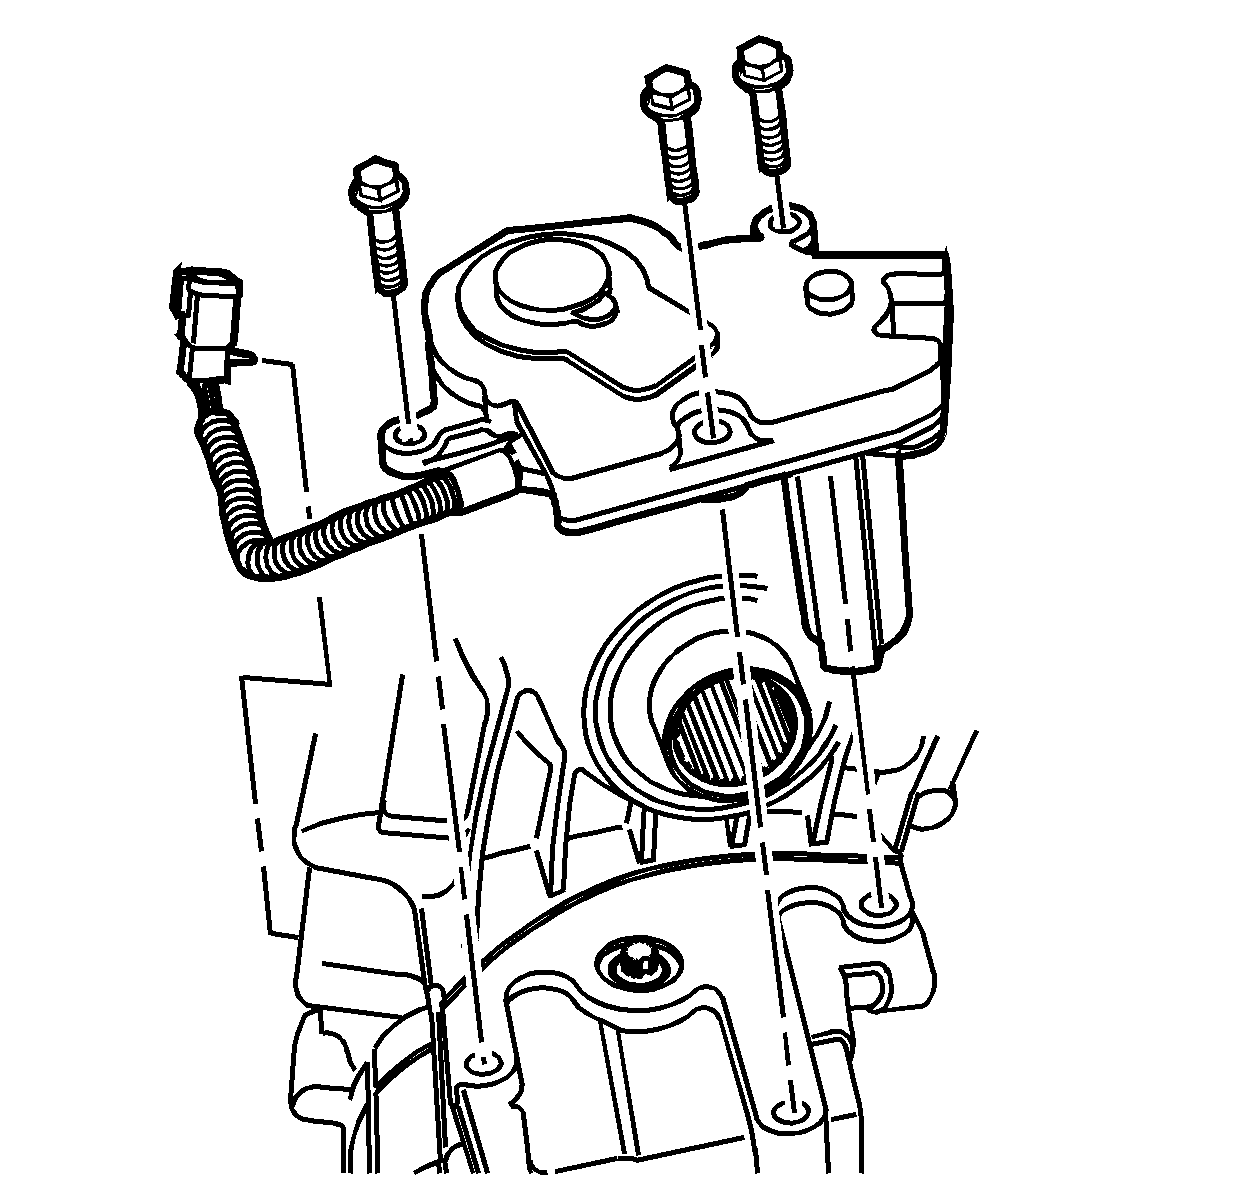
- Remove the case bolt for the encoder motor wiring harness
bracket.
- Remove the encoder motor mounting bolts.
- Remove the encoder motor assembly.
- Remove the actuator insulator gasket.
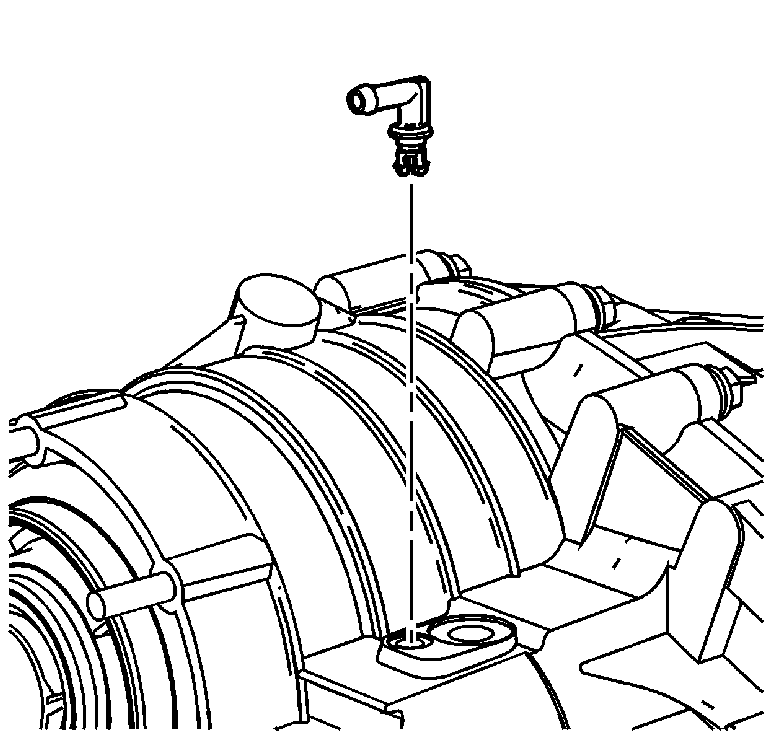
- Remove the plastic vent from the case; a NEW aluminum vent must be installed during
assembly.
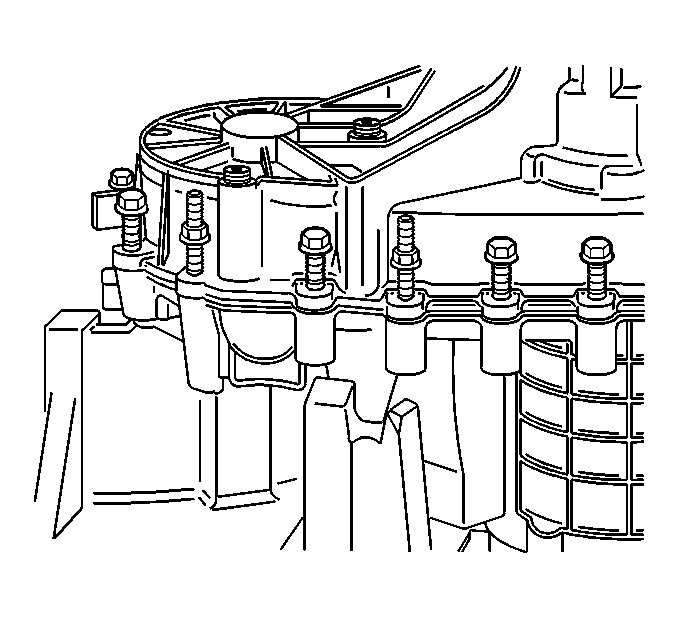
- Remove the transfer case retaining bolts or studs, the washers, and the brackets.
- Mark the location of the brackets and studs for correct assembly.
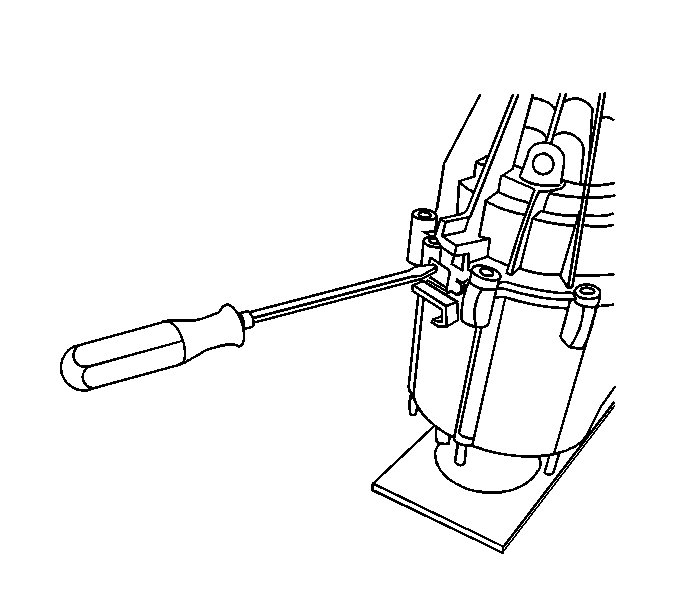
- Insert a screwdriver into the slot on the left side of the transfer case.
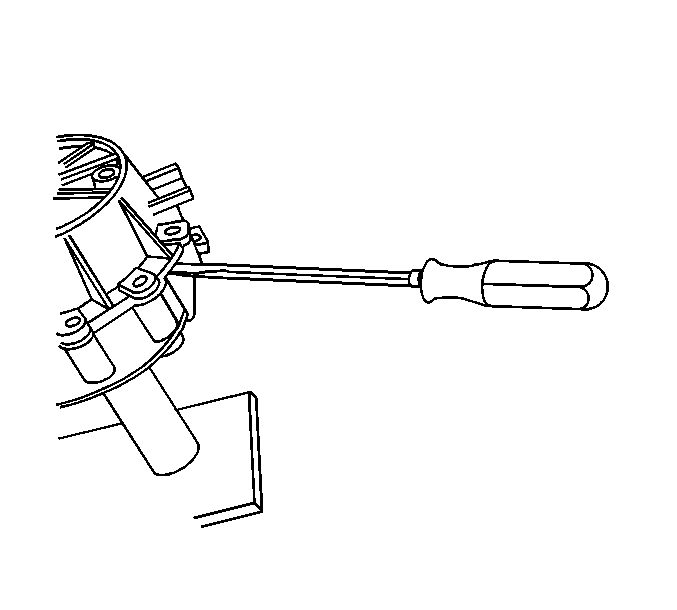
- Insert a screwdriver into the slot on the right side of the transfer case.
- With equal pressure applied on each screwdriver, separate the front half and the rear half.
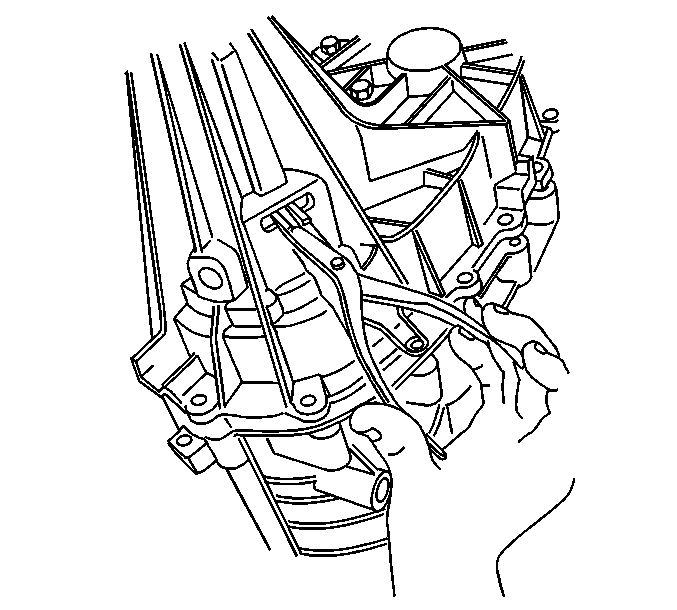
- Using snap ring pliers, release the outside retaining ring for the rear output shaft bearing.
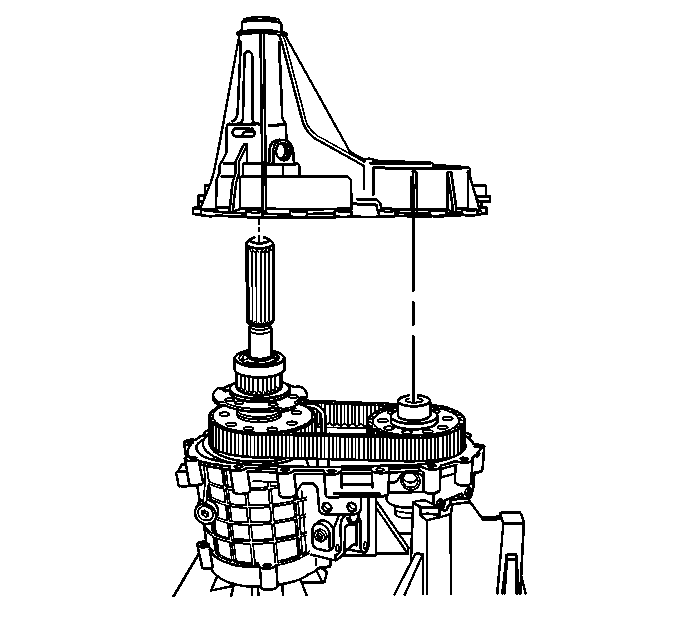
- Remove the rear case half from the front case half.
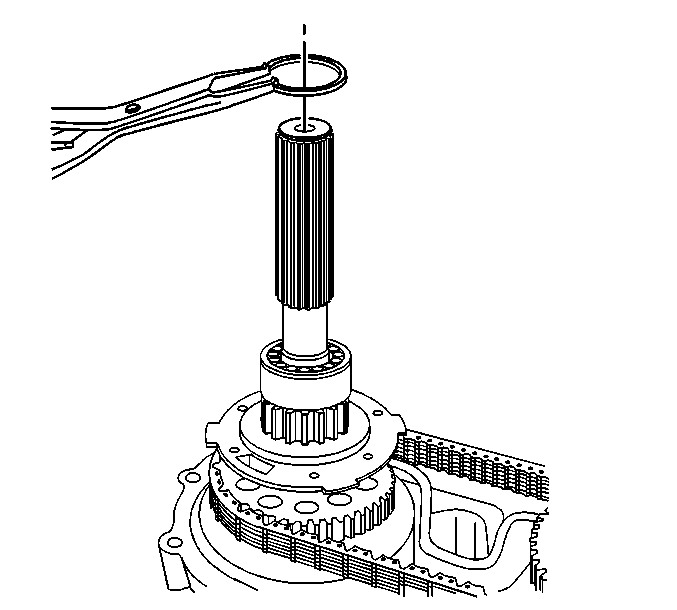
- Remove the rear output shaft bearing retaining ring.
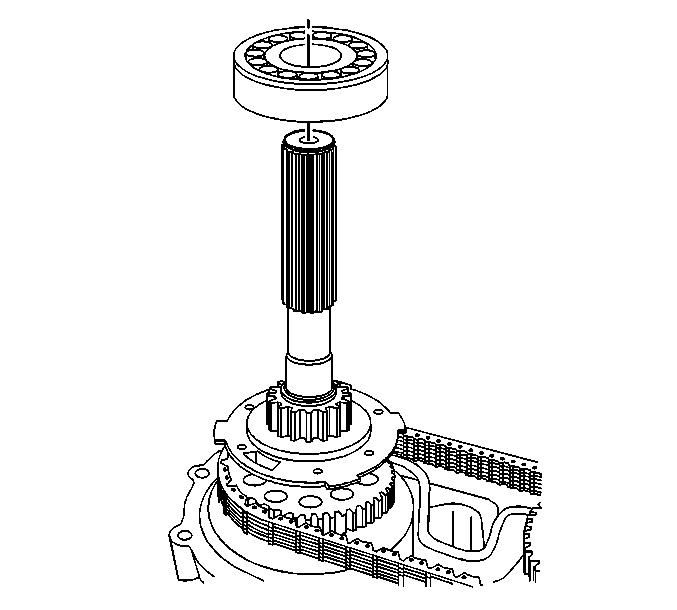
- Remove the rear output shaft bearing.
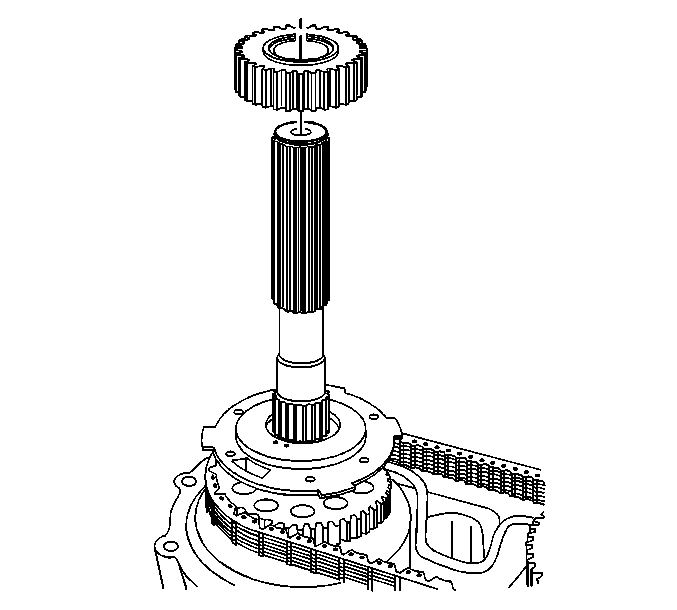
- Remove the speed reluctor wheel.
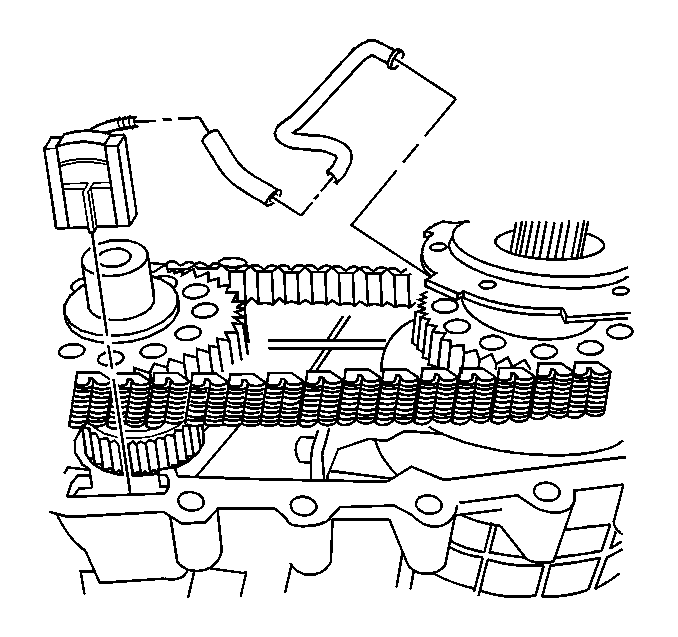
- Remove the oil pump suction pipe from the oil pump assembly.
- Remove the oil pump screen from the front case half.
- Disconnect the connector between the oil pump suction pipe to the oil pump screen.
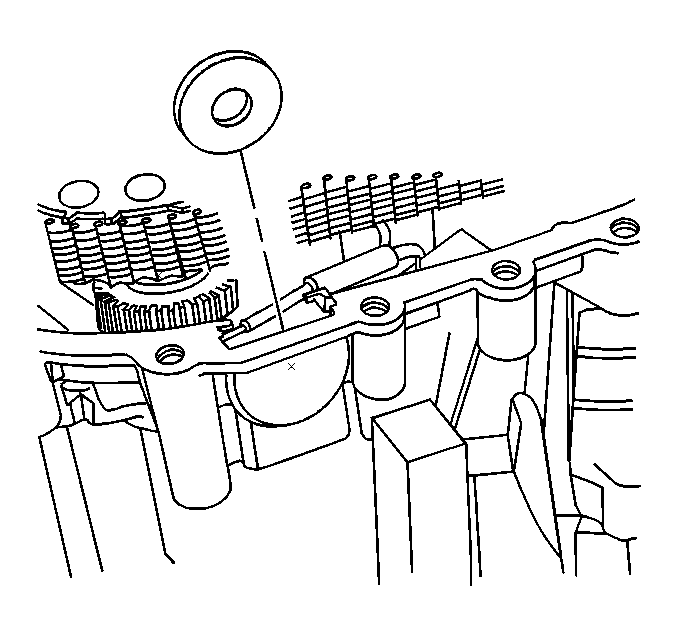
- Remove the magnet.
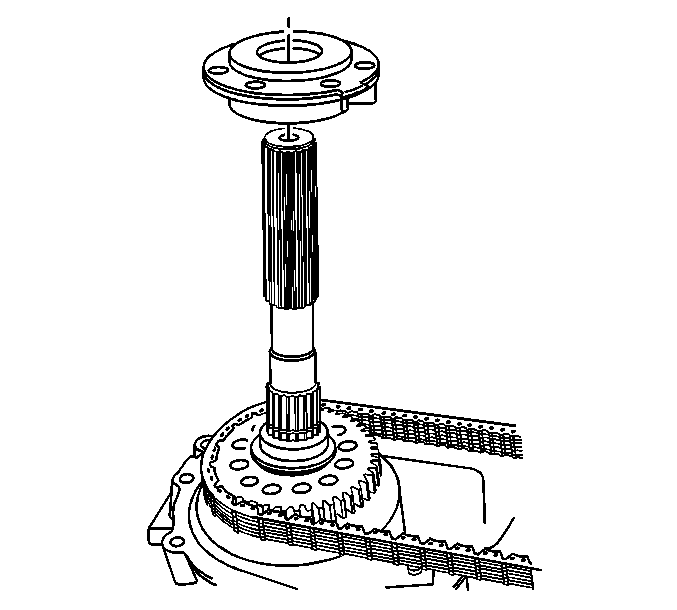
- Remove the oil pump assembly.
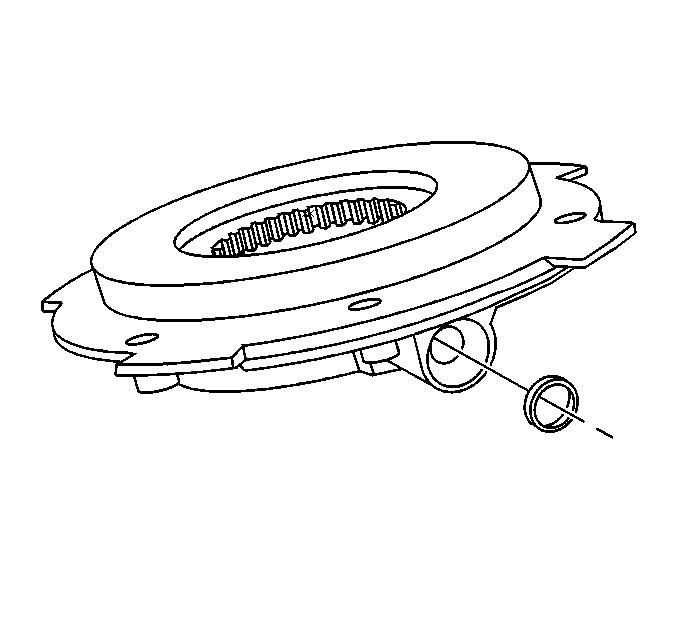
- Remove the O-ring seal for the oil pump suction pipe.
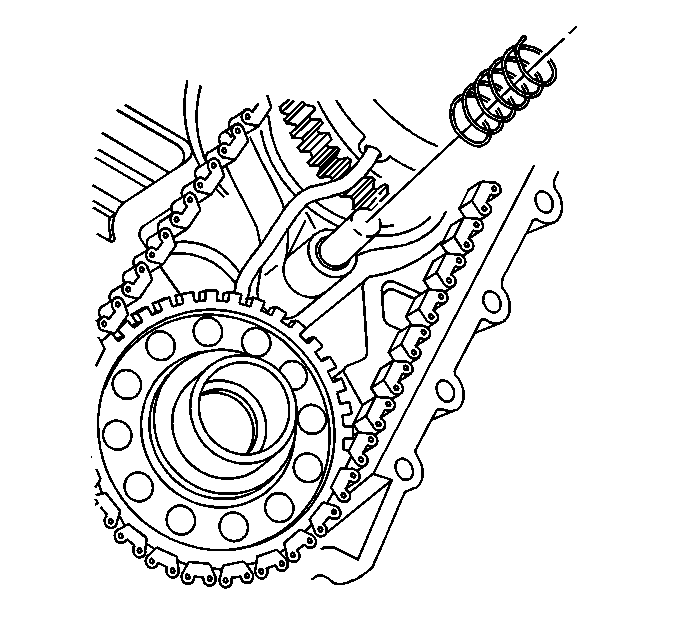
- Remove the shift fork shaft spring.
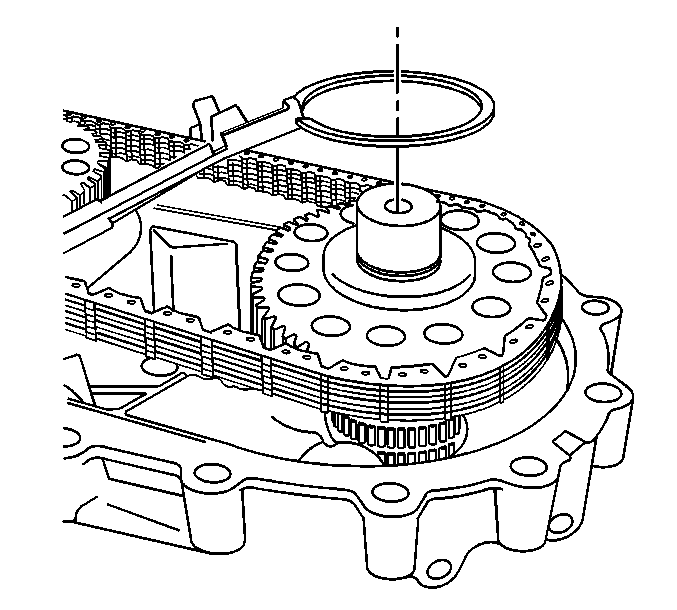
- Remove the driven sprocket retaining ring.
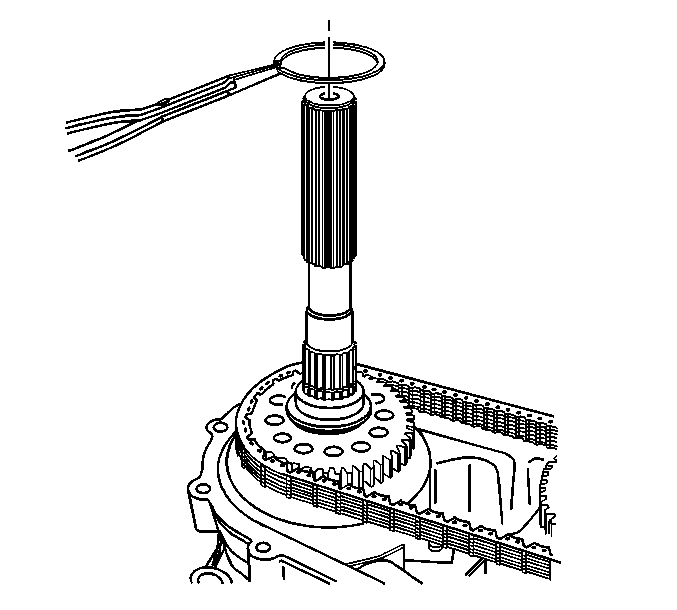
- Remove the drive sprocket retaining ring.
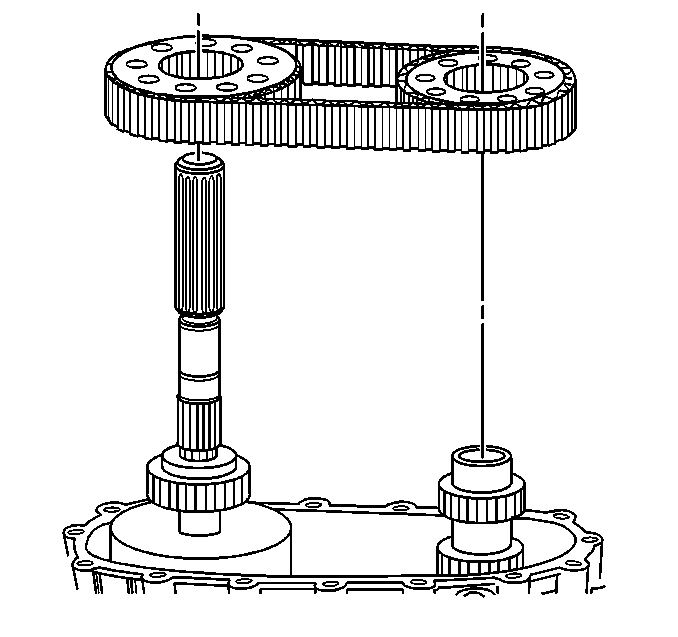
Important: If the drive chain and sprockets are to be used again, mark the position of the drive chain to the drive sprockets, in order to ensure that any wear patterns will be matched for proper installation.
- Remove the drive chain and the sprockets from the rear output shaft and the front output shaft.
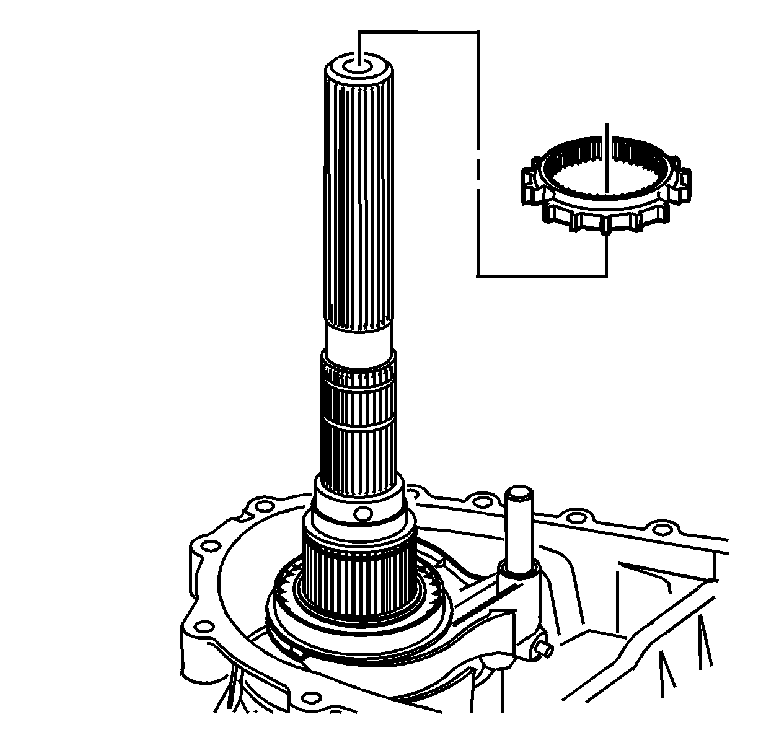
- Remove the 2/4 wheel drive synchronizer gear from the drive sprocket sleeve.
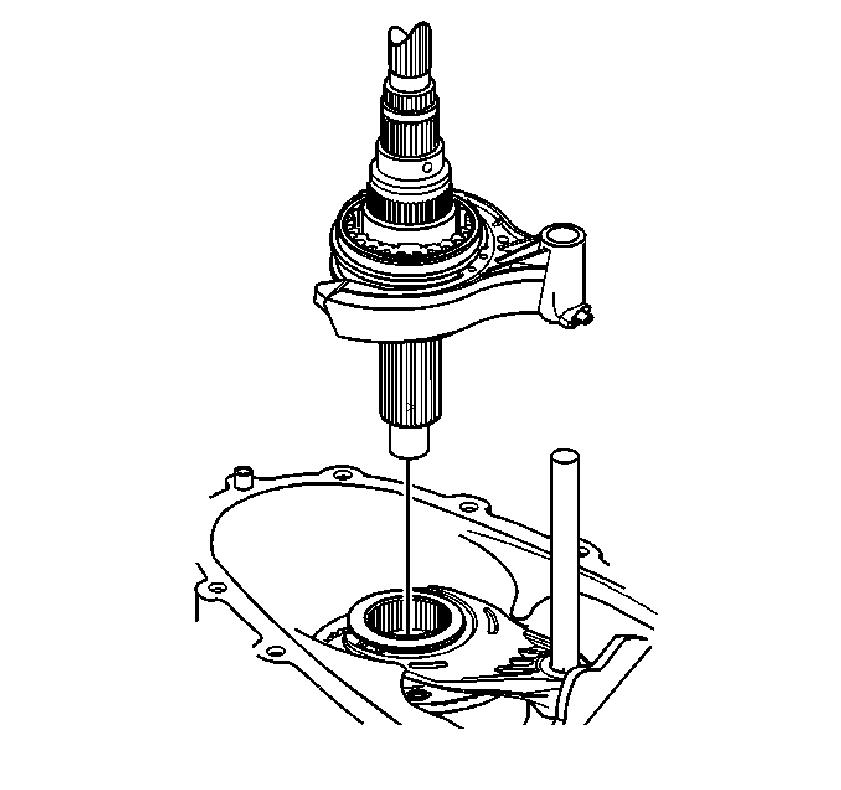
Important: Remove the rear output shaft as an assembly with the synchronizer and the shift fork.
- Remove the rear output shaft with the shift fork. The shift shaft can remain in the case.
- Remove the 2/4 wheel drive mode shift fork from the synchronizer assembly.
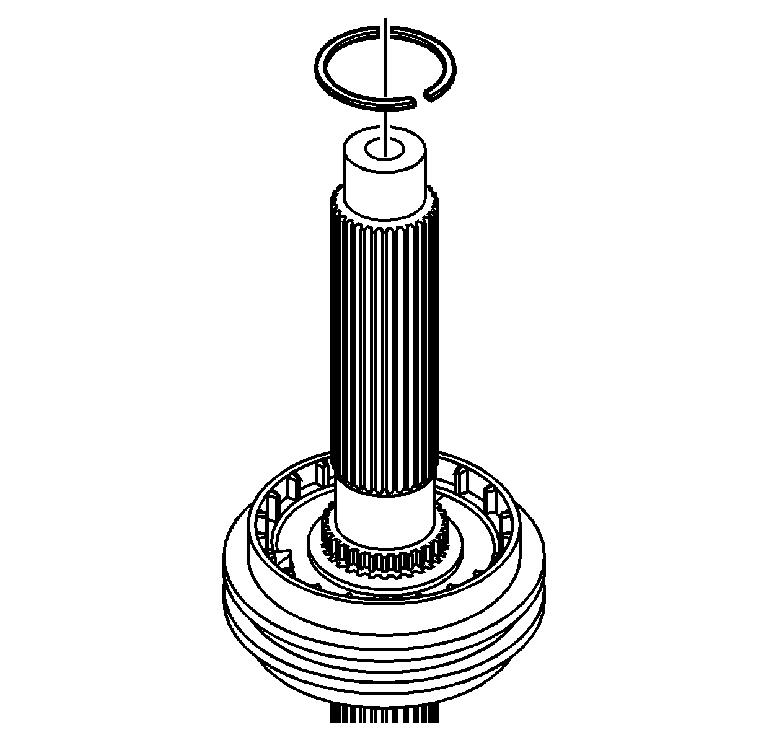
- Mount the rear output shaft in a soft-jaw vise with the input end up.
- Remove the synchronizer assembly retaining ring.
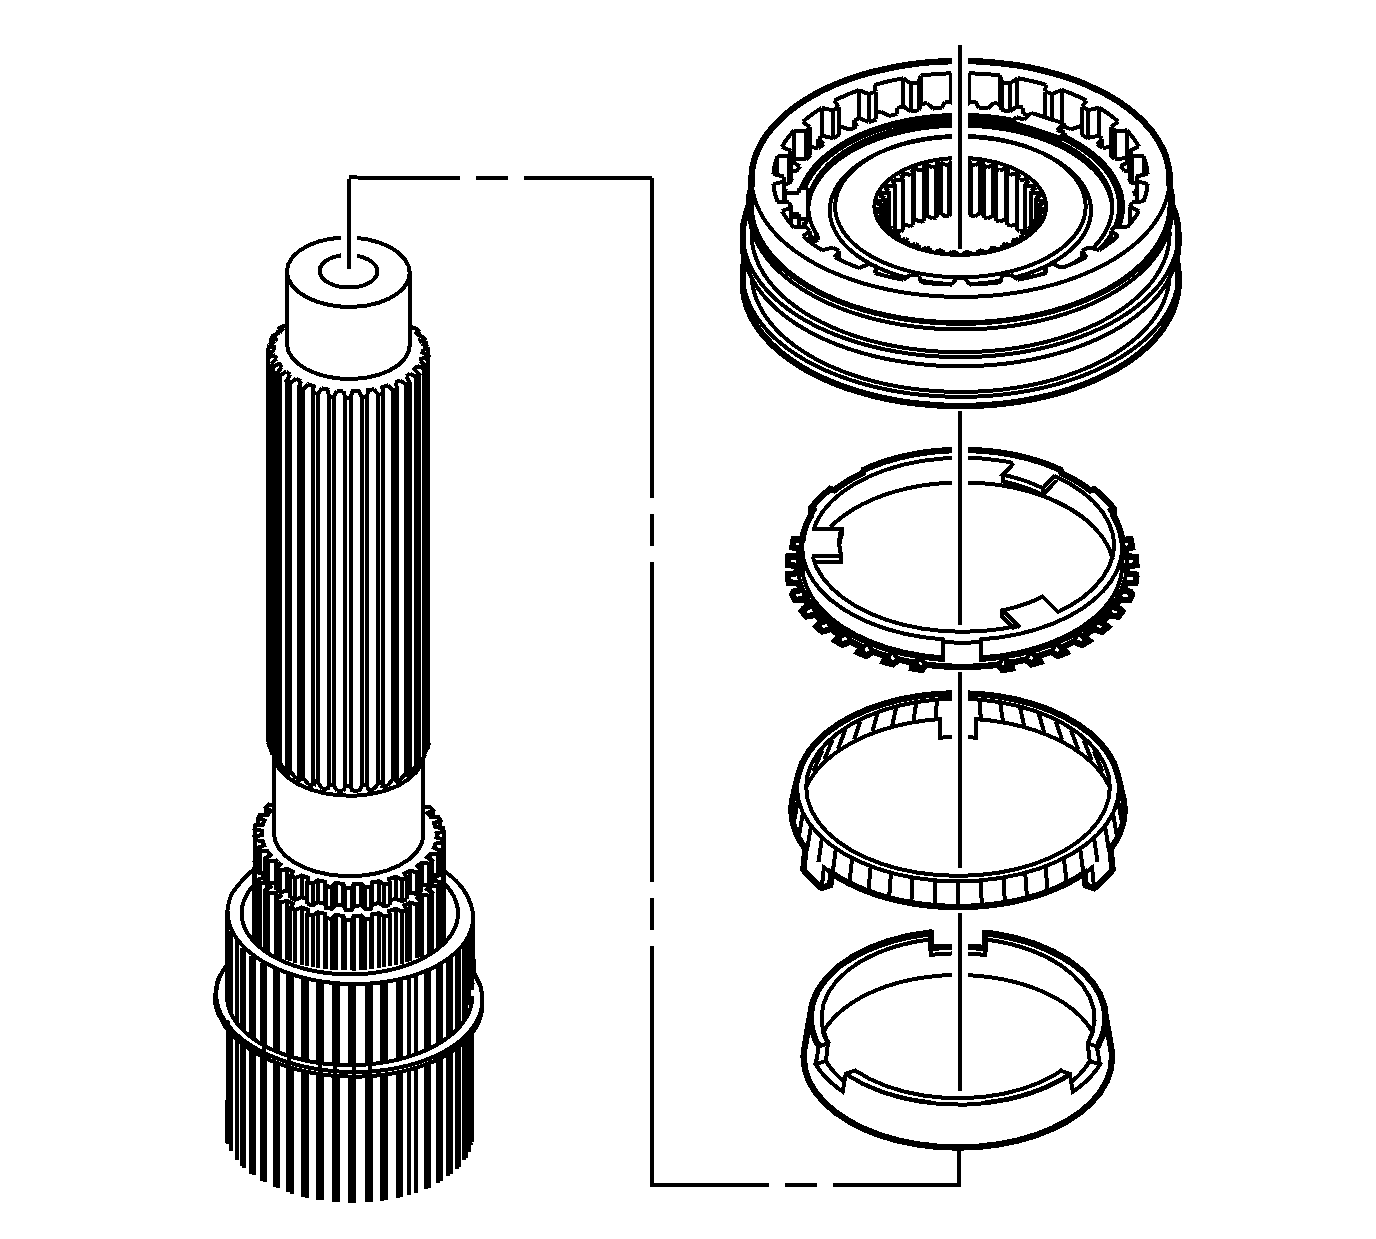
- Remove the synchronizer as an assembly.
- Remove the synchronizer outer ring, middle ring, and inner ring.
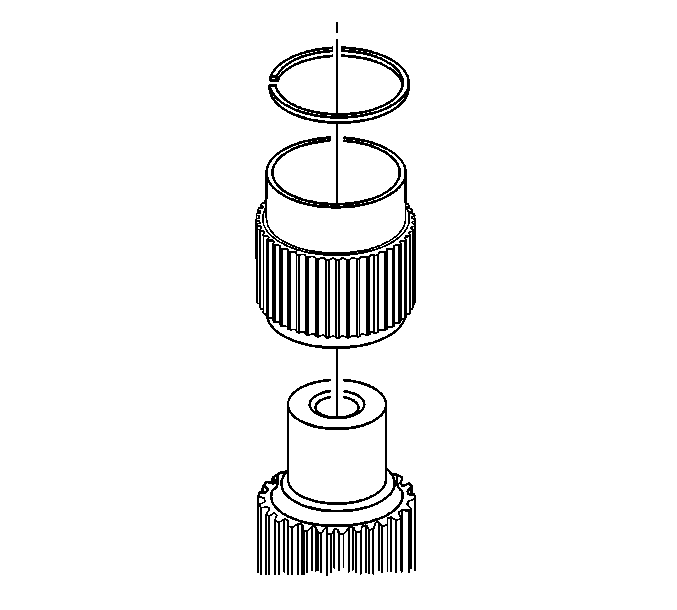
- Remove the front retaining ring for the drive sprocket from the drive sprocket sleeve.
- Remove the drive sprocket sleeve from the rear output shaft.
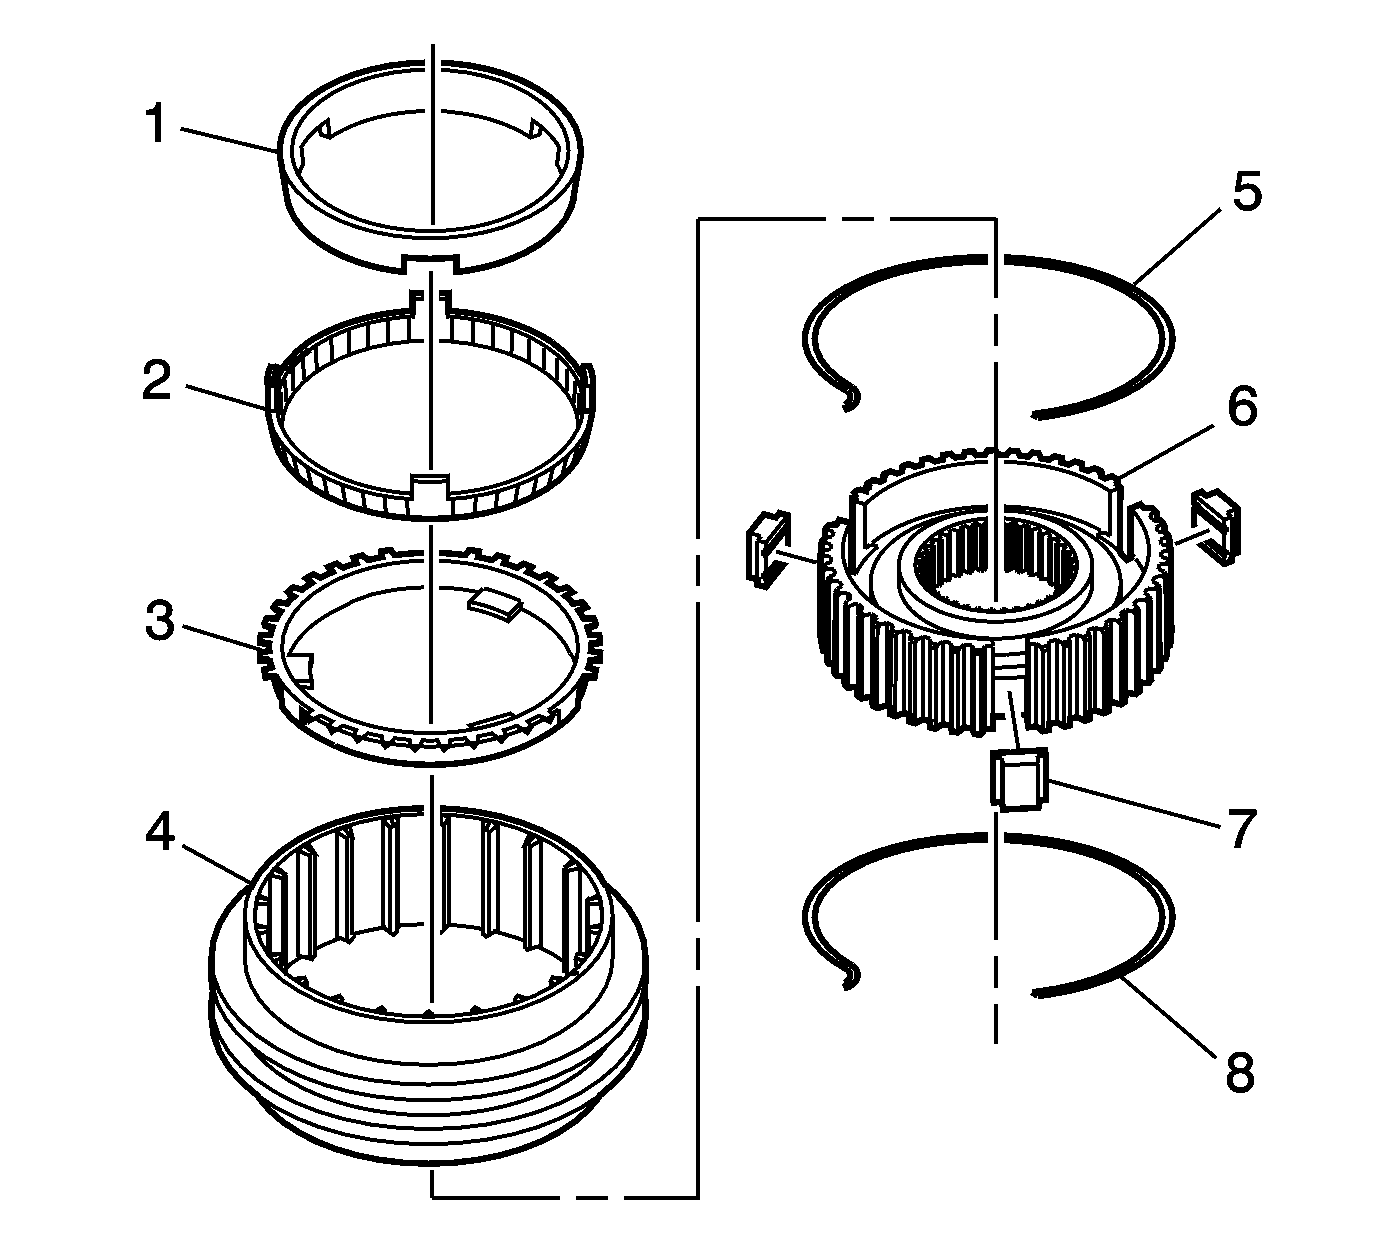
- If necessary, disassemble the synchronizer assembly.
| • | Remove the inner ring (1). |
| • | Remove the middle ring (2). |
| • | Remove the outer ring (3). |
| • | Remove the synchronizer sleeve (4) from the hub (6). |
| • | Remove both insert springs (5 and 8) from the hub. |
| • | Remove the inserts (7). |
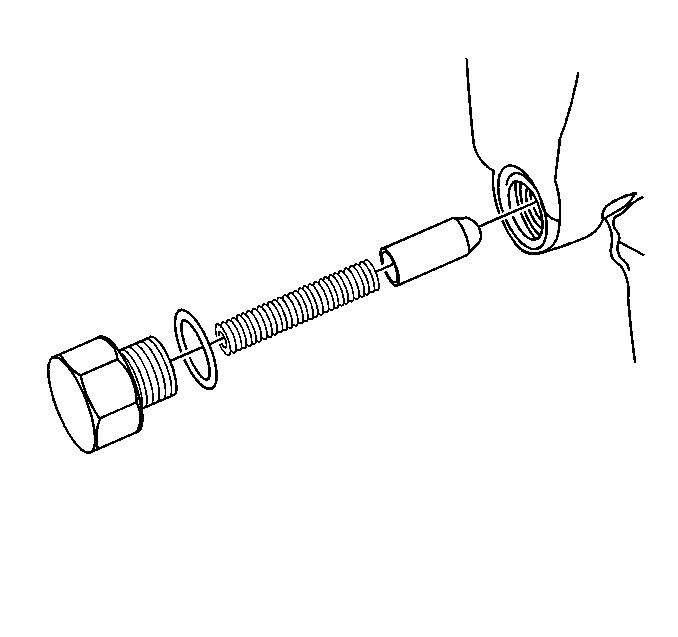
- Remove the shift detent spring bolt and O-ring seal.
- Remove the shift detent spring and the plunger.
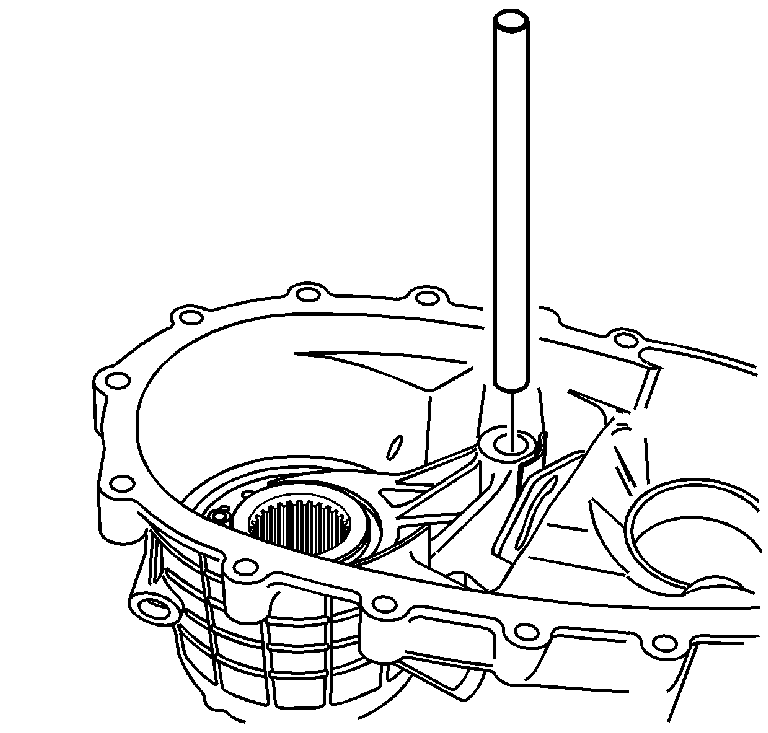
- Remove the shift shaft from the high/low
range fork and the front case.
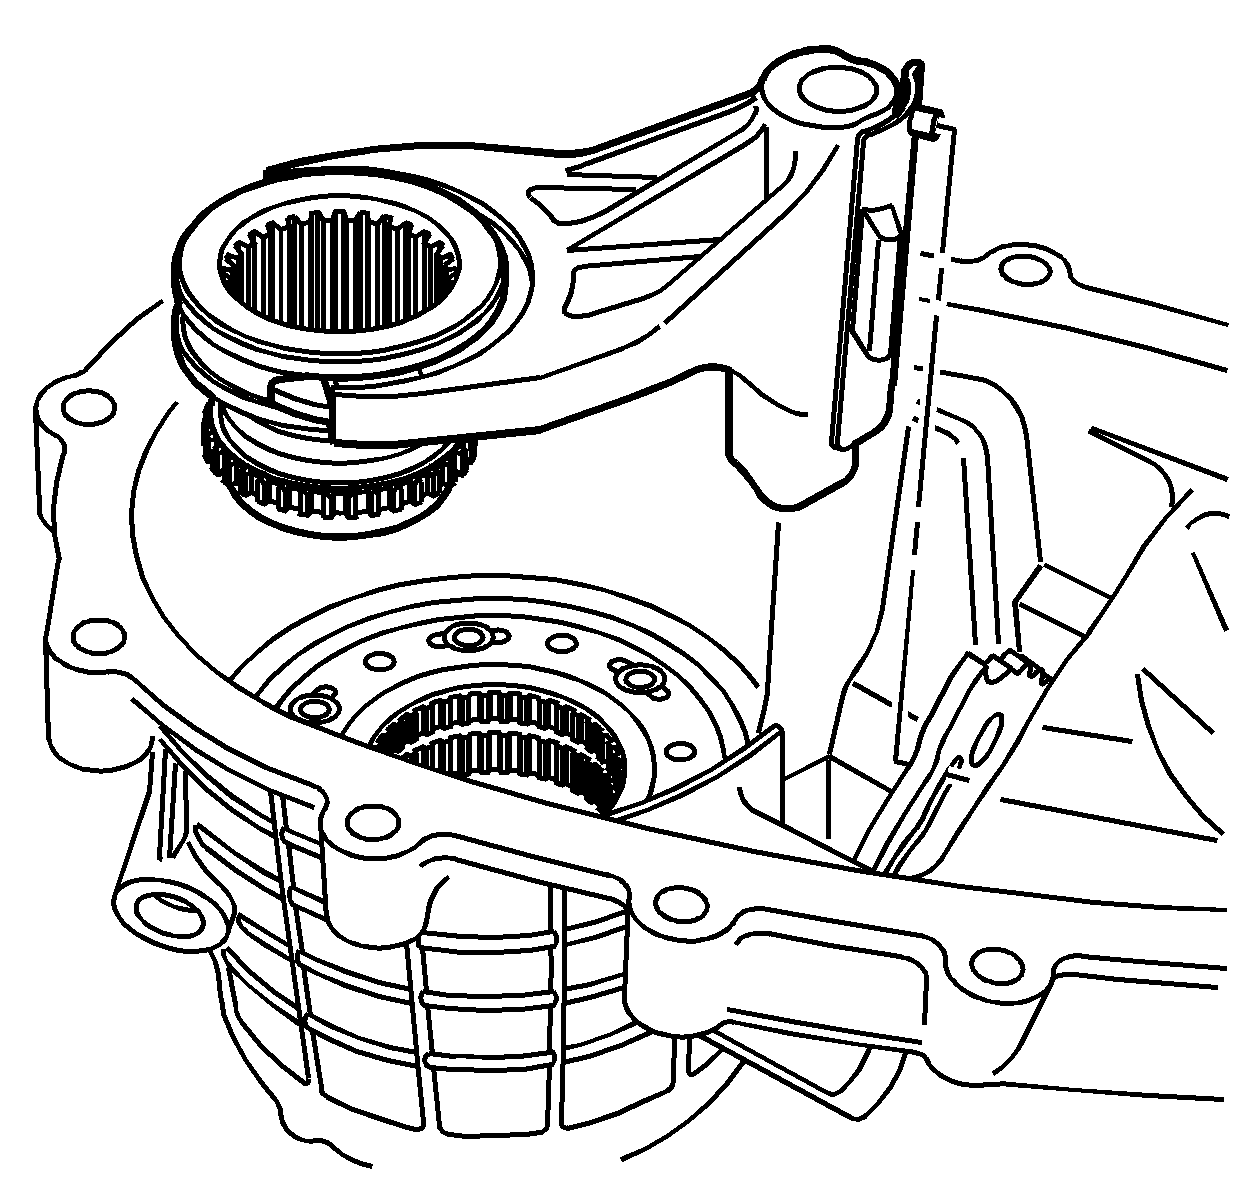
- Remove the high/low range sleeve and the shift fork.
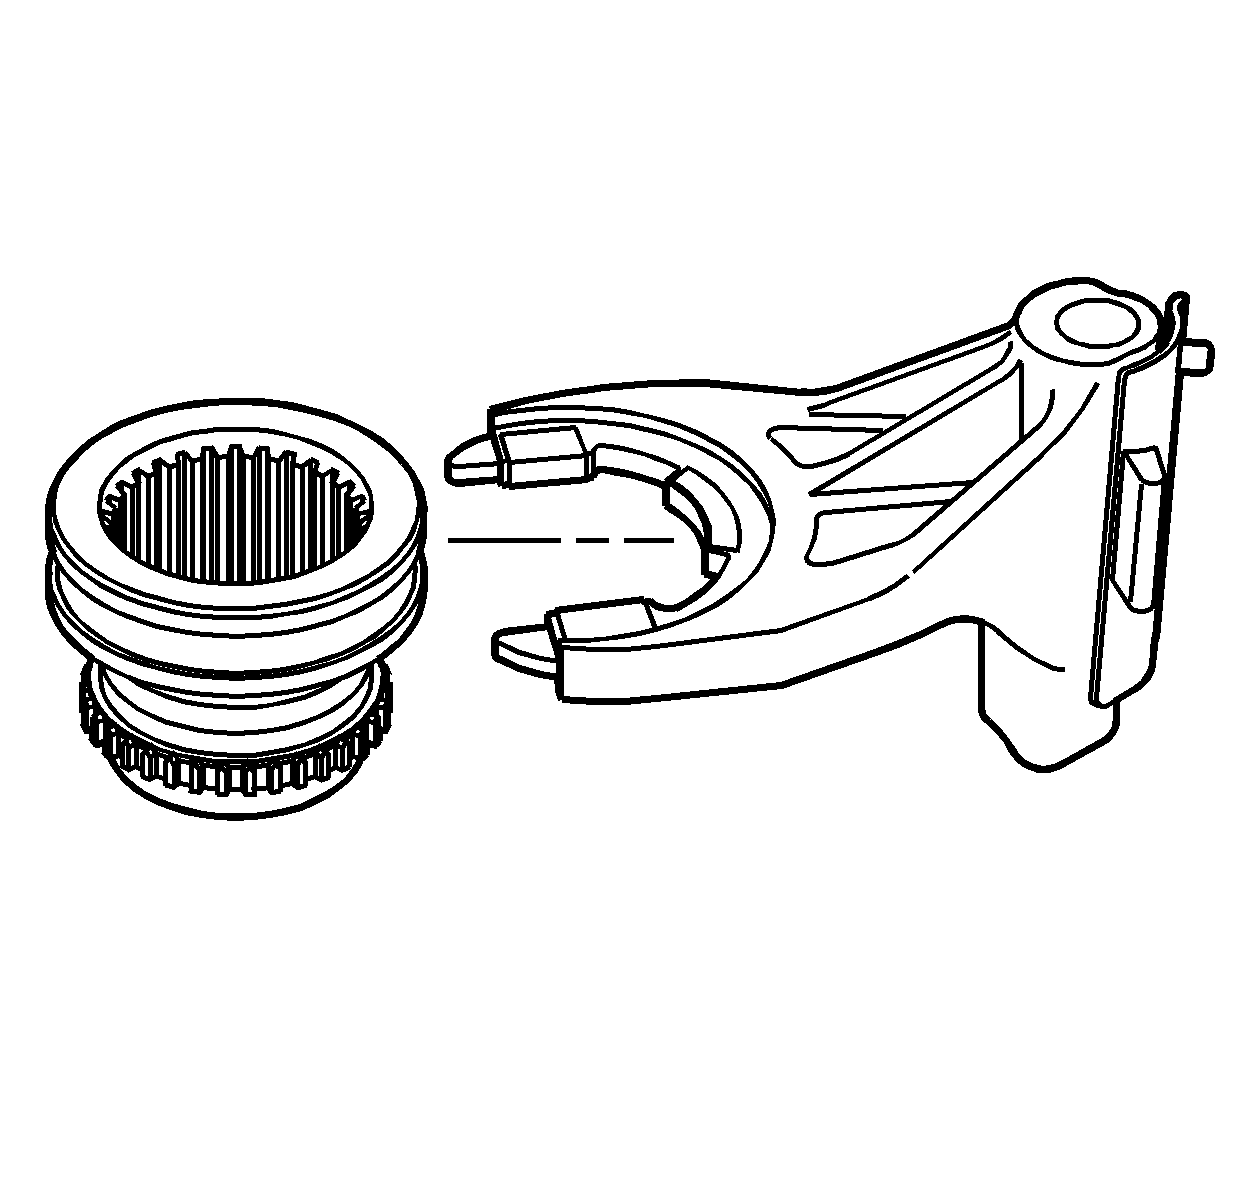
- Remove the range sleeve from the shift fork.
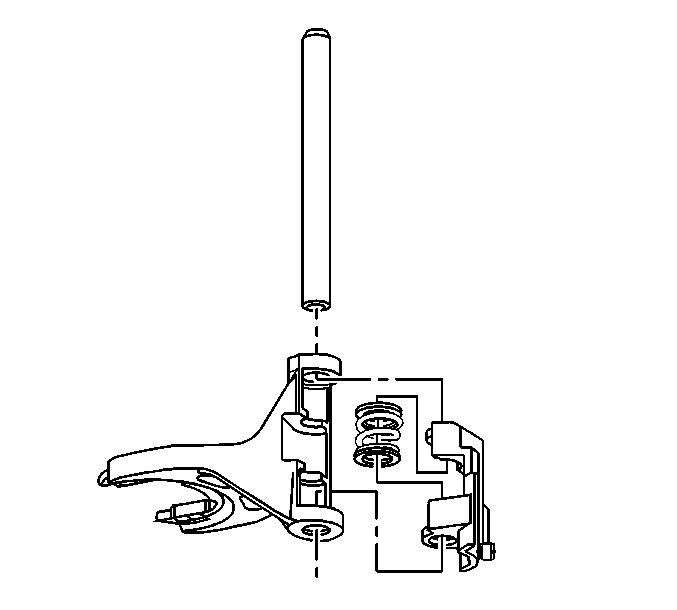
- Disassemble the range fork assembly, if necessary, for inspection.
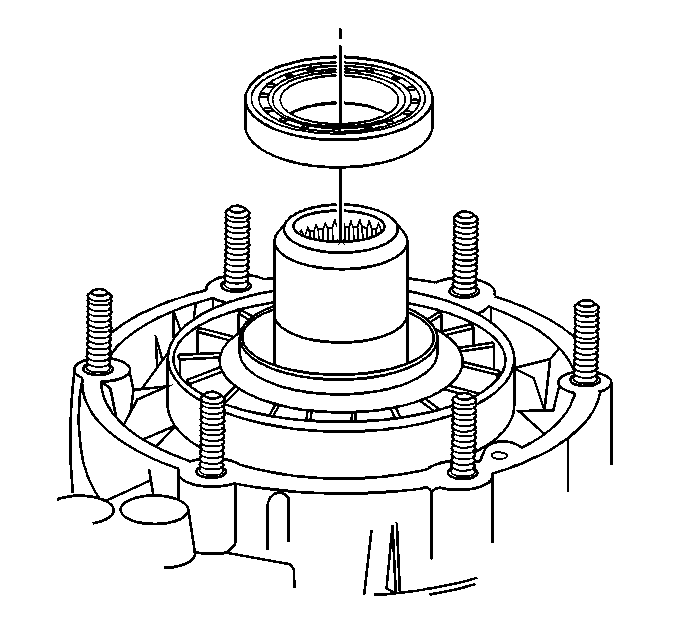
- Remove the input shaft seal.
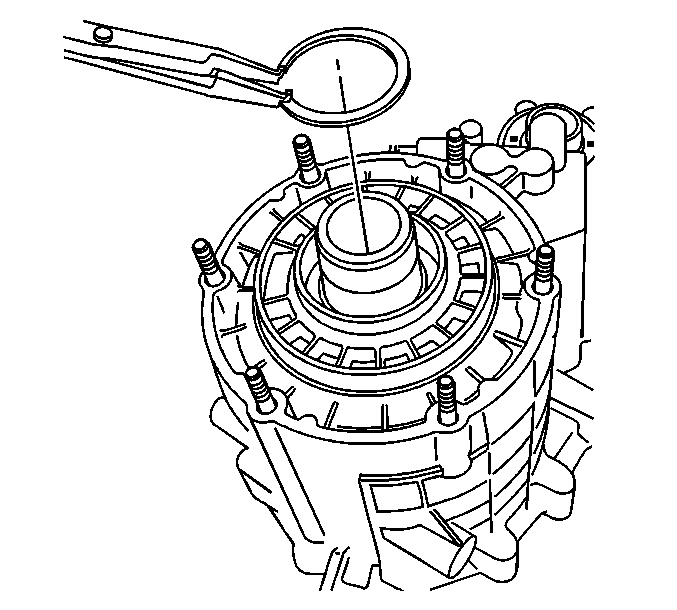
- Remove the outer retaining ring for the input gear bearing.
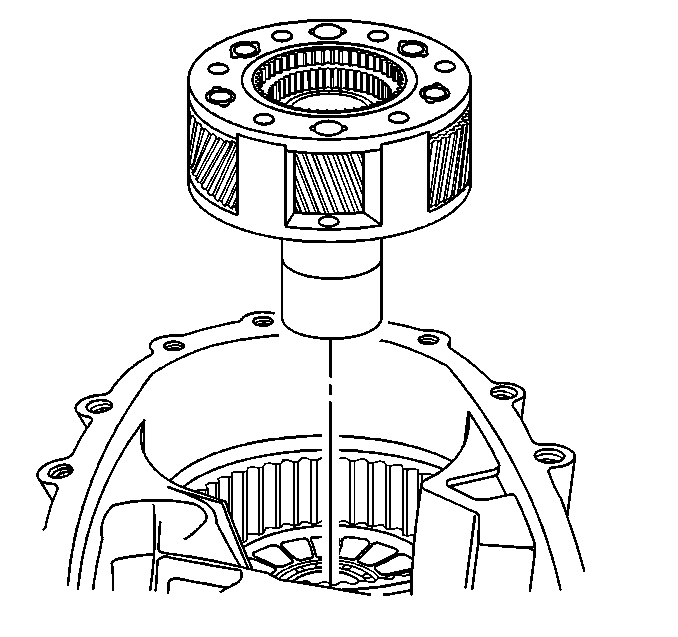
- Remove the high/low planetary carrier.
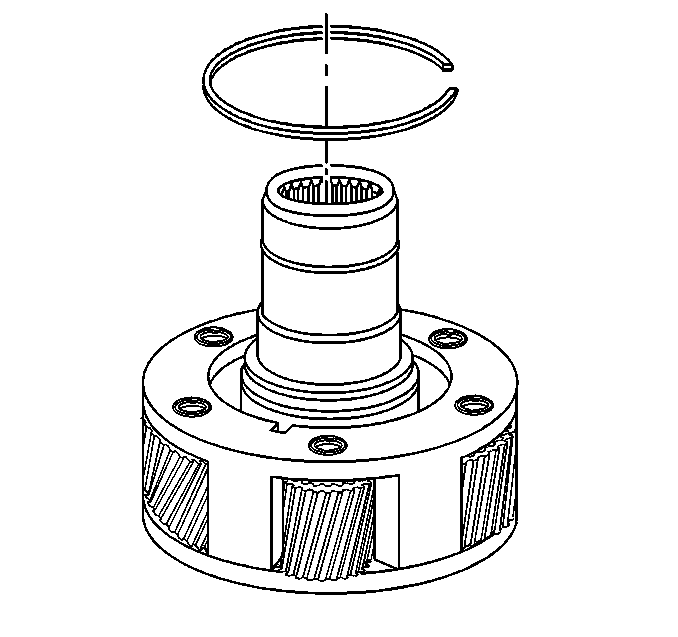
- Remove the retaining ring for the input gear.
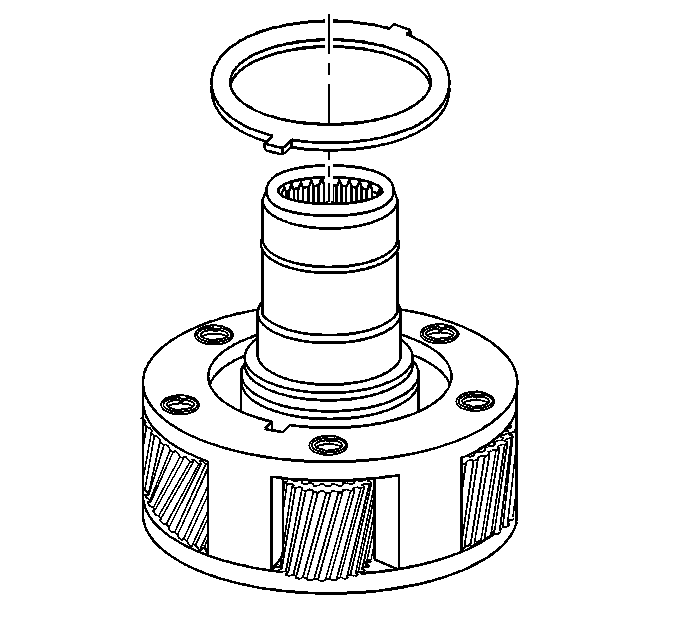
- Remove the planetary carrier lock plate.
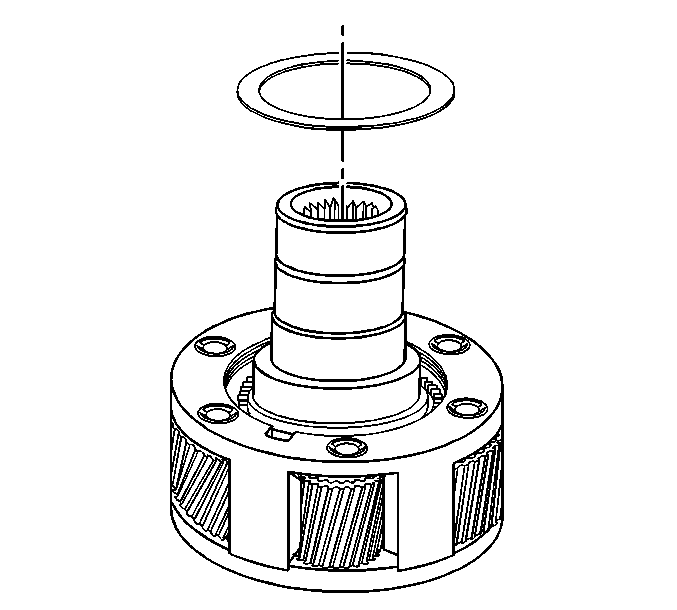
- Remove the planetary carrier front thrust washer.
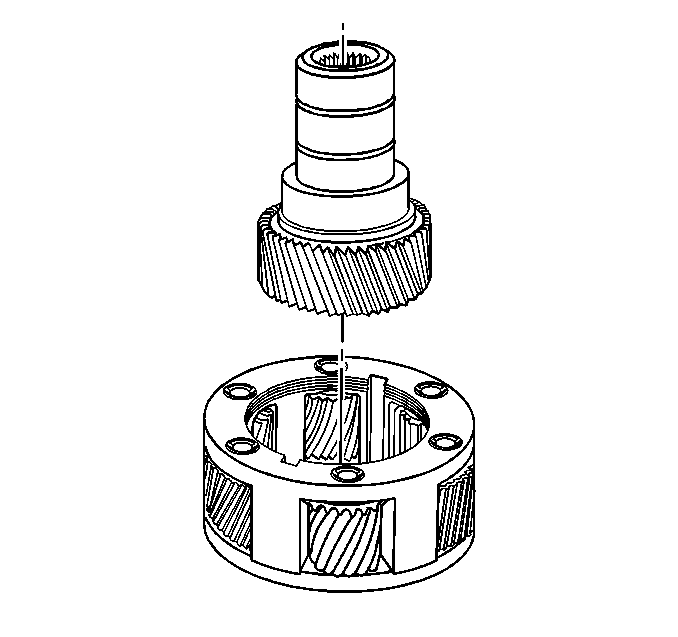
- Remove the input gear.
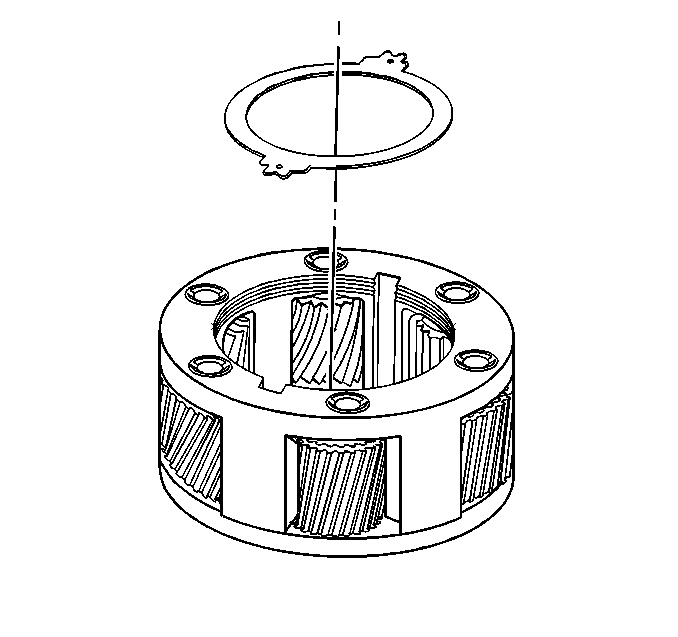
- Remove the planetary carrier rear thrust washers.
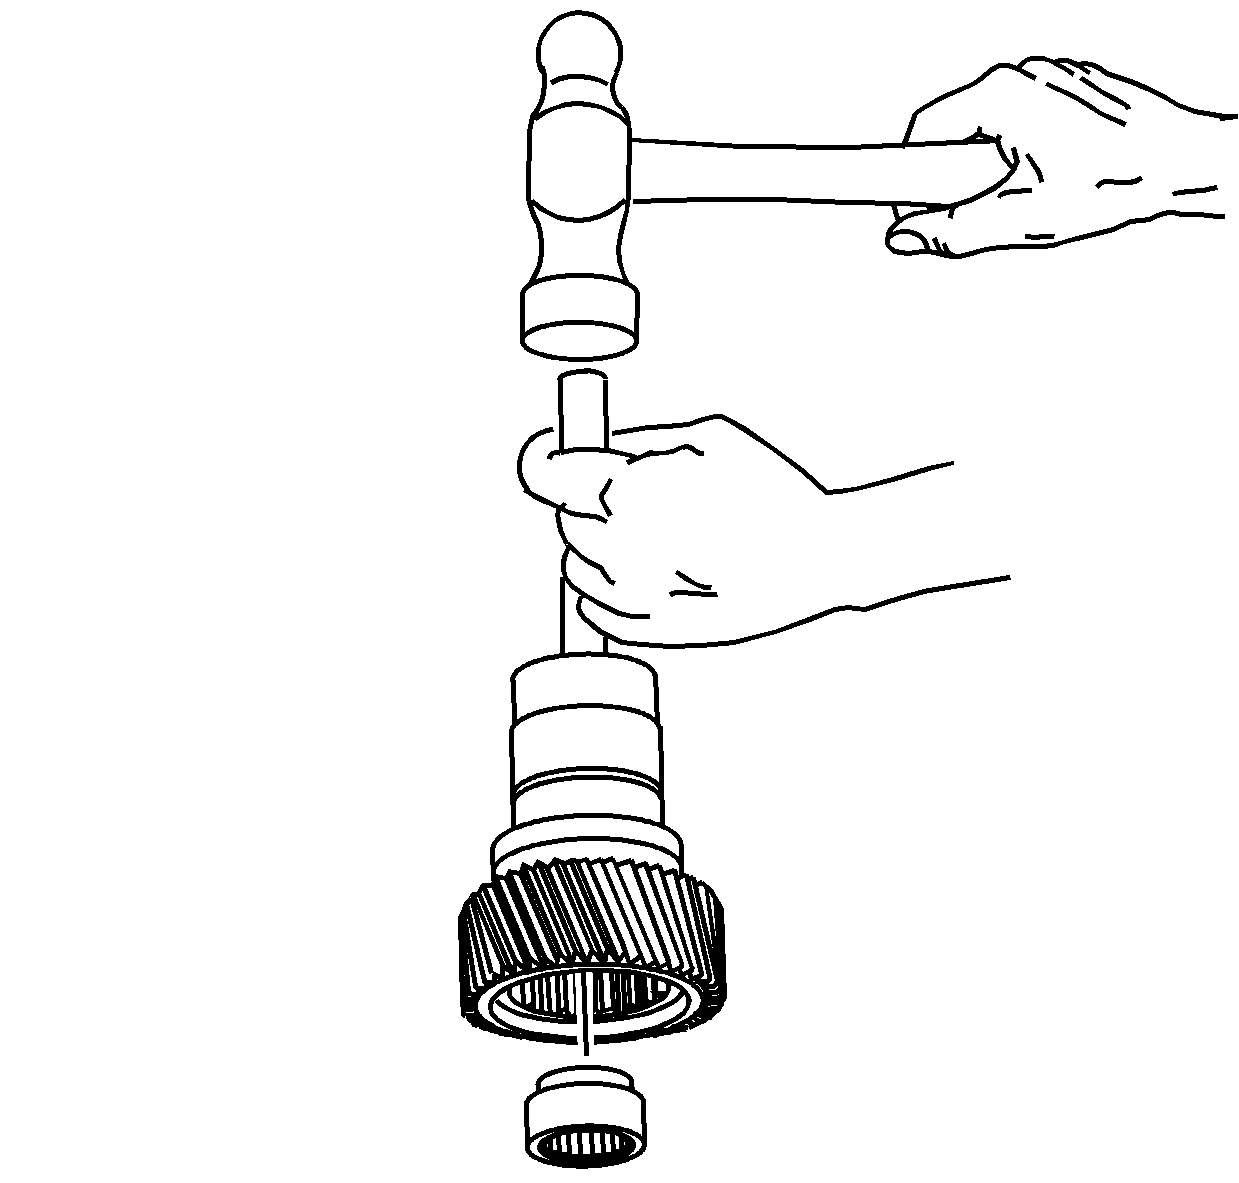
- Inspect the needle bearing in the input gear for being faulty. Refer to
Transfer Case Cleaning and Inspection
.
- Remove the needle bearing from the input gear using a brass drift and a hammer, if faulty.
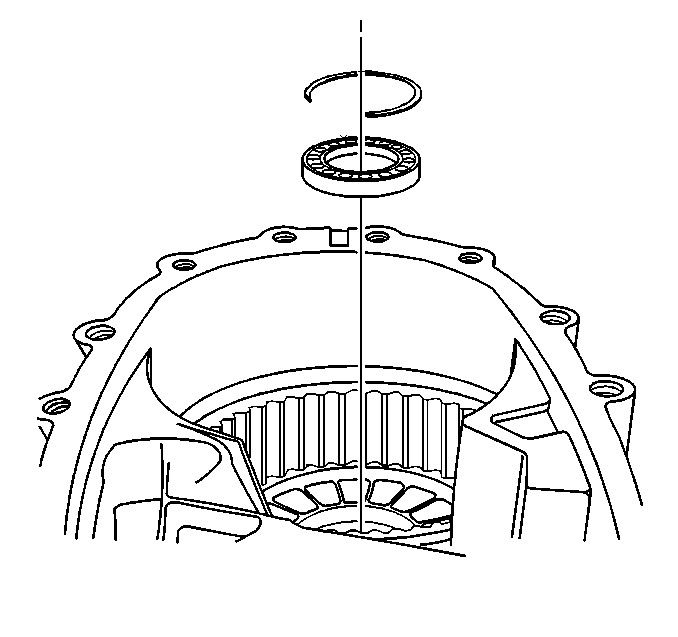
Important: For the super duty version of the NVG 263, it may be necessary to rotate the bearing in the front case in order to gain access to the retaining ring.
When removing the retaining ring for the input shaft
bearing in the super heavy duty version of the NVG 263, the retaining ring must be fully expanded; then remove the input shaft bearing. DO NOT release the retaining ring until the input shaft bearing has been removed.
- Remove the input gear bearing retaining ring.
- Remove input gear bearing.
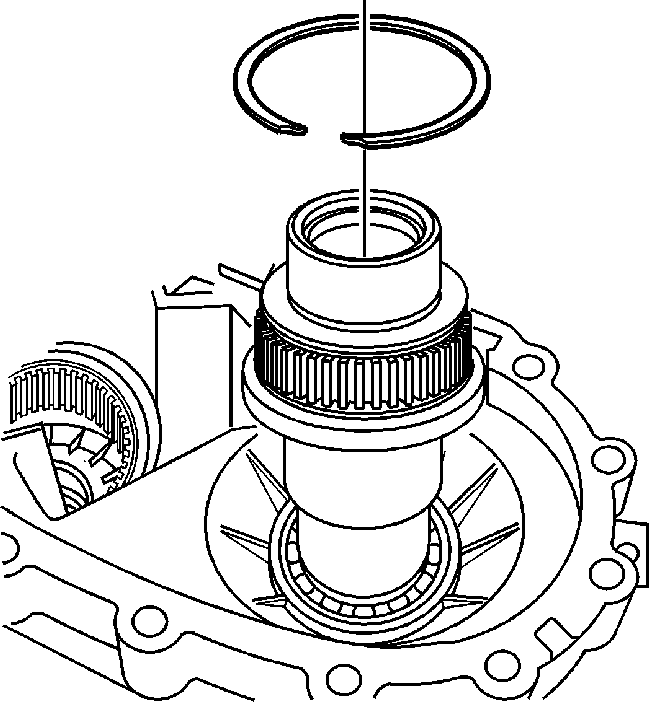
- Remove the inner retaining ring for
the front output shaft bearing.
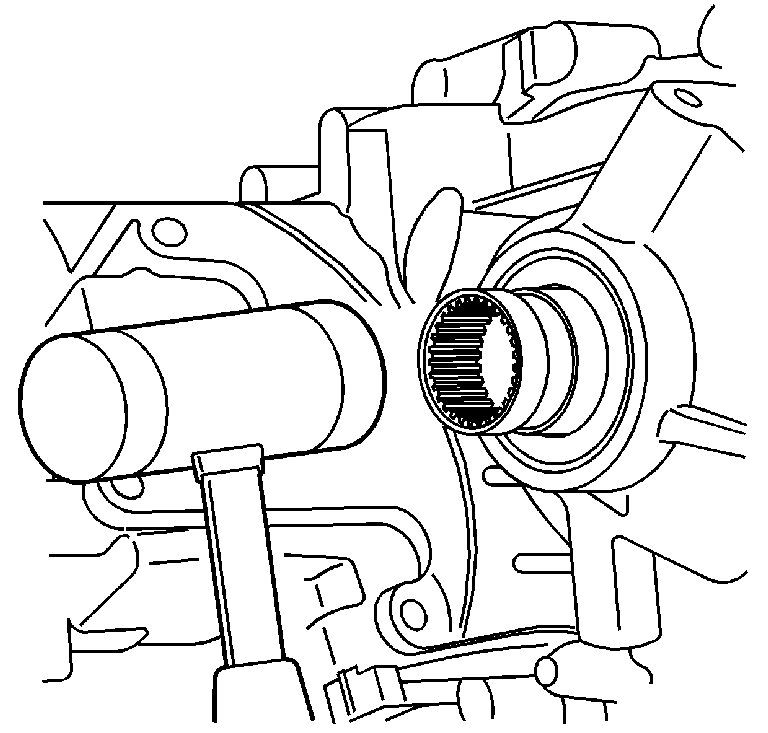
- Using a soft-face hammer, remove
the front output shaft, with the bearing, from the front case half.
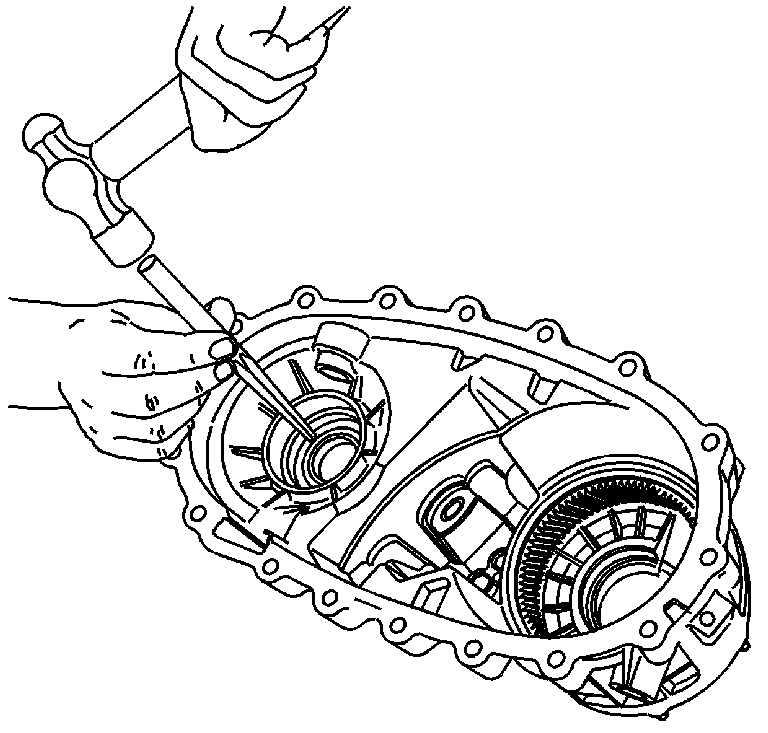
- Using a suitable punch, remove the front output shaft
seal from the front case half.
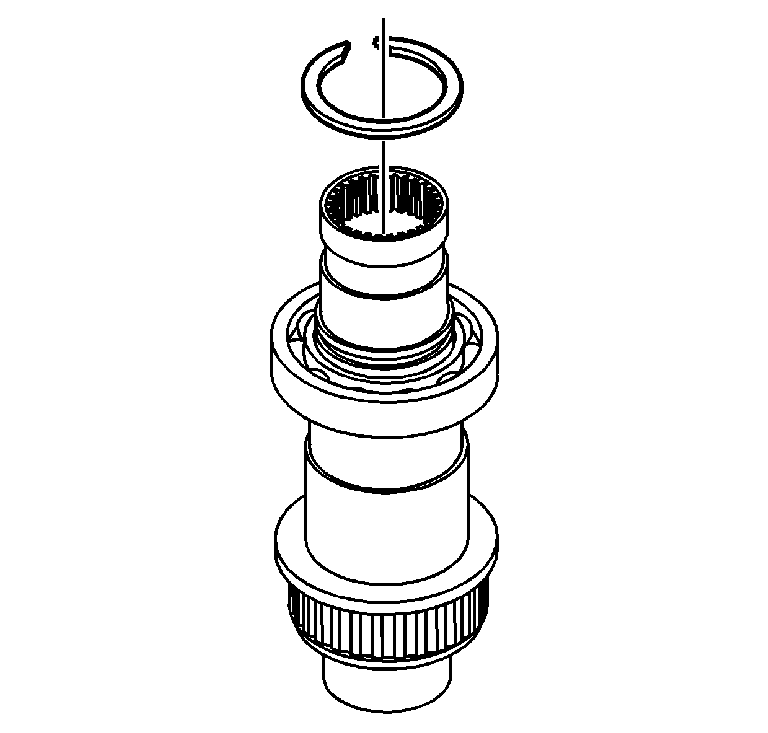
- Remove the outer retaining ring for
the front output shaft bearing.
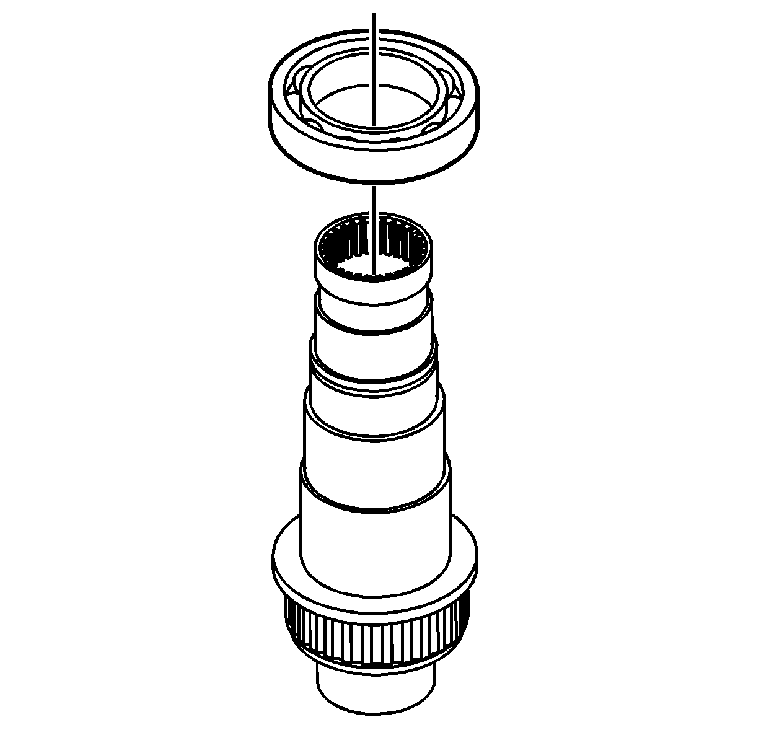
- Inspect the front output shaft bearing for being faulty. Refer to
Transfer Case Cleaning and Inspection
.
- Remove the bearing from the front output shaft. Do not use the bearing again after removal.
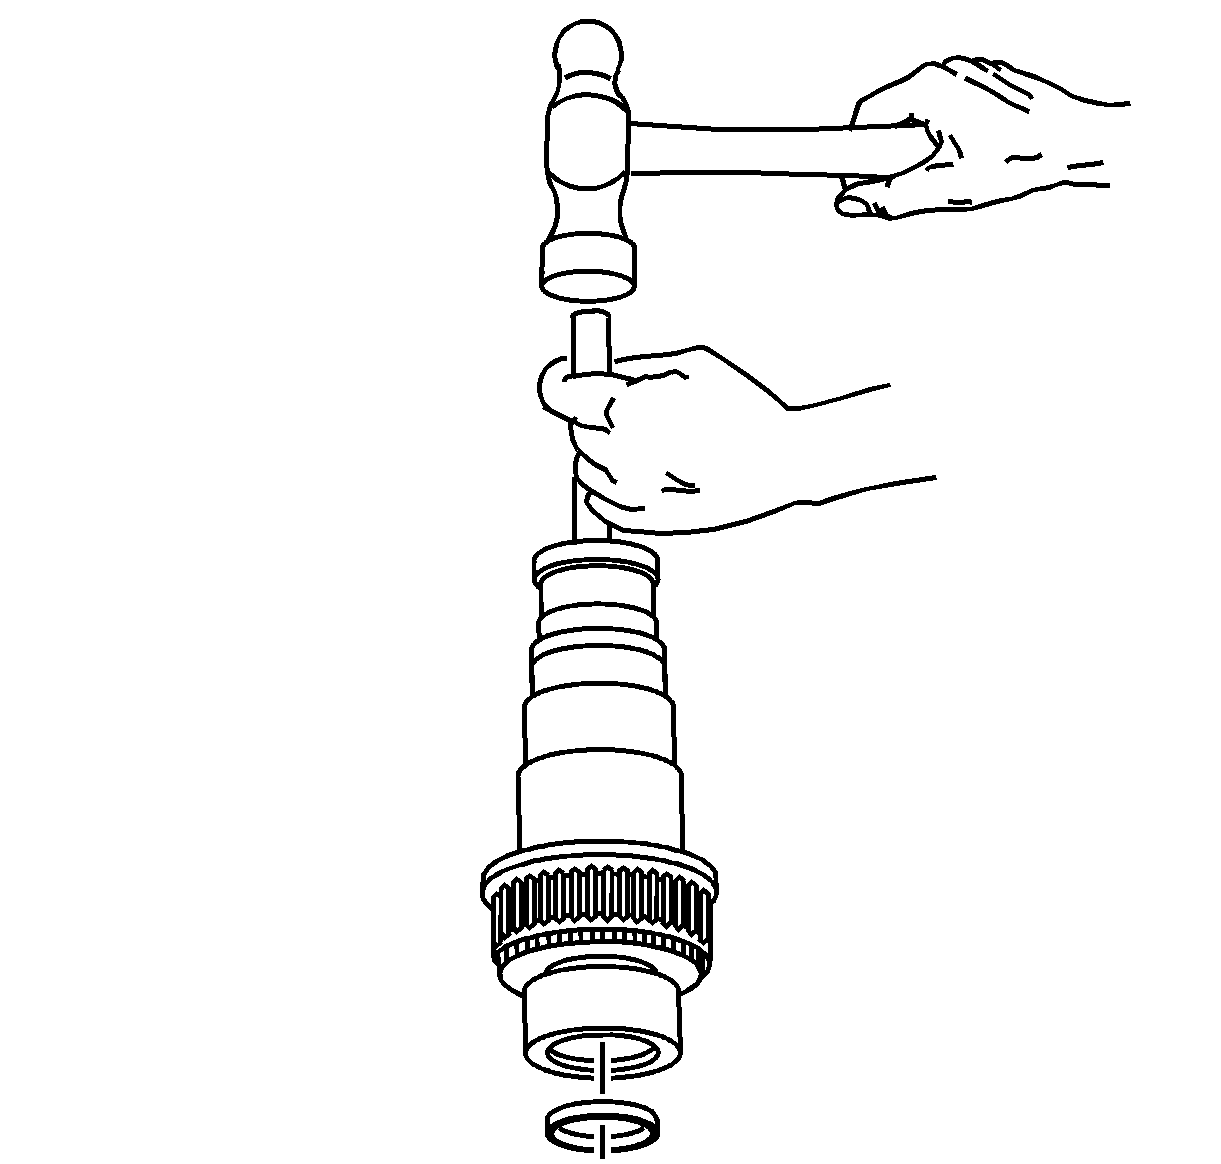
- If the cup plug in the front output shaft is leaking, remove the plug using a
brass drift.
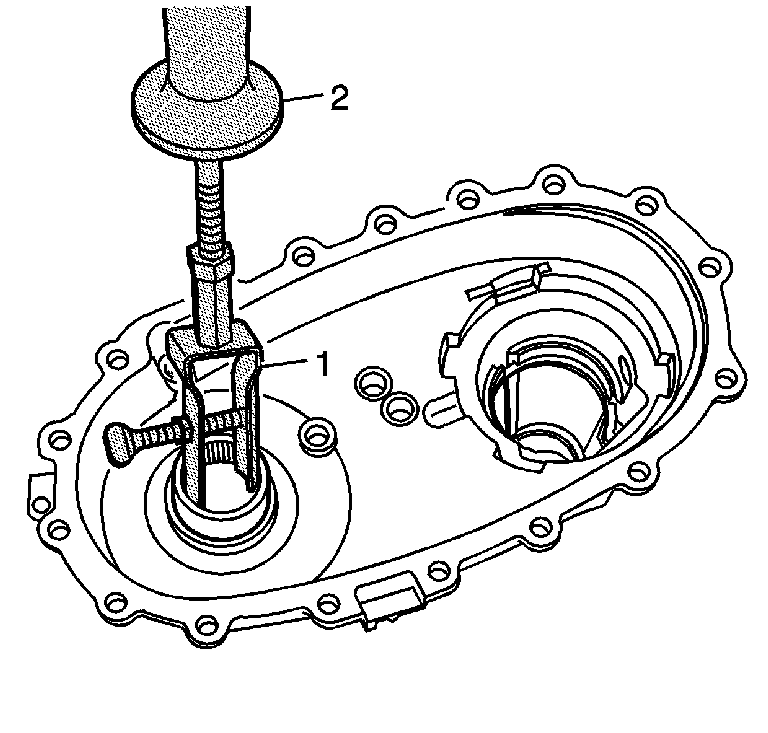
- Inspect the front output shaft rear bearing for being faulty. Refer to
Transfer Case Cleaning and Inspection
.
- If the bearing is faulty, remove the bearing using the
J 23907
(2) and the
J 26941
(1).
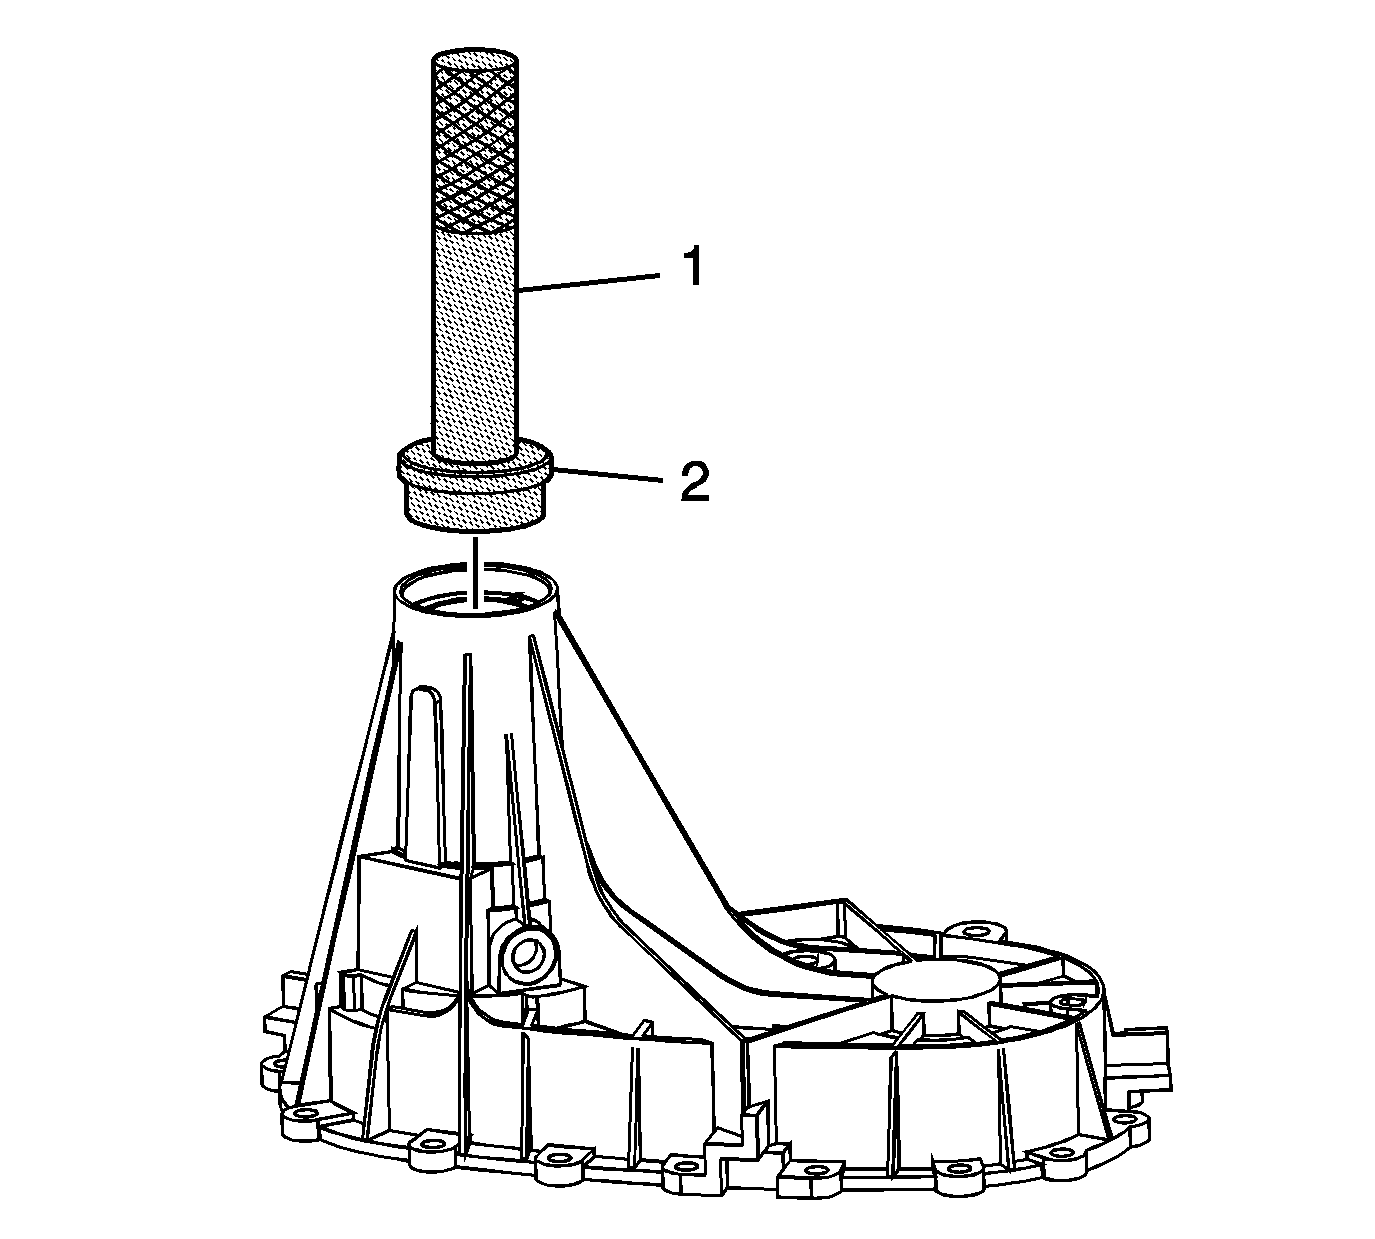
- SHD only - Remove the rear output shaft bushing using the
J 8092
(1) and
DT-48209
(2) .
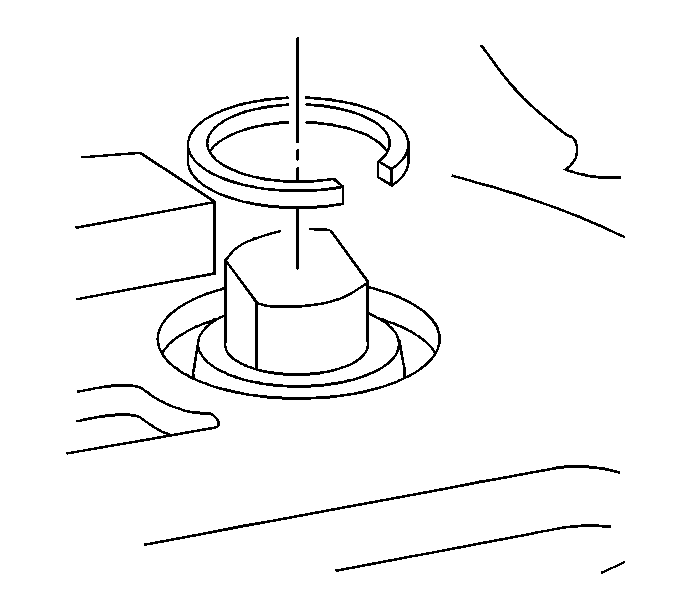
- Remove the shift detent lever retaining ring.
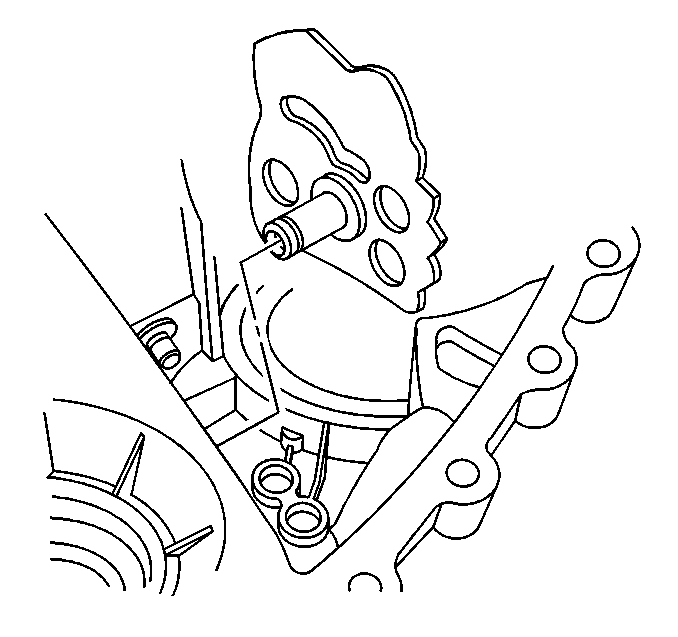
- Remove the shift detent lever shaft.
- Inspect the shift detent lever bearing and seal for being faulty. Refer to
Transfer Case Cleaning and Inspection
.
- If the seal or bearing is faulty, remove the bearing from the case.


