For 1990-2009 cars only
Rear Quarter Trim Panel Replacement Regular Cab
Removal Procedure
- Remove the coat hook. Refer to Coat Hook Replacement .
- Remove the jack and tool stowage.
- Remove the rear window lower molding. Refer to Rear Window Lower Garnish Molding Replacement .
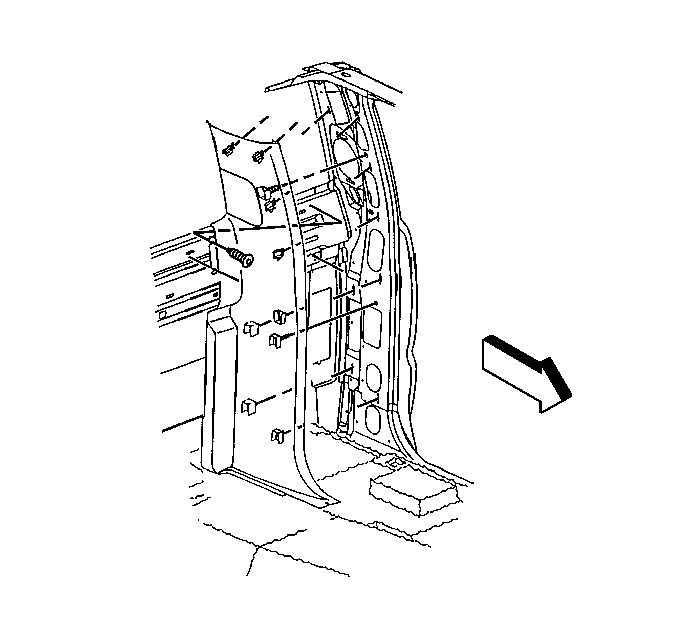
- Remove the quarter panel trim screws.
- Remove the rear screw from the sill trim plate.
- Remove the quarter panel.
Installation Procedure
- Install the quarter panel.
- Install the quarter panel trim screws.
- Install the rear screw into the sill trim plate.
- Install the rear window lower molding. Refer to Rear Window Lower Garnish Molding Replacement .
- Install the jack and tool stowage.
- Install the coat hook. Refer to Coat Hook Replacement .

Notice: Refer to Fastener Notice in the Preface section.
Tighten
Tighten the quarter panel trim screws to 2 N·m (18 lb in).
Rear Quarter Trim Panel Replacement Extended Cab
Removal Procedure
- Remove the rear seat, if necessary. Refer to Rear Seat Replacement .
- Remove the rear window molding. Refer to Rear Window Lower Garnish Molding Replacement .
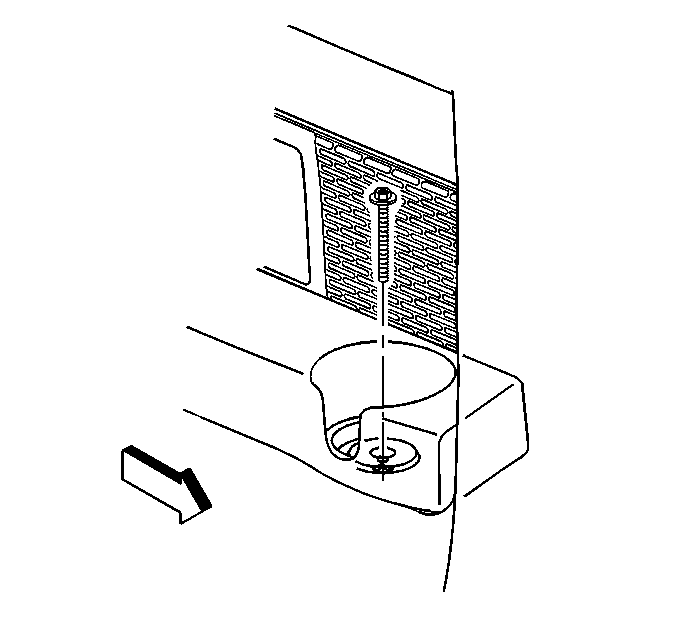
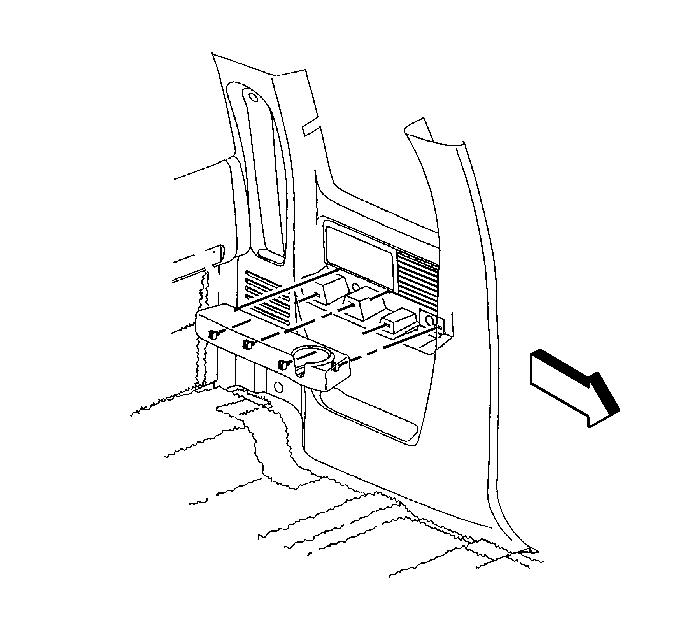
- Remove the armrest screw.
- Remove the armrest.
- Remove the sill trim plates. Refer to Front Side Door Sill Plate Replacement .
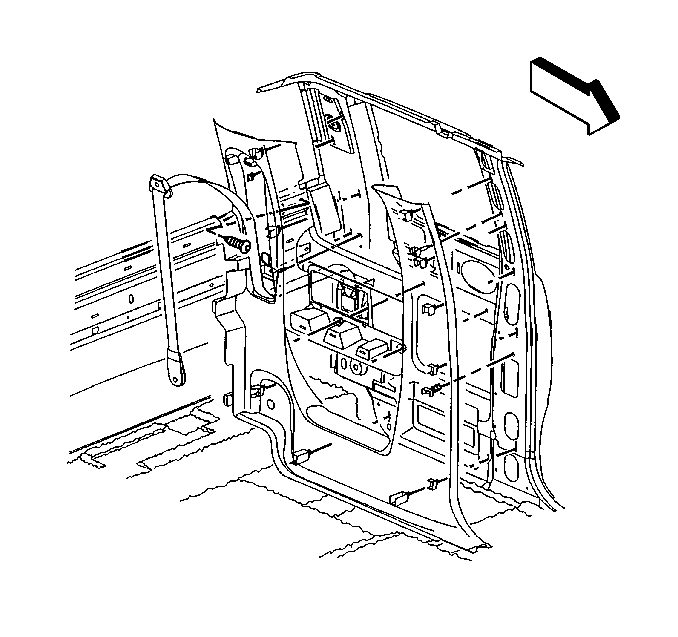
- Remove the quarter panel trim screws.
- Pull the panel out, and remove the seat belt assembly. Refer to Rear Seat Belt Retractor Replacement .
- Remove the quarter panel from the vehicle.
Installation Procedure
- Install the seat belt assembly. Refer to Rear Seat Belt Retractor Replacement .
- Install the quarter panel to the vehicle.
- Install the quarter panel trim screws.
- Install the sill trim plates. Refer to Front Side Door Sill Plate Replacement .
- Install the armrest.
- Install the armrest screw.
- Install the rear window molding. Refer to Rear Window Lower Garnish Molding Replacement .
- Install the rear seat if necessary. Refer to Rear Seat Replacement .
Notice: Refer to Fastener Notice in the Preface section.

Tighten
Tighten the quarter panel trim screws to 2 N·m (18 lb in).


Tighten
Tighten the armrest screw to 2 N·m (18 lb in).
Rear Quarter Trim Panel Replacement Crew Cab
Removal Procedure
- Remove the coat hook, if required. Refer to Coat Hook Replacement .
- Remove the rear window lower molding. Refer to Rear Window Lower Garnish Molding Replacement .
- Remove the quarter panel trim screws.
- Remove the lower seat belt anchor bolt in order to guide the seat belt through the trim panel.
- Remove the quarter panel.
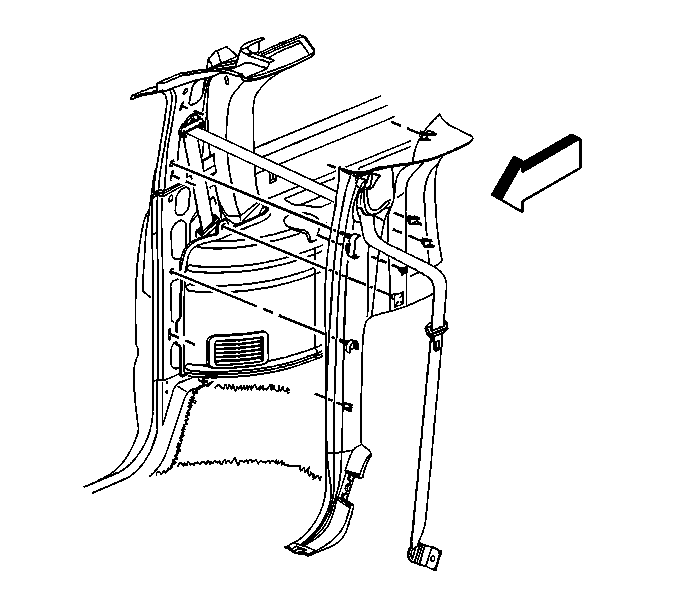
Installation Procedure
- Install the seat belt through the trim panel.
- Install the quarter panel.
- Install the lower seat belt anchor bolt.
- Install the quarter panel trim screws.
- Install the rear window lower molding. Refer to Rear Window Lower Garnish Molding Replacement .
- Install the coat hook, if removed. Refer to Coat Hook Replacement .

Notice: Refer to Fastener Notice in the Preface section.
Tighten
Tighten the bolt to 53 N·m (39 lb ft).
Tighten
Tighten the quarter panel trim screws to 2 N·m (18 lb in).
