Tools Required
090.0006 Programming Initiator
Learn Mode Description
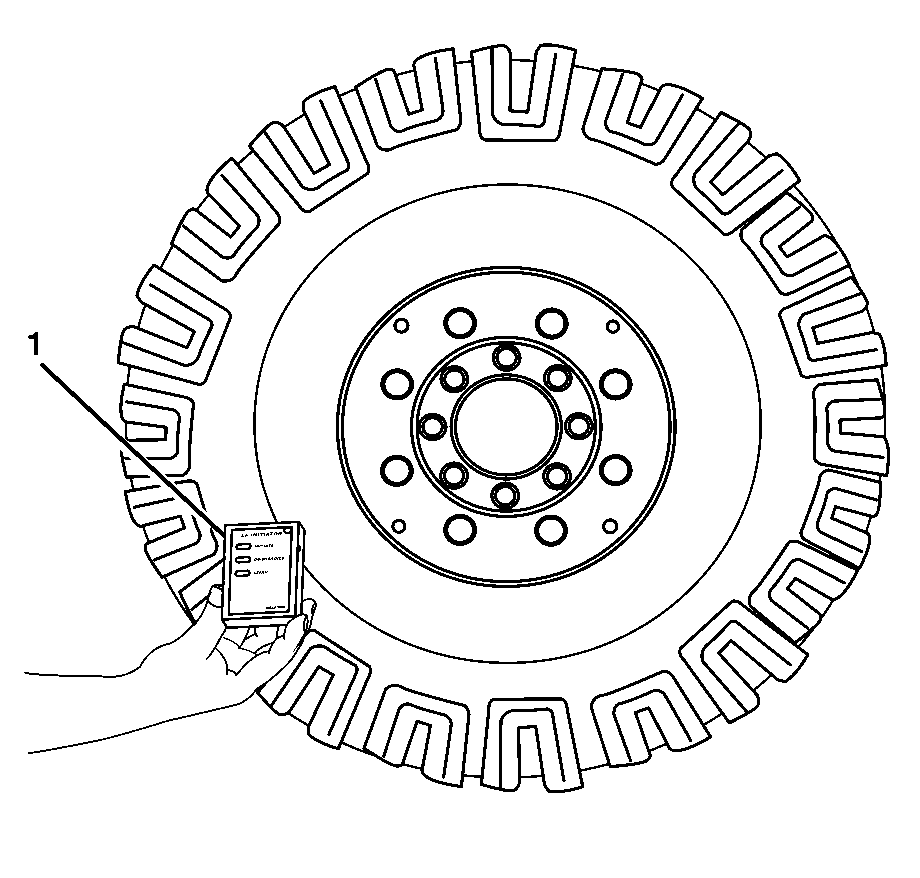
Important: To ensure proper operation, the Programming Initiator must be held facing the sensor for at least 5 seconds after the appropriate button is pressed. Sensors are normally located next to the valve. Hold the initiator against the tire and point it towards the sensor from a position slightly outside the rim flange.
The receiver that is installed on the vehicles needs to have a unique sensor identification code for each wheel position programmed into it to ensure proper orientation of the system. Each wheel assembly has a sensor in it that can be activated using the initiator. When the sensor is activated, it sends out its unique identification code, which is then stored in the memory of the receiver so that it knows which sensors belong to that vehicle. The vehicle does not have to be moving to accomplish this task, which allows programming of receivers to be carried out very easily.
Learn Mode Calibration
- Turn ON the ignition, with the engine OFF.
- Apply the parking brake.
- Turn ON the initiator, ensure the LED is green.
- Enter Level 2 Programming Mode. Refer to Tire Pressure Monitoring Sensor Programming .
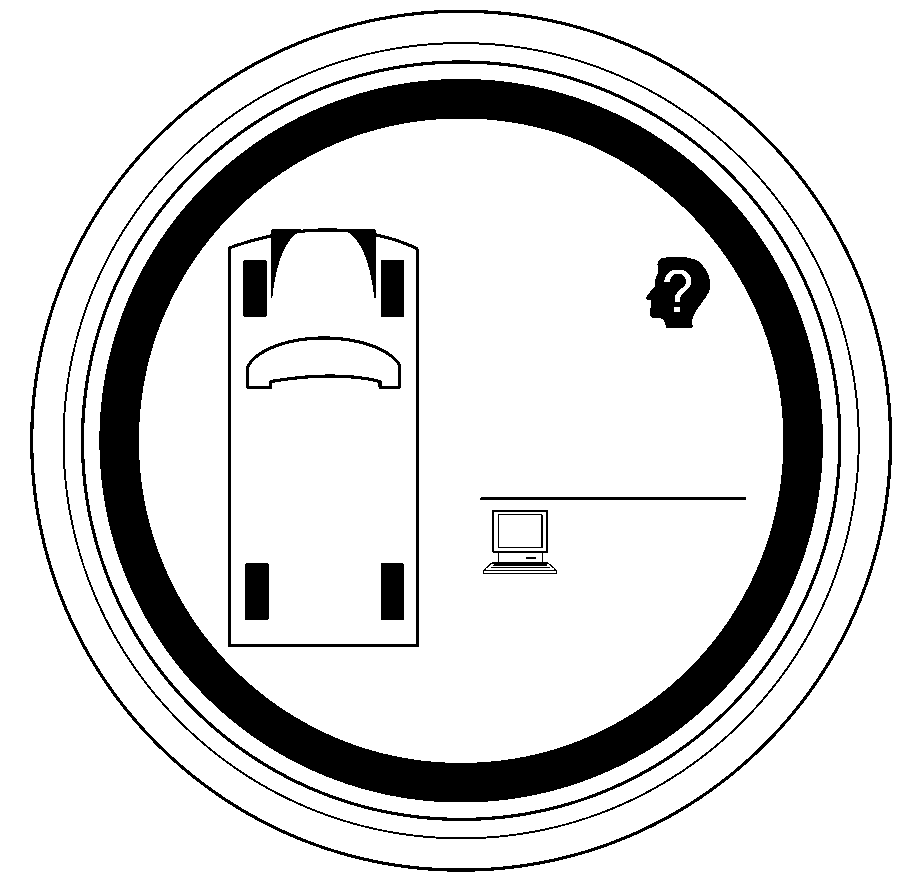
- Press the MODE button to select learn mode, which is indicated by a head with a question mark icon.
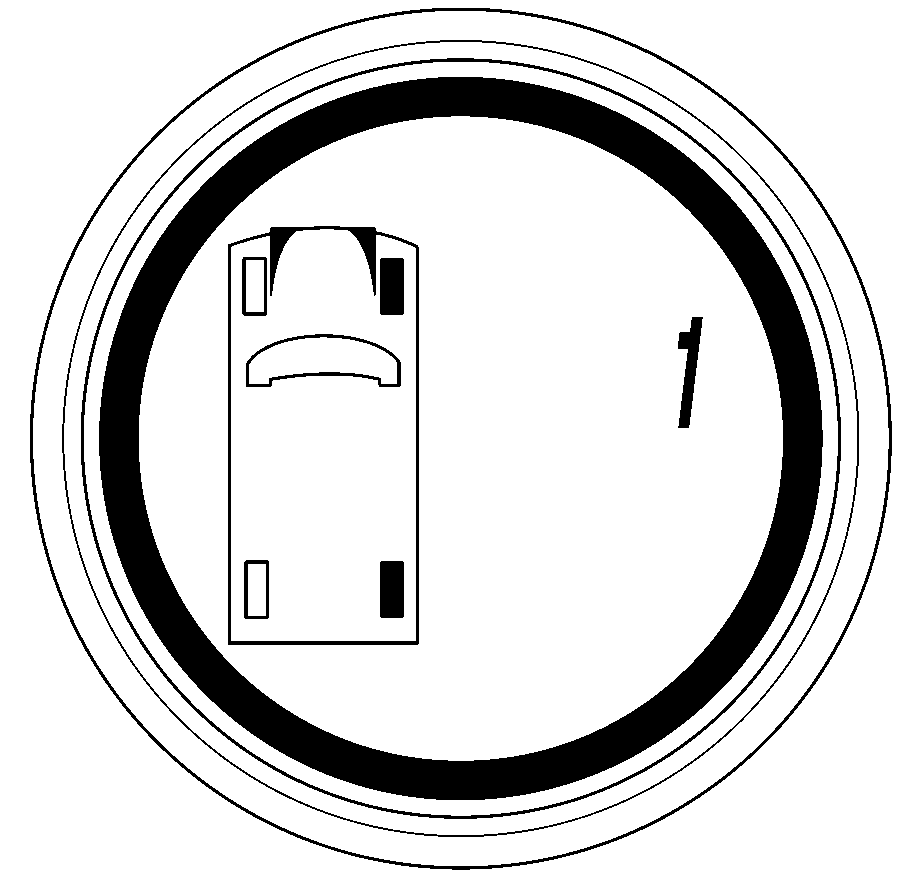
- Press the TIRE button to display the possible wheel positions for the towing vehicle (a windshield can also be seen to indicate that the towing vehicle is selected). The outline of the wheel position to be programmed will flash. If a sensor already exists in this position (the tire icon is filled in), it is recommended to remove the sensor by pressing the MODE button.
- Determine the actual sensor location (normally located adjacent to the valve stem) on the wheel to be programmed. Position the initiator (1) against the tire's sidewall for that sensor location, press the LEARN button and hold the unit steady for at least 5 seconds. The flashing wheel icon on the gage display will become filled in when the sensor ID has been successfully captured by the receiver. (If this does not occur, repeat step 7.)
- If programming more sensors into the system, immediately select the next tire position on the gage display and repeat step 8 until all sensor ID numbers and their appropriate positions have been learned by the receiver.
- Immediately exit the receiver LEARN mode by pressing the SET button on the system switch panel.
Important: Install the sensors on the wheels. Refer to Tire Pressure Monitor Sensor Replacement . If sensors are already installed on the vehicle, make sure the vehicle is stationary for 20 minutes before proceeding to step 3.


Important: Waiting too long to select the next tire position or existing the LEARN mode increases the likelihood of inadvertently overwriting the recently learned sensor by receiving signals from other sensors installed on the vehicle or from other vehicles in close proximity.

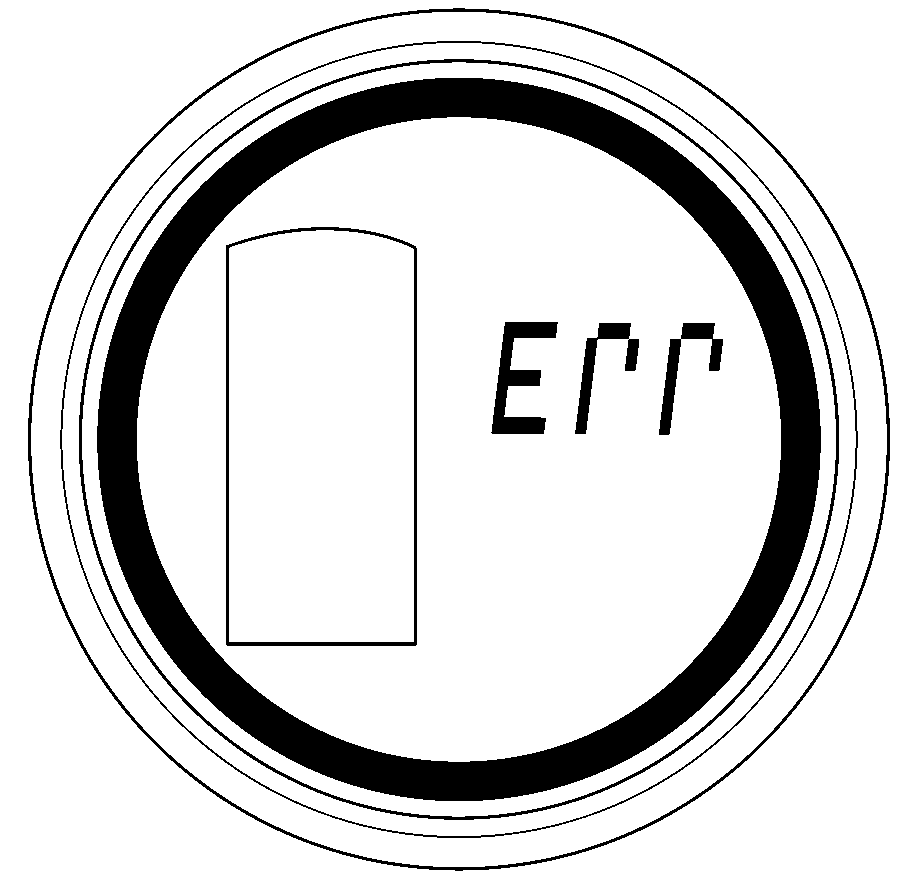
Important: If an ERR message is displayed together with flashing tire positions, those indicated positions have been programmed with the same sensor ID numbers. In this case, press the TIRE button on the system switch panel to re-enter the receiver LEARN mode and reprogram the sensor positions that were flashing.
Verifying Correct Sensor Position
- Turn ON the ignition, with the engine OFF.
- Apply the parking brake.
- Place the initiator next to each sensor position but this time press the INITIATE button to cause each sensor to transmit ID number and tire data to drive the vehicle above 6 mph.
- If the correct tire sensor positions are not being received. Refer to Learn Procedure with Initiator.
