Body Replacement Ambulance Body
Tools Required
J 39400-A Halogen Leak Detector
- Recover the refrigerant. Refer to Refrigerant Recovery and Recharging in Heating, Ventilation and Air Conditioning of the 2005 C/K Truck Service Manual.
- Drain the cooling system. Refer to Cooling System Draining and Filling in Engine Cooling.
- Disconnect the battery cables. Refer to Battery Cable Disconnect and Connection in Engine Electrical.
- Raise the vehicle. Refer to Lifting and Jacking the Vehicle in General Information in 2005 C/K Truck Service Manual.
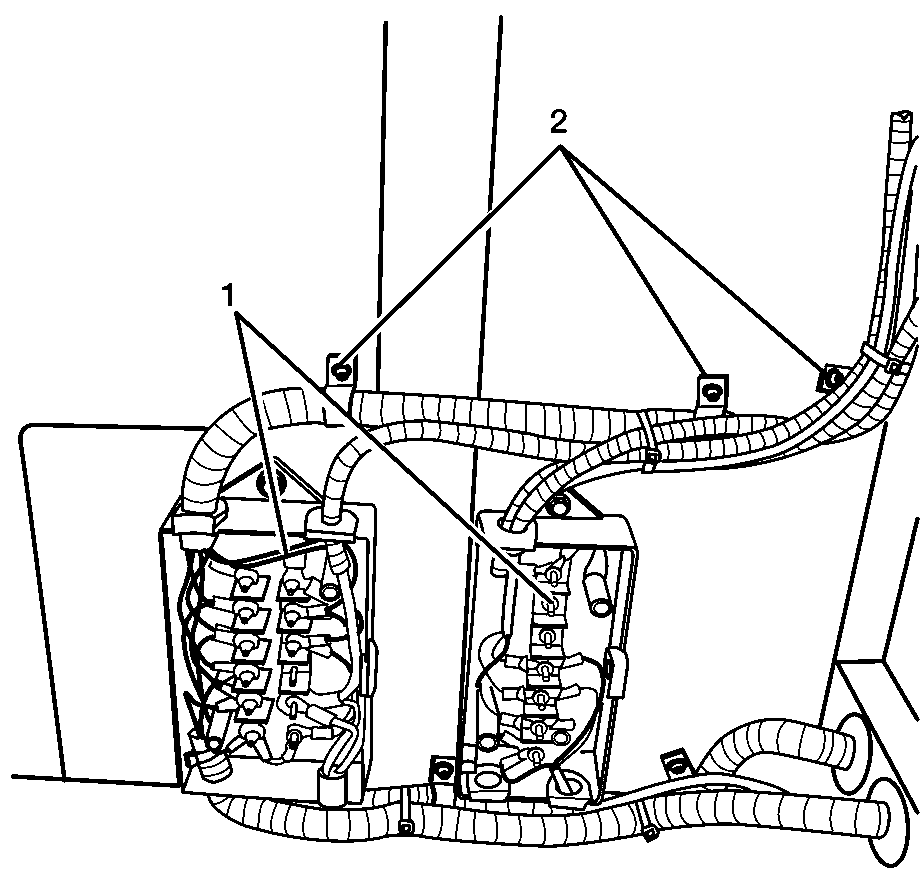
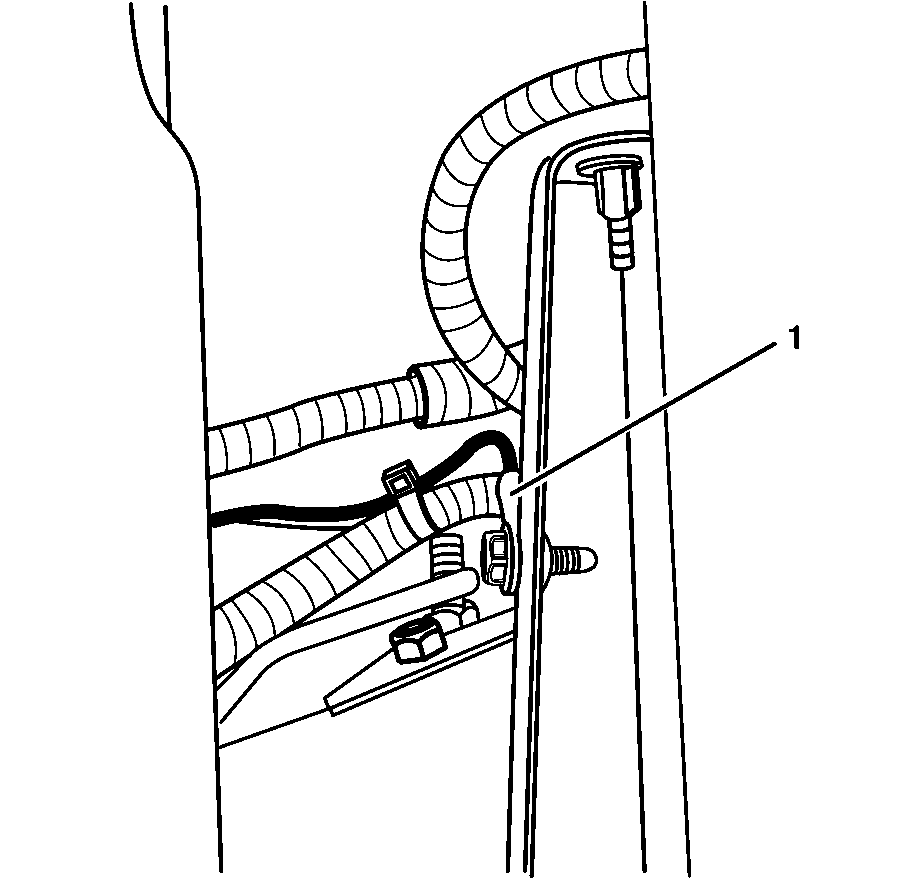
- Remove the shield, both covers and wires from the distribution panels (1).
- Remove the wiring harness clamps (2) and lay the harness aside.
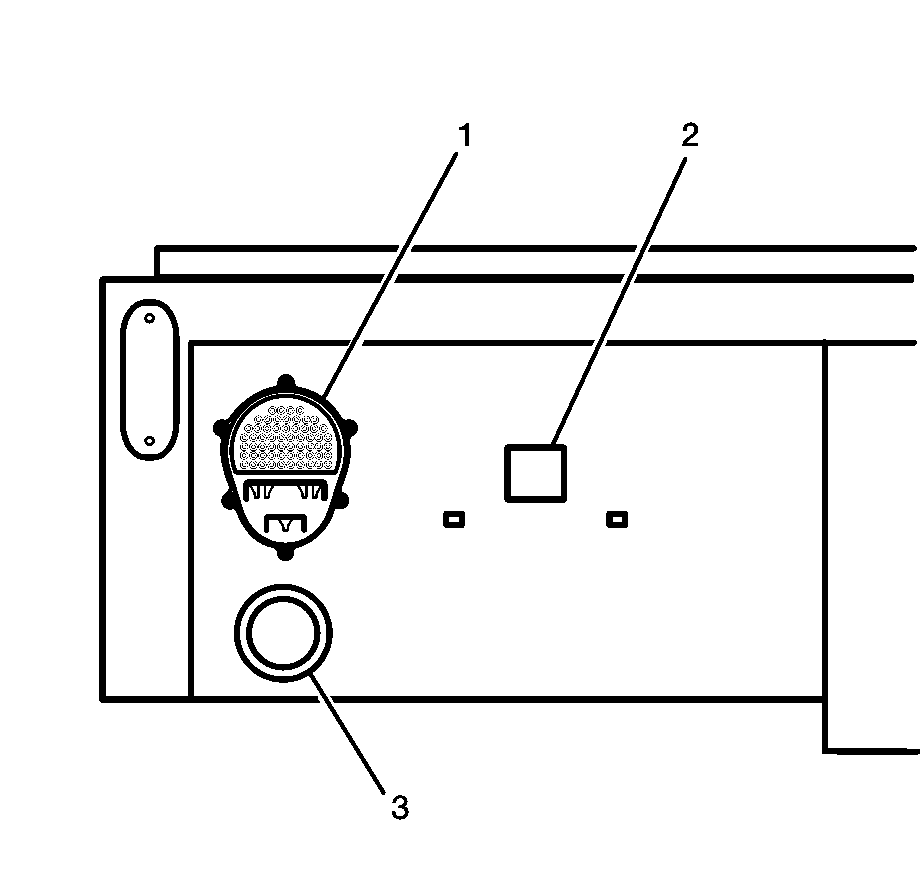
- Disconnect the wiring harness for the taillamps (1). Refer to Taillamp Replacement in Lighting Systems.
- Disconnect the wiring harness for the backup lamps (3). Refer to Backup Lamp Replacement in Lighting Systems.
- Disconnect the wiring harness for the license plate lamp (2). Refer to License Plate Lamp Replacement in Lighting Systems.
- Remove wiring going to the body marker lamps and backup alarm.
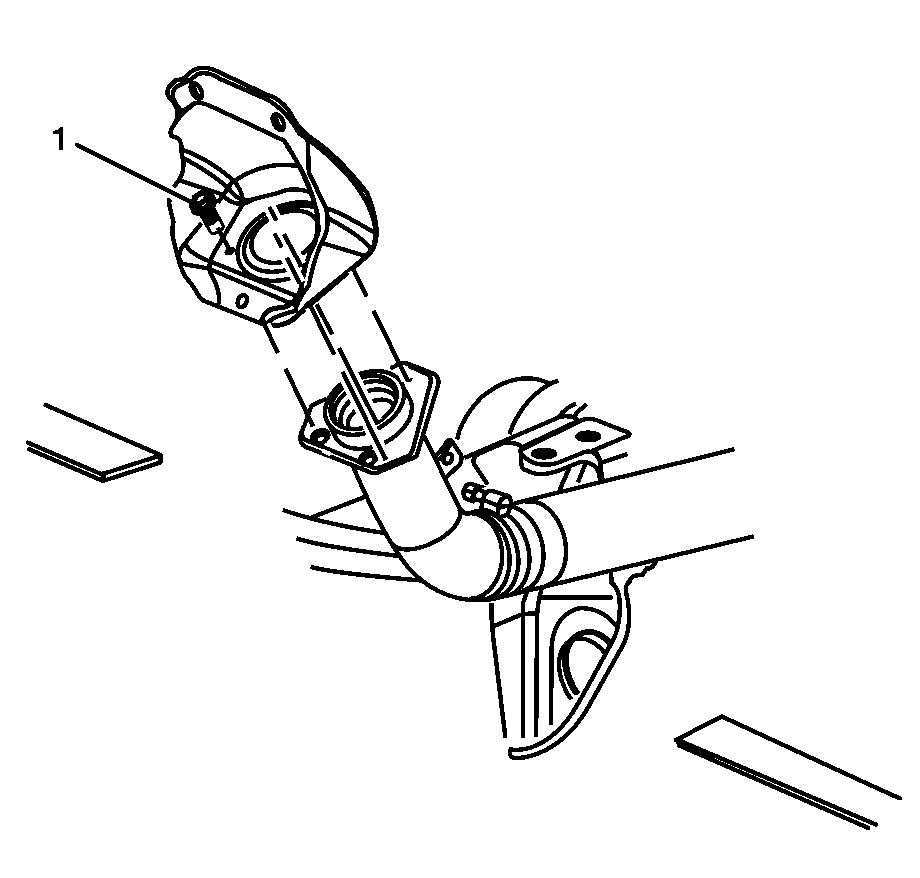
- Loosen the tube nuts (2) from the A/C line tubes.
- Disconnect the tubes from the A/C lines.
- Remove and discard the O-rings.
- Remove the bolt (1) and clamp securing the lines to the vehicle.
- Plug the open A/C lines.
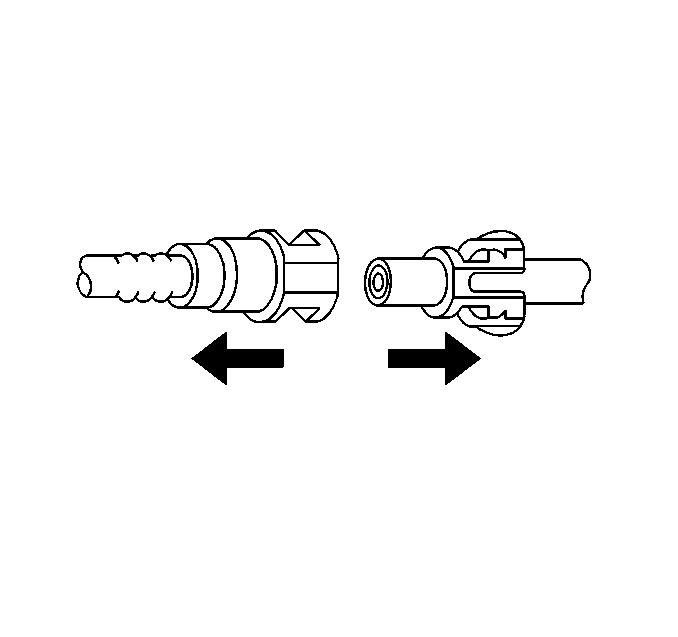
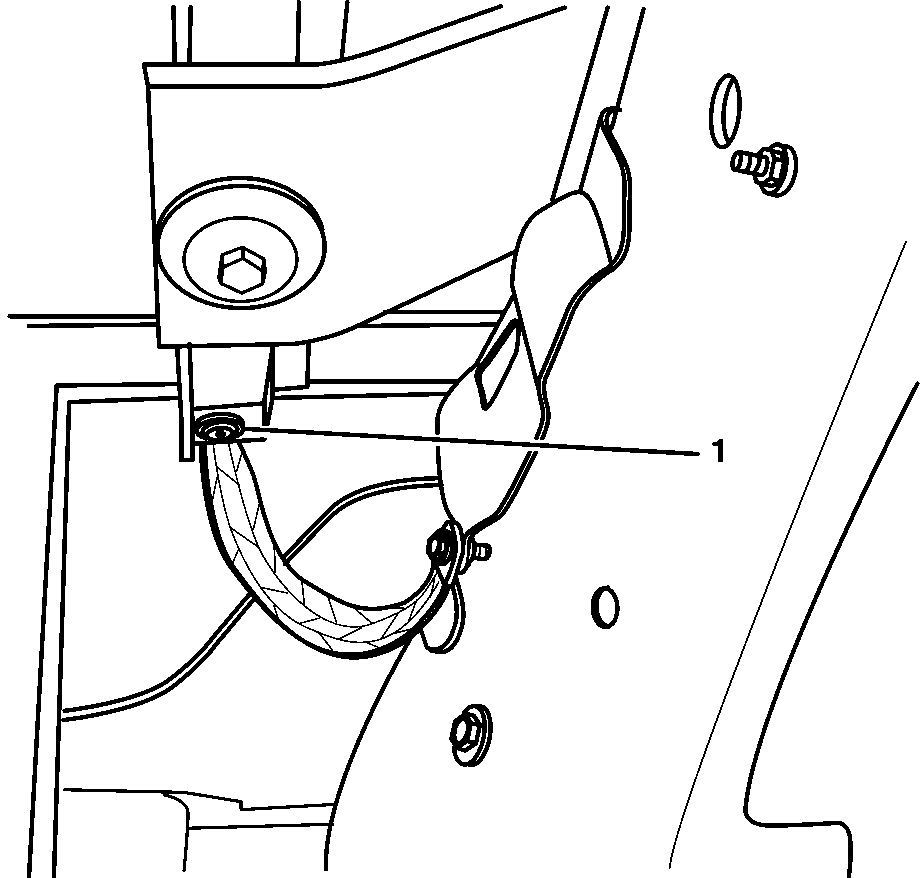
- Loosen the clamp and using a twisting motion remove the inlet heater hose (1) from the coolant booster pump.
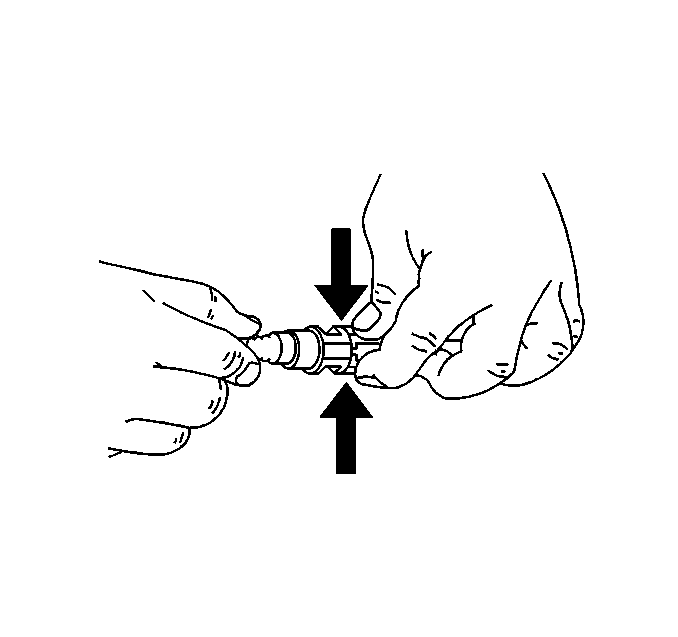
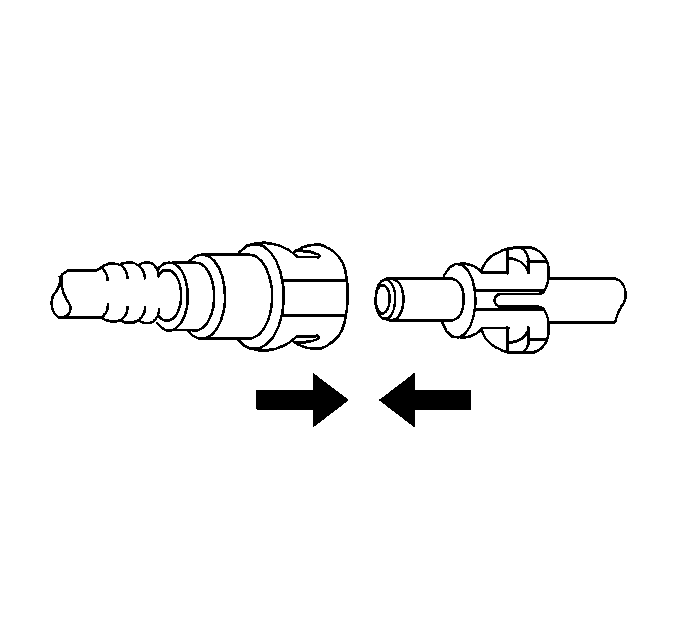
- Squeeze the plastic retainer tabs on the inlet hose. The hose connection is located at the bulkhead.
- Remove the outlet hose from the vehicle engine compartment and under body.
- Remove any wiring harness straps or clamps. Do not remove the hoses from the ambulance body.
- Remove the fuel tank filler housing to fuel tank fill pipe bolts (1). Repeat step for other fuel fill.
- Remove the nut and bolt (1) from the ground strap.
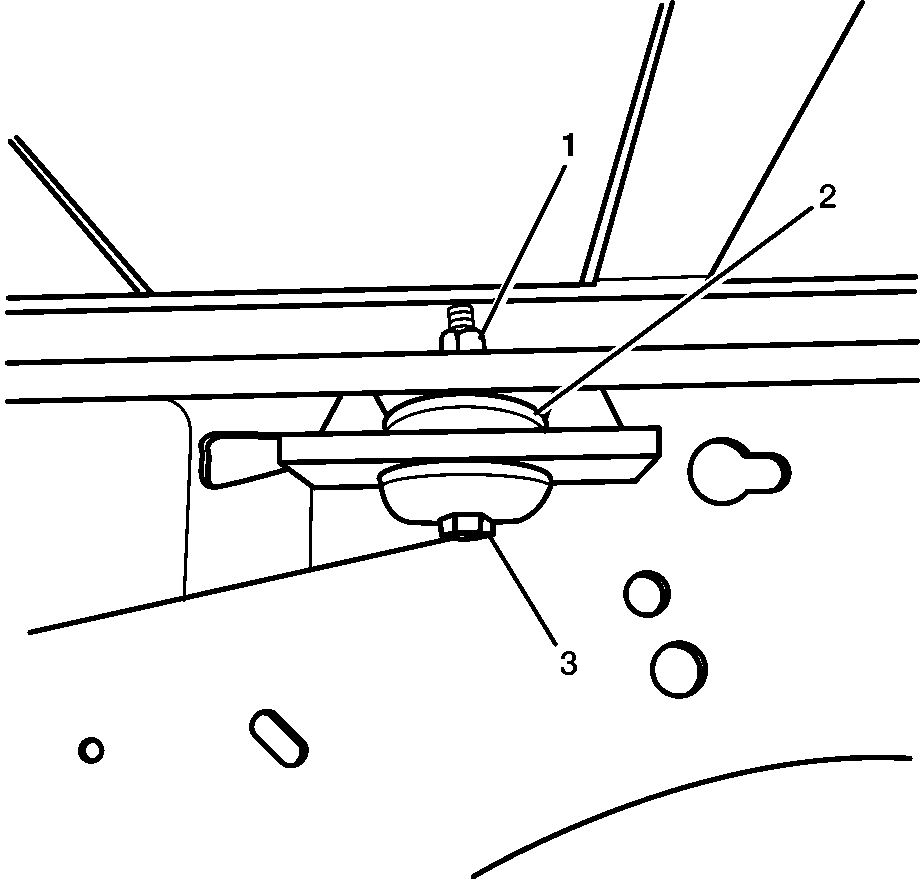
- Remove the upper nut (1), lower mount (2) and lower bolt (3) of the body mount. Repeat this step for the remaining mounts.
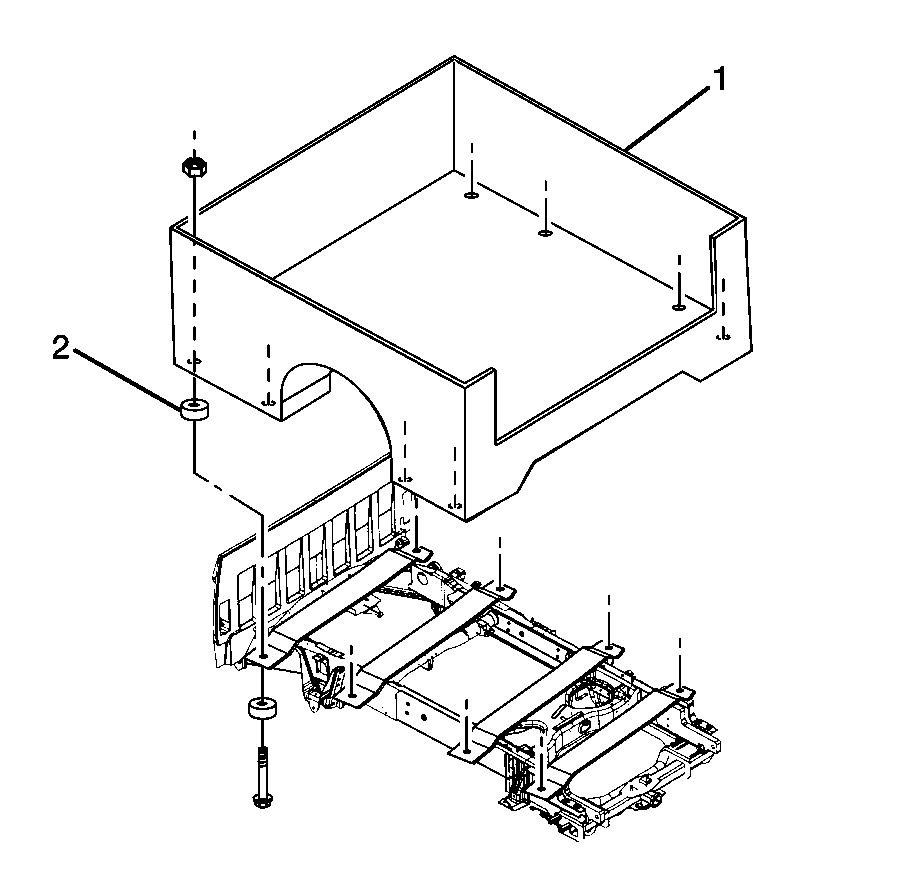
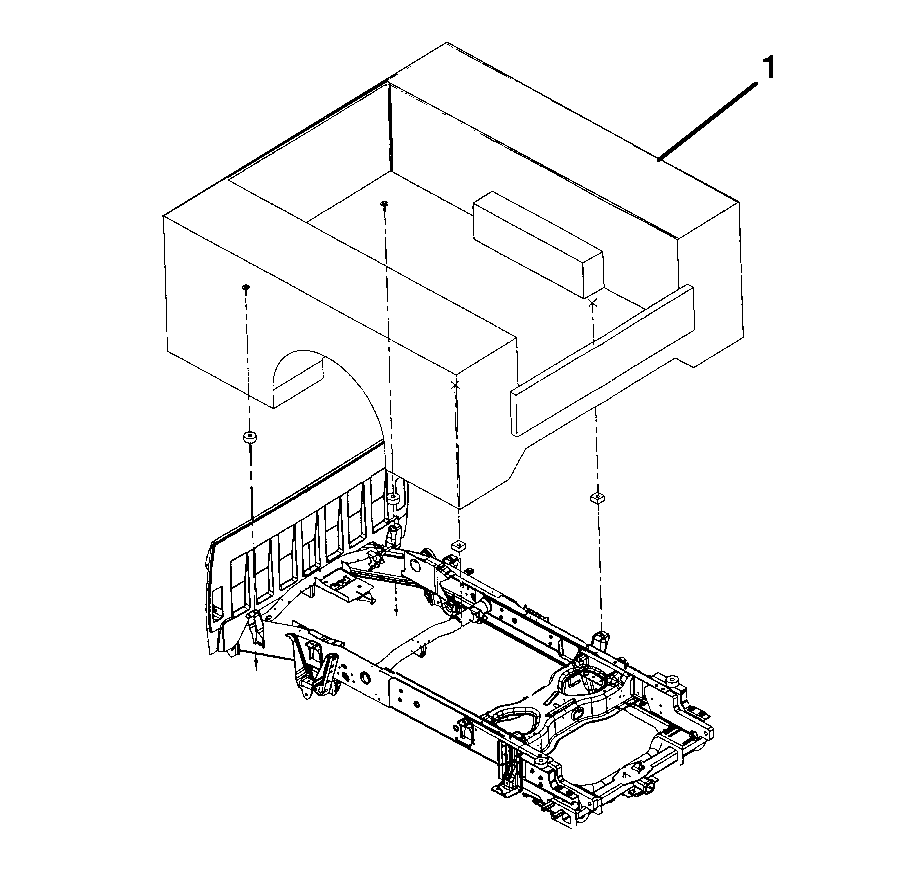
- Lift and remove the ambulance body (1) and upper mount (2) from the vehicle.
Caution: Refer to Battery Disconnect Caution in the Preface section.
Caution: Refer to Vehicle Lifting Caution in the Preface section.
Important: Label all wires and their location for reassembly.


Note routing location of hose for reassembly.
Installation Procedure
- Align the ambulance body (1) and the upper mounts (2) on the frame rails.
- Loosely install the lower bolt (3), lower mount (2) and the nut (1). Repeat this step for the remaining mounts.
- Install the nut and bolt (1) for the ground strap.
- Install the fuel tank filler housing to fuel tank fill pipe bolts (1). Repeat step for other fuel fill.
- Install the outlet hose to the vehicle underbody and engine compartment.
- Install any wiring harness straps or clamps.
- Install the hose to the connection at the bulkhead.
- Install the inlet hose (1) to the coolant booster pump and secure clamp.
- Install the new O-ring onto the A/C tubes. Refer to O-Ring Replacement in Heating Ventilation and Air Conditioning in the 2005 C/K Service Manual.
- Install the A/C hoses tube nuts (2) using a back up wrench on the fitting and tighten the fitting nut.
- Install the bolt (1) and clamp securing the lines to the vehicle.
- Connect the wiring harness for the taillamps. Refer to Taillamp Replacement in Lighting System.
- Connect the wiring harness for the backup lamps (3). Refer to Backup Lamp Replacement in Lighting System.
- Connect the wiring harness for the license plate lamp (2). Refer to License Plate Lamp Replacement .
- Install the wiring going to the body marker lamps and backup alarm.
- Install the wiring harness to the ambulance in the same routing as removed.
- Install the clamps and screws (2).
- Install the wiring to the distribution panels (1) in the same location as removed.
- Install the distribution covers.
- Install the distribution cover shield.
- Lower the vehicle. Refer to Lifting and Jacking the Vehicle in General Information in 2005 C/K Truck Service Manual.
- Connect the battery cables. Refer to Battery Cable Disconnect and Connection in Engine Electrical.
- Fill the cooling system. Refer to Cooling System Draining and Filling in Engine Cooling.
- Evacuate and recharge the A/C system. Refer to Refrigerant Recovery and Recharging in Heating, Ventilation and Air Conditioning of the 2005 C/K Truck Service Manual.
- Leak test the fittings of the component using the J 39400-A .
Notice: Refer to Fastener Notice in the Preface section.
Tighten
Tighten the retaining bolts to the frame rail to 50 N·m (37 lb ft).
Important: Clean any existing corrosion or paint from the body bolt flange area and ground strap end.
Tighten
Tighten the ground strap bolt to 25 N·m (18 lb ft).
Tighten
Tighten the fuel filler bolts to 2.3 N·m (20 lb in).
Important: Install the outlet hose in the same position and routing as removed.
Tighten
Tighten fittings 9 N·m (80 lb in).
Tighten
Tighten cover bolts 0.8 N·m (7 lb in).
Tighten
Tighten shield bolts 0.8 N·m (7 lb in).
Body Replacement Maintenance Body
Removal Procedure
- Disconnect the battery cables. Refer to Battery Cable Disconnect and Connection in Engine Electrical.
- Raise the vehicle. Refer to Lifting and Jacking the Vehicle in General Information in 2005 C/K Truck Service Manual.
- Disconnect the wiring harness for the maintenance body.
- Remove the fuel fill hose bracket bolt (1).
- Remove the fuel tank filler housing to fuel tank fill pipe bolts (1).
- Remove the ground wire bolt (1) for the fuel filler hose.
- Remove the maintenance body fasteners from the body mounts.
- Lift and remove the maintenance body (1) from the chassis.
Caution: Refer to Battery Disconnect Caution in the Preface section.

Caution: Refer to Vehicle Lifting Caution in the Preface section.
Installation Procedure
- Align the maintenance body (1) on the frame rails.
- Loosely install the maintenance body fasteners to the body mounts.
- Install the ground wire bolt (1) for the fuel filler hose.
- Remove the fuel fill hose bracket bolt (1).
- Install the fuel tank filler housing to fuel tank fill pipe bolts (1).
- Connect the wiring harness for the maintenance body.
- Lower the vehicle.
- Connect the battery cables. Refer to Battery Cable Disconnect and Connection in Engine Electrical.
Notice: Refer to Fastener Notice in the Preface section.
Tighten
Tighten the retaining bolts to 80 N·m (59 lb ft).
Important: Clean any existing corrosion or paint from the bolt and wiring mounting area
Tighten
Tighten the ground wire bolt to 9 N·m (80 lb in).
Tighten
Tighten the bracket bolt to 8 N·m (71 lb in).
Tighten
Tighten the fuel filler bolts to 2.3 N·m (20 lb in).
