For 1990-2009 cars only
Removal Procedure
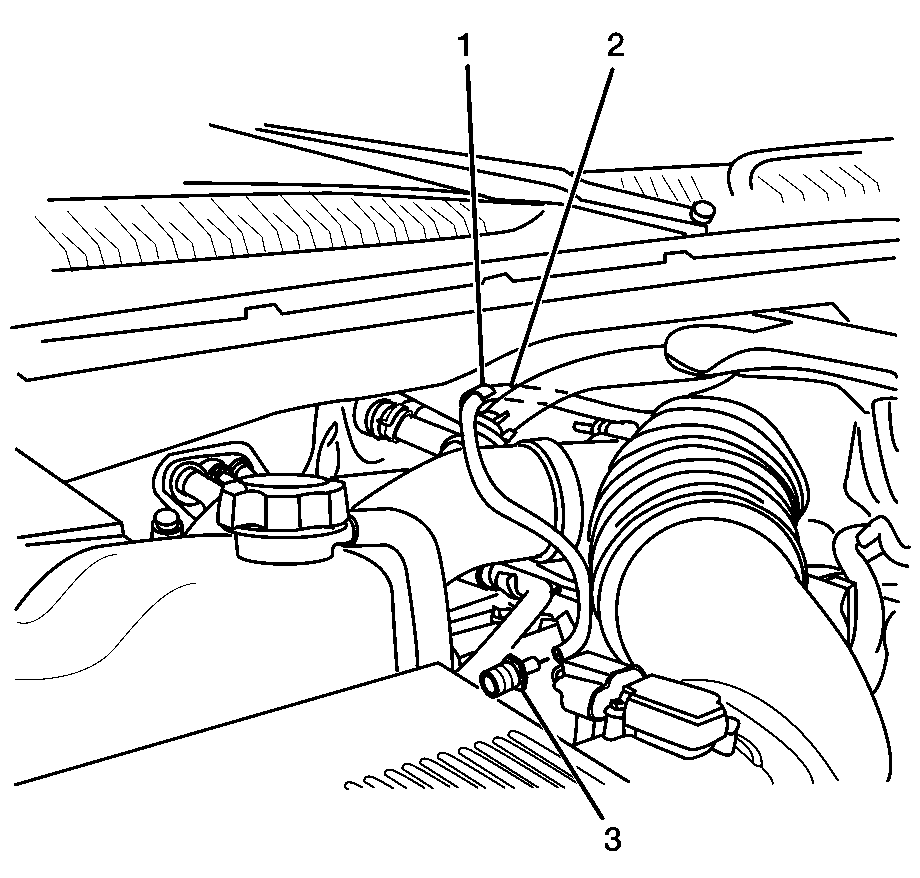
Note routing position prior to removal of line for installation.
- Remove the gage hose (2) from the line adaptor (3).
- Remove the line from the clip (1).
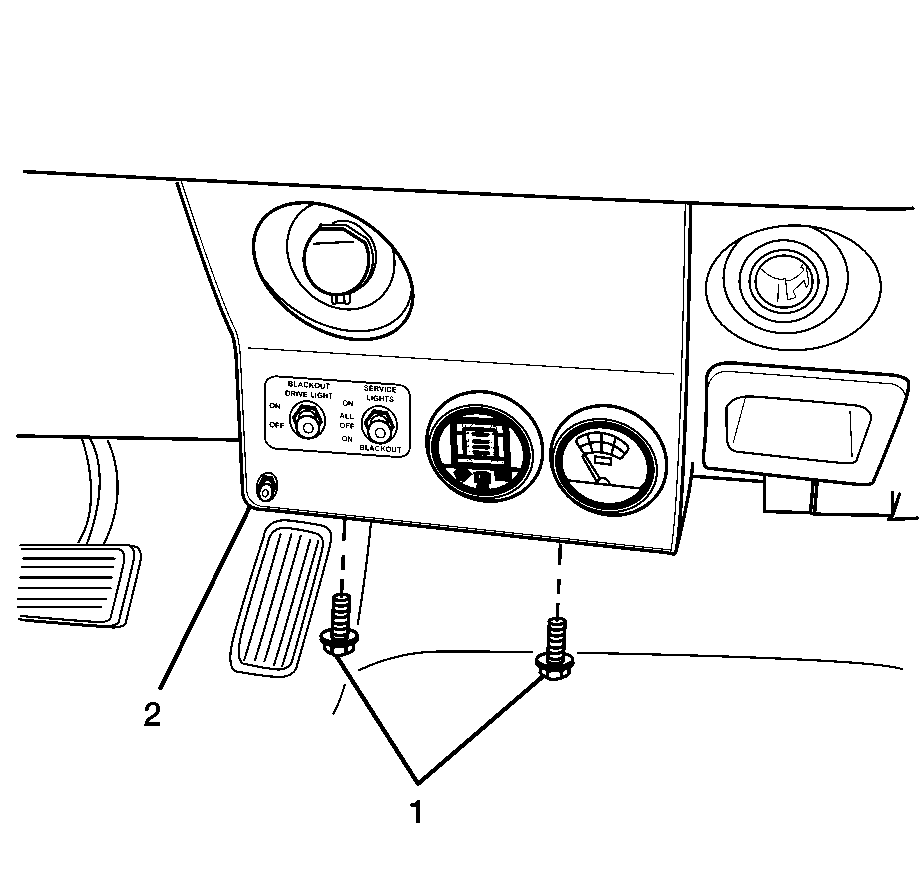
- Remove the lower bolts (1) of the instrument panel (2).
- Pull the I/P cluster bezel out at the portion covering the panel.
- Remove panel enough to gain access to the air line (2).
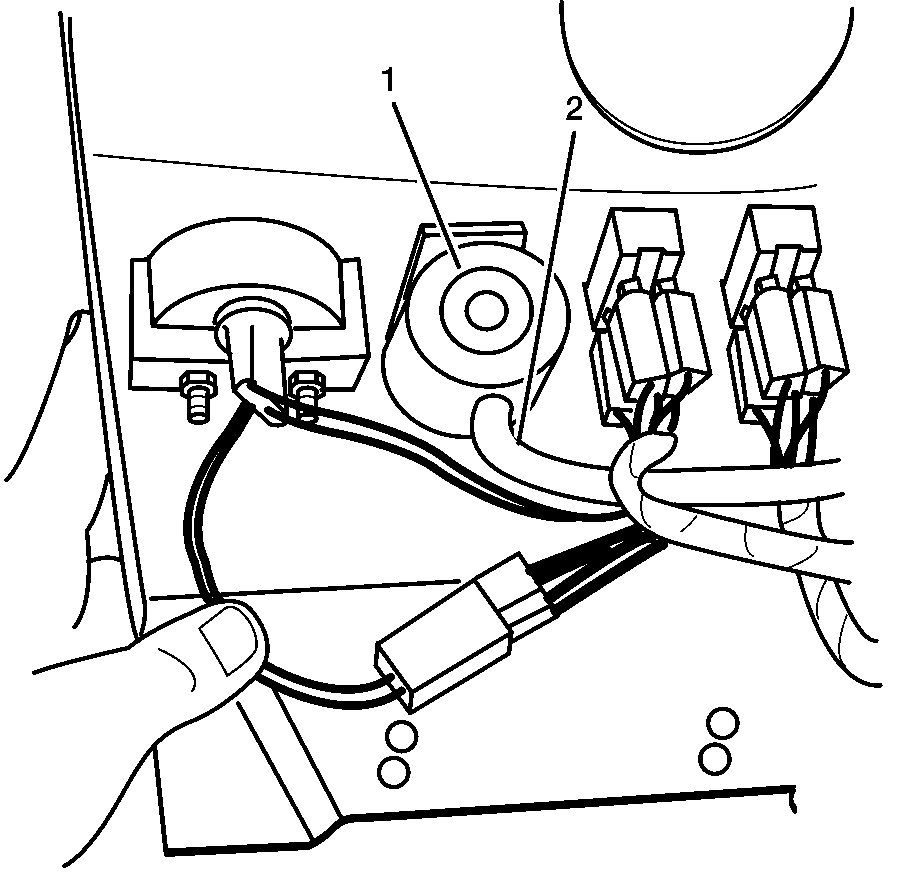
- Remove the air line (2) from the flow gage (1).
- Remove the airflow line grommet (1) from the bulkhead and remove line (2) from the vehicle.

Installation Procedure
- Install the air line (2) with the grommet (1) and secure the grommet into the bulkhead opening.
- Route the air line through the I/P in the same location as removed.
- Install the air line (2) onto the gage (1).
- Install the accessory panel (2) onto the I/P and install bolts (1).
- Push the I/P cluster bezel back in place over the panel.
- Route the air line (2) through the engine compartment as removed.
- Secure line using the clip (1).
- Push the line (2) onto the tube adapter (3).
Notice: Refer to Fastener Notice in the Preface section.
Tighten
Tighten bolts to 8 N·m (71 lb in).
