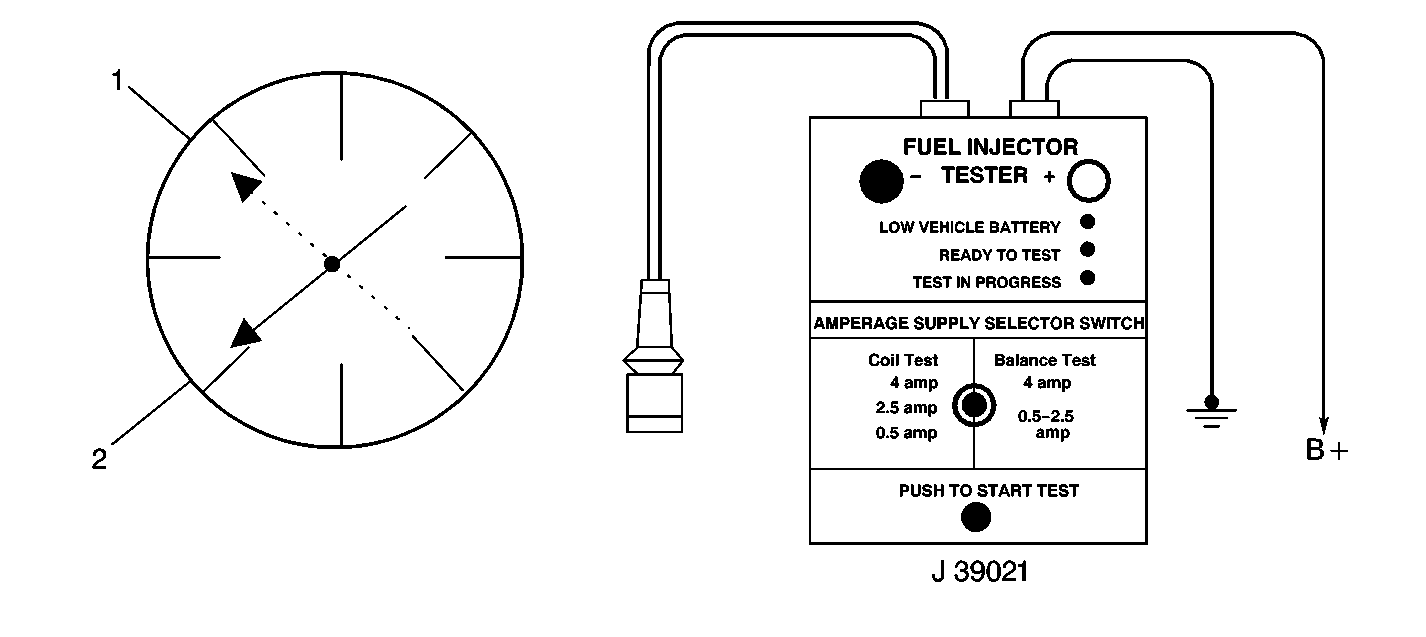
Fuel Injector Balance Test Procedure
Step
| Action
| Value(s)
| Yes
| No
|
1
| Was the Powertrain On-Board Diagnostic (OBD) System Check
performed?
| --
|
Go to Step
2
| Go to
Powertrain On Board Diagnostic (OBD) System Check
|
2
| Was the Fuel Injector
Coil Test performed?
| --
|
Go to Step 3
| Go to
Fuel Injector Solenoid Coil Test
|
3
| Is
the engine coolant temperature above the specified value?
| 94°C (201°F)
|
Go to Step 4
|
Go to Step 5
|
4
| Allow the engine to
cool below the specified value.
Is the action complete?
| 94°C (201°F)
|
Go to Step 5
| --
|
5
|
- Turn ignition OFF.
- Relieve the fuel system pressure. Refer to
Fuel Pressure Relief
.
- Install the fuel pressure gauge.
- Turn ON the ignition leaving the engine OFF.
- Energize the fuel pump using the scan tool.
- Place the bleed hose of the fuel pressure gauge into an approved
gasoline container.
- Bleed the air out of fuel pressure gauge.
- Use a scan tool in order to pressurize the fuel system.
- Wait for the fuel pressure to build.
Important: The fuel pump will run for approximately 2 seconds. Repeat Step
5 as necessary in order to achieve the highest possible fuel pressure.
- Observe the reading on the fuel pressure gauge.
Is the fuel pressure within the specified limits?
| SFI - 379-427 kPa
(55-62 psi)
|
Go to Step
6
| Go to
Fuel System Diagnosis
|
6
| Turn the fuel pump
OFF.
Does the fuel pressure remain constant?
| --
|
Go to Step 7
| Go to
Fuel System Diagnosis
|
7
|
- Turn the ignition OFF.
- Connect the J 39021 Fuel Injector Tester , the J 39021-303 Injector
Harness Connector and the J 39021-210 Injector Switch Box to the fuel meter
body.
- Set the amperage supply selector switch on the fuel injector tester
to the Balance Test 0.5-2.5 amp
position.
- Select the injector to be tested on the Injector Switch Box.
- Turn ON the ignition leaving the engine OFF.
- Use a scan tool in order to pressurize the fuel system.
- Record the fuel pressure indicated by the fuel pressure gauge
after the fuel pressure stabilizes. This is the 1st pressure reading.
- Energize the fuel injector by depressing the Push to Start Test
button on the fuel injector tester.
- Record the fuel pressure indicated by the fuel pressure gauge
after the fuel pressure gauge needle has stopped moving. This is the 2nd pressure
reading.
- Repeat Steps 4 through 9 for each fuel injector.
- Subtract the 2nd pressure reading from the 1st pressure reading
for one fuel injector. The result is the pressure drop value.
- Obtain a pressure drop value for each fuel injector.
- Add all of the individual pressure drop values. This is the total
pressure drop.
- Divide the total pressure drop by the number of fuel injectors.
This is the average pressure drop.
Does any fuel injector have a pressure drop value that is either higher
than the average pressure drop or lower than the average pressure drop by
the specified value?
| 10 kPa (1.5 psi)
|
Go to Step 8
| Go to
Symptoms
|
8
|
Notice: Do not repeat any portion of this test before running the engine in
order to prevent the engine from flooding.
Re-test any fuel injector that does not meet the specification.
Refer to the procedure in Step 7.
Does any fuel injector still have a pressure drop value that is either
higher than the average pressure drop or lower than the average pressure drop
by the specified value?
| 10 kPa (1.5 psi)
|
Go to Step 9
| Go to
Symptoms
|
9
| Replace the malfunctioning fuel
injector(s). Refer to
Fuel Injector Replacement
Is the action complete?
| --
|
Go to Step 10
| --
|
10
|
- Turn ignition OFF.
- Remove test equipment.
- Re-connect all harnesses and fuel lines.
- Install a scan tool.
- Turn ON the ignition leaving the engine OFF.
- Check for fuel leaks
- Using the scan tool, select Clear Information function.
- Start the engine.
- Idle until normal operating temperature is reached.
Are any DTCs displayed that have not been diagnosed?
| --
| Go to the applicable DTC table
| System OK
|
