Camshaft Replacement for Chevrolet Chevy P42 Commercial Chassis 1998
Removal Procedure
Notice: Perform TDC Offset Recovery procedure if the timing chain, timing gears, engine front cover, crankshaft position sensor, crankshaft or other components affecting the timing are replaced.
- Disconnect the negative battery cable.
- Drain the cooling system. Refer to Cooling System Draining and Filling in Engine Cooling.
- Remove the front grille and the parking lamp assembly from the vehicle.
- Remove the air conditioning condenser from the vehicle. Refer to Condenser Replacement in HVAC Systems with A/C -- Manual.
- Remove the radiator from the vehicle. Refer to Radiator Replacement in Engine Cooling.
- Remove the oil pump drive from the engine block. Refer to Oil Pump Drive Replacement .
- Remove the valve lifters from the engine block. Refer to Valve Lifter Replacement .
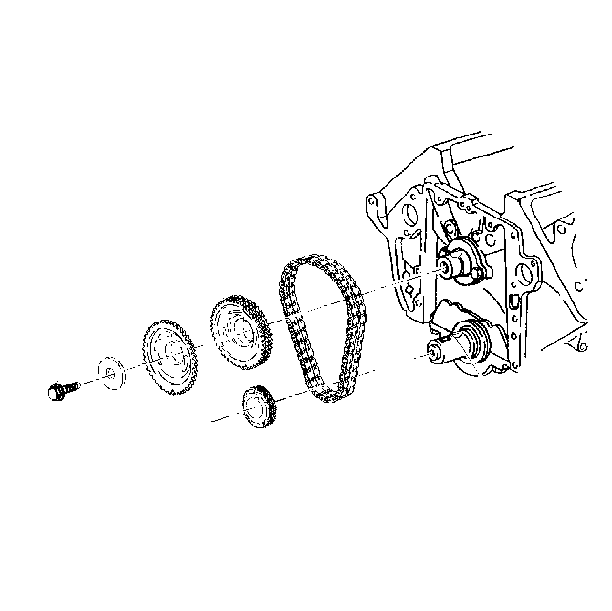
- Remove the timing chain from the engine block. Refer to Timing Chain and Sprocket Replacement .
- Remove the retaining bolts from the camshaft thrust plate. Remove the camshaft thrust plate from the engine block.
- Remove the camshaft thrust plate spacer from the engine block.
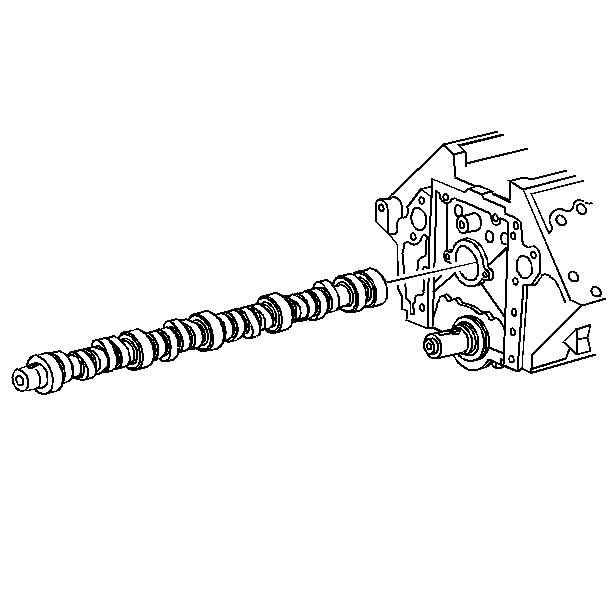
- Remove the camshaft assembly from the engine block.
Caution: Before servicing any electrical component, the ignition and start switch must be in the OFF or LOCK position and all electrical loads must be OFF, unless instructed otherwise in these procedures. If a tool or equipment could easily come in contact with a live exposed electrical terminal, also disconnect the negative battery cable. Failure to follow these precautions may cause personal injury and/or damage to the vehicle or its components.
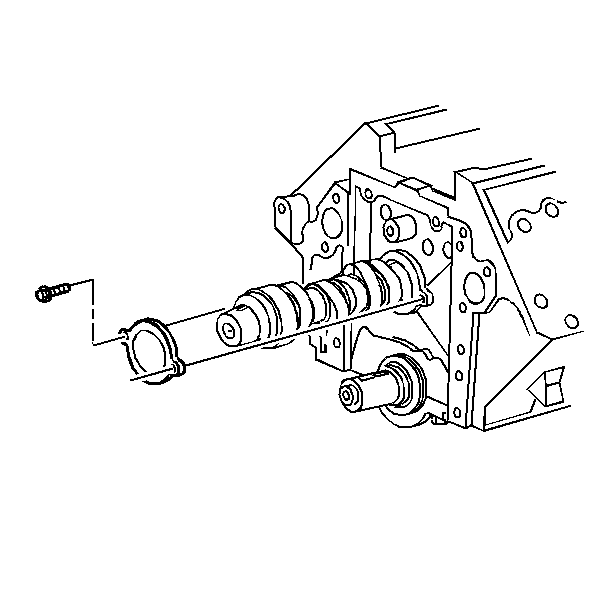
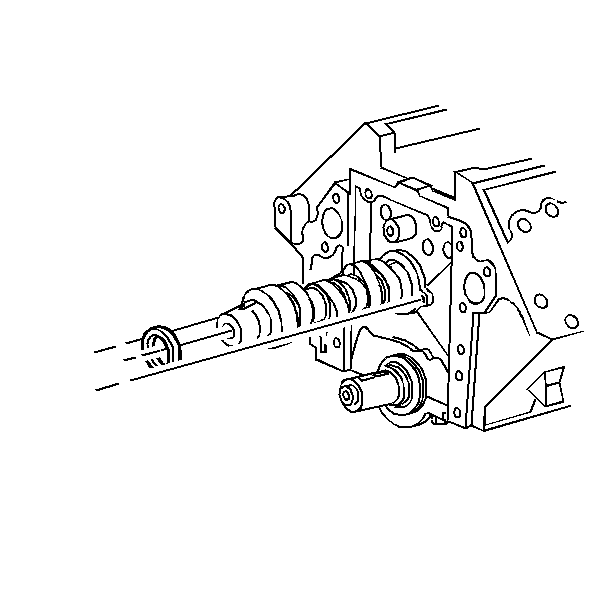
Important: When removing the camshaft from the engine block, use caution to avoid damaging the camshaft bearing.
Installation Procedure
Important: Always replace the following components when installing a new camshaft:
| • | The valve lifters |
| • | The engine oil |
| • | The oil filter |
Important: Use caution to avoid damaging the camshaft bearings when installing the camshaft assembly.
- Install the camshaft sprocket spacer, with the ID chamfer facing the camshaft.
- Install the camshaft.
- Install the camshaft thrust plate to the engine block.
- Install the thrust plate retaining bolts.
- Install the timing chain and the sprockets to the camshaft. Refer to Timing Chain and Sprocket Replacement .
- Install the cylinder heads to the engine block. Refer to the appropriate procedure:
- Install the valve lifters into the engine block. Refer to Valve Lifter Replacement .
- Install the oil pump drive to the engine block. Refer to Oil Pump Drive Replacement .
- Install the radiator to the vehicle. Refer to Radiator Replacement in Engine Cooling.
- Install the air conditioning condenser to the vehicle. Refer to Condenser Replacement in HVAC Systems with A/C -- Manual.
- Install the front grille and the parking lamp assembly to the vehicle.
- Refill the cooling system. Refer to Cooling System Draining and Filling in Engine Cooling.
- Connect the negative battery cable.
- Perform the TDC offset adjustment. Refer to the appropriate procedure in Engine Controls:
| 2.1. | Coat the camshaft lobes with camshaft and valve Prelube GM P/N 1052365. |
| 2.2. | Lubricate the camshaft bearing journals with clean engine oil. |
| 2.3. | Insert the camshaft into the block carefully in order to avoid damage to the camshaft bearings. |
Notice: Use the correct fastener in the correct location. Replacement fasteners must be the correct part number for that application. Fasteners requiring replacement or fasteners requiring the use of thread locking compound or sealant are identified in the service procedure. Do not use paints, lubricants, or corrosion inhibitors on fasteners or fastener joint surfaces unless specified. These coatings affect fastener torque and joint clamping force and may damage the fastener. Use the correct tightening sequence and specifications when installing fasteners in order to avoid damage to parts and systems.
Tighten
Tighten the bolts to 23 N·m (17 lb ft).
| • | TDC Offset Adjustment |
