For 1990-2009 cars only
Use a diaphragm-type pressure bleeder. it must have a rubber diaphragm between the air supply and the brake fluid to prevent air, moisture, oil, and other contaminants from entering the hydraulic system. The specific adapter that is needed depends on the type of master cylinder on the vehicle.
NOTICE: Brake fluid will damage. . .
Tools Required
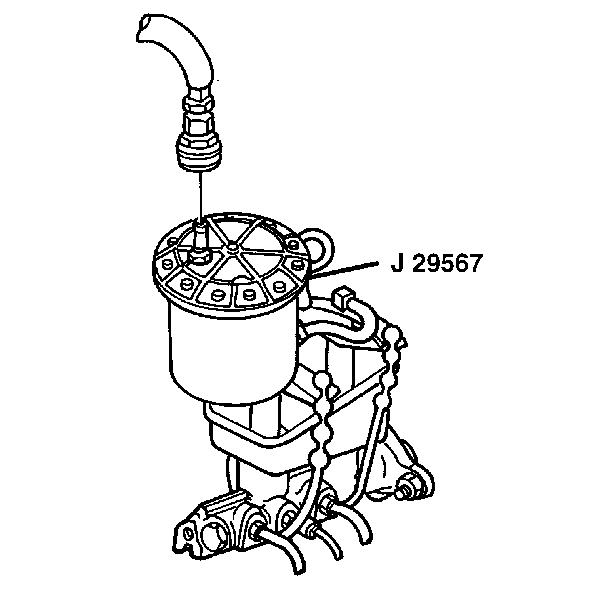
[LINK: J 29567 Brake Bleeder Adapter]
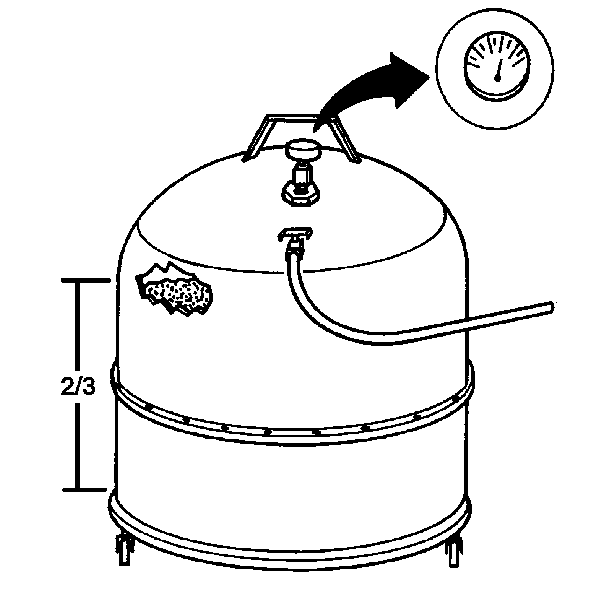
- Fill the pressure tank at least 2/3 full of brake fluid.
- Charge the pressure tank to 140-170 kPa (20-25 psi).
- Bleed each wheel in the following sequence:
- Connect the hose from the pressure tank to the bleeder adapter at the master cylinder.
- Open the valve on the pressure tank.
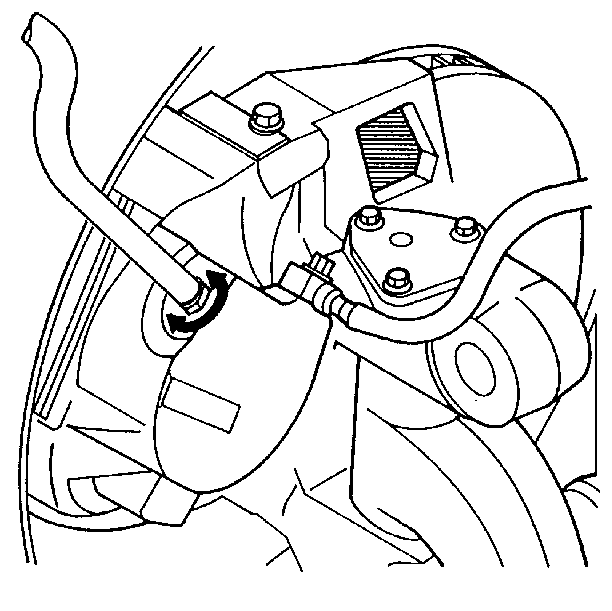
- Attach a hose to the bleeder screw on the brake caliper.
- Open the bleeder screw at least 3/4 of a turn and allow the fluid to flow until no air is seen in the fluid.
- Close the bleeder screw.
- Repeat this bleeding procedure at all wheels.
- Check the brake pedal for sponginess.
- Disconnect the hose from the bleeder adapter.
- Fill the master cylinder to the correct level.
Bleed the bleeder system each time brake fluid is added.
| 3.1. | Right rear. |
| 3.2. | Left rear. |
| 3.3. | Right front. |
| 3.4. | Left front. |

Immerse the opposite end of the hose into a container that is partially filled with clean brake fluid.
Repeat the bleeding procedure if the brake pedal is spongy.
