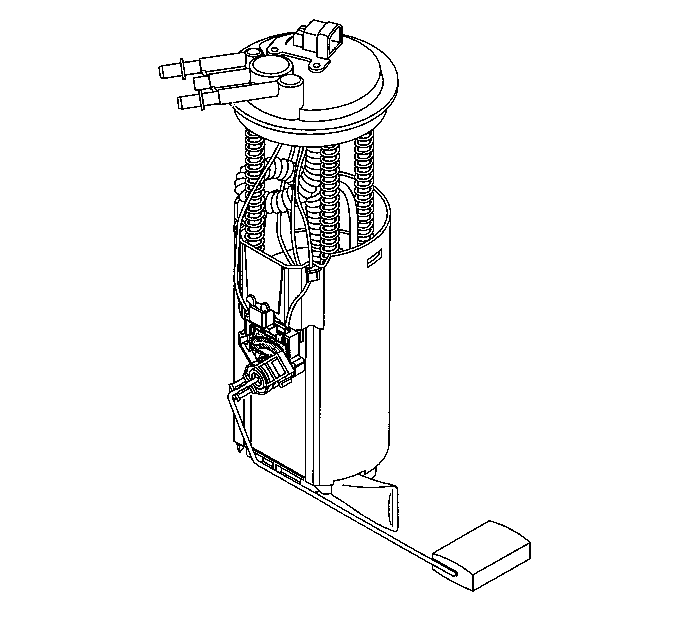
Removal Procedure
- Disconnect the negative battery cable.
- Relieve the fuel system pressure. Refer to Fuel Pressure Relief Procedure
- Drain the fuel tank. Refer to Fuel Tank Draining Procedure
.
- Remove the fuel tank and sender assembly. Refer to Fuel Tank Replacement (4 Door Utility)
.
Disassemble Procedure
- Note the position of the fuel pump strainer on the fuel pump.
- Support the pump with one hand and grasp the strainer with the
other hand.
- Rotate the strainer in one direction and pull off the pump. Discard
the strainer after inspection.
- Inspect the fuel pump strainer. Replace the strainer if it has
contaminates and clean the fuel tank.
- Inspect the fuel pump inlet for dirt and debris. If found, replace
the pump.
Assemble Procedure
Notice: Do not fold or twist the strainer when installing the sending unit.
This action restricts fuel flow.
- Push on the outer edge of the ferrule until fully seated.
- Support the pump with one hand and position the new pump strainer
on pump in the same position as noted during disassembly.
Installation Procedure

- Install a new seal, sending assembly and lock ring. Make sure the lock
ring alignment holes fit over the tabs on the tank.
- Install the cam lock assembly. Turn the cam lock clockwise to
lock it.
- Install the fuel tank. Refer to Fuel Tank Replacement (4 Door Utility)
.
- Add fuel removed from the tank.
- Connect the negative battery cable.
- Check for fuel leaks.
| 6.1. | Turn the ignition ON for 2 seconds. |
| 6.2. | Turn OFF the ignition for 10 seconds. |
| 6.3. | Again, turn the ignition switch to the ON position. |
| 6.4. | Check for fuel leaks. |

