TAILGATE WINDOW OPERATION DIAGNOSIS BLAZER/JIMMY

MODELS: 1984-1987 C/K-R/V JIMMY/BLAZER
Some 1984-1987 C/K - R/V Jimmy/Blazer models equipped with a power tail gate window may experience a tailgate window that operates slowly or does not fully return to its upward or closed position. This condition can be caused by misalignment of the rear tailgate window, cable, guide pins, sash assembly, regulator assembly or the tailgate. The following checks and adjustments should be used to correct this condition.
1. Battery Condition - Cheek the charge of the battery while the engine is running and also when the engine is stopped. A low battery charge can cause the window to move slowly.
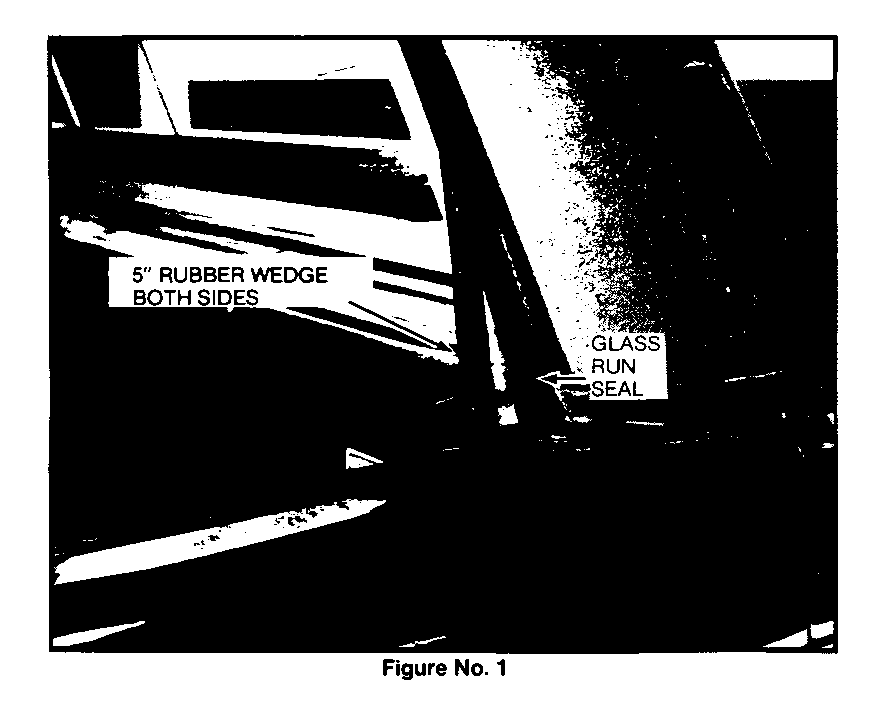
2. Rubber Wedge - Some models have a rubber wedge (5" long) installed at the base of the roof housing between the window track and the glass run seal. If equipped wiith the wedge, remove it and glue the glass run seal to the roof using weather strip adhesive (P/N 12345097) or equiva- lent (see Figure No. 1).
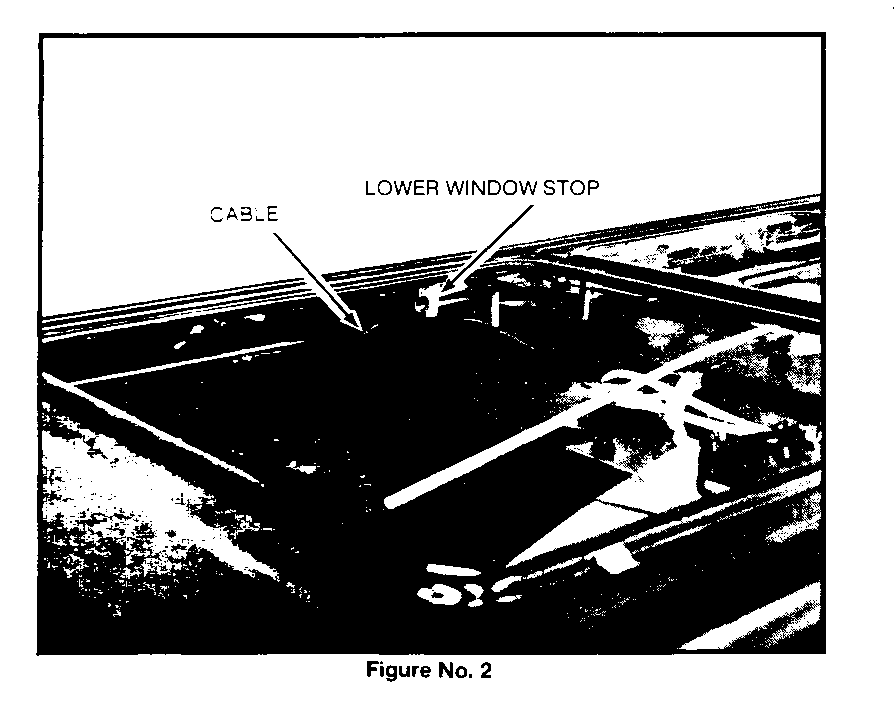
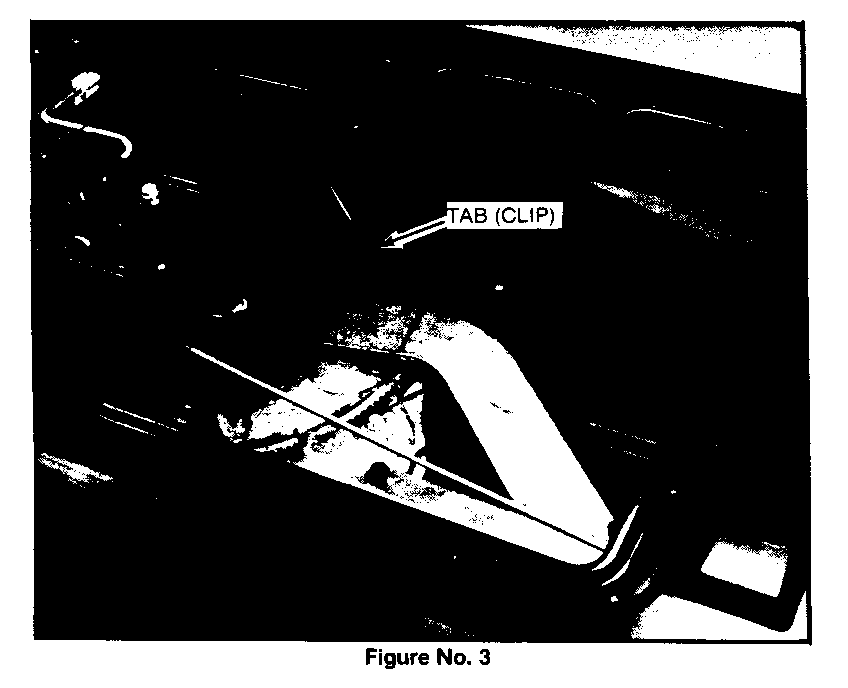
3. Cable Assembly - The cable assembly should not interfere wiith the movement of the window. The cable should run below the lower window stop and through the holding tab (clip) mounted on the tailgate (see Figures No. 2 and 3). Any tight bends in the cable will reduce the power transferred to the regulator assembly.
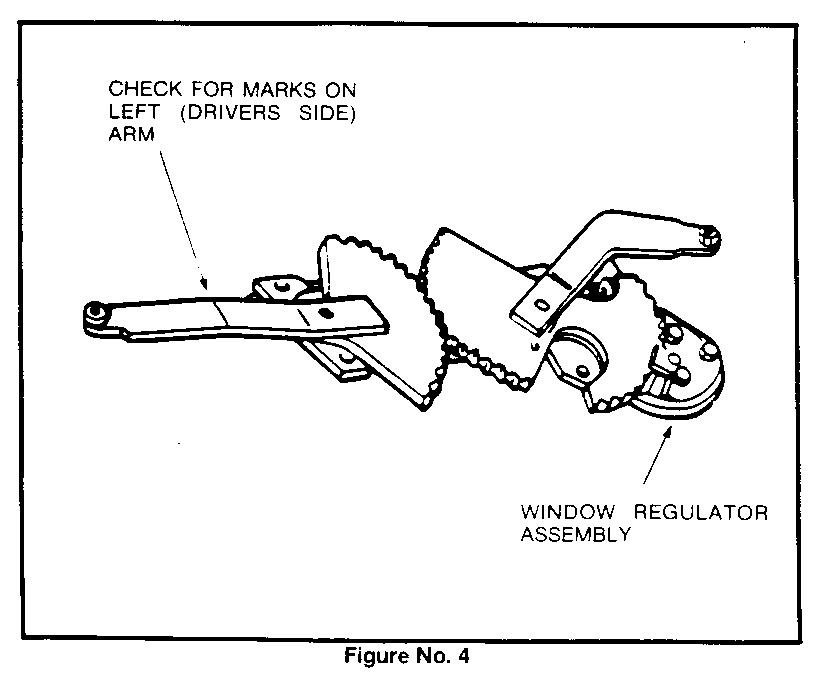
4. Window Regulator - Cheek window regulator and left regulator arm for any binding (see Figure No. 4). Marks will be visible where the regulator arm and sash have contacted. If left regulator arm is catching on the window sash. carefully bend regulator arm as required. Check the meshing of the regulator teeth. An overly tight meshing will cause unnecessary binding and the regulator assembly should be replaced.
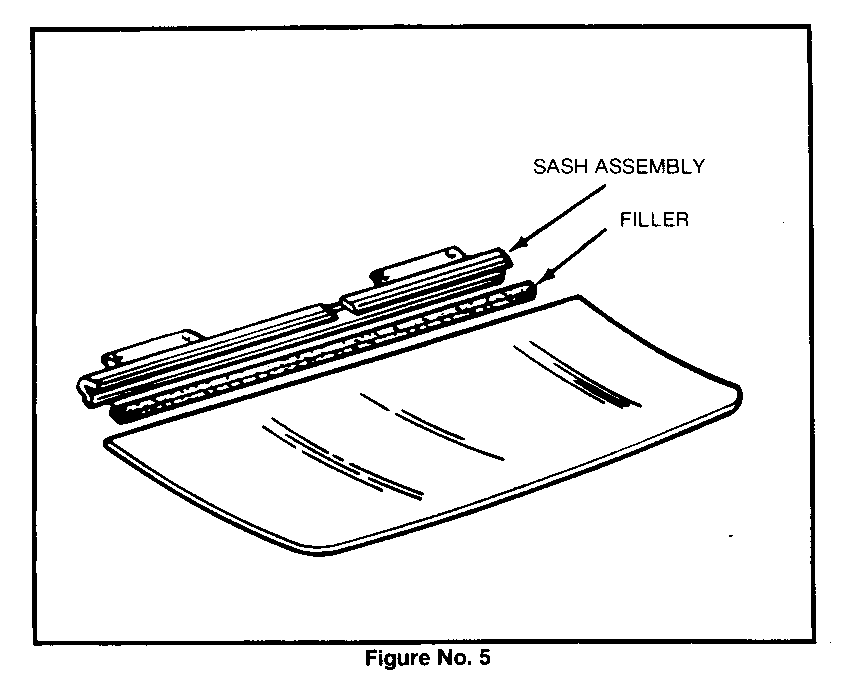
5. Window and Sash Assembly - Remove glass and sash assembly for inspection. This can be accomplished by removing the four bolts that connect the sash assembly to the regulator arms.
- If sash is not centered on glass, remove the sash and center it on the glass assembly (see Figure No. 5).
- Remove any excess sash filler at the ends of the sash assembly.
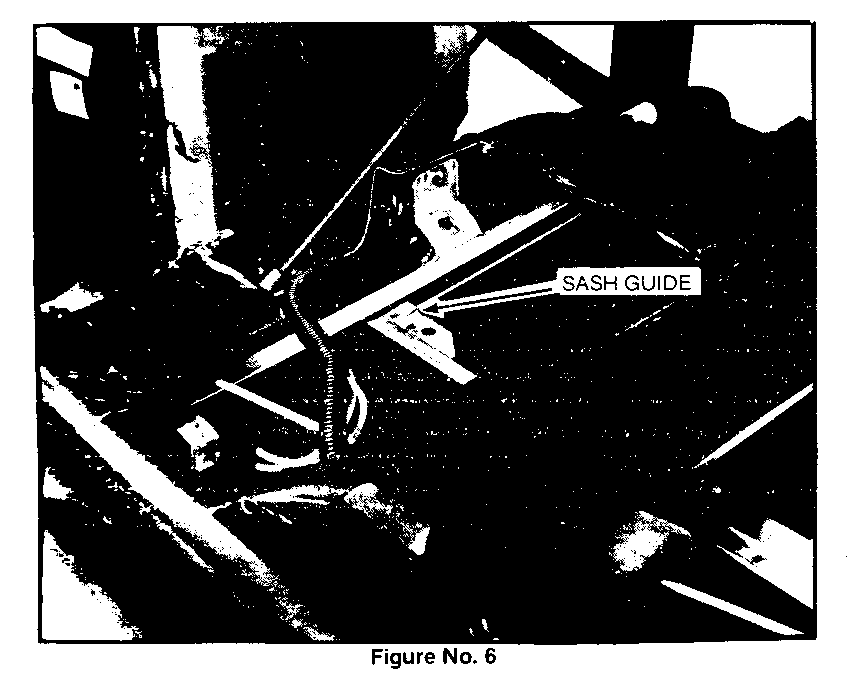
- Check the angle of the sash channel guides to ensure they follow the curvature of the glass and sash channel (see Figure No. 6). If adjustment is required, carefully bend the guides to the same curvaWre as the glass and sash channel. Ensure that the guides travel through the channel smoothly.
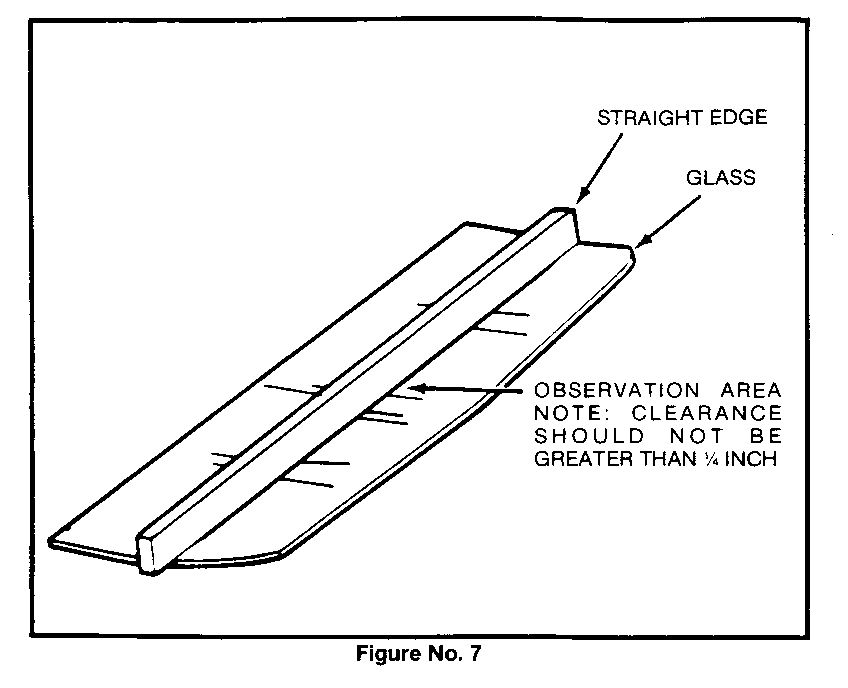
6. Tailgate Glass - Check curvature of the tailgate window. Lay straight edge on glass and observe the clearance between straight edge and glass at center of window (see Figure No. 7). If clearance exceeds 1 /4 of an inch replace the glass.
7. Ground Strap - Install a ground strap (12 gauge wire) from the tailgate to the frame. Attachment can be made from one of the tailgate hinge bolts to one of the holes in the rear frame crossmember. Use a star washer with each bolt to provide good metal to metal contact. Make sure the ground strap does not become kinked when the tailgate is closed. Ensure that the motor is grounded properly to the tailgate. This can be accomplished by replacing one of the window regulator motor bolts with a zinc chromate coated bolt, P/N 9419004.
8. Tailgate Fit To Body - Check flushness and height of tailgate to the rear quarter panels. If the top of the tail gate is misaligned (in or out), loosen the strikers on the inside of the rear quarter panels and adjust accordingly. If alignment (in or out) is off on the bottom of the tailgate, loosen hinges and adjust as required.
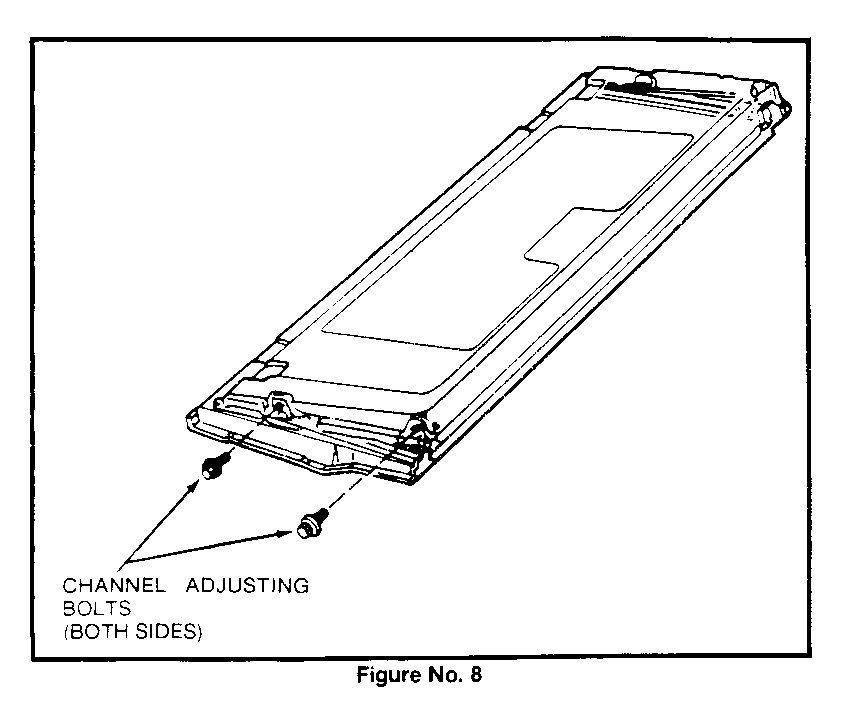
9. Window Centering - Loosen the two channel adjusting bolts on each side of the tailgate (see Figure No. 8). Close tailgate and run window up and down. Open tailgate enough to access the adjustment bolts and tighten.
General Motors bulletins are intended for use by professional technicians, not a "do-it-yourselfer". They are written to inform those technicians of conditions that may occur on some vehicles, or to provide information that could assist in the proper service of a vehicle. Properly trained technicians have the equipment, tools, safety instructions and know-how to do a job properly and safely. If a condition is described, do not assume that the bulletin applies to your vehicle, or that your vehicle will have that condition. See a General Motors dealer servicing your brand of General Motors vehicle for information on whether your vehicle may benefit from the information.
