Special Tools
| • | DT-48734
Extension Housing Bushing Replacer |
| • | J 45380
Transfer Case Rear Bushing Remover and Installer |
Removal Procedure

- Raise and suitably support the vehicle. Refer to
Lifting and Jacking the Vehicle
.
- Remove the transfer case shield. Refer to
Transfer Case Shield Replacement
.
- Remove the rear propeller shaft.
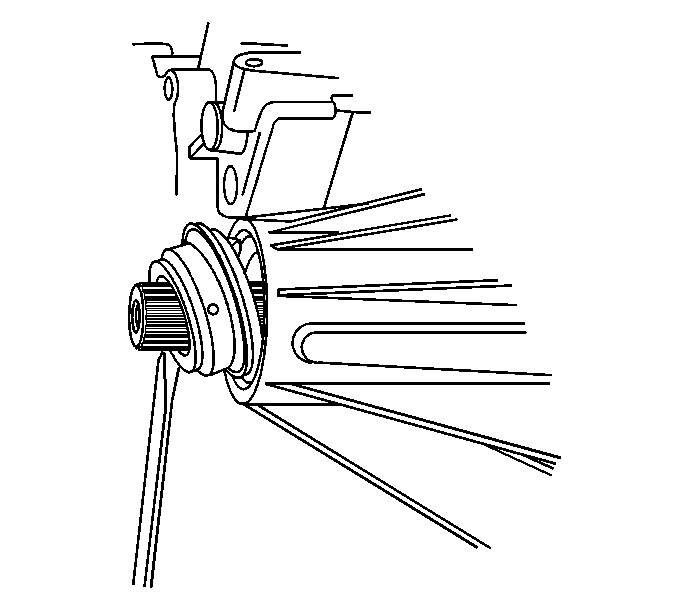
- Remove the transfer case rear output shaft seal.

- Inspect the rear output shaft bushing for scoring or wear.
- Remove the rear output shaft bushings, if required.
For the light duty transfer use
J 45380
, for the heavy duty transfer case use
DT-48734
.
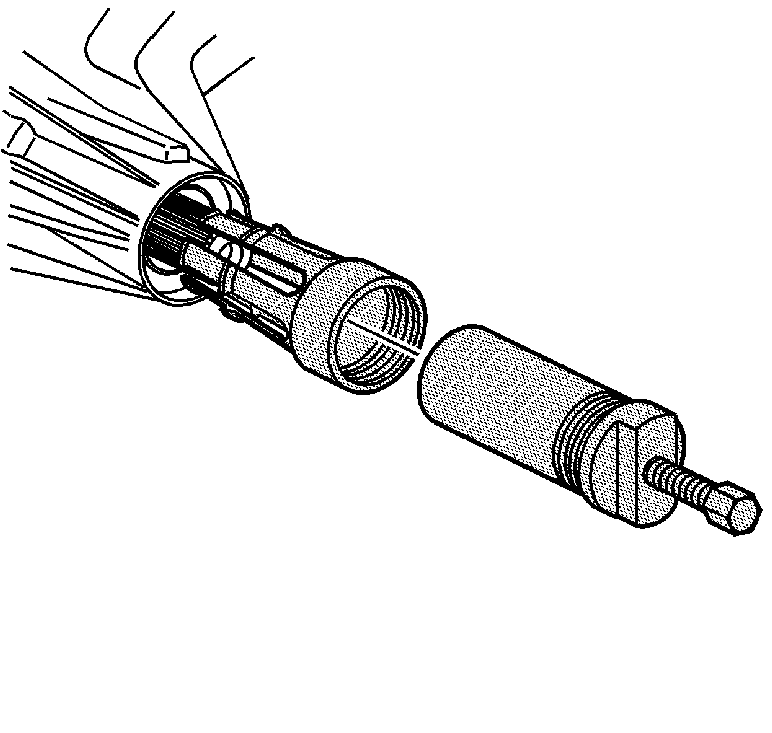
| 6.1. | Install the finger section of the tool in front of the bushing. |
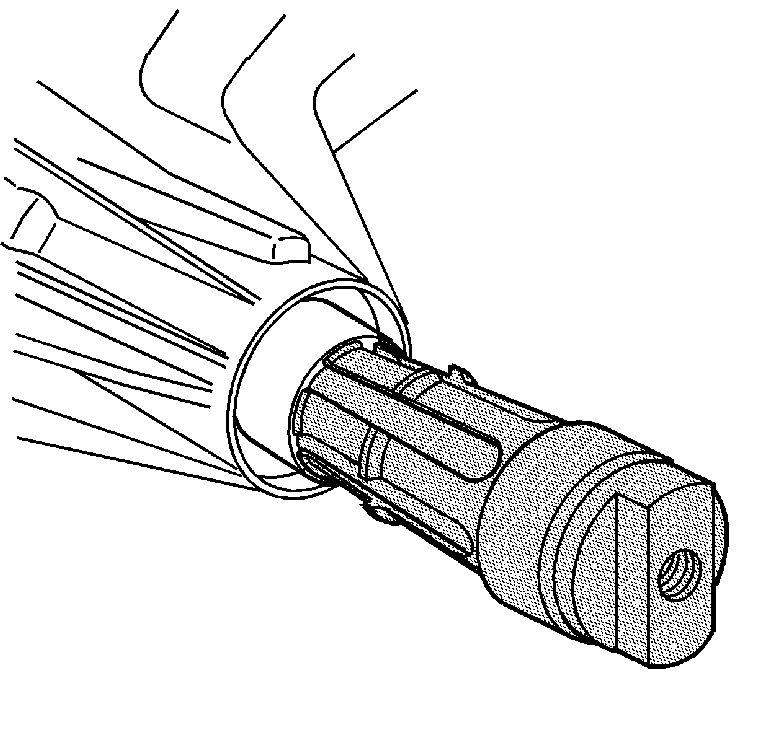
| 6.2. | Install the tube and forcing screw to the finger section. Ensure the forcing screw is backed out. |
| 6.3. | Using a wrench on the forcing screw, remove the rear output shaft bushing. |
Installation Procedure

- Install a NEW rear output shaft bushing. .
For the light duty transfer use
J 45380
,
for the heavy duty transfer case use
DT-48734
.
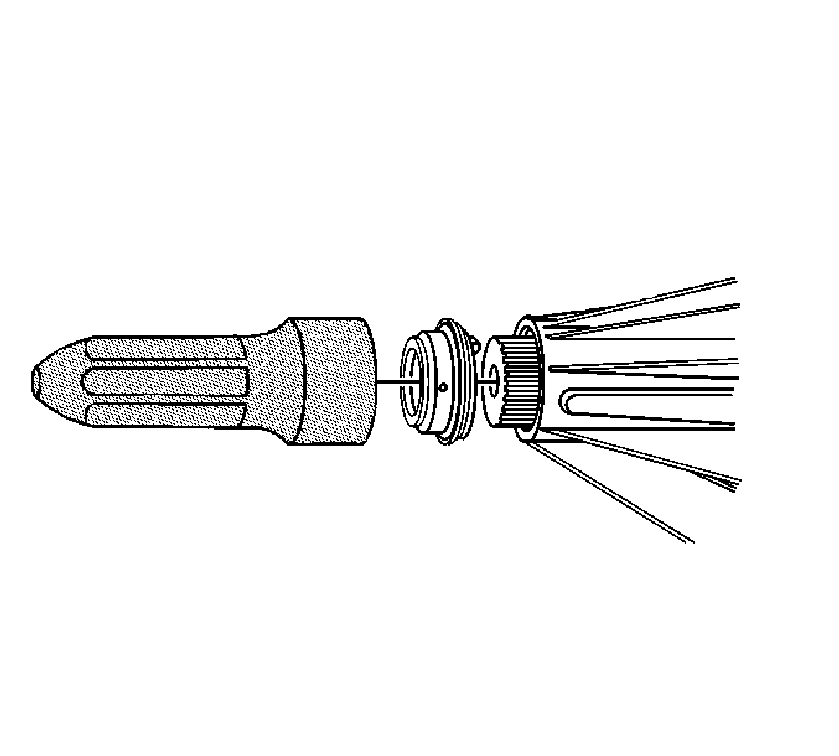
| 1.1. | Install the bushing on the finger section of the tool . |
| 1.2. | Install the finger section to the main body of the tool . |
| 1.3. | Position the bushing and tool to the case. |
| 1.4. | Install the bushing using a hammer and the tool. |

- Position the rear output shaft seal in the transfer case.
- Install the transfer case rear output shaft seal.
For the light duty transfer use
J 37668-A
, or for the heavy duty transfer case use
DT-48021
.
- Install the rear propeller shaft.
- Check the transfer case fluid level. Refer to
Transfer Case Fluid Replacement
.
- Install the transfer case shield. Refer to
Transfer Case Fluid Replacement
.
- Lower the vehicle.


