For 1990-2009 cars only
OnStar Button Assembly Replacement Utility
Removal Procedure
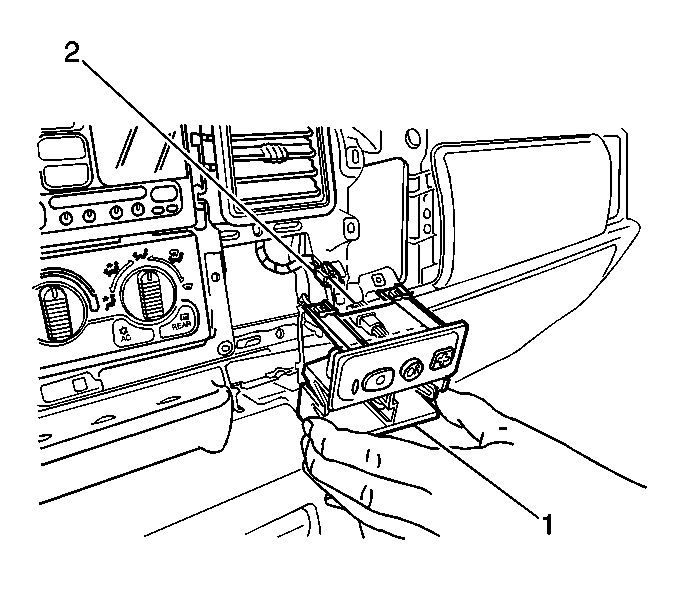
- Remove the dash trim bezel. Refer to Instrument Panel Cluster Trim Plate Bezel Replacement in Instrument Panel, Gages and Console.
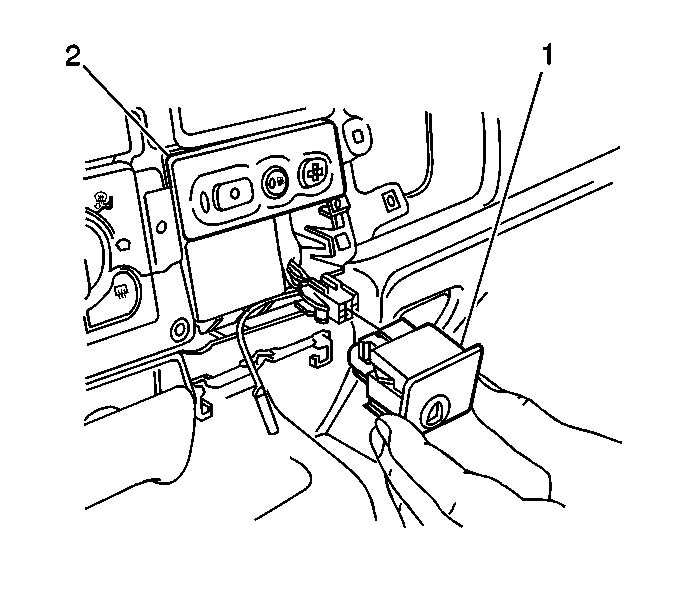
- Grasp the OnStar® button assembly (1) and pull outwards to remove the button assembly.
- Disconnect the electrical connectors for the switches.
- Remove the switches and the button assembly (2).


Installation Procedure
- Reconnect the switches and button assembly (2) electrical connectors.
- Install the OnStar® button assembly (1) into the dash.
- Reinstall the dash trim bezel. Refer to Instrument Panel Cluster Trim Plate Bezel Replacement in Instrument Panel, Gages and Console.


OnStar Button Assembly Replacement Pick-Up

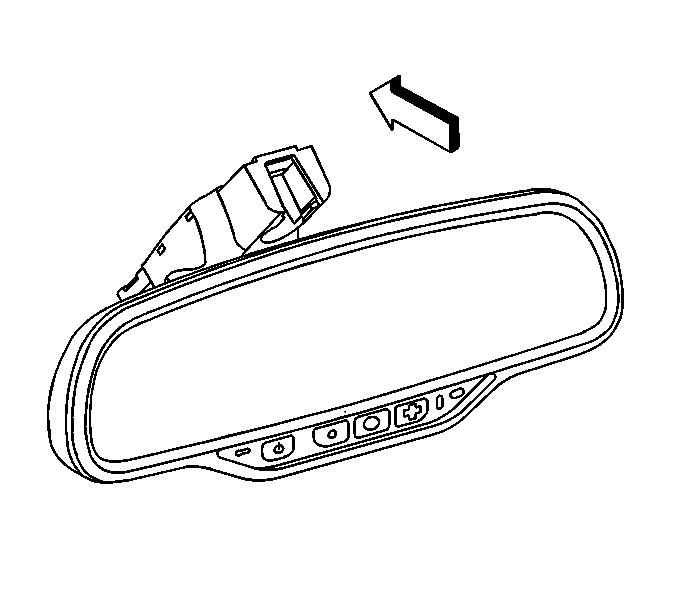
The OnStar button assembly located on the rearview mirror can not be serviced separately from the rearview mirror. Should the button assembly need to be replaced, the entire rearview mirror assembly will need to be replaced. Refer to Inside Rearview Mirror Replacement in Stationary Windows.
