For 1990-2009 cars only
Removal Procedure
Caution: Refer to Approved Equipment for Collision Repair Caution in the Preface section.

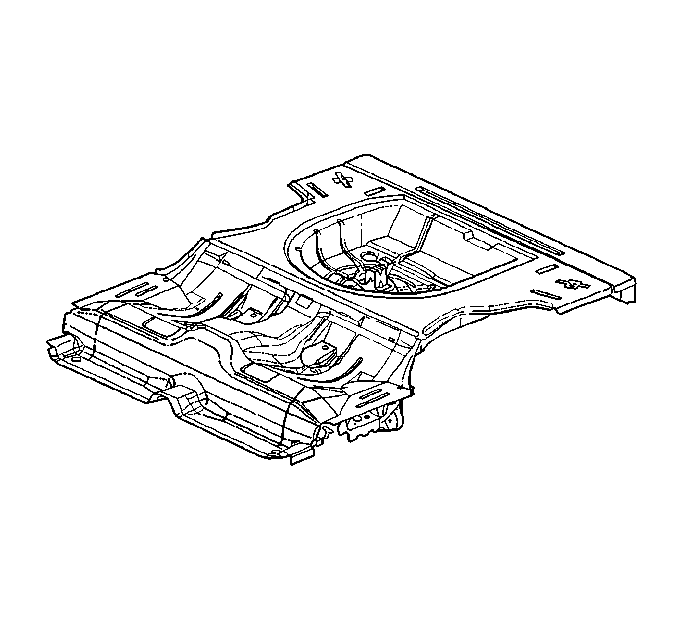
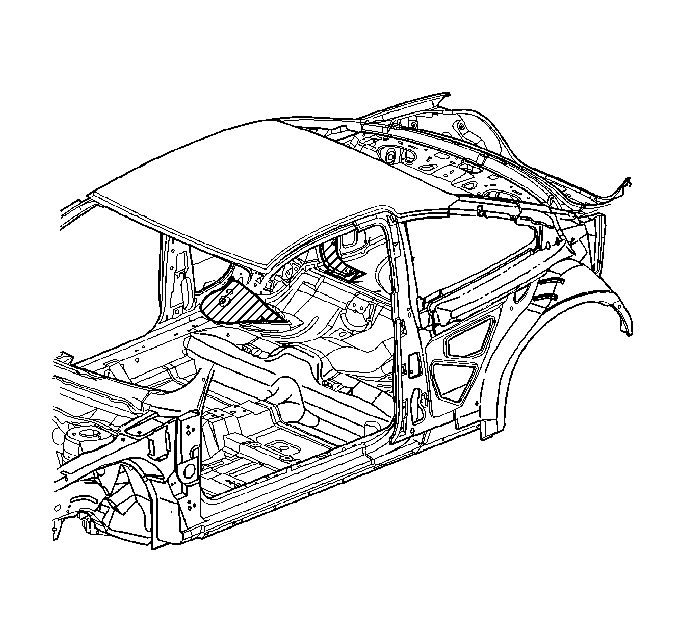
The floor pan assembly comes complete including the lower rails, crossbar, rear floor extension and various other components.
Important: One side inner and outer wheelhouses must be removed when replacing the entire sub-assembly.
- Remove all related panel and components.
- Visually inspect and restore as much of the damage as possible.
- Remove the following as necessary:
- Remove 4 inner reinforcements (2-dynamic side impact braces-front; 2-floor pan braces-rear) to access the spot welds.
| • | Sealers |
| • | Sound deadeners |
| • | Anti-corrosion materials |

Installation Procedure
- Prepare all mating surfaces as necessary.
- Drill 8 mm (5/16 in) plug weld holes along all mating surfaces except where the floor mates to each wheelhouse.
- Apply 3M Weld-Thru Coating P/N 05916 or equivalent to all mating surfaces.
- Position the service floorpan and check for proper fit. Use three-dimensional measuring equipment.
- Clean and prepare all welded surfaces.
- Apply an approved anti-corrosion primer to all bare metal surfaces.
- Apply body sealers and finish as necessary.
- Install all related components previously removed for access.

Important: If the posititon of the original plug weld holes can not be determined, space plug weld holes every 40 mm (1 ½ in) apart.
Important: Prior to refinishing, refer to GM 4901MD-99 Refinish Manual for recommended products. Do not combine paint systems. Refer to paint manufacturer's recommendations. For further information or to order manual, please call 1-800-269-5100.
