For 1990-2009 cars only
Removal Procedure
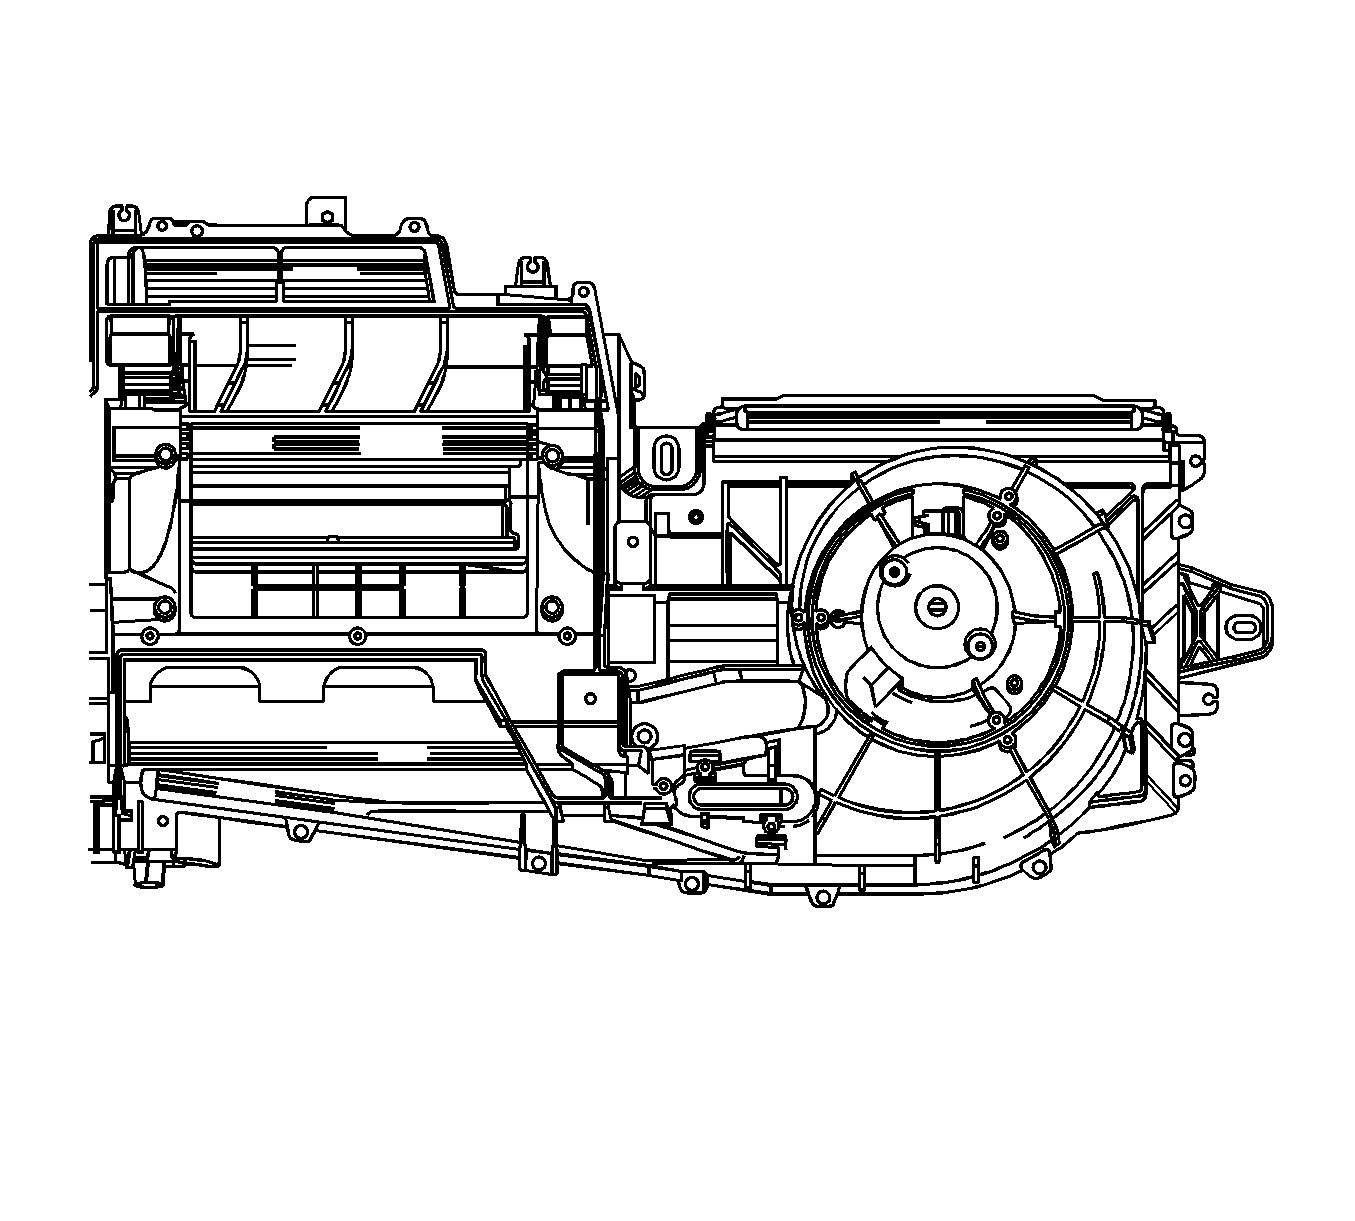
- Remove the HVAC module from the vehicle. Refer to HVAC Module Assembly Replacement .
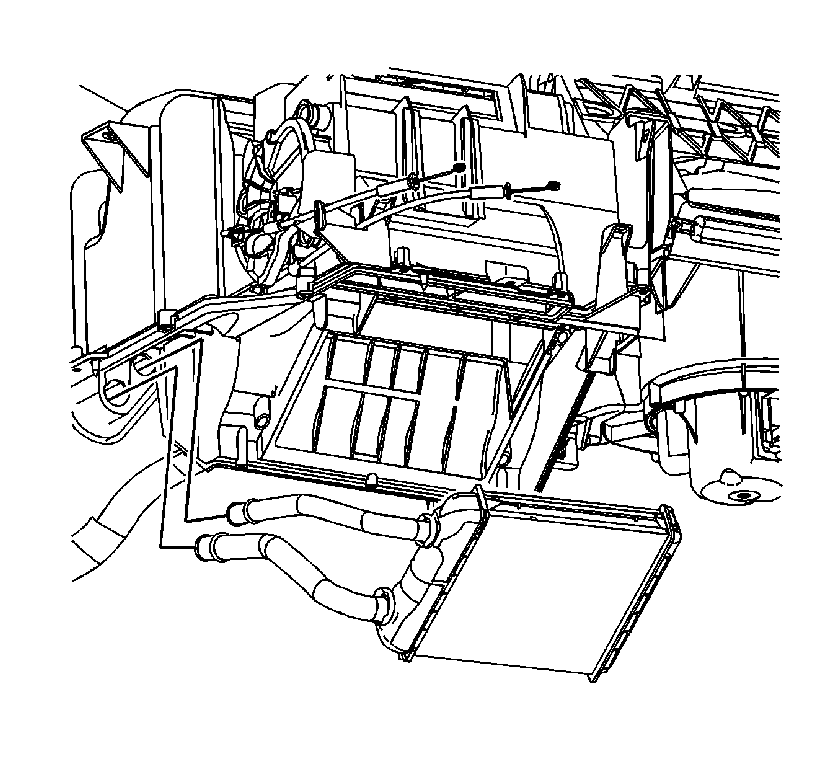
- Remove the heat stakes from the heater core cover using a small chisel and remove the cover.
- Remove the heater core.
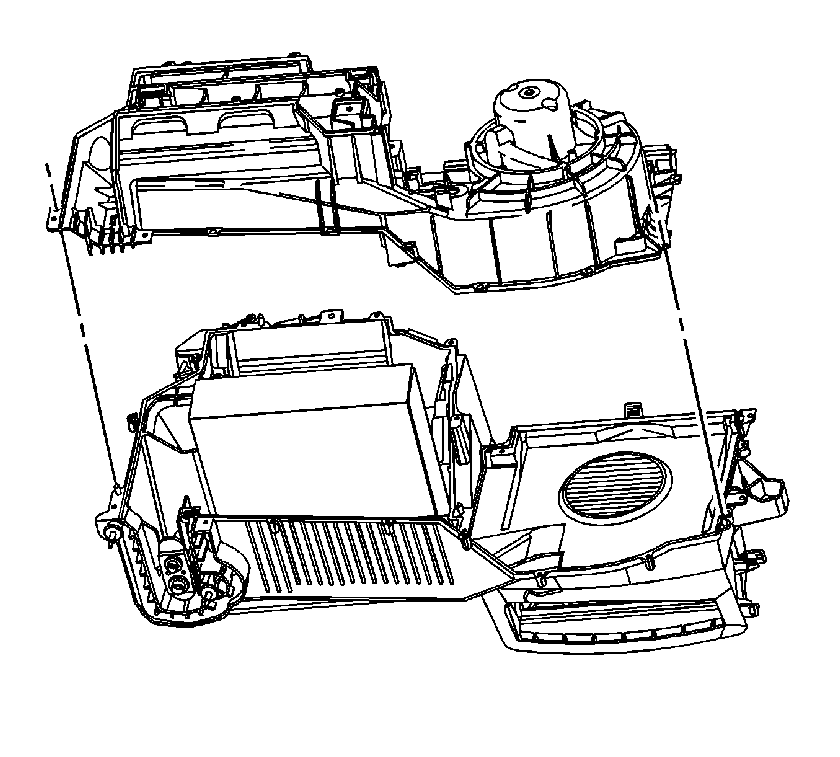
- Remove the heat stakes that secure the lower HVAC case to the HVAC module using a small chisel.
- Unsnap and open the passenger compartment filter door.
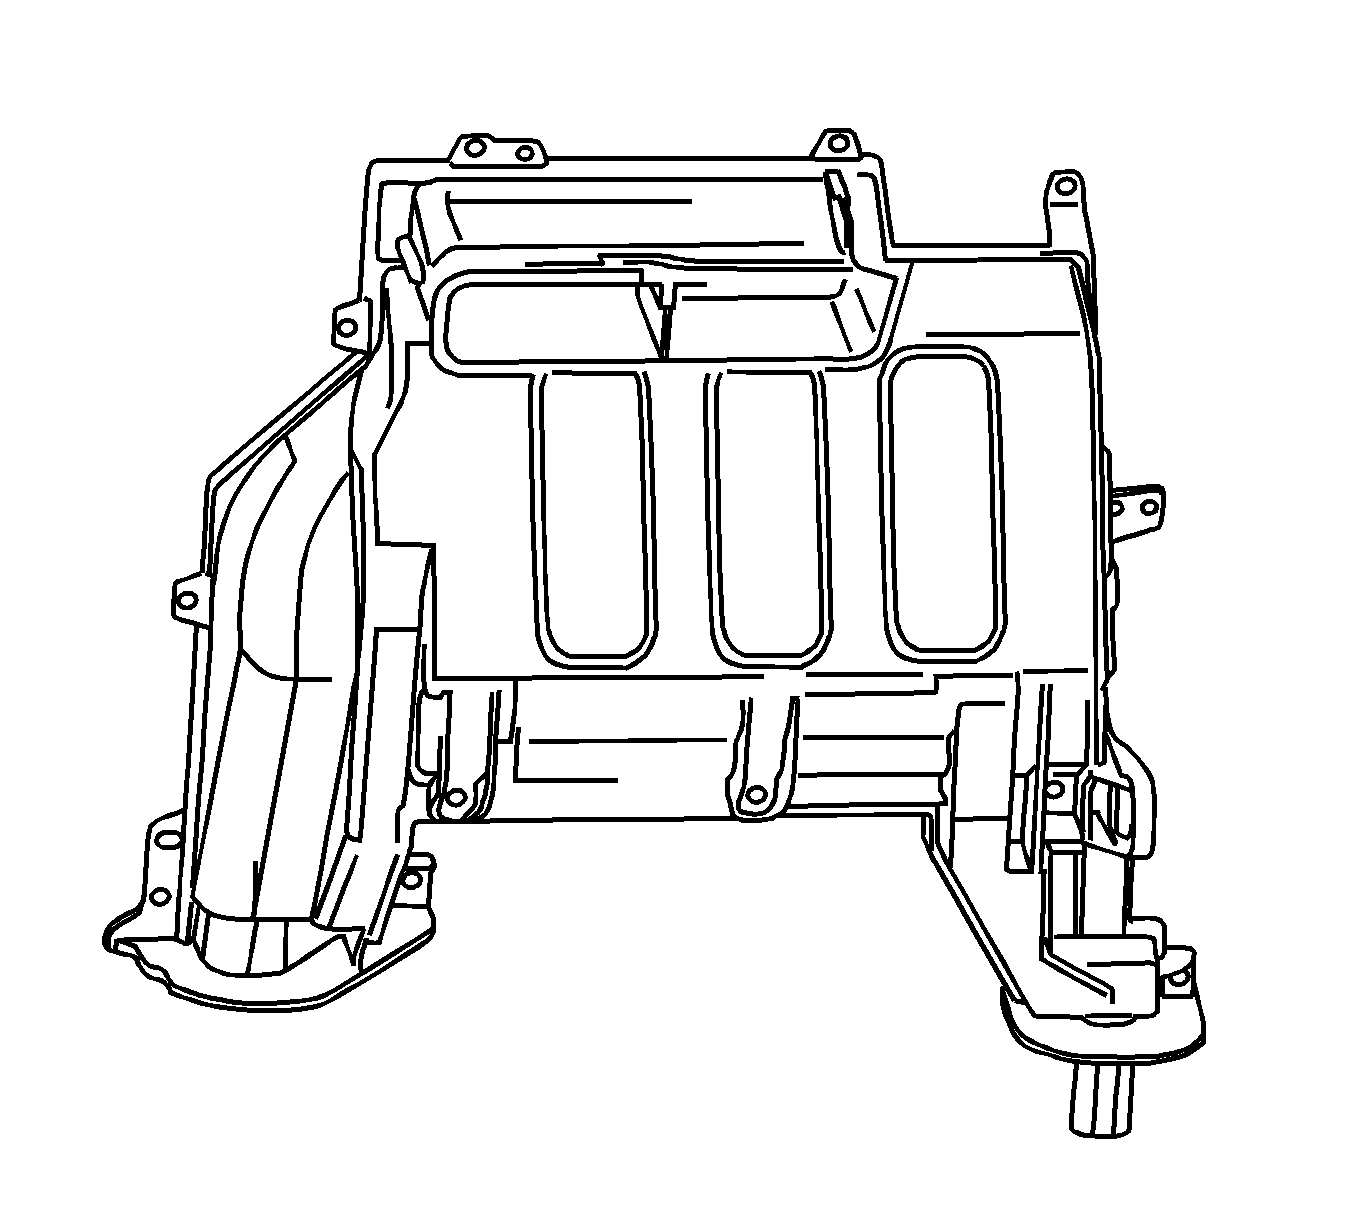
- Remove the lower HVAC case.
- Remove the evaporator core.
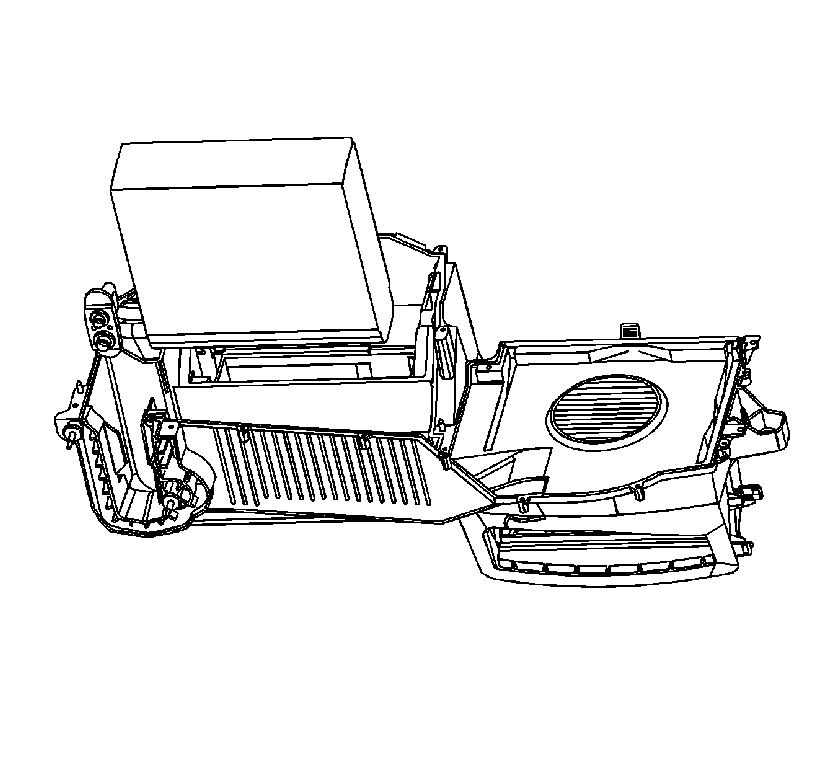
Installation Procedure
- Install the evaporator core into the HVAC module assembly.
- Install the lower HVAC case.
- Install the lower HVAC case screws.
- Close and secure the passenger compartment filter door.
- Inspect the foam heater core seal on the lower HVAC case. If damaged, replace using Kent Industries adhesive black foam tape P/N 46480 or equivalent.
- Install the heater core into the HVAC module.
- Install the heater core cover and the screws.
- Replace the drain tube seal.
- Replace the front of dash seal.
- Inspect and replace the following HVAC module seals if damaged:
- Install the HVAC module in the vehicle. Refer to HVAC Module Assembly Replacement .
- Evacuate and charge the refrigerant system. Refer to Refrigerant Recovery and Recharging .
- Leak test the fittings using J 39400-A .
- Fill the cooling system. Refer to Cooling System Draining and Filling .


Important: Verify that the orifice plate is correctly positioned in the HVAC module. Verify that the lower HVAC case is properly positioned and is fully seated on the HVAC module. Install new screws that will secure the lower HVAC case to the HVAC module.
Notice: Refer to Fastener Notice in the Preface section.
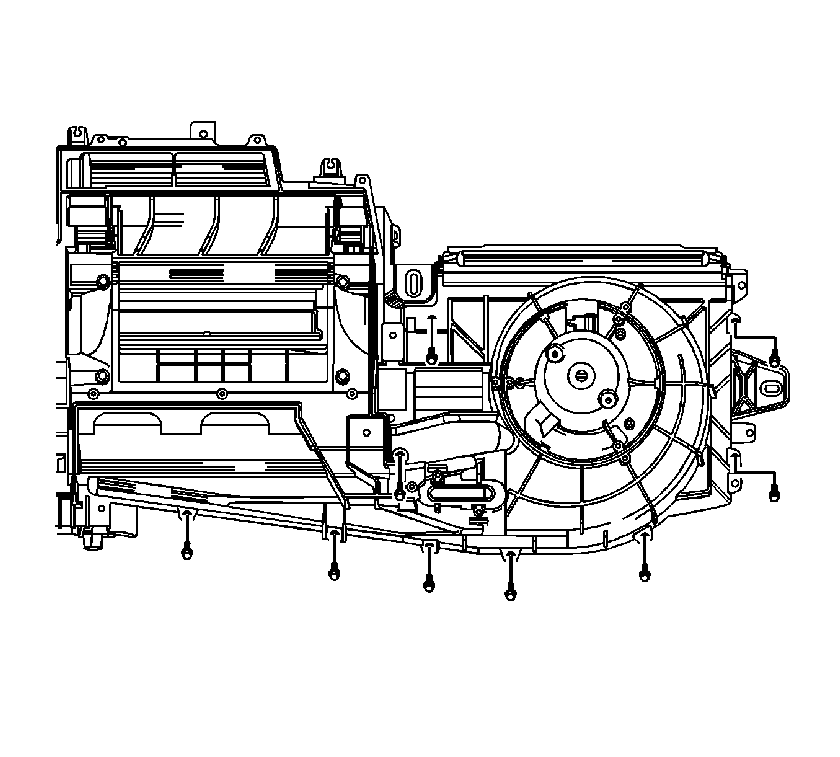
Tighten
Tighten the screws to 1.8 N·m (16 lb in).

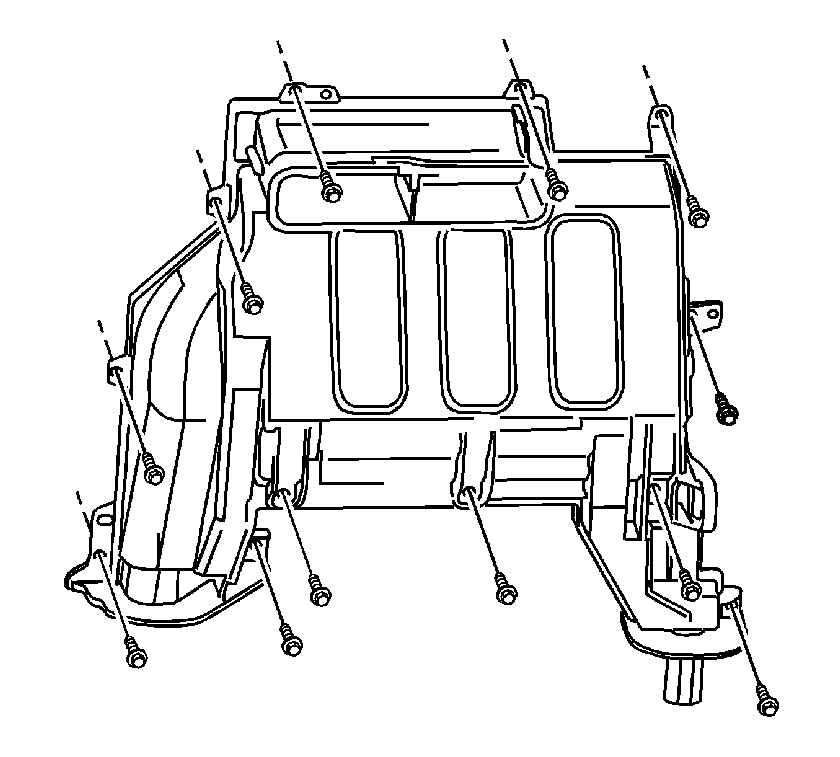
Important: Verify that the heater core cover is properly positioned and is fully seated on the HVAC module. Install new screws that secure the heater core cover to the HVAC module.
Tighten
Tighten the screws to 1.8 N·m (16 lb in).
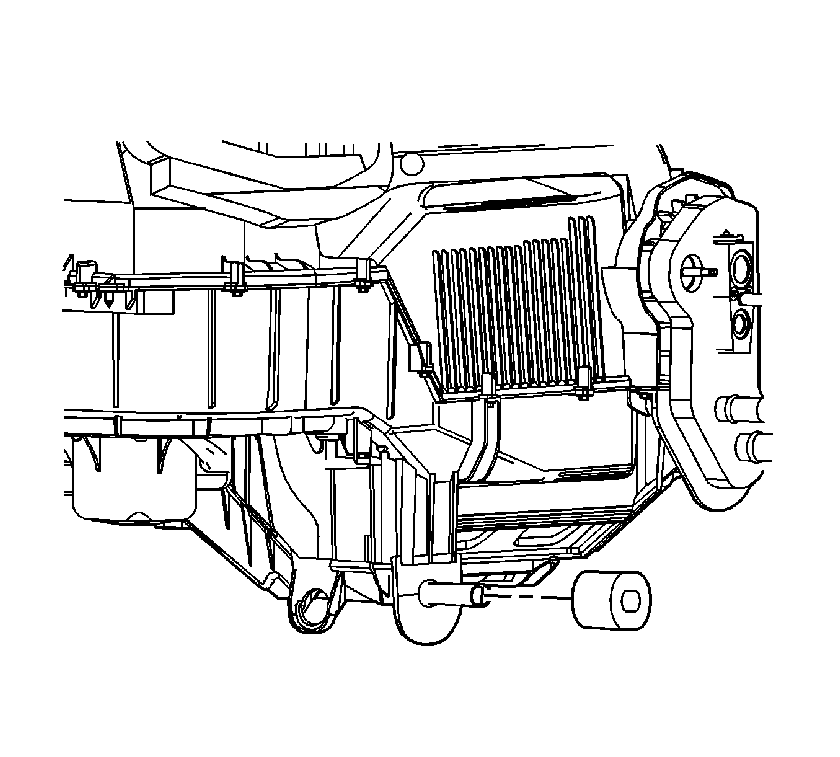
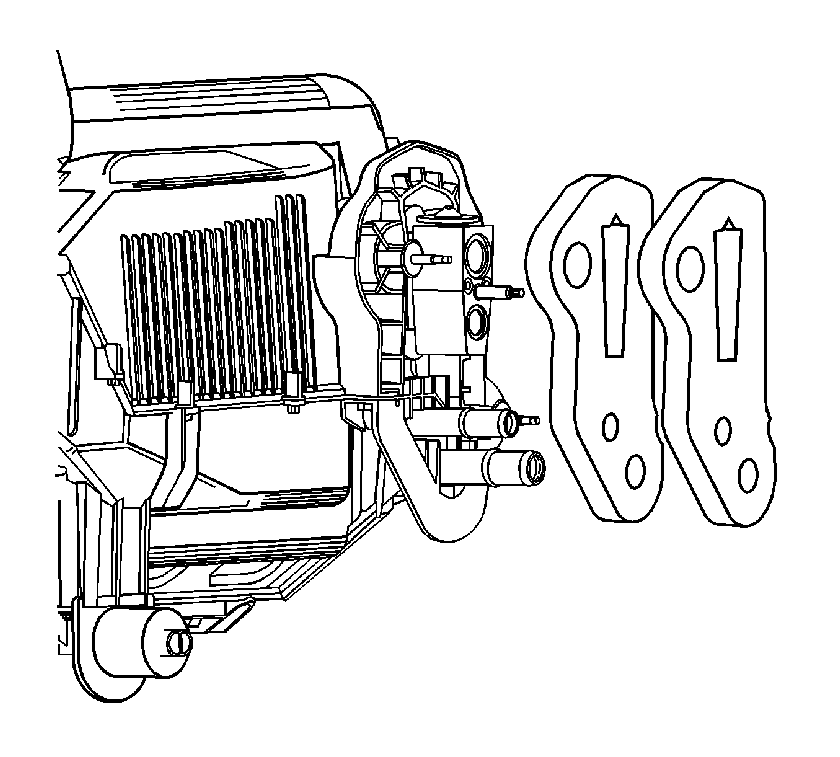
| • | The defrost duct seal |
| • | The HVAC module to cross car duct seal |
| • | The center air outlet duct seal |
| • | The center floor air outlet duct seal |
| • | The air inlet seal |
