For 1990-2009 cars only
Removal Procedure
- Remove the camshaft position exhaust actuator. Refer to Camshaft Position Exhaust Actuator Replacement.
- Mark the camshaft bearing caps to ensure they are installed in the same position.
- Remove the camshaft bearing cap bolts and cap.
- Remove the exhaust camshaft.
- Remove the valve rocker arms.
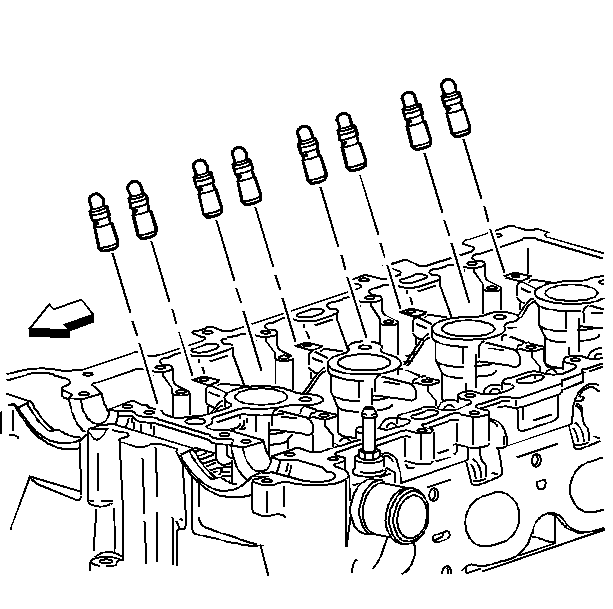
- Remove the hydraulic valve lash adjusters.
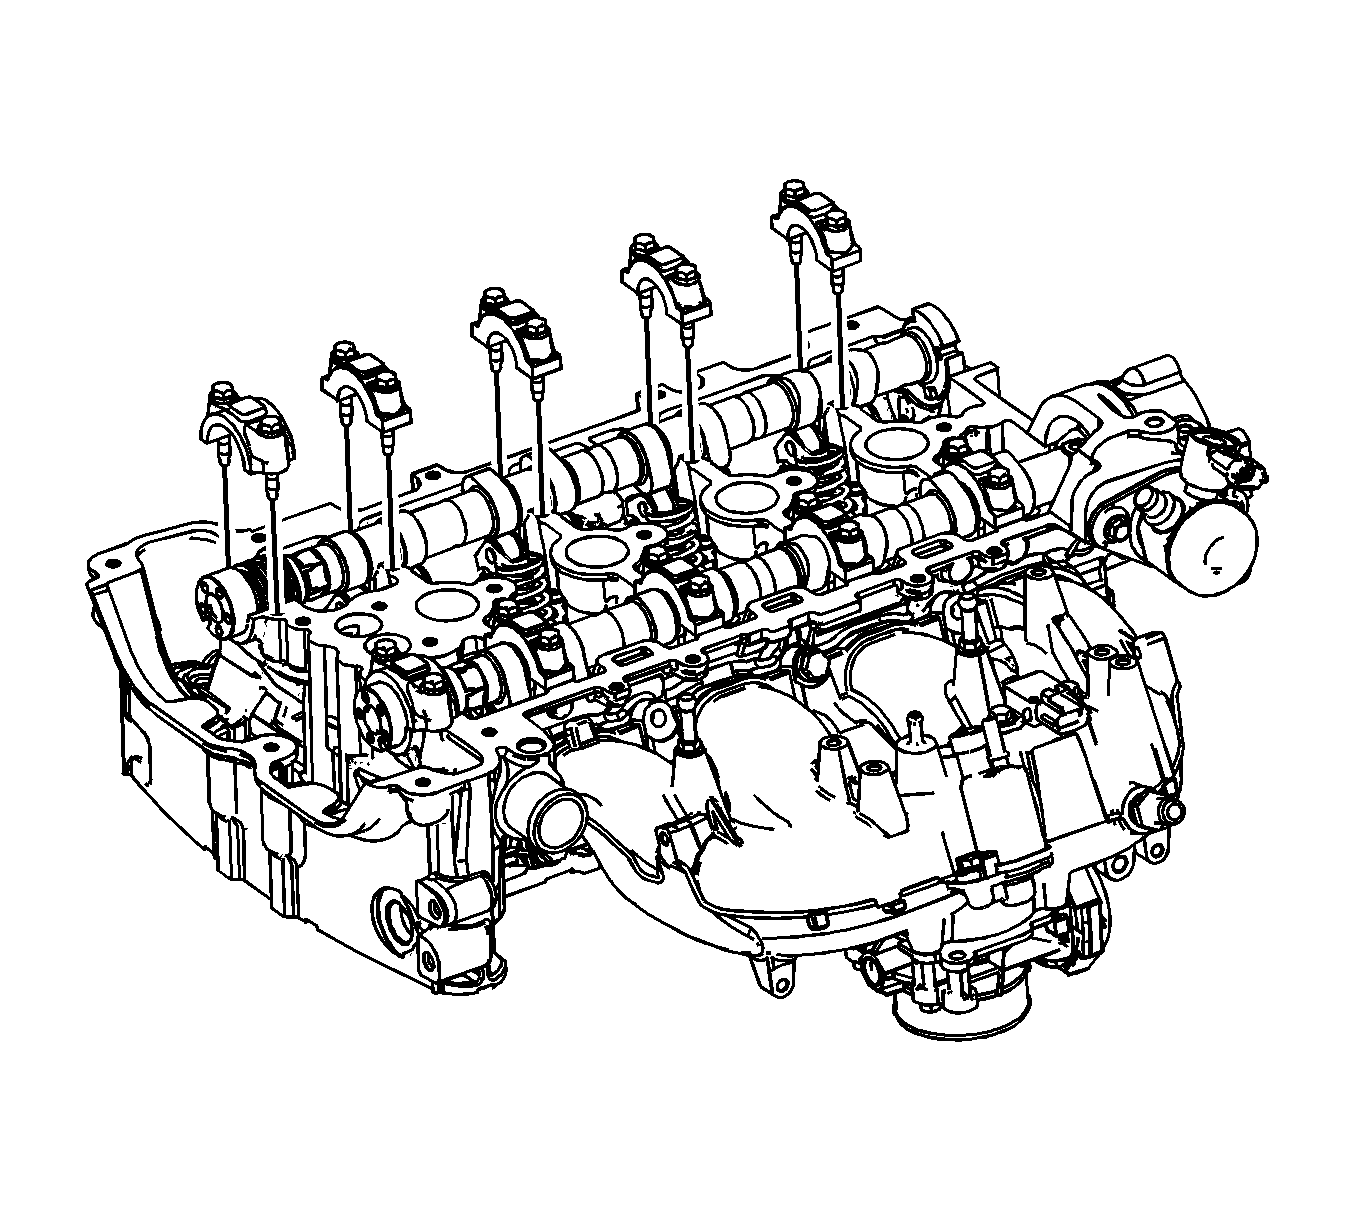
Important: Remove each bolt on each cap one turn at a time until there is no spring tension pushing on the camshaft.
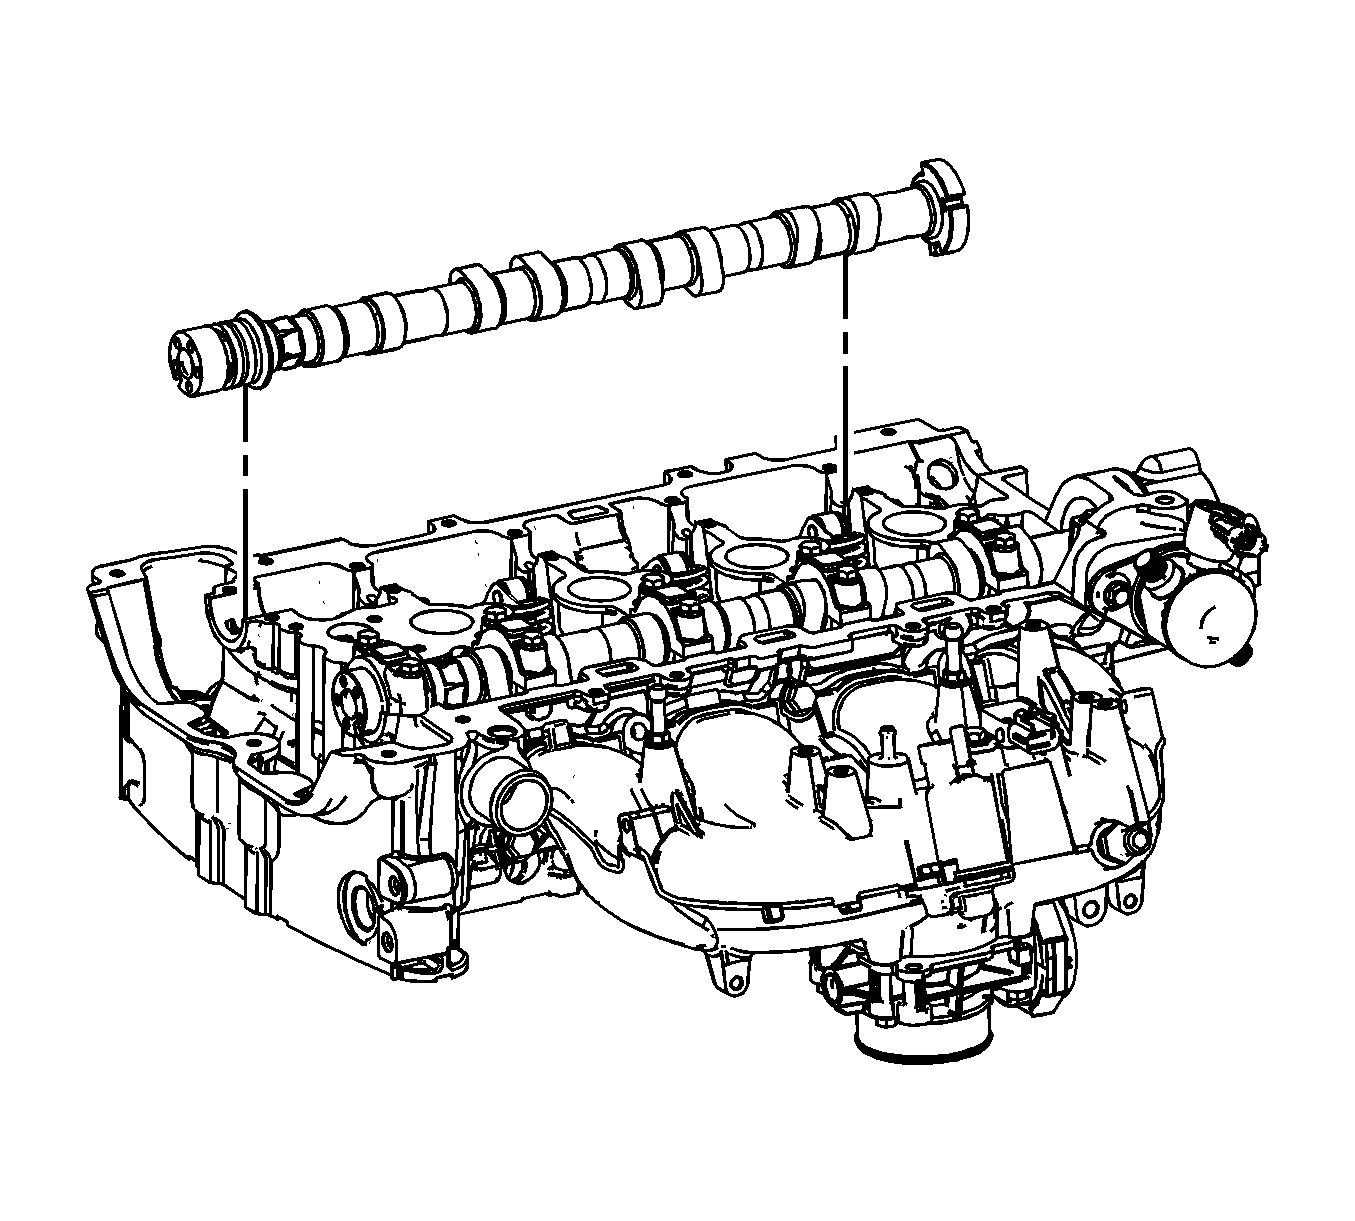
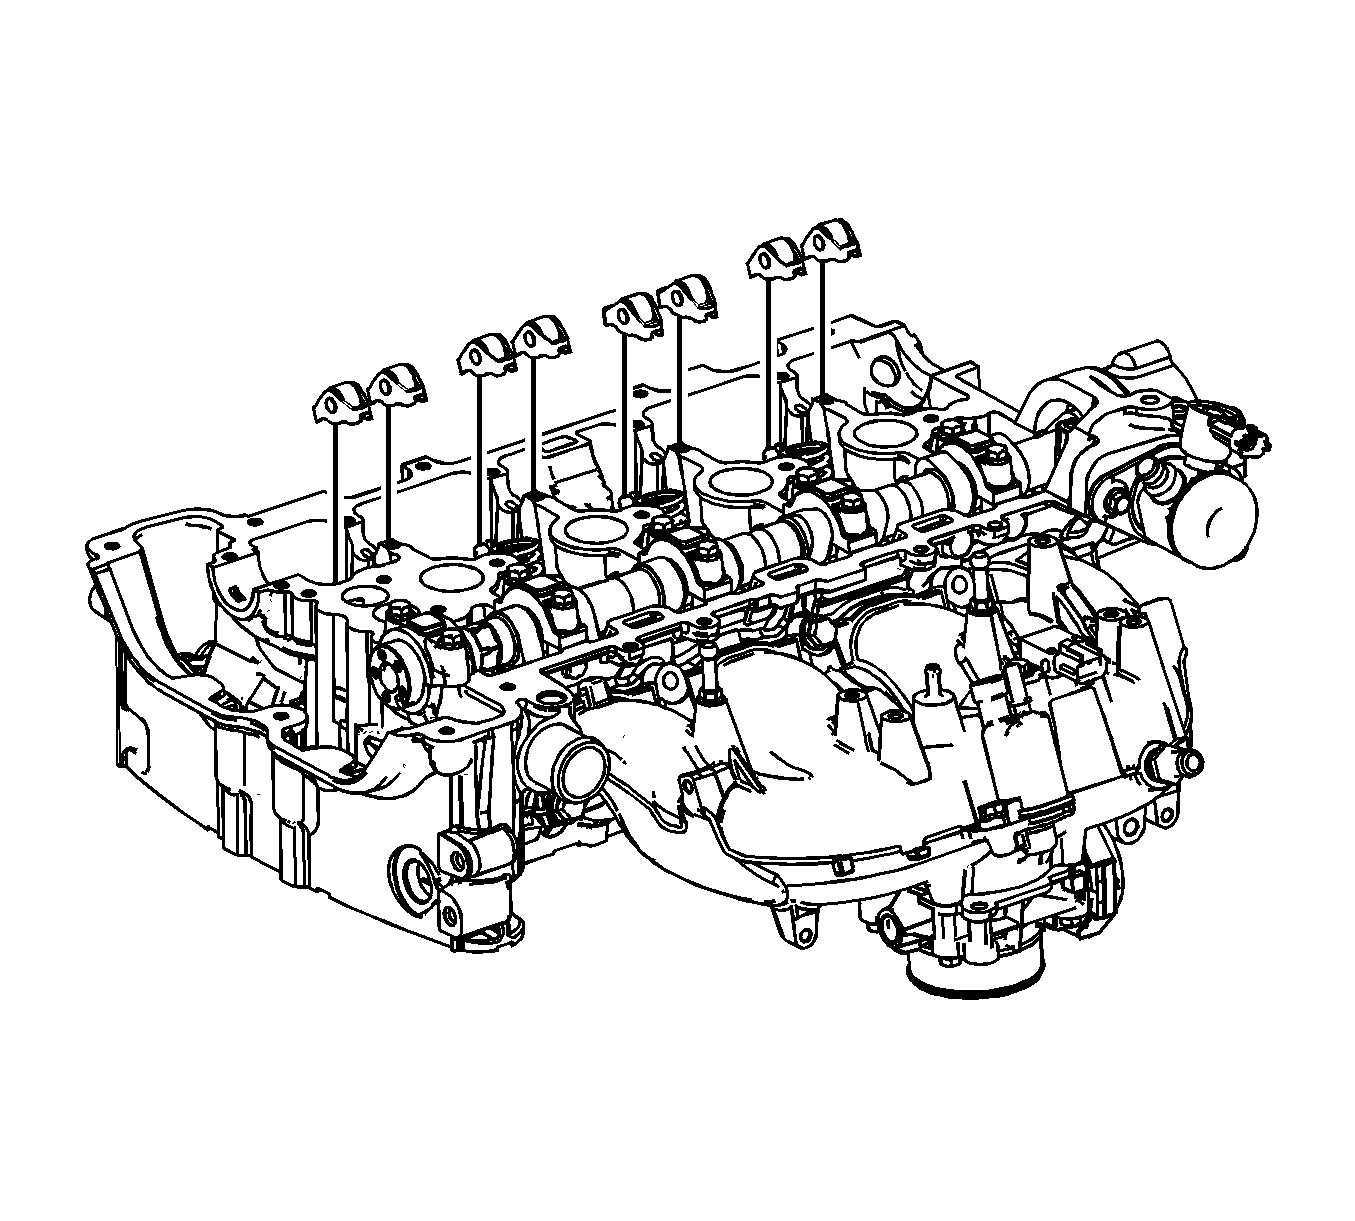
Important: Keep all of the rocker arms and hydraulic valve lash adjusters in order so that they can be reinstalled in their respective locations.
Installation Procedure
- Install the hydraulic valve lash adjusters into their bores in the cylinder head.
- Lubricate the hydraulic valve lash adjusters. Refer to Adhesives, Fluids, Lubricants, and Sealers.
- Lubricate the valve tips. Refer to Adhesives, Fluids, Lubricants, and Sealers.
- Position the rocker arms on the tip of the valve stem and on the valve lash adjuster. Lubricate the rocker arms. Refer to Adhesives, Fluids, Lubricants, and Sealers.
- Install the exhaust camshaft. Lubricate the camshaft. Refer to Adhesives, Fluids, Lubricants, and Sealers.
- Position the camshaft bearing caps. Install the bearing cap bolts hand tight.
- Tighten the bearing cap bolts in increments of 3 turns until they are seated.
- Install the camshaft position exhaust actuator. Refer to Camshaft Position Exhaust Actuator Replacement.

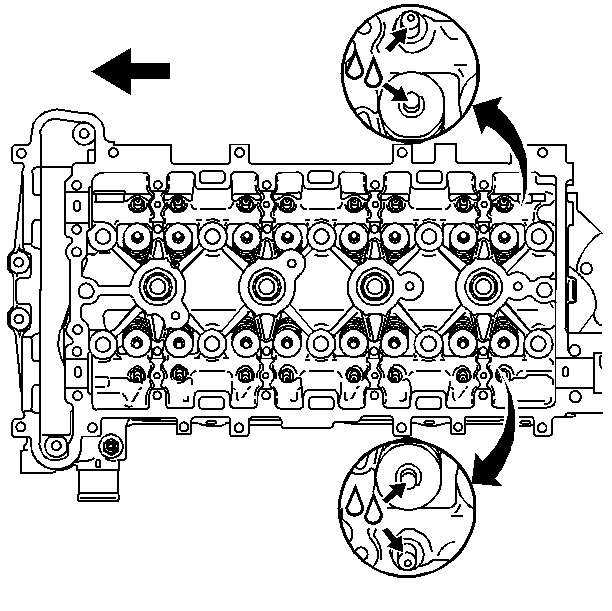
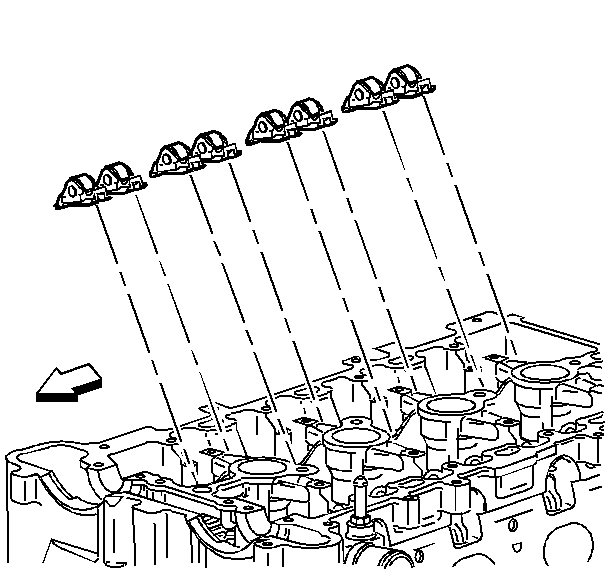
Important: Used rocker arms MUST be returned to the original position on the camshaft. If the camshaft is being replaced, the rocker arms MUST also be replaced.
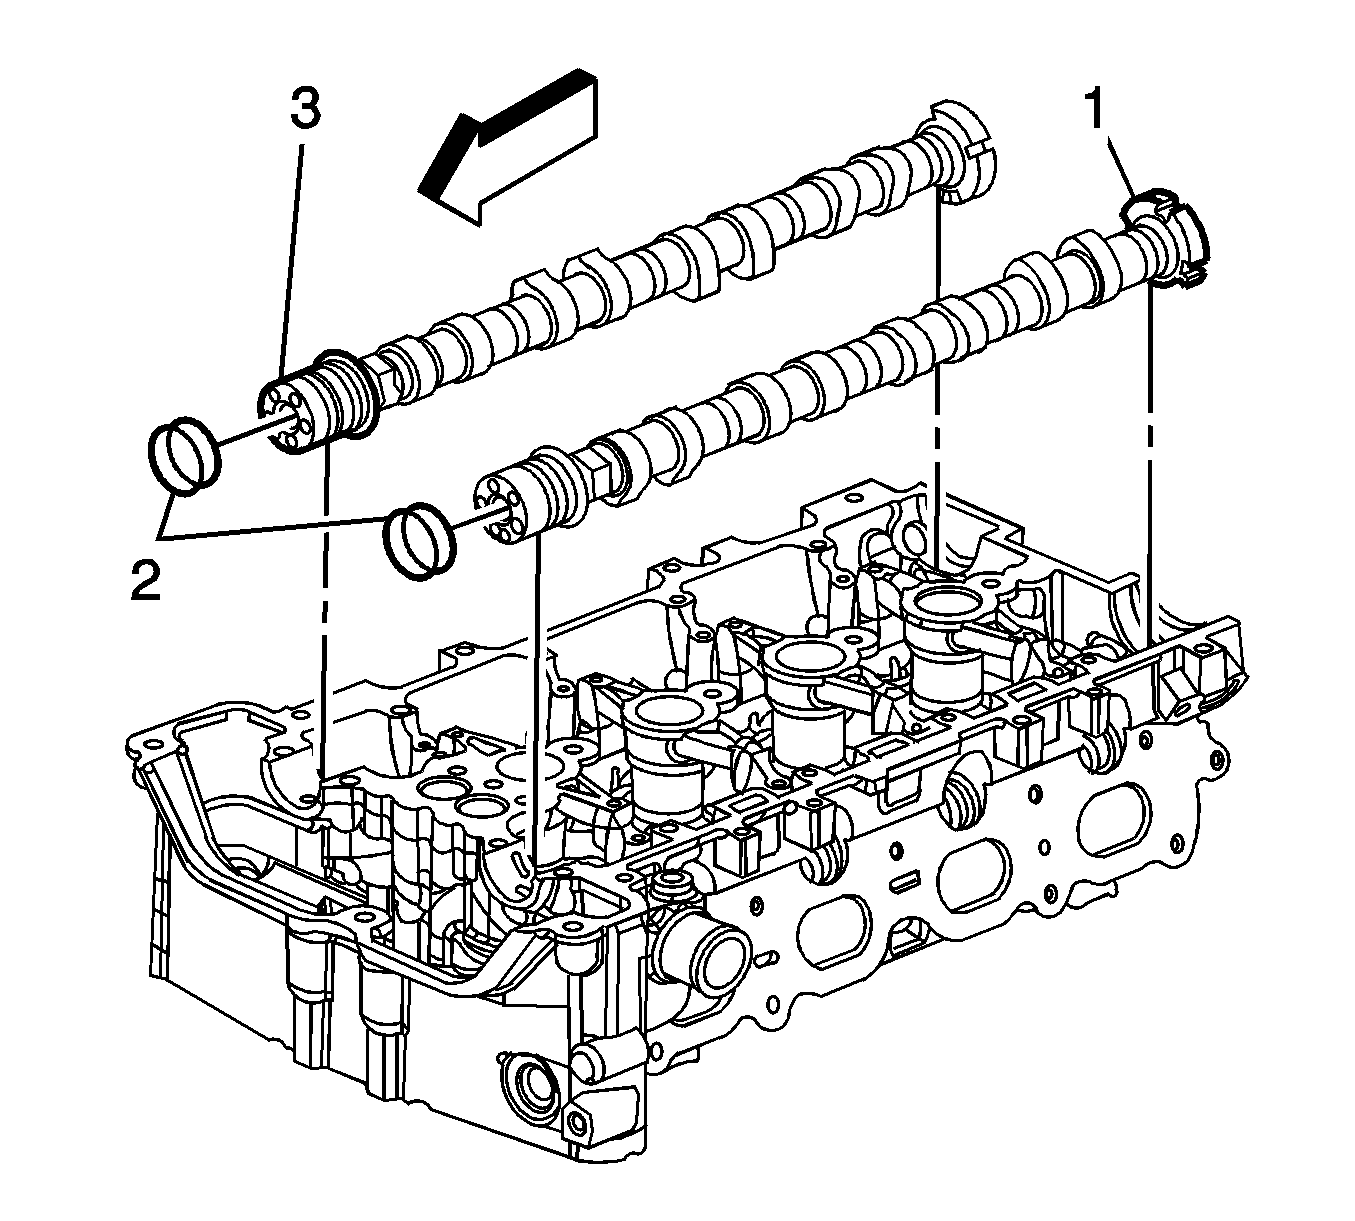
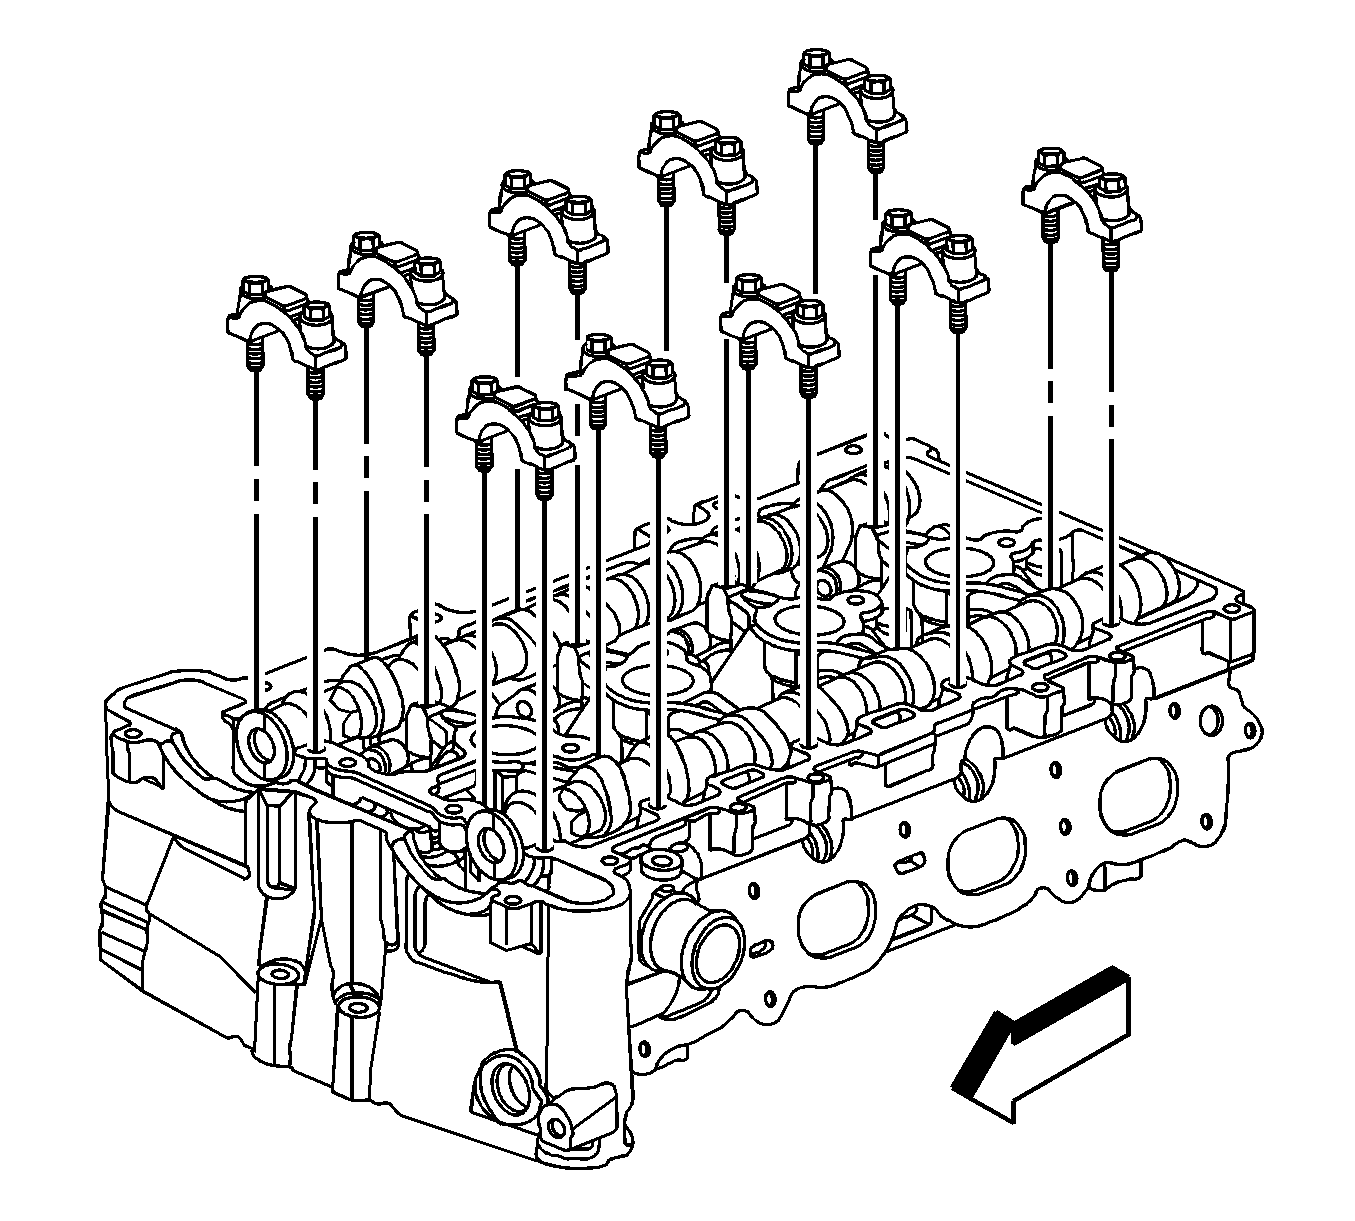
Important: The caps should be installed on the cylinder head in sequence as shown on top of the bearing caps.
Notice: Refer to Fastener Notice in the Preface section.
Tighten
Tighten the bolts to 10 N·m (89 lb in).
