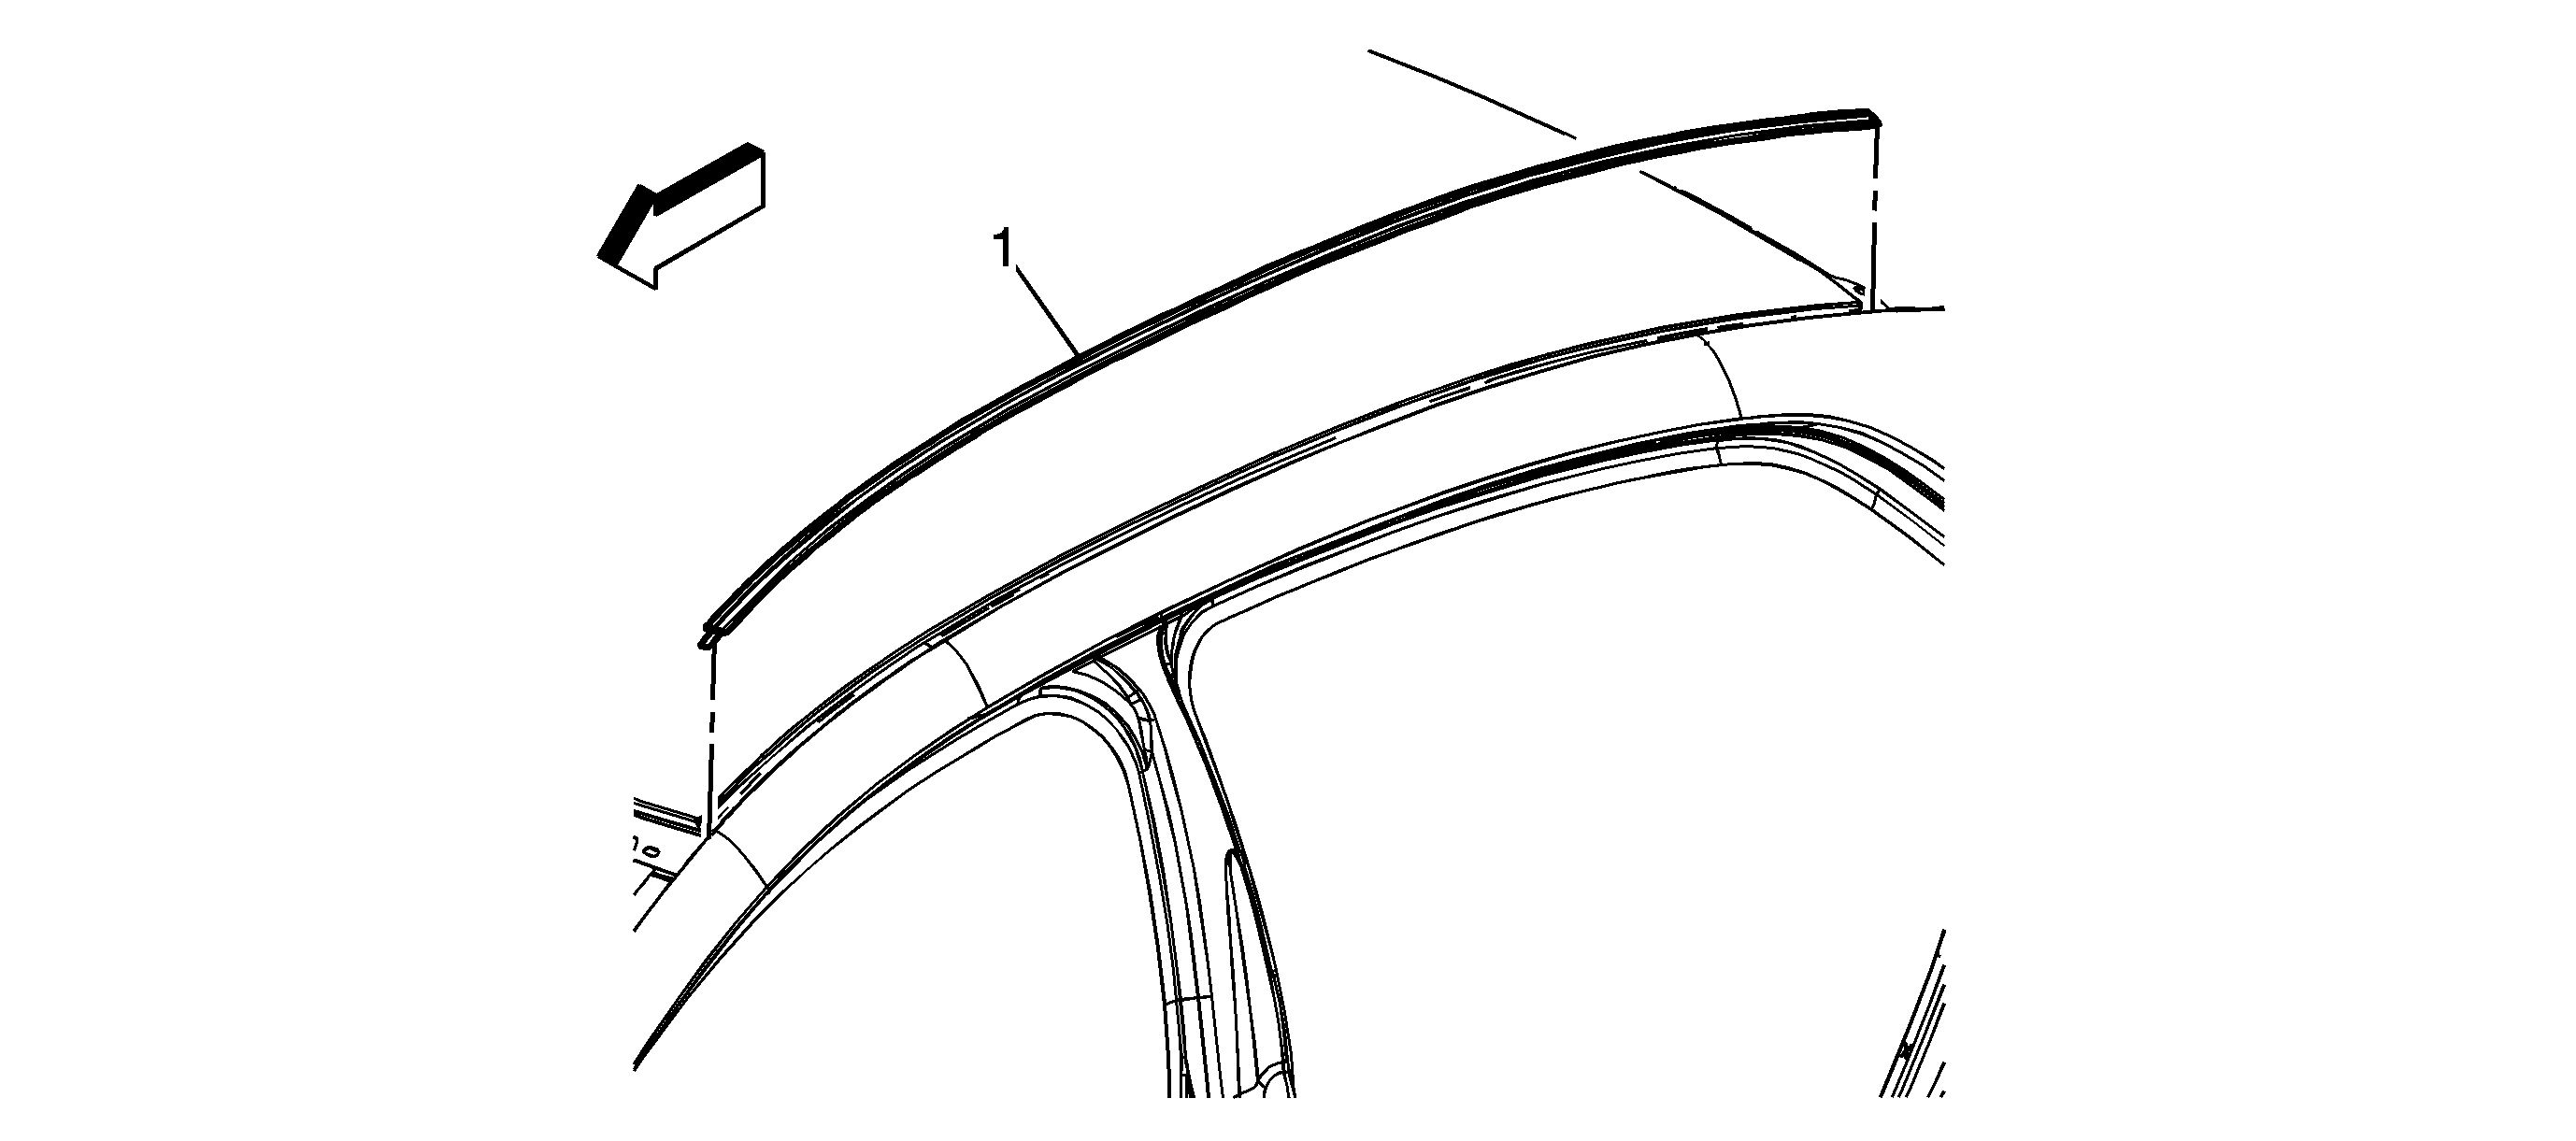
1
| Roof Panel Joint Finish Molding Assembly
Procedure
- The stamped tab at the front of the molding indicates LH & RH for Sedan models and LH/C & RH/C for Coupe models.
- Verify the correct stamping prior to installing the molding.
- Pull approximately 6 inches of the adhesive backed liner from the front edge of the roof ditch molding.
- Insert the front tab under the windshield reveal molding.
- Align the roof panel joint finish molding to the roof ditch channel.
- Pull the adhesive tape liner while applying the molding into the ditch.
- Use a small roller type tool or a clean dry shop towel and hand pressure on the molding to ensure the roof panel joint finish molding is free from any air bubbles working from front to rear.
|

