For 1990-2009 cars only
Removal Procedure
Warning: Refer to Gasoline/Gasoline Vapors Warning in the Preface section.
- Keep a shop cloth and a container ready to capture any spilled fuel.
- Relieve the fuel system pressure. Refer to Fuel Pressure Relief.
- Raise and support the vehicle. Refer to Lifting and Jacking the Vehicle.
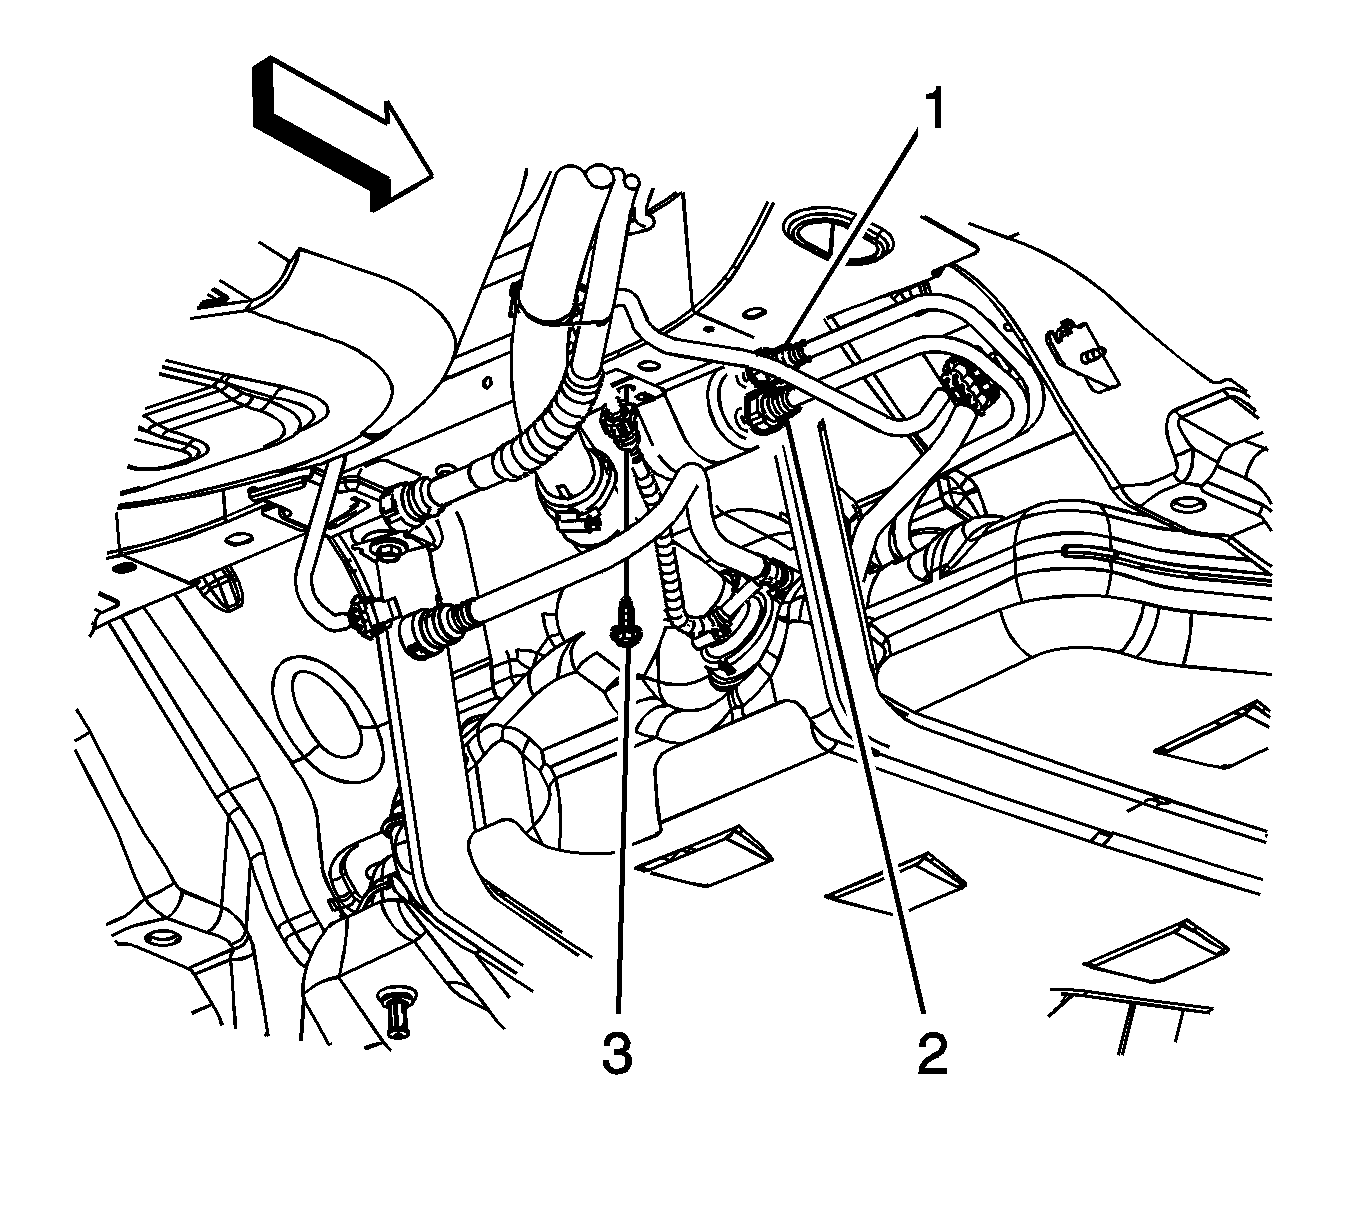
- Remove the fuel filter bracket bolt (3).
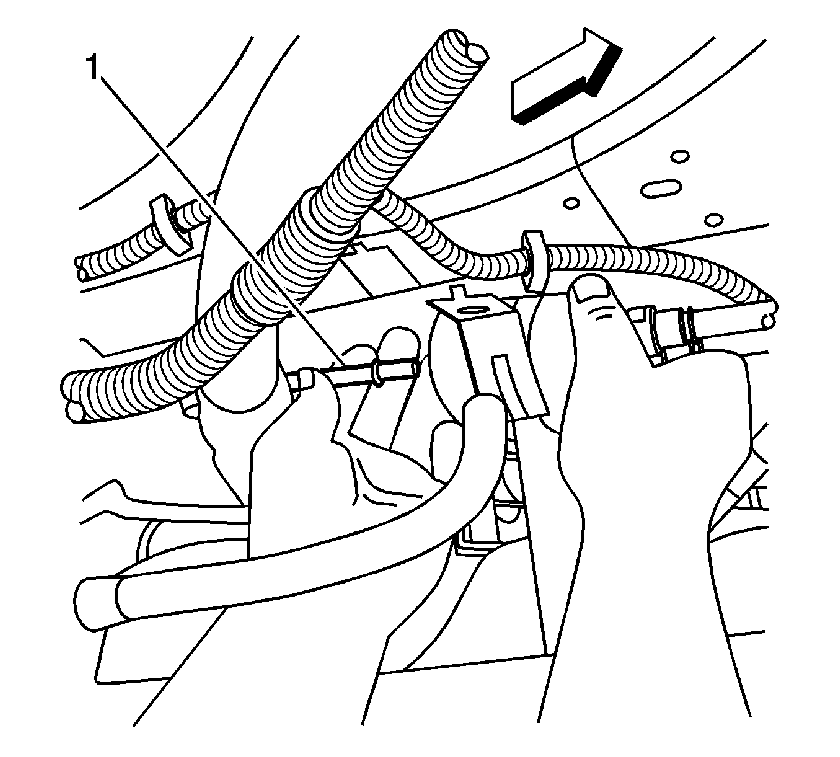
- Disconnect the fuel filter from the engine fuel feed pipe (1). Refer to Metal Collar Quick Connect Fitting Service.
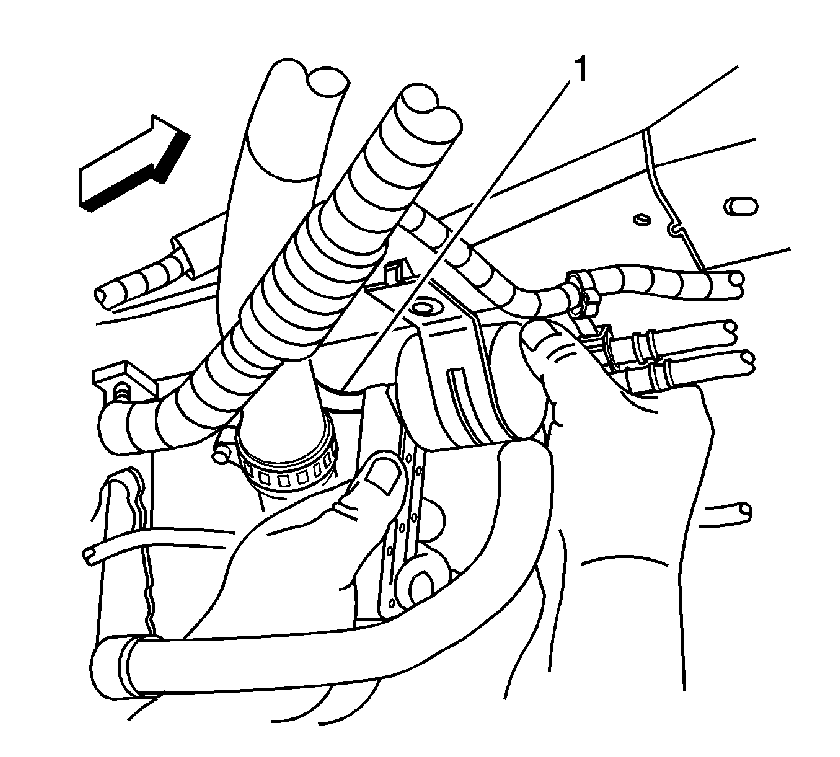
- Tilt the fuel filter downward and drain off the fuel into an approved fuel container.
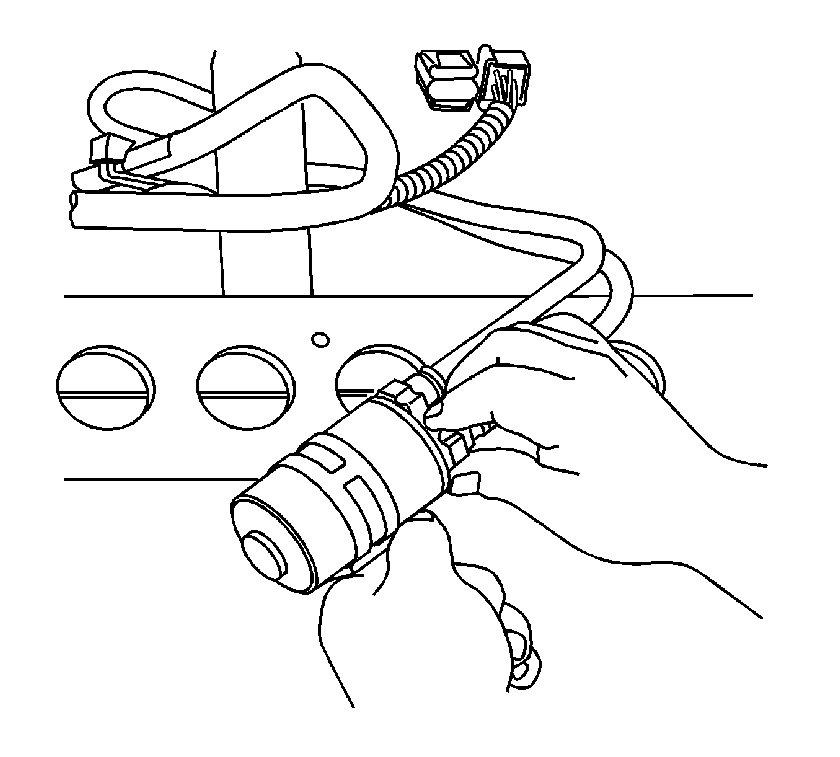
- Disconnect the fuel tank feed and return hose fittings from the fuel filter. Refer to Plastic Collar Quick Connect Fitting Service.
- Drain any remaining fuel into an approved fuel container.
- Discard the fuel filter into an approved container.


Installation Procedure
- Remove the protective caps from the new fuel filter.
- Connect the fuel tank feed and return hose fittings to the fuel filter. Refer to Plastic Collar Quick Connect Fitting Service.
- Connect the fuel filter to the engine feed fuel pipe (1). Refer to Metal Collar Quick Connect Fitting Service.
- Install the fuel filter bracket bolt (3) and tighten to 10 N·m (89 lb in).
- Lower the vehicle.
- Connect the negative battery cable. Refer to Battery Negative Cable Disconnection and Connection.
- Inspect for fuel leaks using the following procedure:

Caution: Refer to Fastener Caution in the Preface section.

| 7.1. | Turn ON the ignition, with the engine OFF for 2 seconds. |
| 7.2. | Turn OFF the ignition for 10 seconds. |
| 7.3. | Turn ON the ignition, with the engine OFF. |
| 7.4. | Inspect for fuel leaks. |
