For 1990-2009 cars only
Lower Control Arm Ball Joint Replacement with FE1 Only
Removal Procedure
- Raise and support the vehicle. Refer to Lifting and Jacking the Vehicle.
- Remove the lower control arm. Refer to Lower Control Arm Replacement.
- Place the lower control arm in a vise.
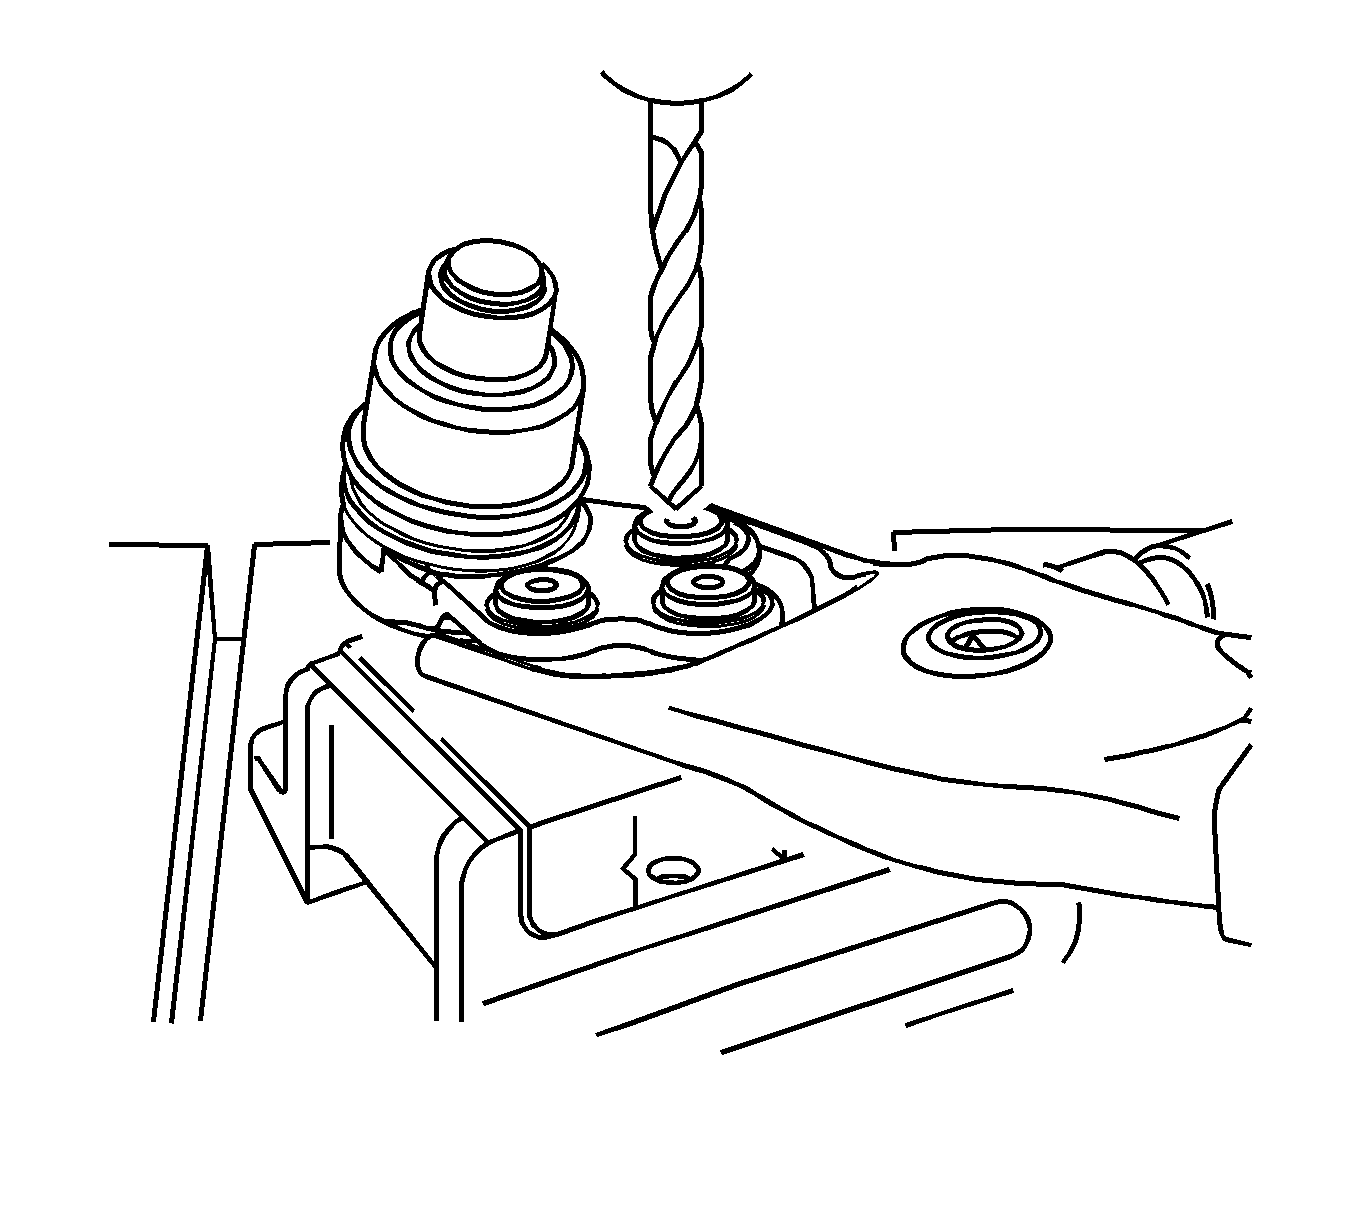
- Remove the ball joint to control arm rivets using the following procedure:
- Remove the ball joint from the lower control arm.

| 4.1. | Use a 3 mm (1/8 in) drill bit in order to make a pilot hole through the rivets. |
| 4.2. | Use a 13 mm (31/64 in) drill bit to complete drilling the rivets. |
Installation Procedure
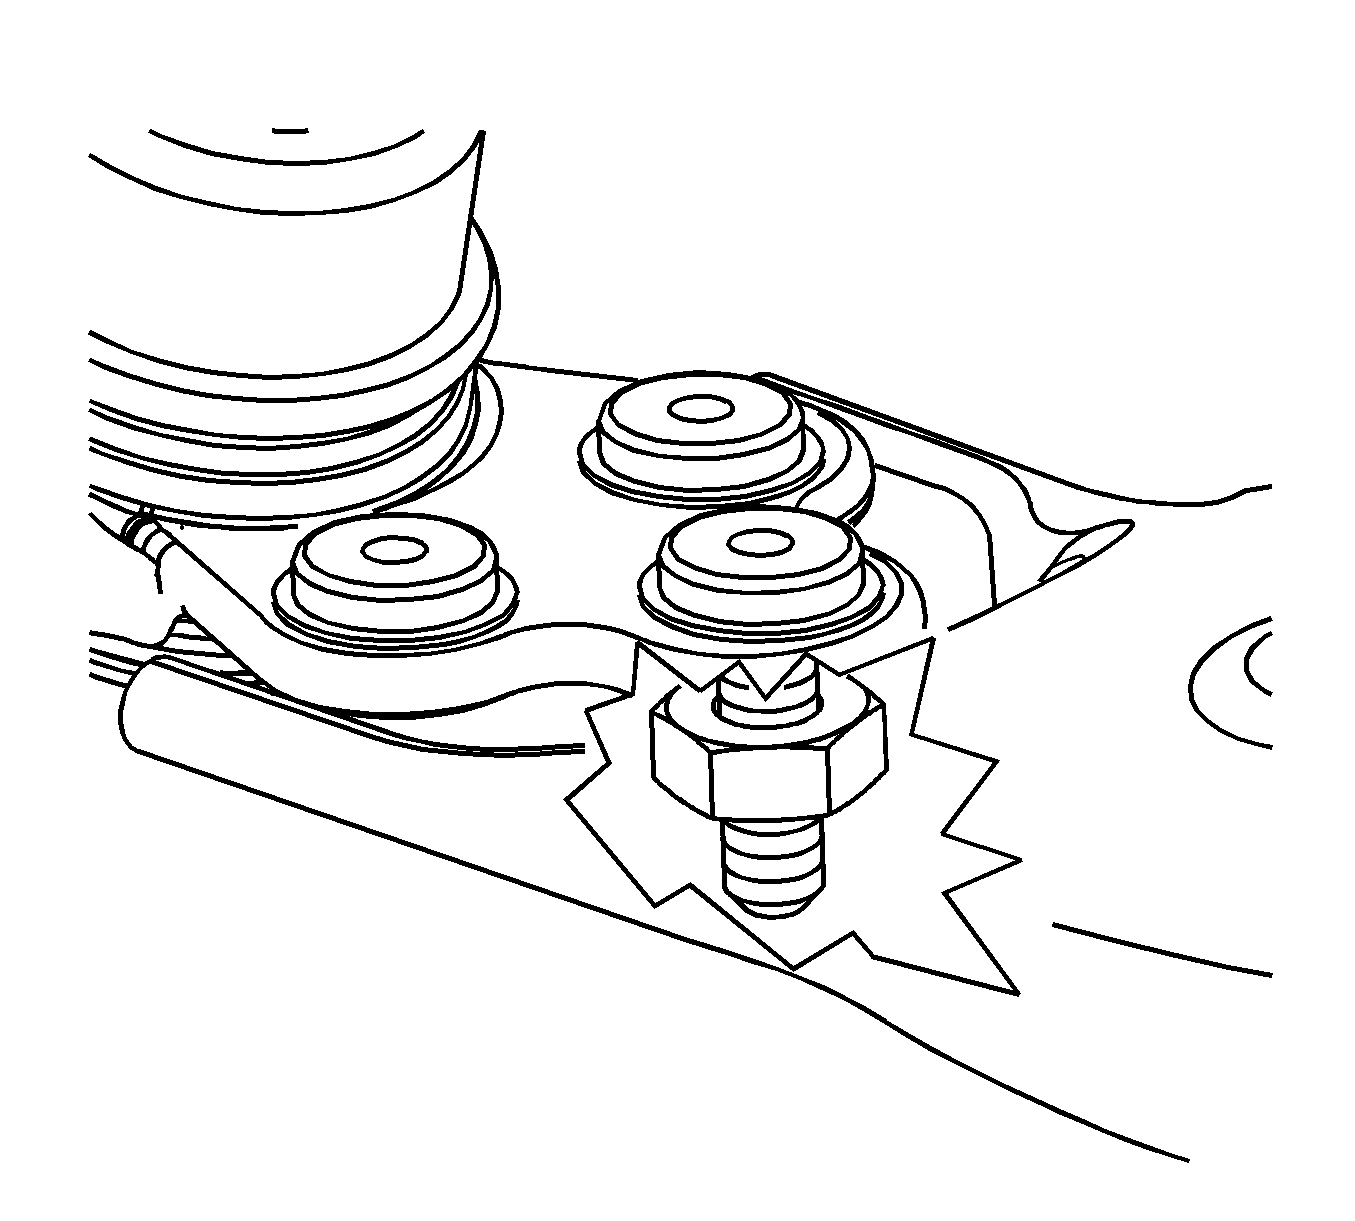
- Install the ball joint to the lower control arm.
- Install the ball joint bolts and the nuts. Follow the instructions in the ball joint kit.
- Install the lower control arm. Refer to Lower Control Arm Replacement.
- Lower the vehicle.
Caution: Refer to Fastener Caution in the Preface section.

Tighten
Tighten the ball joint bolts to 68 N·m (50 lb ft).
